Secret of Mana

Secret of Mana

28 ratings
General Guide for Newer Players
By Genius Gate
A general guide for newer players and a reference for older ones (when complete, anyway).

Ah, Secret of Mana, a gaame that defined my childhood, and the childhoods of many first day buyers. Indeed, it was my first RPG game and one of my earliest plays on the SNES. Despite all this, I can take off the rose-tinted glasses of nostalgia long enough to realize that there will likely be new players that will be broadsided by the game's lack of explanation of item effects, the weapon and magic leveling system, and other game systems.

That's what this short guide is about. It will go over, in brief detail, game basics, item effects, the weapon and magic leveling system, and a few other points about the game to assist newer players in getting a quick start. For old school players that stumble upon this guide, I will also include a section about the differences between the classic and remake, as well as some of the quality of life updates that were made for the remake.

Enough delay, this is a quick start guide right? Let's get to it.
   
Award
Favorite
Favorited
Unfavorite
Game Basics: Characters
Randi

Randi is the protagonist and thus the first member of your party. Randi is the hapless boy who pulls out the sacred Mana Sword from it's stone resting place at the side of a river and unleashes monsters upon his nearby village, and by doing so, gets wrapped up in an epic quest for the future of the world.

Randi fills the archtypical Warrior role in this game. He will start with the Rusty Sword, making the Sword class weapon also your first weapon in the game.

Playstyle

Randi is the strongest weapon fighter in the game. This, however, comes at the cost that Randi will not be able to use magic, and thus won't have an MP gauge. However, as most of the combat you will be performing in game comes in the form of physical combat, Randi will be a strong contender throughout the entire game. Seeing this fact, it is often a good idea for the player to remain in control of Randi for most of the game, unless he needs to be revived. However, that said, if you know what you are doing, you could easily take control of the other party members full time once they become available, but it is generally advisable for newer players to retain control of Randi.

Randi has the highest HP, highest physical strength, and highest physical defense. He has mid tier magic defense. As magic is generally unavoidable, Randi will ineveitably take some big hits but his large HP pool can more often than not allow room for these to happen, but that said, always keep Randi's HP above 25%, as the next big spell could take him out without a second thought!

As Randi is all about weapons, leveling up a wide variety of weapons will work to your favor, or at least the weapons you like to use.

Primm

The daughter of nobility, Primm is rebelling against an arranged marriage set forth by her father against her wishes, and is instead chasing a solider by the name of Dyluck. When Dyluck fails to return to the Kingdom of Pandora after a mission, Primm sets out to find him, running into Randi in the process. This fateful encounter would thus tie Primm to the fate of the world.[/spoiler]

Primm is one of the two magic users in Secret of Mana, posessing healing and support magic. She can be either the second or third member of your party. You can first encounter Primm in Pandora Castle, and can find her even after having Popoi join. Primm starts with the Spiked Knuckles, thus giving you access to the Glove weapons class.

Note that if you opt for Primm to join before heading to your objective the Dwarven Village to get to the Underground Palace (and thus, having Popoi join), you will first need to enter the Haunted Forest, or she will instead go to the Haunted Forest herself upon entry to the Gaia's Navel caves. You must progress to the skull statues and strike them with a weapon before Primm will agree to go to the village with you. Note that the Chobin Hoods in the Forest can be tough at this stage of the game if you do not gain a few levels first.

Playstyle

Primm is generally more physically capable than Popoi (detailed below) but does not approach Randi in terms of physical prowess. However, as a majority of this game is about physical combat over magic combat on the player side, Primm will still be in the thick of combat. Primm does decently well with melee weapons and can hold her own.

Primm will also occasionally have unique armor that only she can wear, thus, at certain points in the game, her stats may vary.

Primms magic generally focuses on support with a few offensive items mixed in. She can use Cure Water to restore HP, Remedy to eliminate bad status effects, charge weapons with special effects and elemental properties, and temporarily boost status. This also makes Primm's magic the easier of the two magic characters to skill up at a whim, though lengthy. The payoff is worth it though, as each level Primm gains in an elemental noticably boosts the duration status magic occurs for.

Keeping Primm up to date on melee weapons, and even a few ranged ones, is also a good idea. Primm can be a fairly balanced combatant, but her support magic is where she really shines.

Popoi

Popoi is a hapless sprite child that was brought to the Dwarf Village by a flood who is unable to remember anything about his past. Engaged in shady practices to make money for himself during his stay at the Village, the Dwarf Village Elder, inspired by Randi's courage as he eliminates a fierce monster released from the Underground Palace, suggests Popoi accompany Randi to help recovery his memories. Thus, Popoi gets wrapped up in something far bigger than himself.

Popoi is the other magic user in Secret of Mana, able to cast offensive spells. Popoi starts with the Boomerang weapon, and the Bow weapon can be acquired from the Elder right after having Popoi join the party. He will join after defeating the game's second boss monster.

Playstyle

Popoi's HP pool is behind Primm's and his physical stats are the worst of the bunch, with the exception of Evasion, so while you can optionally use melee weapons with him to a decent degree, he does take more damage from a percentage standpoint from physical hits compared to the other two characters. Most players opt to use ranged weapons on Popoi and this is generally a good idea as well. That said, as the game currently has some bugs related to targeting when a character has a ranged weapon, there may be some bosses (IE Face Wall) where you may need to give Popoi a melee weapon in order to have him attack the right target.

Popoi's offensive magic is perhaps the single biggest source of damage against most boss monsters and, in addition, is the best way to eliminate normal enemies with incredibly high evasion and physical defense - and good thing too, as you will run into this kind of enemy fairly early in the game. As Popoi needs an enemy target to cast on, leveling Popoi's magic can be a bit more of a chore to do than Primm's, the payoff is generally worth it. When using Popoi's offensive magic, keep in mind what element the enemy might be weak to. In addition, be mindful of enemies that may counter attack with magic or special attacks when they are hit with offensive magic.

Keep Popoi topped off when possible, he will take damage, and a lot of it, especially during boss monsters with room wide physical strikes. Popoi's magic and physical defense are the lowest of the three party members, so be prepared to drop an item on him at a moment's notice.
Game Basics: Combat
Introduction to Combat

Secret of Mana is a fairly open action RPG. However, unlike what you may have experienced with modern action RPGs, Secret of Mana's combat is not based in flashy combos or input sequences. As this remake fully emulates the experience of the original game back in 1993, it means the same limitations are present. you will quickly see that mashing the attack button on your hapless target will quickly result in misses or very small amounts of damage after your initial attack, and that is by design.

So how do I fight effectively?

Mixed into Secret of Mana's action based combat system are elements of the Active Time Battle system from Final Fantasy titles of the era (Final Fantasy 4 is of this era, it was released on SNES in the States as Final Fantasy 2 - yeah, I know, this is how things were in the 90s). You will notice some strange yellow gauge below your current character's HP gauge. This is your stamina and combat gauge, and it serves two purposes.

Notice that when you attack, a number starts counting up until it reaches 100%, at which point a quick sound plays. This means your next attack will be at full power and accuracy. Attacking before this combat gauge is ready again will result in reduced power and accuracy to the degree listed in your gauge. Note that while it is preferable to wait for your next full power attack to be ready, there may be situations that merit attacking before this limit is reached.


The meter showing delay before the next full power attack.

On top of indicating attack readiness, this gauge also allows you to charge special attacks that correlate to your current weapon's skill level on the character you are on. For example, if you have a Lv2 sword skill on Randi, you can charge a level 2 special attack on Randi while the sword is equipped after your initial attack. You can, at your option, unleash the attack at Lv1 charge too.


Playing as Randi, charging the Whip, currently level 2, at this point in the game, I have Randi's Whip skill at 3, another meter will start to charge charge in the next instant.

To charge your attacks in this manner. Simply hold the weapon attack button after your initial attack, after the gauge goes back to 100%, the special attack will start charging. Release the button when you are satisfied with the charge level for your next attack. Please note your movement speed is hampered while charging.
Basics: Using Menus
Using Menus

Everything beyond physical combat in the field is done through the Ring menu system. To access the ring menu, simply use the appropriate key. There are four ring menus, accessed by pressing up or down on one ring menu to access another. They are:
  • The Weapon Ring
  • The Item Ring
  • The System Menu Ring
  • The Magic Ring (opened when you gain your first Elemental)

Manipulating Primm's Magic Ring, selecting an Elemental.

Needless to say, the Weapon Ring is where you equip weapons, the Item Ring is where you equip items, the System Menu is where you go to change options, equip items to characters, see status, and more. The Magic Ring is where you go to cast magic.

Note that Rings are character specific, pressing your Ring menu key opens your current character's ring menu. Press the Ally Ring key to access your allies' ring menus, at which point you can equip items for them, use their magic, have them use items, or equip weapons for them. This means, for example, if you want to use the spell Defender - which is a Primm spell, you need to use Primm's Magic Ring menu. Likewise, to equip Popoi with the Pole Dart, you must use Popoi's Weapon Ring.

You can tell whose ring you are on judging by the color of the reticle at the top of the ring that is indicating your current selection.
  • Blue is Randi
  • Pink of Primm
  • Green is Popoi

Manipualting Popoi's Weapon Ring, he is currently using the Javelin.

Seem confusing? Not to worry. You can access all four rings per character without having to constantly switch back and forth. Just use the up and down selection keys while you have the ring open on that particular character!
Items
Here's an item list, with some descriptions.

  • Candy: Restores 100 HP to target.

  • Medical Herb: Removes negative status effects - equivalent to the spell Remedy.

  • Chocolate: Restores 250 HP to target.

  • Royal Jam: Restores all of target's HP

  • Cup of Wishes: Revives party members from Ghost status and restores all of their HP.

  • Fairy Walnut: Restores 50 MP to target.

  • Barrel: Target party member becomes temporarily impervious to damage, but cannot attack and is slowed down. Press the attack button to take the barrel off.

  • Moogle Belt (Special Item): Inflicts or restores Moogle status.

  • Flammie Drum: Summons Flammie the dragon for you to ride on, taking you to the world map. Cannot be used when inside a building, cave, or dungeon.

  • Minor Mallet (Special Item): Inflicts or restores Pygmy status.

  • Magic Rope (Special Item): Takes you to the entrance of a cave or dungeon. May not be usable in some situations. Cannot be used during a boss fight.

    Please bear in mind that when using the magic rope inside a dungeon within a cave may subject you to being taken to the entrance of the cave instead of the dungeon. For example, using the magic rope while on the Scorpion Gang's ship in the Dwarf Village, which is part of the Gaia's Navel cave complex, will return you to the start of the Gaia's Navel cave complex from where you entered.

    How do I get the special items?

    Magic Rope
    This is in the Gaia's Navel cave complex, in a dead end room. You can access this room in the area following the release of the water to cool the magma blocking your path. The room below will have a path to a dead end cave flanked by two Goblin Kids, this is where the Magic Rope is. Don't miss this item! Its very useful!

    Minor Mallet (also known as the Midge Mallet)
    Before going to the Upper Lands for the first time, you can acquire this item from the Dwarf Elder.

    Flammie Drum
    You get this item automatically as the story progresses.

    Moogle Belt *Mild Spoiler*
    After getting the Flammie drum, head to Turtleshell Isle to acquire a Sea Hare's Tail, take this to Kakkara Village to get the Moogle Belt.
Weapons
The best part, right? There are eight classes of weapons in Secret of Mana. Here's a rundown of all of them by type.

Before I begin, weapons are not bought, but rather, they are found to unlock, and then upgraded at the blacksmith Watts after obtaining that weapon's orb. Orbs are dropped by bosses and some are found in chests at some points in the game.

There are two main types of weapon, melee and ranged.

Minor story spoilers have been hidden behind spoiler text in each weapon's acquisition method.

Melee Weapons

Melee weapons generally hit harder than their ranged counterparts. However, their vertical range is limited to where you may even have issues hitting enemies that are above you on a stairwell. Each melee weapon has unique advantages and tradeoffs.

Sword

This game is all about the Mana Sword, so it would be predictable that you start the game with the Sword class weapon.

The Sword is quick, balanced, and respectably strong weapon that is dependable in just about any melee range situation. The speed of the sword will allow you to intercept rushing enemies before they can lay a hand on you. The Sword, though, has limited reach and generally will not advance the user towards their intended target outside of charge attacks. The Sword can hit multiple enemies.

The sword can also cut bushes and small plants that block your path.

Spear

The Spear is a strong weapon with slightly longer range than the sword. In additional, one of the Spear's normal attacks will advance the user to their target. The Spear will have an easier time hitting multiple enemies as well. What you give up for these advantages is that it is slightly slower than the Sword.

The Spear is acquired early in the game, during your first trip to the Water Palace.
Gloves

The Gloves have the shortest reach of melee weapons but are also particularly quick. Several attacks advance the user towards their target, and one of the normal attacks is a throw that position's the enemy on the other side of the user. However, this attack tends to not stagger an enemy, which could lead to an immediate counterattack from your target.

The gloves generally do not hit multiple enemies. The gloves will require good timing to use effectively, as its entire possible you can be intercepted by attacking enemies courtesy of the low reach of the Gloves.

The gloves come with Primm when she joins the party.

Whip

The Whip has the best reach of all melee weapons, but the reach is longer as opposed to wider, like the Spear has. That said, the Whip can attack through obstacles to hit enemies that can't reach you yet. The tradeoff to this is that the whip attack comes out slightly slower.

The Whip can be used to bridge certain gaps. Look for posts or stalagmites to use for this function, use the whip on the post on the opposite side of the gap and the party will leap across the chasm.

You get the Whip after defeating Elinee in the castle at the end of the Hauntest Forest.

Axe

The Axe is a slower, more powerful version of the Sword. Better timing is required to effective use this weapon. Against faster enemies, you may want to try the Sword or a ranged weapon.

The axe can crush certain stalagmites and remove them from your path. If there is an odd stalagmite in your way, try using the axe on it! The axe can also cut the same plants that the sword can.

The axe is acquired from Watts in the Dwarven Village after defeating Tropicalo.

Ranged Weapons

Ranged weapons have superior vertical range to their melee counterparts. A ranged weapon may hit enemies at some ranges both above and below the user.

Boomerang

The Boomerang throws a very fast projectile, at the vice of a slower startup. Higher level Boomerang charge attacks also boost horizontal range. Skilled use of the Boomerang will keep your enemies busy. The Boomerang can also hit multiple enemies.

The Boomerang comes with Popoi when he joins the party.

Bow and Arrow

The Bow and Arrow attack comes out fairly faster than the Boomerang and has great range, but it only hits a single target each attack. The Bow and Arrow also boasts the best vertical range of the ranged weapons.

The Bow and Arrow can be acquired from the Drawf Village Elder immediately after Popoi joins the party.

Javelin

The Javelin's attack starts quick, but the projectile is slower. This won't matter much, as it still remains slightly faster in total time to your target than the Boomerang. Similar to the Boomerang, the Javelin can hit multiple enemies in one throw.

The Javelin is acquired from Undine after defeating the Biting Lizard, coinciding it with your acquisition of your first Mana Elemental and thus unlocking magic for Primm and Popoi.

To be added: Weapon forge levels
Weapon and Magic Levels: Basics and Leveling Up.
Weapon and magic both possess proficiency levels for each character. For weapons, each weapon possesses its own level per character, meaning each weapon you wish to gain proficiency in must be used by that character. Magic levels, on the other hand, are per Elemental, meaning Undine being level 2 on Popoi means all of Popoi's Undine spells - Freeze, Acid Rain and Energy Absorb, will be level 2.

Each weapon level slightly boosts damage and accuracy of that weapon per character, and allows the charging of that weapon up to the same level by holding the attack button after the initial attack, which will begin to charge once the combat gauge reaches 100%.

Each magic level boosts damage for offensive magic, boosts the potency and duration of status effects, and boosts the amount of "uses" each elemental saber spell has.

Simply using a weapon on a target gains experience for that weapon, which is gained upon the enemy being vanquished. However, a spell getting off immediately gives experience to the Elemental the spell belongs to, regardless of the outcome.

Please note: Weapon levels are capped to what level the weapon is currently forged to. Magic levels are capped to how much "true" Mana Power you have.

Leveling Up Weapons

Quite frankly, the best way to level up weapons is to use the weapons you want to have at a high level later in the game whenever they are forged to a new level and that level is currently relevant to the point in the game you are at. The best source of weapon experience will be enemies that are of similar or higher character level to you. That said, you can still gain weapon experience from enemies that are below your level, but this will often be in increments of 1% in this case. Leveling up weapons has many advantages, so be sure to focus on weapons you intend to use. In Randi's case, it is also vital you keep the Sword up to date on him later in the game.

Leveling up Magic

Unlike skilling up weapons, magic only relies on the spell actually going off, regardless of the outcome. Thus, magic skilling does not require enemies be of similar level in the area on which you choose to level up said magic.

There is a single quirk to leveling magic for Primm in particular: Primm's magic experience goes up faster when the party has their weapons out. This means the Wind Palace is the best place for Primm to level up her magic, as the party's weapons will be out, and you can restore your MP in the same room.

Popoi, on the other hand, needs an enemy target for all of his magic, so while his magic is a bit more of a chore to level up. However, as enemy levels do not matter, it means Upper Lands is also a good place for Popoi to level up his magic early on. When the party gains Luna, and thus, Popoi gains Magic Absorb, the process of leveling his magic will not rely on a source of magic restoration to be nearby, provided enemies with MP spawn in the area you are in, unless you decide to buy many Fairies Walnuts early on. That said, it is still a good idea to to keep Popoi's magic at least one or two levels below your current magic level cap, it will keep his offensive power up to spec.
Status Effects
Most of the overt status effects in Secret of Mana are negative. However, there are a few positive ones and only one of them is indicated visually on the party, but all positive effects are bestowed with magic aside from Barrel, which is given with the eponymous item previously covered.

Aside from Ghost, all negative status effects can be removed with a Medical Herb, or with the Undine spell Remedy. Remedy does not need to be of the same level as the level of a spell that inflicted a status effect, but Remedy will grant magic experience all the same.

Negative Status

Unconcious

Target is asleep, immobilizing it and preventing action. Damage will awaken the target.

Poison

Target is poisoned and HP is rapidly draining. Poison has the fastest damage over time of negative status. Commonly inflicted by traps and monster attacks. The player generally cannot inflict Poison with the exception of a brief duration sometime later in the game where a weapon will inflict poison upon it's target.

Tangled

Movement speed is reduced. Commonly inflicted by the spell Speed Down, though some weapons can inflict this as well. Higher levels of Speed Down lengthen the duration of Tangled.

Confused

Reverses all directional movement controls. If inflicted on a party member, that member cannot cast magic for the duration of the effect. The reversal of cotnrols will not affect AI party members, as they will follow fine, but it will affect enemies, and they will move their opposite intended direction (the spell disable does not appear to apply to enemies.) Confusion comes from the spell Confusion, higher levels lengthen the duration.

In case some of you may ask - no, Confusion does not affect menu controls.

Ablaze / Engulfed

Target is on fire and trying to put it out, immobilizing it, disabling all action, and causing damage over time. Commonly inflicted by Fire Saber or the Salamando spell Blaze Wall.

Petrified

Target is petrified and taking the shape of a famous status, immobilizing it and disabling action. Petrified targets are subject to additional damage from weapons or spells. The primary sources of petrify are enemy attacks and Stone Saber.

Frosted

Target is engulfed in ice and snow, taking the shape of a snowman and becoming immobilized while disabling action. Frosted targets are not subject to additional damage. Commonly inflicted by Boss attacks or Ice Saber.

Balloon / Spacing Out

Target is dazed, immobilizing it and disabling action. Spaced out targets are suspectible to extra damage. Commonly inflicted by the Syphlid spell Balloon, but some weapons may inflict this status as well. Higher levels of Balloon extend the duration and change the shape of the balloon on the target's head.

Pygmy / Shrunken

Only inflicted upon the player's party. Target is has shrunken and become small, reducing physical attack and defense, and forcing the use of bare fists to attack. Magic is usable while pygmy. Pygmy can be erased (and inflicted) with the Minor Mallet to avoid the expenditure of MP or a Medical Herb (Minor Mallet has unlimited uses.) Pygmy and Moogle can be inflicted at the same time.

Moogled

Only inflicted upon the player's party. Target has become a Moogle and cannot act but can move. Target cannot kupo either. Moogle status can be erased (and inflicted) with the Moogle Belt item to avoid the expenditure of MP or a Medical Herb (Moogle Belt has unlimited uses.) Pygmy and Moogle can be inflicted at the same time.

Positive Status

Please look into the magic section to see positive status effects. All positive status, save Barrel, is granted with magic.
Magic
You will encounter many enemies with magic and far more often than not, you will encounter spells long before you will be able to use them yourself.

Here's a rundown of all spells and effects. They will be separated by elemental and subdividded by offense (Popoi) and support (Primm) spells. Note that enemies do not have the same mutual exclusion that the player's party does - they can cast spells from both Primm and Popoi without restriction. Enemy magic levels, similar to the player's, though, will each possess their own level by Elemental, not individual spell.

Please bear in mind, you have the option to casting most spells on ALL available targets on screen. Doing so will result in reduced power and status duration with the exception of spells such as Remedy and Dispel Magic, which serve to remove status. While the lowering of potency and status duration may be undesirable, there are many situations in which you wouldd want to take advantage of this property, especially if your target becomes higher level.

Casting magic, regardless of outcome, results in the increase of magic exp for that particular elemental. Higher levels raise attack power, increase buff power, and lengthen status durations. Please see the Weapon and Magic level section for additional details (which is currently WIP due to time constraints.)

Please note that Elemental Saber spells are mutually exclusive, only one will be active per character at a time.

Undine - Elemental of Water

Offense
Freeze - Ice balls rain on target for water damage
Energy Absorb - Siphons HP from target. Using this spell on undead or evil targets will result in the reverse happening!
Acid Rain - Corrosive rain falls on target for mild water damage, lowering target's defense temporarily.

Support
Ice Saber - Weapons gain power of water and inflict Frosted to susceptible targets
Cure Water - Restores HP to target
Remedy - Removes negative status

Gnome - Elemental of Earth

Offense
Earth Slide - Ground quakes beneath target, dropping a boulder on them for heavier Earth damage
Gem Missile - Pulls sharp crystals from the ground to spear target for Earth damage.
Speed Down - Inflicted Tangled on target, higher levels lengthen status duration.

Support
Defender - Raises defense of targets. Higher levels raise potency and lengthen duration.
Speed Up - On player: Raises evasion and speeds up combat gauge recovery. On enemy: Raises target's Accuracy and Evasion. Higher levels raise potency and increase duration.
Stone Saber - Weapons gain Earth properties and may inflict Petrification on suspceptible targets.

Syphlid - Elemental of Wind

Offense
Air Blast - Vacuum blades slash target for Wind damage.
Thunderbolt - Lightning strikes target for heavy Wind damage.
Confusion - Confuses target, higher levels increase success chances and lengthen duration slightly.

Support
Thunder Saber - Weapons gain wind properties.
Balloon - Spaces out targets. higher levels legnthen duration.
Analyze - Reveals target's HP, MP, Experience, GP value, and elemental weakness. Level has no effect on this spell. Can be reflected by Wall to analyze player. Can also be cast on treasure chests to increase the odds of a rare item dropping and to detect chest traps.

Salamando - Elemental of Fire
Salamando is unique in that even Support magic is offensive in nature, save for Flame Saber.

Offense
Fire Ball - Sends Fireballs to target for Fire damage
Lava Wave - Magma forms below and swarms target for medium fire damage
Exploder - Makes explosions around target for heavy fire damage.

Support
Flame Saber - Weapons gain Fire properties, and may set susceptible enemies Ablaze for often humorous results.
Fire Boquet - Exasperates enemy with heat for Fire damage, and lowers the Attack rating of target. higher levels legnthen duration.
Blaze Wall - Ignites target for Fire Damage and sets them Ablaze. Higher levels increase duration.

Shade - Elemental of Darkness
Shade only is rated for Offense, so only Popoi can use him. High level Shade magic is especially dangerous.

Evil Gate - Dark forces shred target, dealing damage based on target's max HP. Higher levels increase the percentage rate of target's max HP that will serve as damage. Enemies can resist this spell and only recieve 1 damage. Spell is ineffective against boss monsters.
Dark Force - Dark energy ignite's target's life force for heavy dark damage.
Dispel Magic - Removes positive effects on target, including Wall. Also sets gauge to zero but thsi generally does not affect enemies.

Lumina - Elemental of Light
Lumina, while possessing a single purely offensive spell, is mainly rated for Support and thus, only Primm can use her.

Light Saber - Weapons gain light properties, making them especially effective against evil and the undead.
Lucent Beam - Pure Light beams strike target for heavy Light damage.
Lucid Barrier - Erects a Light barrier that negates a fixed number of physical strikes against target.

Luna - Elemental of the Moon
Luna has no offensive magic per se, sans Magic Absorb, but Popoi's spells require an enemy target regardless.

Offense
Your MP is now his by way of our actions.
Magic Absorb - Siphons MP from target. Using this against the undead will result in the reverse happening!
Lunar Magic - Causes something random to happen for each target this is cast on. Possible effects including inflicting Unconcious upon everything on the screen, restoring party's HP to full, among others.
Change Form - Target may change into another enemy. Low success rate, new form may be lower level than current, or of similar level. Higher magic levels increase success chances.

Support
Moon Saber - Weapons gain the power to restore HP equal to weapon damage inflicted upon targets - usual Undead exception applies in that you will take damage if Moon Saber enchanted weapons successfully strike undead targets.
Moon Energy - Raises critical hit chance of target, no confirmation messages of effect start or fade. Cannot be cast on all party members at once.
Lunar Boost - Raises attack rating of target. Higher levels extend duration and slightly boost potency.

Dryad - Elemental of Trees / Nature / Mana
Dryad only gives two spells for each half, but later in the game, a hidden third spell will become available.

Offense
Burst - Ultraviolet rays strike enemy. Also cast by self destructing enemies on the player.
Sleep Flower - Knocks enemy unconcious.

Support
Wall - Reflects a set number of spells to the opposing side, regardless of source, sans Dispel Magic. Friendly magic will go through Wall if there are no enemies around.
Revivifier - Revives target from Ghost status and restores HP. Higher levels restore more HP.
Change Log / To Be Added
This guide is still WIP. Im working on it during downtime.

Changelog

2/21/2018
Added some status effects that I forgot to mention earlier - Moogled and Pygmy.

2/19/2018
Added Status effects and Magic section. Magic section will be cleaned up later.

2/18/2018
Corrected and clarified some item text. Also spaced out the item list for readability.
Clarified a few detials on the Bow and Arrow.
Added some spoiler text for minor spoilers. This primarily occurs when acquisitions or events involve secret achievements.

The following sections will be added.
  • Weapon forge levels.
  • Advanced Combat
  • Differences between the original and now
  • Add tables to the Magic section for readability.
  • Weapon and Magic skill levels and what they do
  • Pictures for all of the above!
  • Additional spoiler text for mild spoilers

    If you notice an error in my information, please let me know! Want to contribute? Let me know below as well!
16 Comments
heyboots✨ 8 Oct, 2023 @ 7:00pm 
The game only ever uses they/them pronouns for the sprite, not he/him.
Genius Gate  [author] 7 Mar, 2022 @ 6:07pm 
If you mean as 1 player then yes.

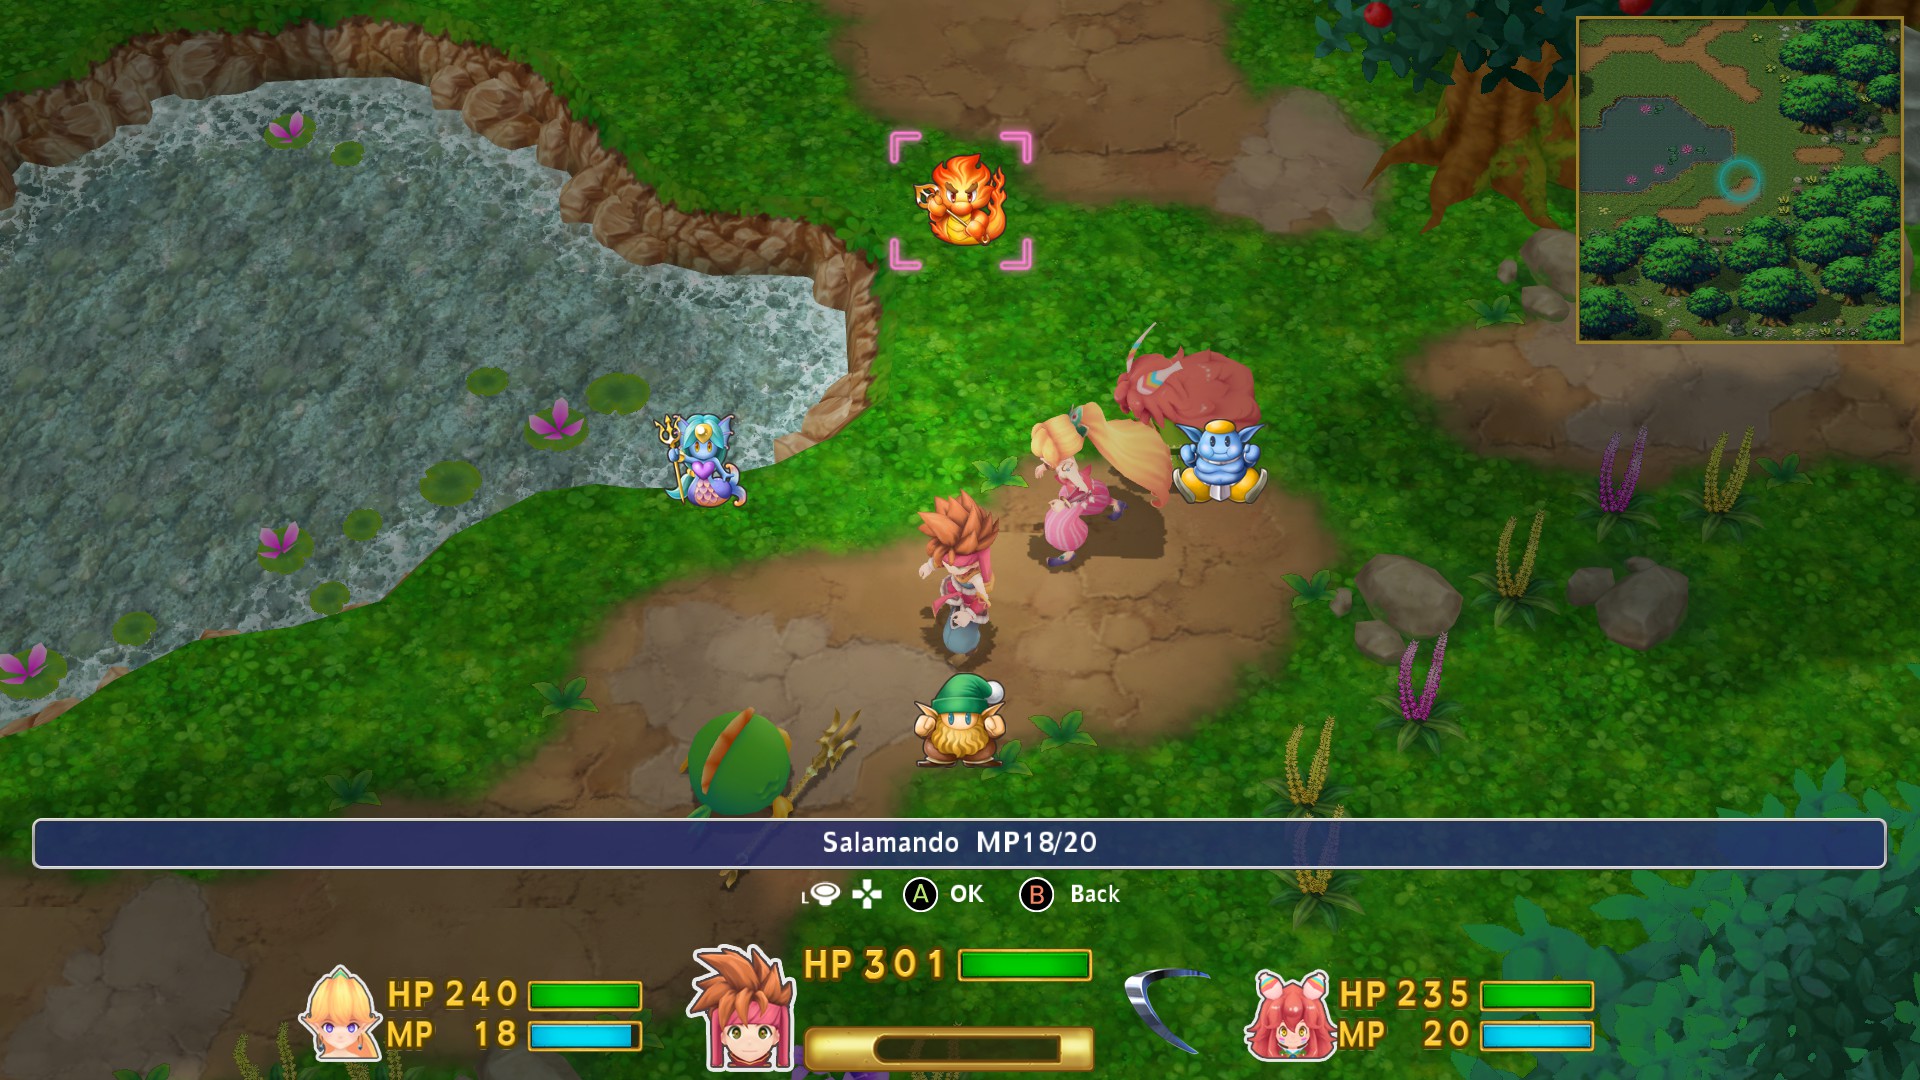
Generally the AI controls characters not controlled by players in line with your settings (which initially are very wary of combat last time I played so you’ll have to adjust it to your liking)

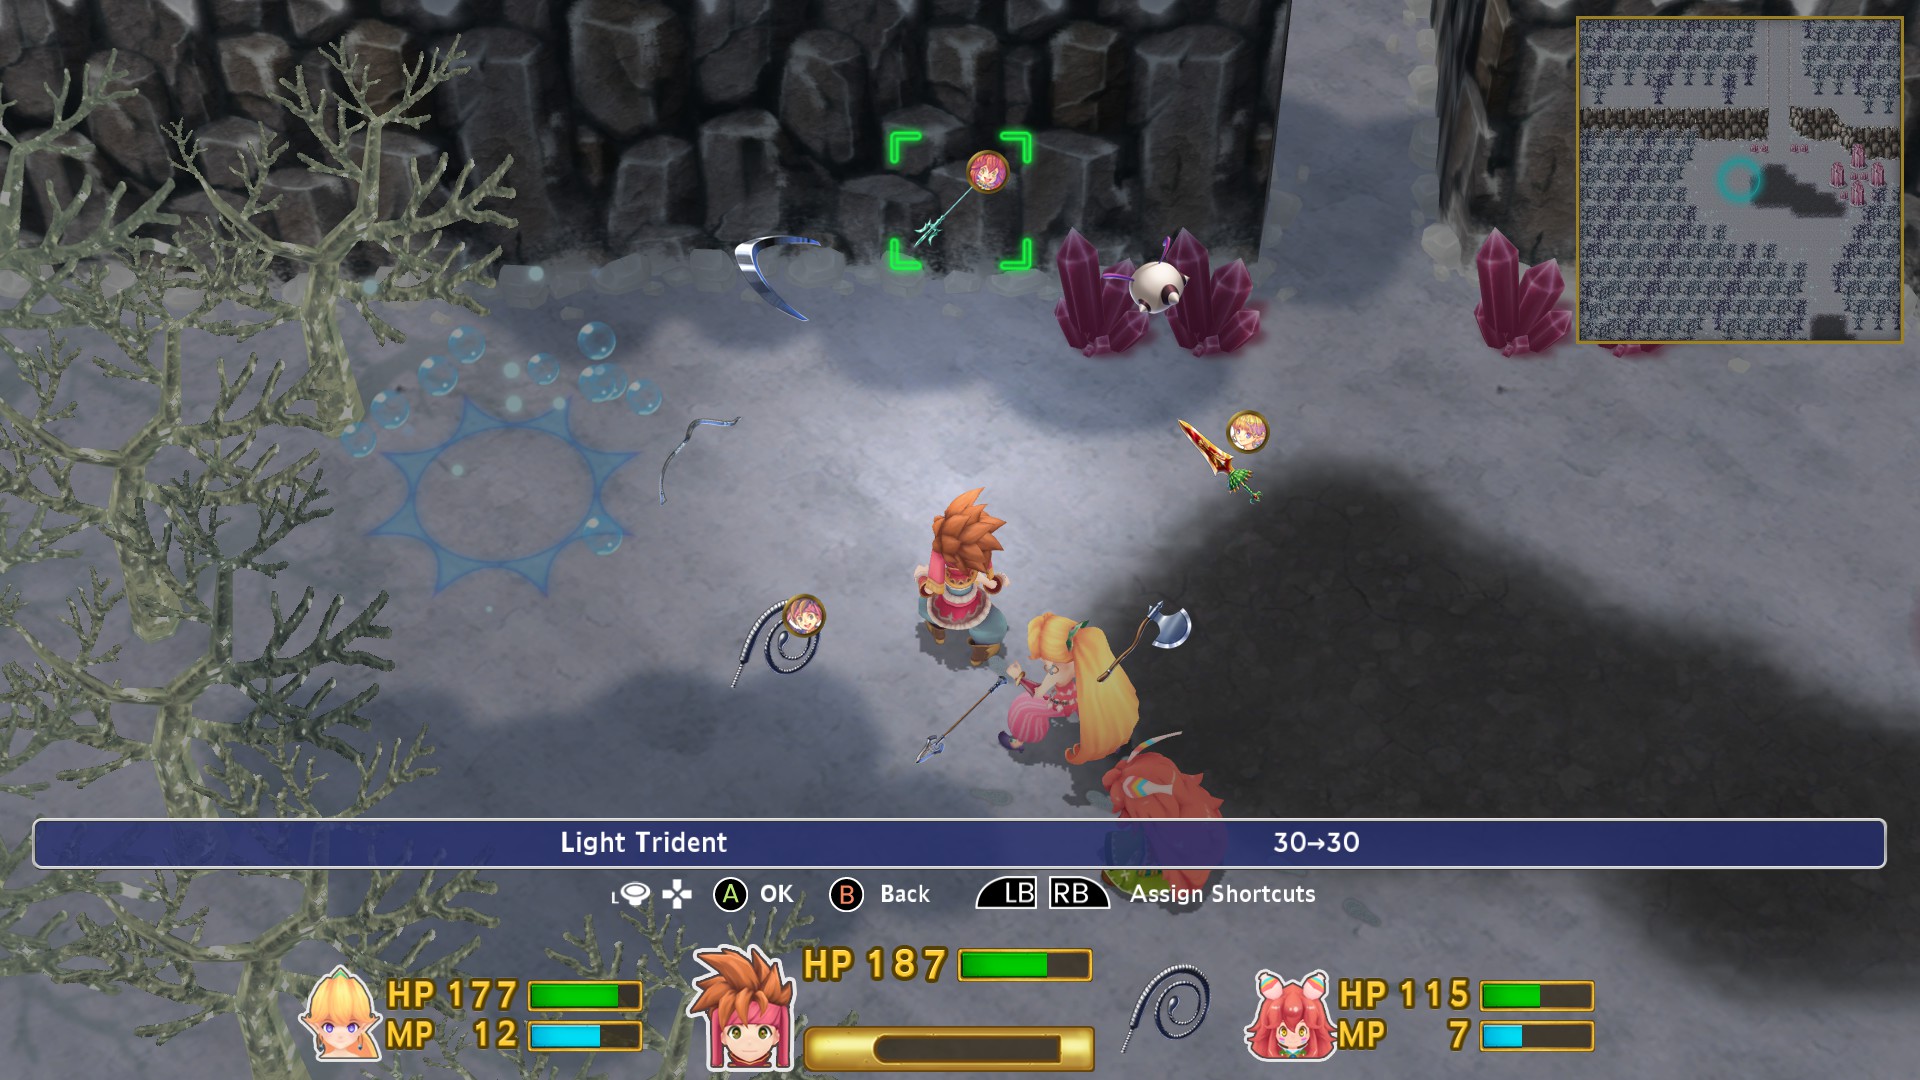
If the character is not moving at all then you might want to double check if the PC thinks there are two players, a likely scenario could be one with a controller and another with the keyboard if you got a controller plugged in.
pikachang 4 Mar, 2022 @ 9:42am 
Can I play this game game solo? I just the Sprite but he wont move independently nor can I figure out how to get the PC to take control of him
TylerG 27 Sep, 2018 @ 8:22pm 
Great job with the guide. Thanks!
Tevarrekke 13 Mar, 2018 @ 10:10am 
I completely forgot how the action grid was I actually had to load the game. They apparently took the idea they had from Seiken Densetsu 3 for the action grid... Also I would like to point out that I am glad someone also noticed how to differentiate the ring command other than me lol. I've had almost no issues playing this game and just love reading all the woe is me stuff.
Genius Gate  [author] 12 Mar, 2018 @ 7:49pm 
@Tevarrekke It's a good idea for sure, I'll include that as an idea in the next update....when I get around to it (really need to stop procrastinating). They definitely should've given us the classic Action Grid alongside the new options.
Tevarrekke 12 Mar, 2018 @ 7:32pm 
The most effective fighting method I've found so far is to have who you're not using charge to lvl 1 and I have the setting of target enemies not targeted by you. For some reason that is this games setting free for all and it is very effective when not in boss combat. When fighting a boss I switch back to target who I attack and it works nicely.
mandy wiggy cats 22 Feb, 2018 @ 6:07am 
thanks,one of the glitches is they skate instead of running lol
Genius Gate  [author] 18 Feb, 2018 @ 1:05pm 
@aeris Try switching Popoi and Primm's weapon types to the opposite of what they are (so change to a melee weapon if its ranged, vice versa), there are targeting glitches present in the game that might make Popoi and Primm hesitant to attack, or attack the wrong target. Alternatively, though it may not always work, you could use the System Ring of either party member and select Targeting to force them to target something, but it does not always work. You can undo the weapon changes after a few fights and see if it's still happening, its likely a glitch within the AI for each weapon type, but this is speculation based on my experience on the few times it has happened.

As for other glitches, I can't help you much there because I haven't had any issues with the exception of a single crash and Popoi attacking the wrong target during a boss fight. Try searching the discussion boards or contact SE directly for support.
mandy wiggy cats 18 Feb, 2018 @ 5:59am 
primm and popoi wont attack,they did when i 1st got them now theyve stopped,also the games crashed twice and i keep getting glitches