Headlander

Headlander

40 ratings
MAPS & COLLECTIBLES
By ramonpontes
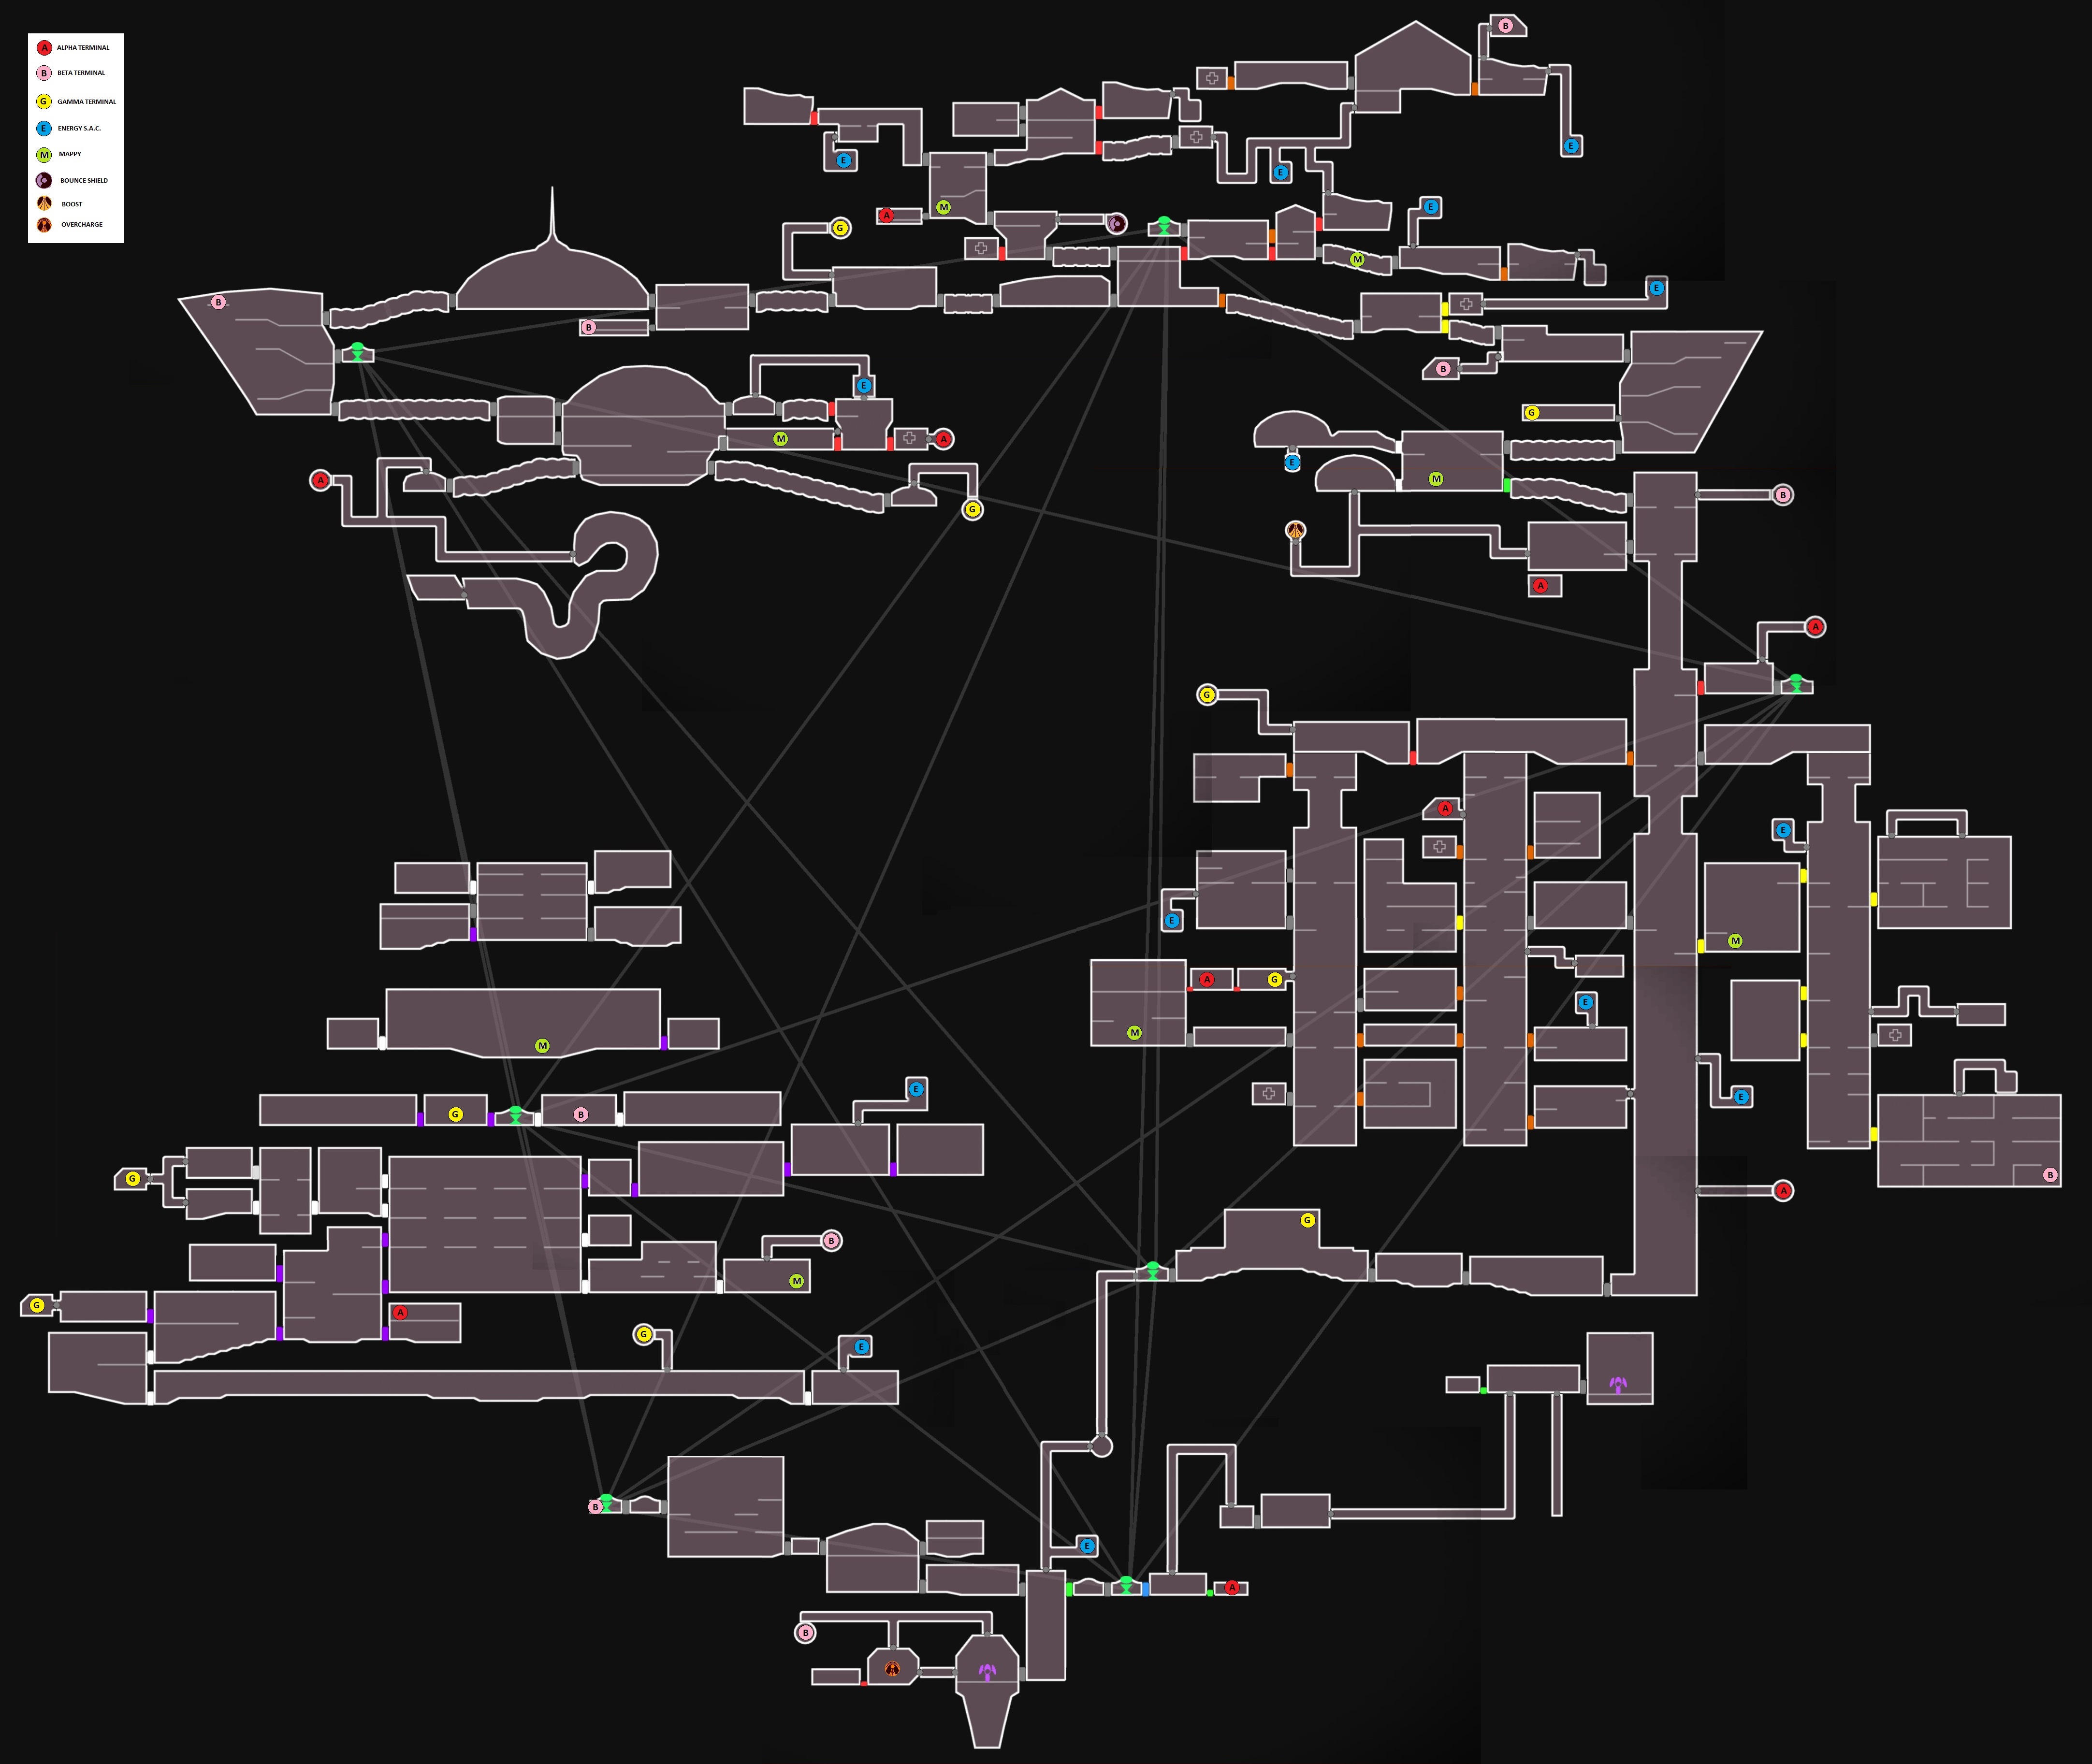
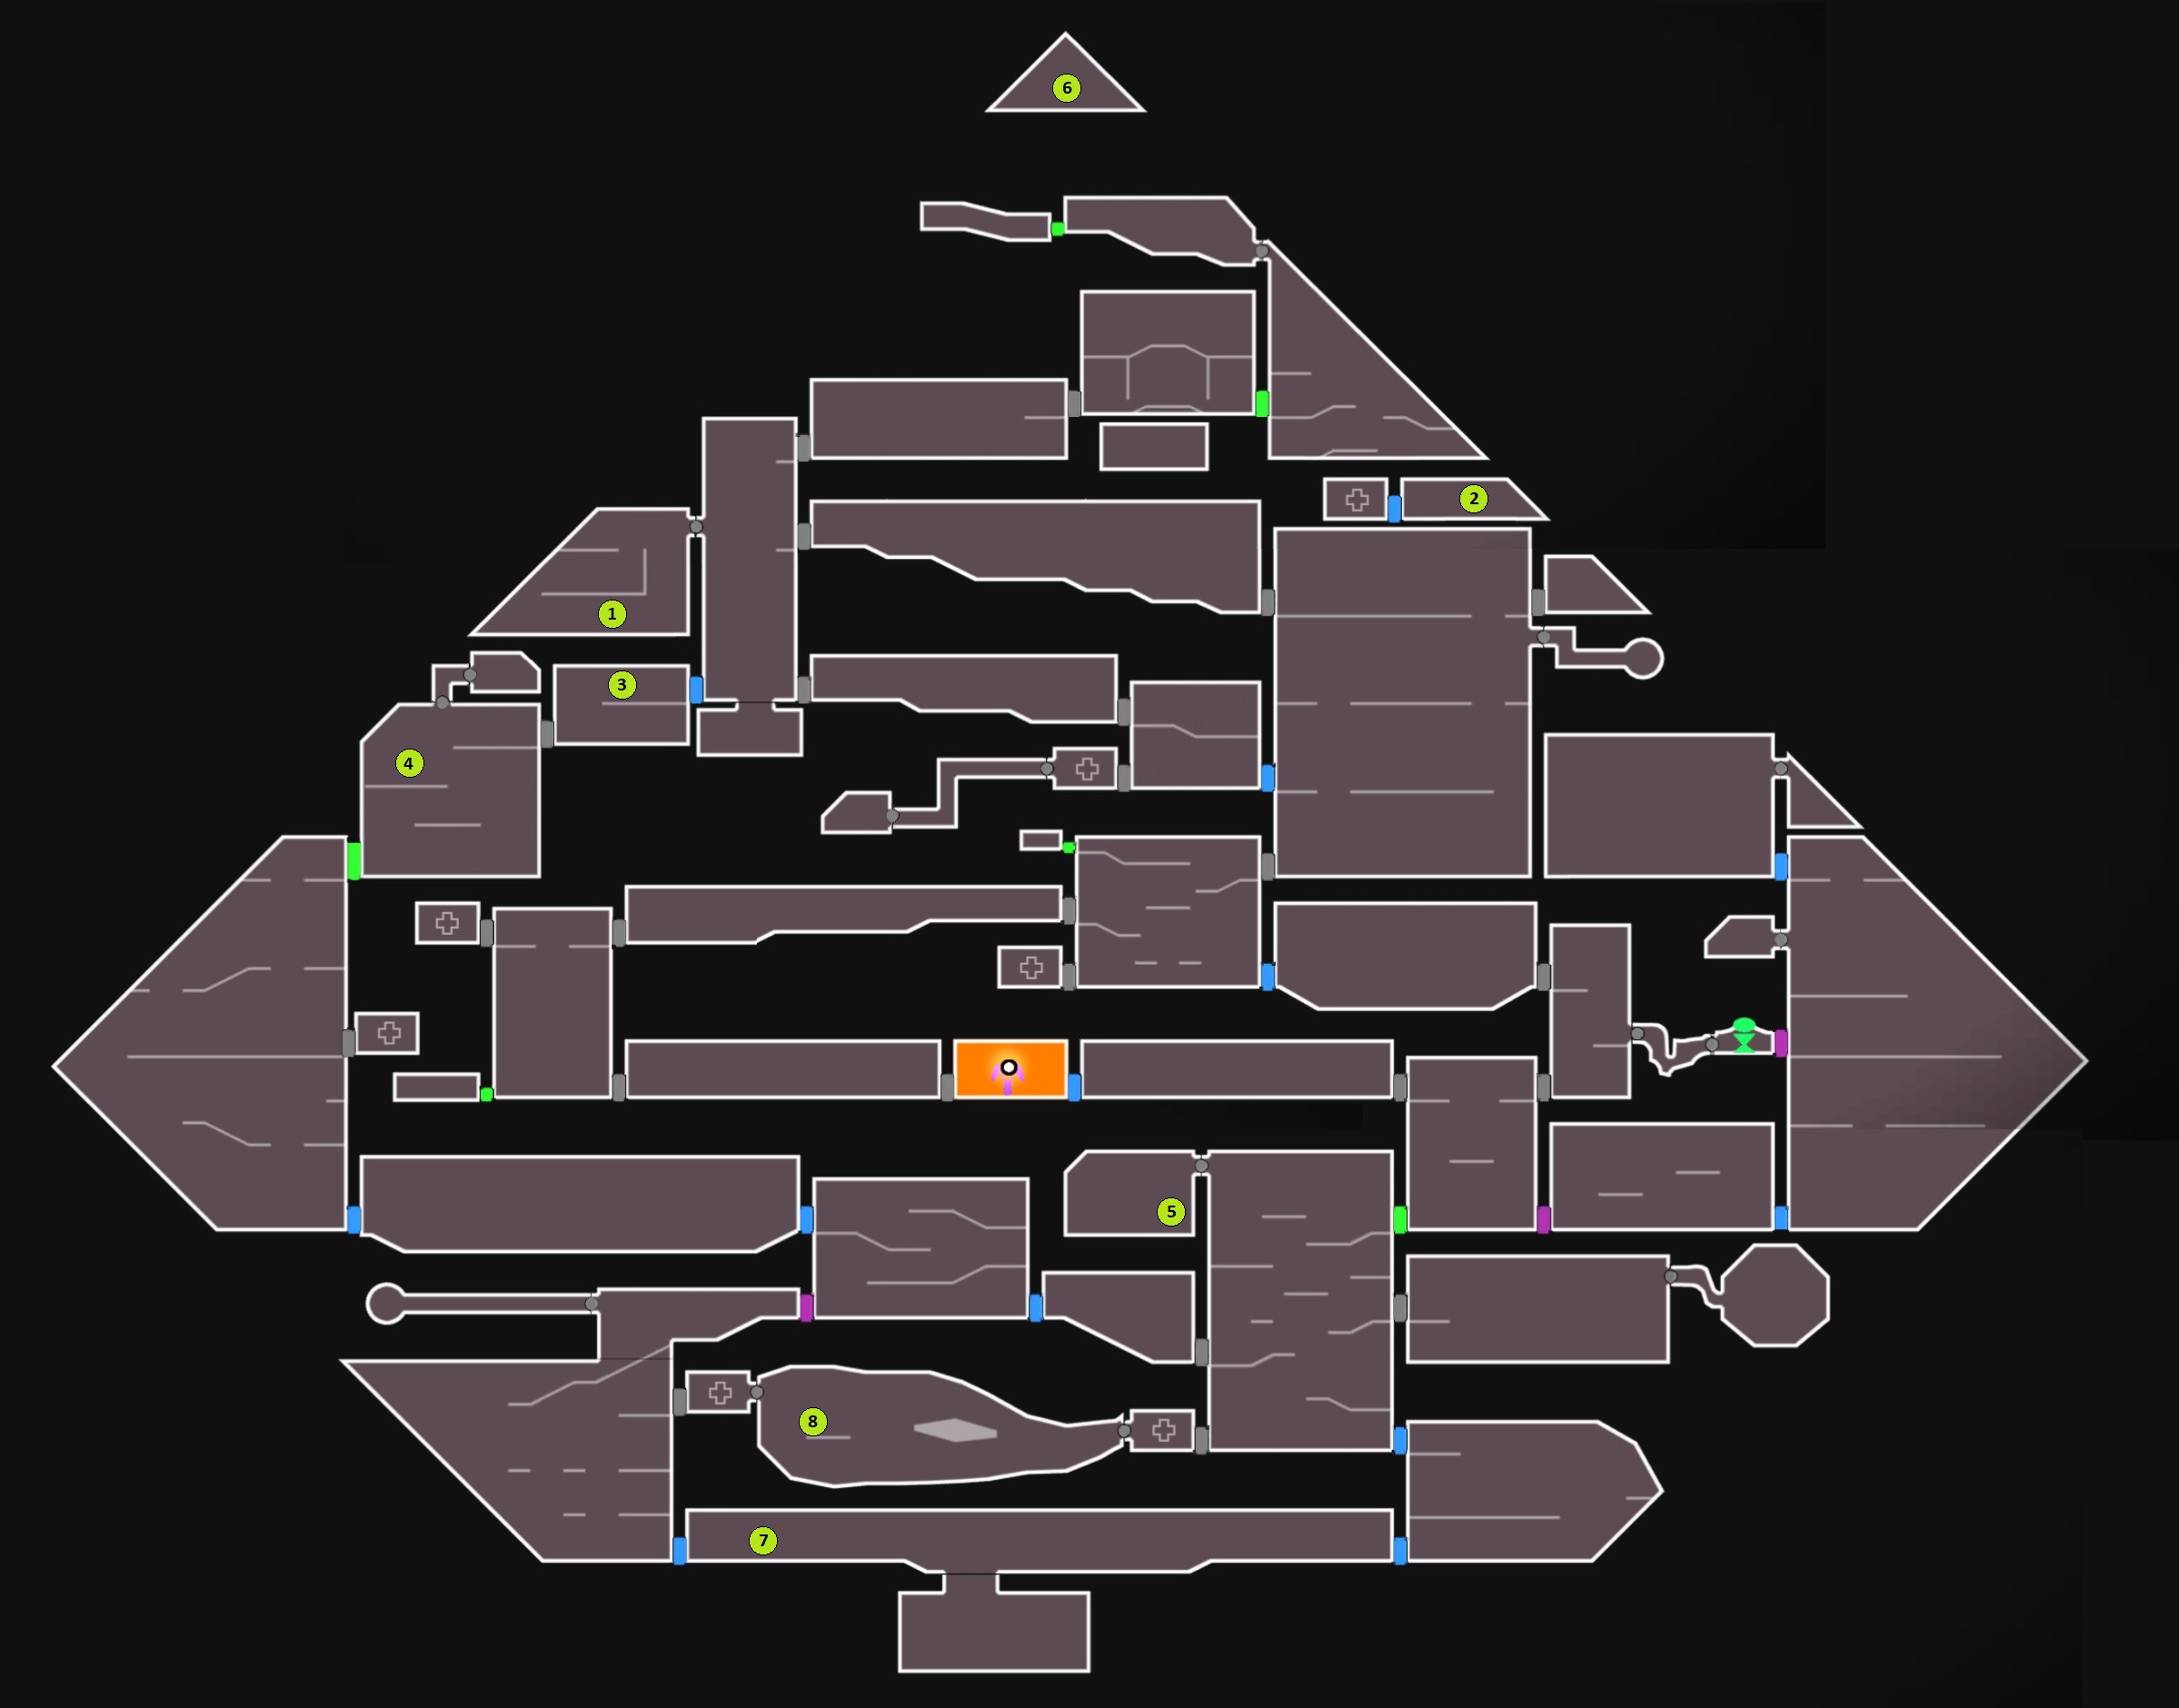
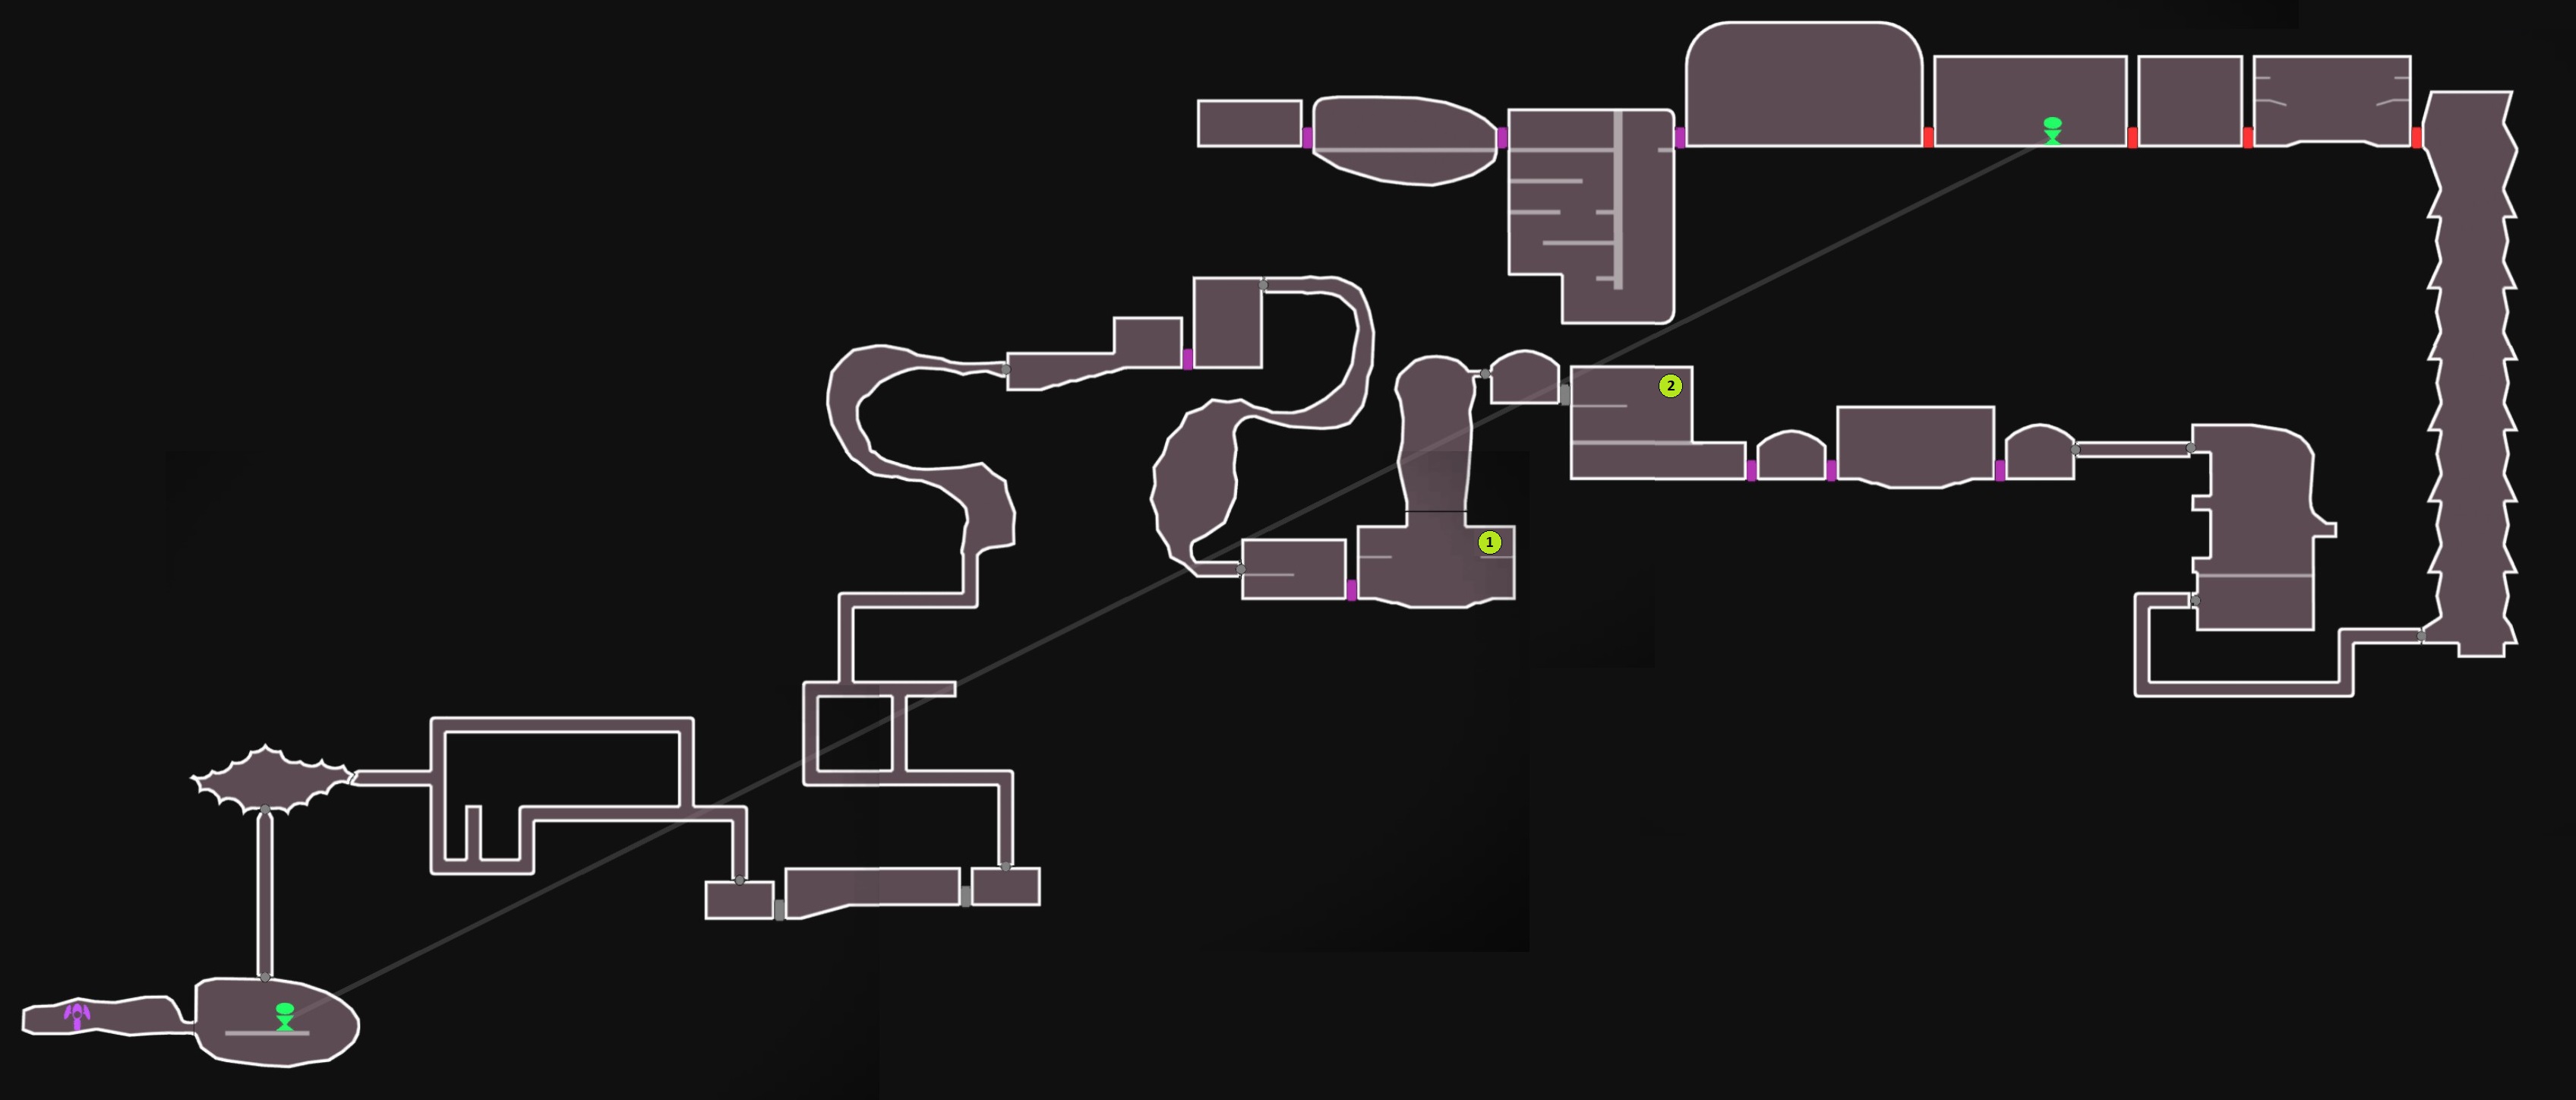
This guide will provide a complete map of the game, with all collectible marked on it, and some other useful information.
2
   
Award
Favorite
Favorited
Unfavorite
INTRODUCTION
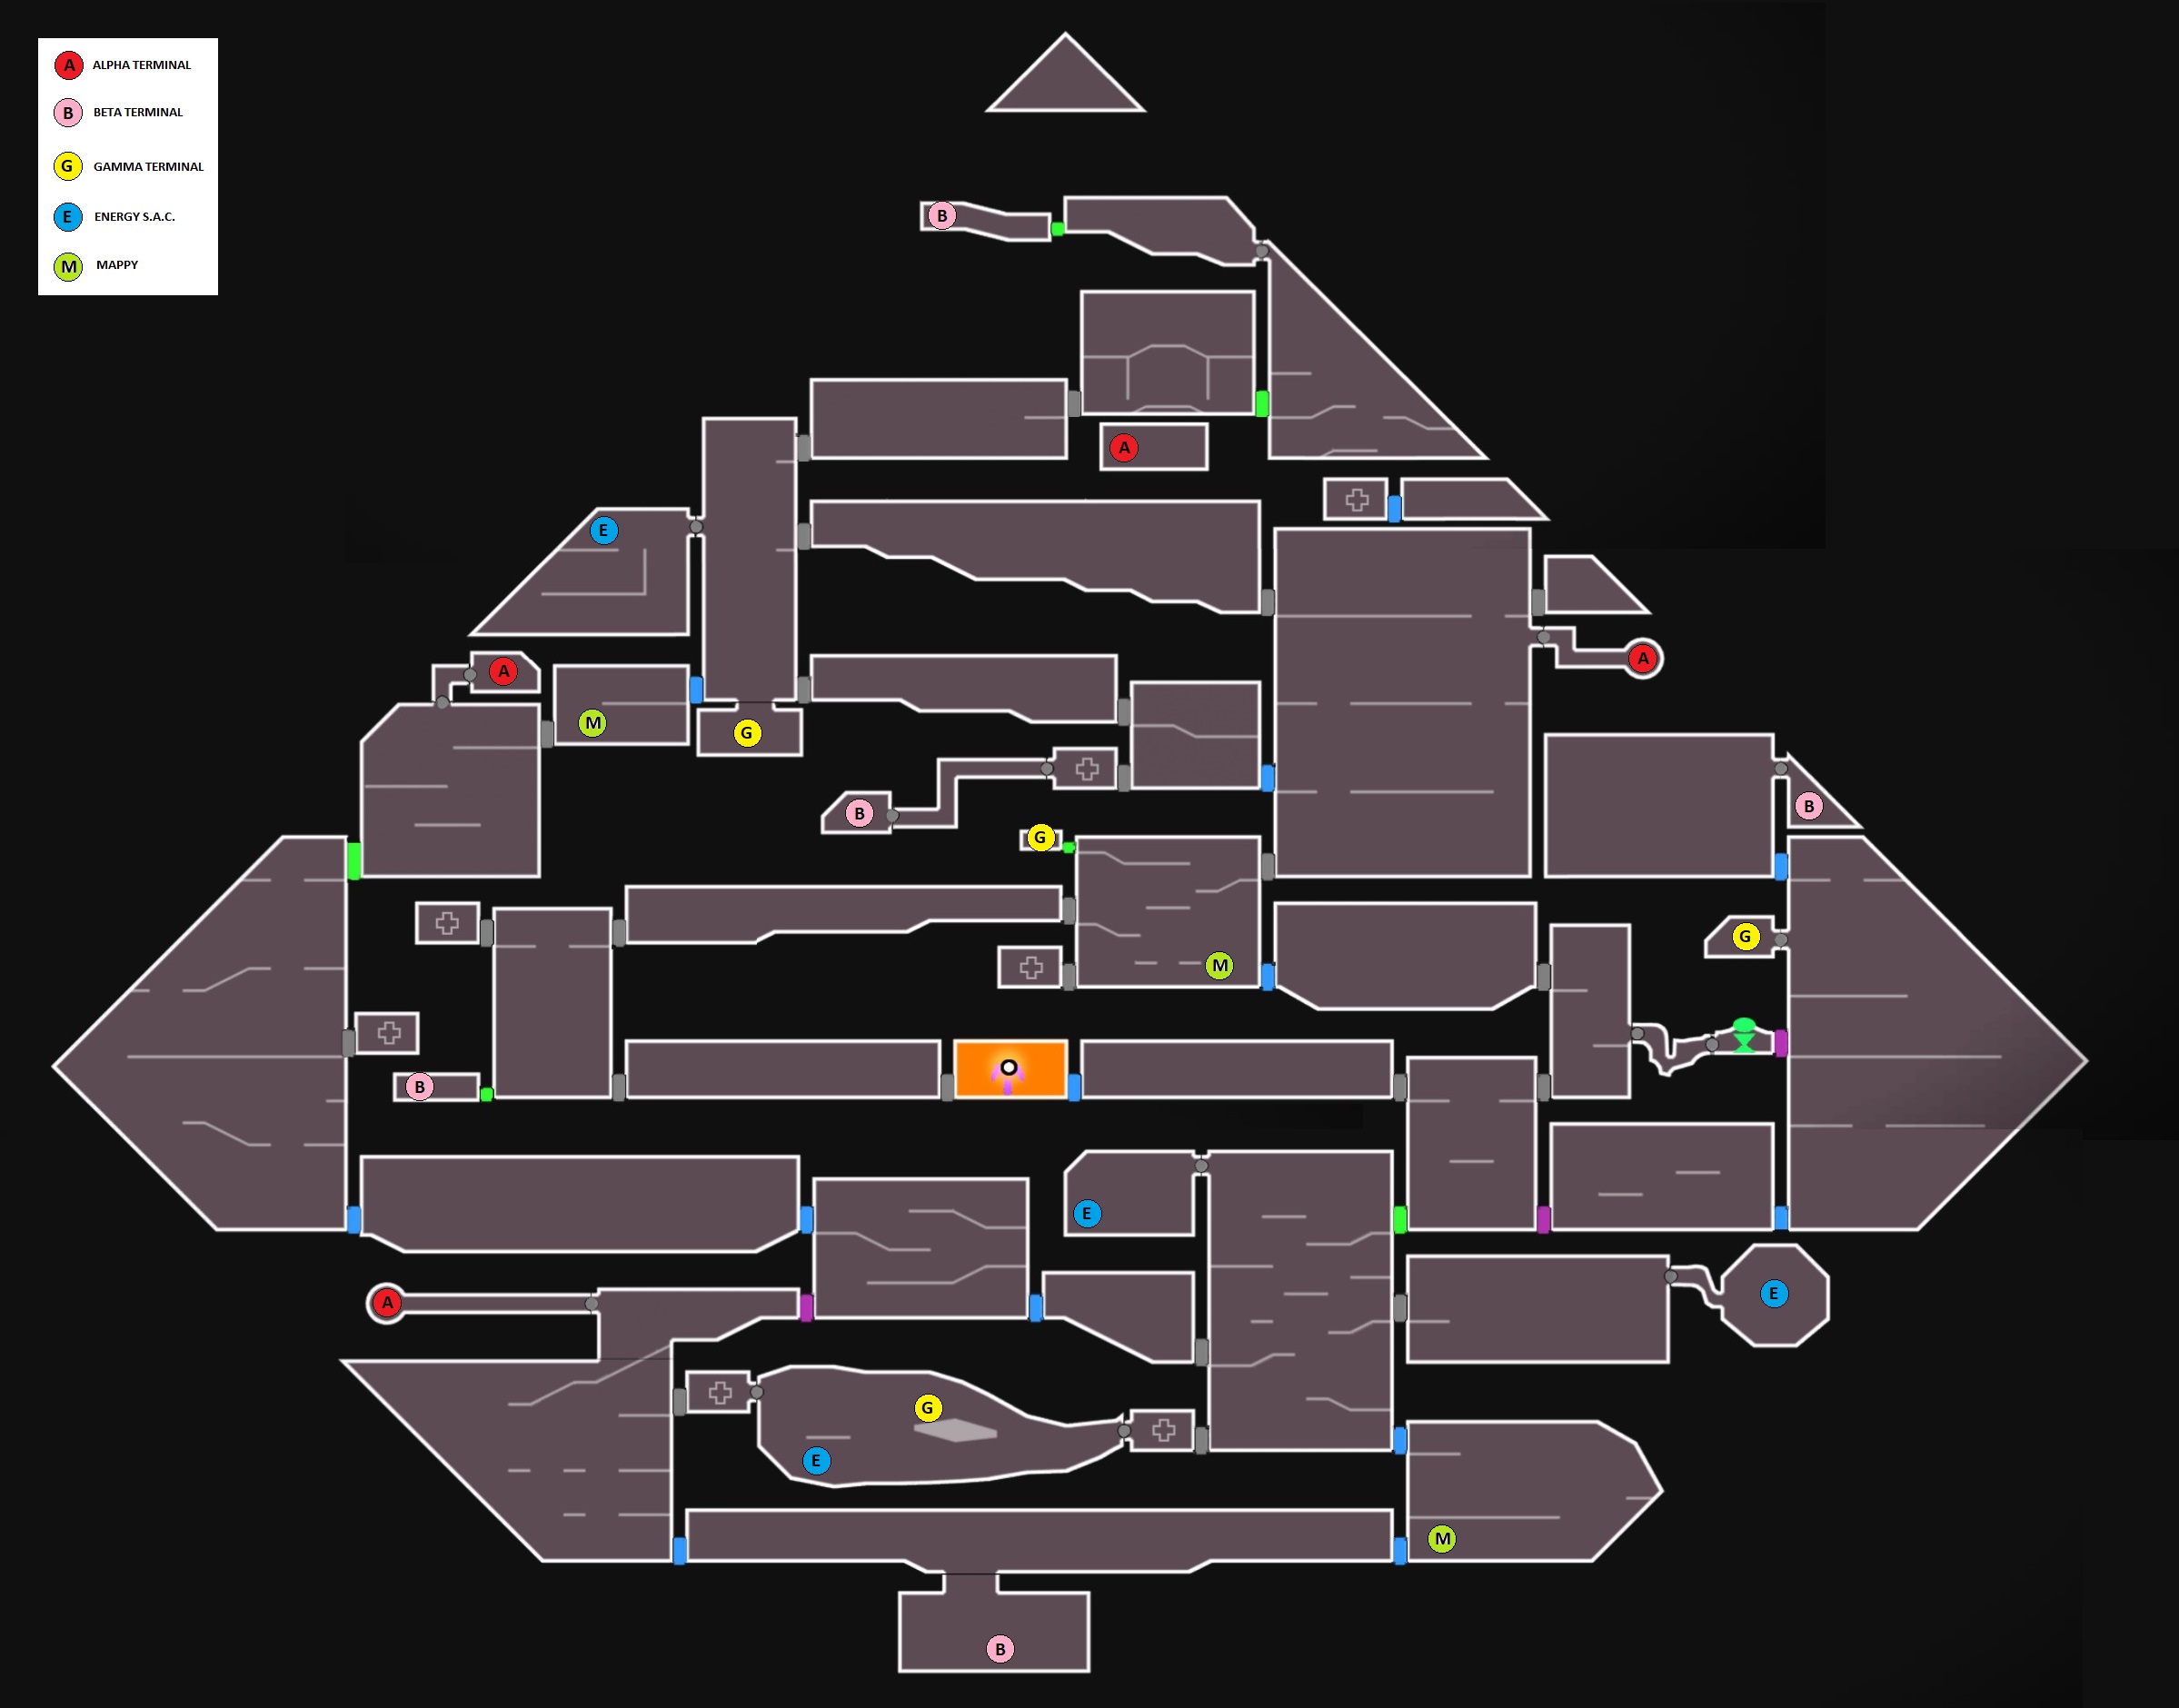
I’m providing maps for the three Main Areas of the game:
  • Main Ship
  • Luna Base
  • Methuselah’s Ship

I’m not including the very first area, the Starcophagus, since it has no minimap, and also it has no missable collectibles.

This is not a walkthrough. You still need to explore, and proceed with the story to reach certain areas. I’m just providing a map to help finding any missed room or collectibles.

Here is a list of the collectibles on the game:

Collectible
Description
Total
Alpha Terminals
Increase Helmet Health
15
Beta Terminals
Increase Helmet Power
15
Gamma Terminals
Increase Helmet Thrust
15
Enegy S.A.C.
Provide Upgrade Points
18

I’m including the location of the Mappys, where you can download map information, and find out the rooms you have not visited yet.

Finally, I'm also including the Trans-Fiber Node locations. They unlock the following upgrades for your helmet, giving you the ability to reach certain areas.

Vacuum Drive:
This is the first and most basic upgrade you need. You can suck things with it, including the locks on walls, heads and other things. It is not included on this guide, since it is located on the Starcophagus, but it is very straightforward to obtain this one.

Bounce Shield:
Reflects single laser barriers, allowing you to pass through. It is located on the map, and you will need it to access some upgrades protected by lasers.

Mirrored Shield:
It is not obtained in a Trans-Fiber Node. You can spend upgrade points to unlock this ability as soon as you unlock the skill above. It create shields on both sides of the helmet, allowing you to pass through double laser barriers.

Boost:
Temporarily increase your speed, allowing you to pass through some traps. It consumes power, and when depleted, the boost will stop.

Overcharge:
While boosting, you will cause damage on anything in your way. This allow you to destroy some colored walls, accessing new areas.
MAPS
Those maps are quite big. I recommend to open them in another window for better resolution.

Main Ship

Checklist:
  • 10 Power Upgrades
  • 10 Thrust Upgrades
  • 10 Health Upgrades
  • 14 Energy S.A.C.s


Luna Base

Checklist:
  • 5 Power Upgrades
  • 4 Thrust Upgrades
  • 4 Health Upgrades
  • 4 Energy S.A.C.s


Luna Base (exterior)

Checklist:
  • 1 Thrust Upgrade
  • 1 Health Upgrade

The Luna Base Exterior is a long straight path. You reach there through the Mid Range Zap in the Luna Base. There is no minimap here, so I will provide some directions and pictures.

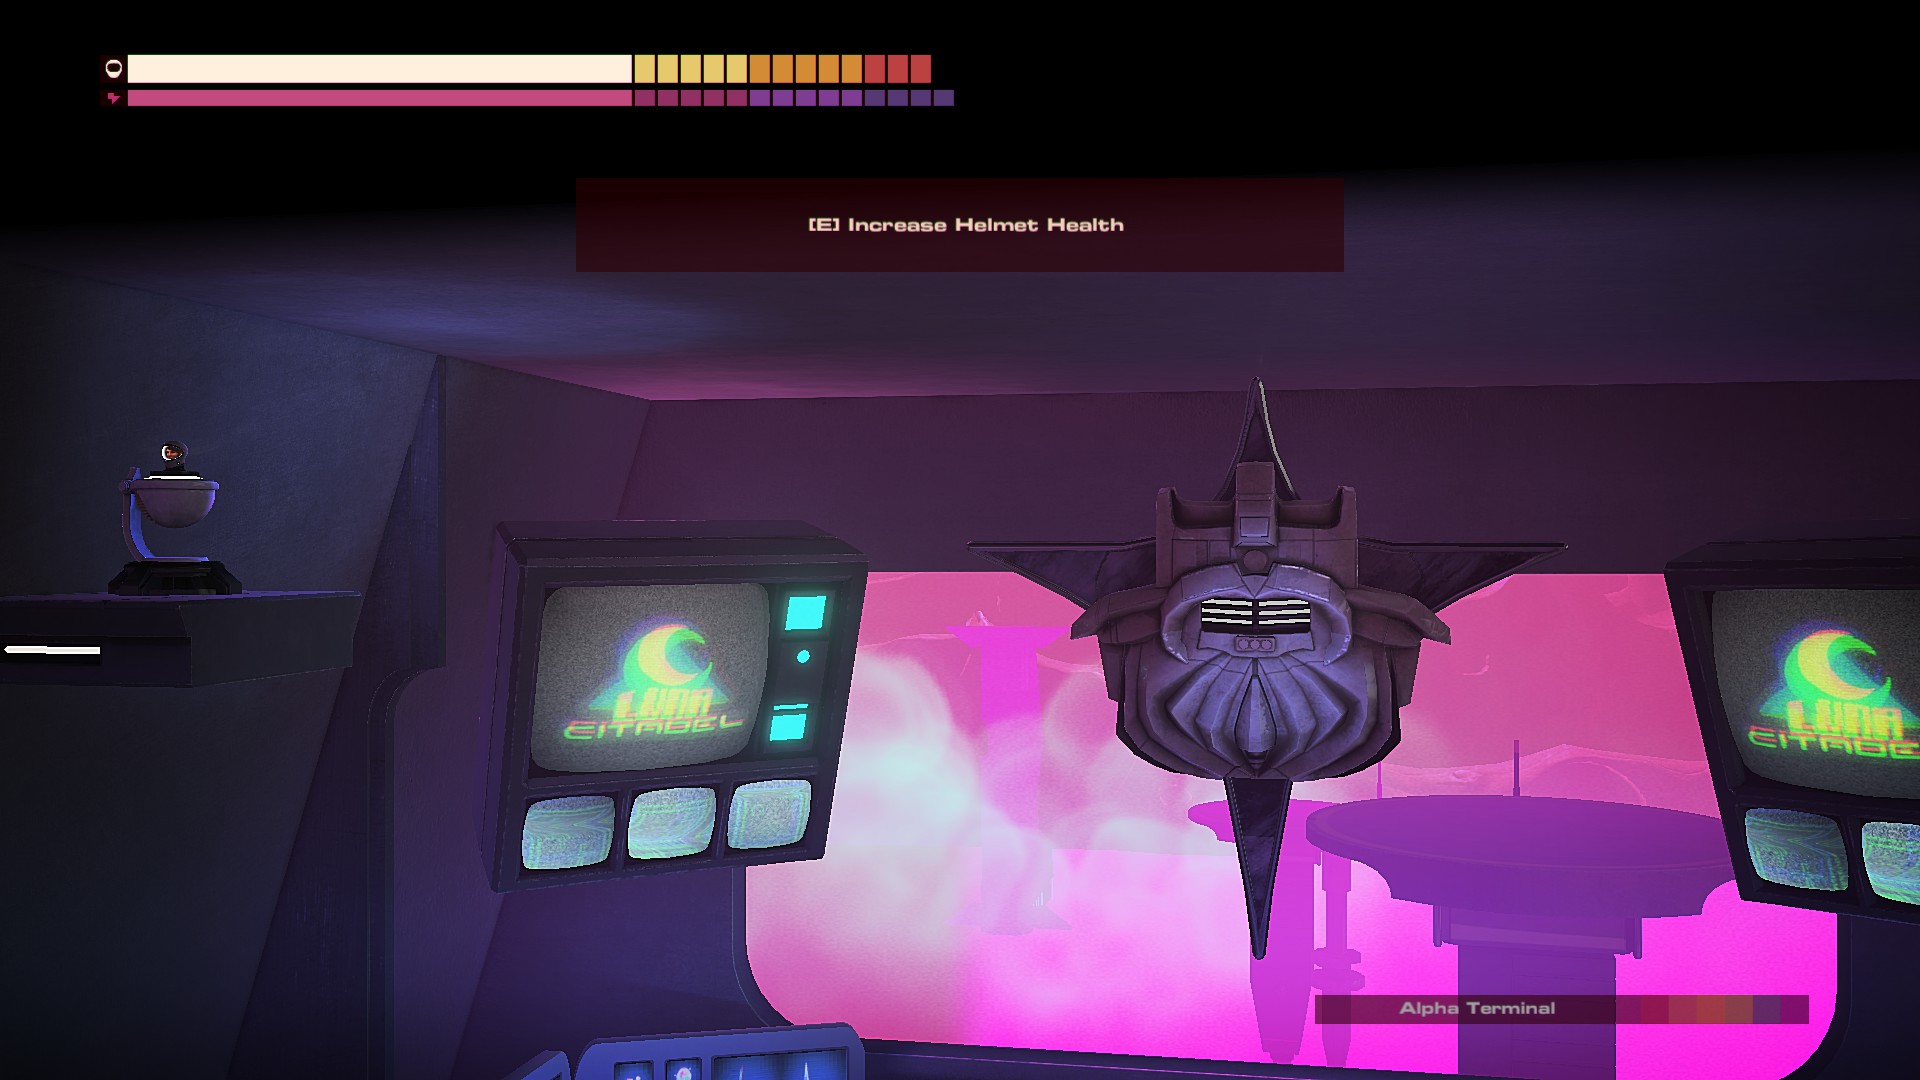
As soon as you get out of the Zap teleporter, you will cross a platform, and reach another structure. Inside you should fly up then left at the top. You will find the Alpha terminal there.

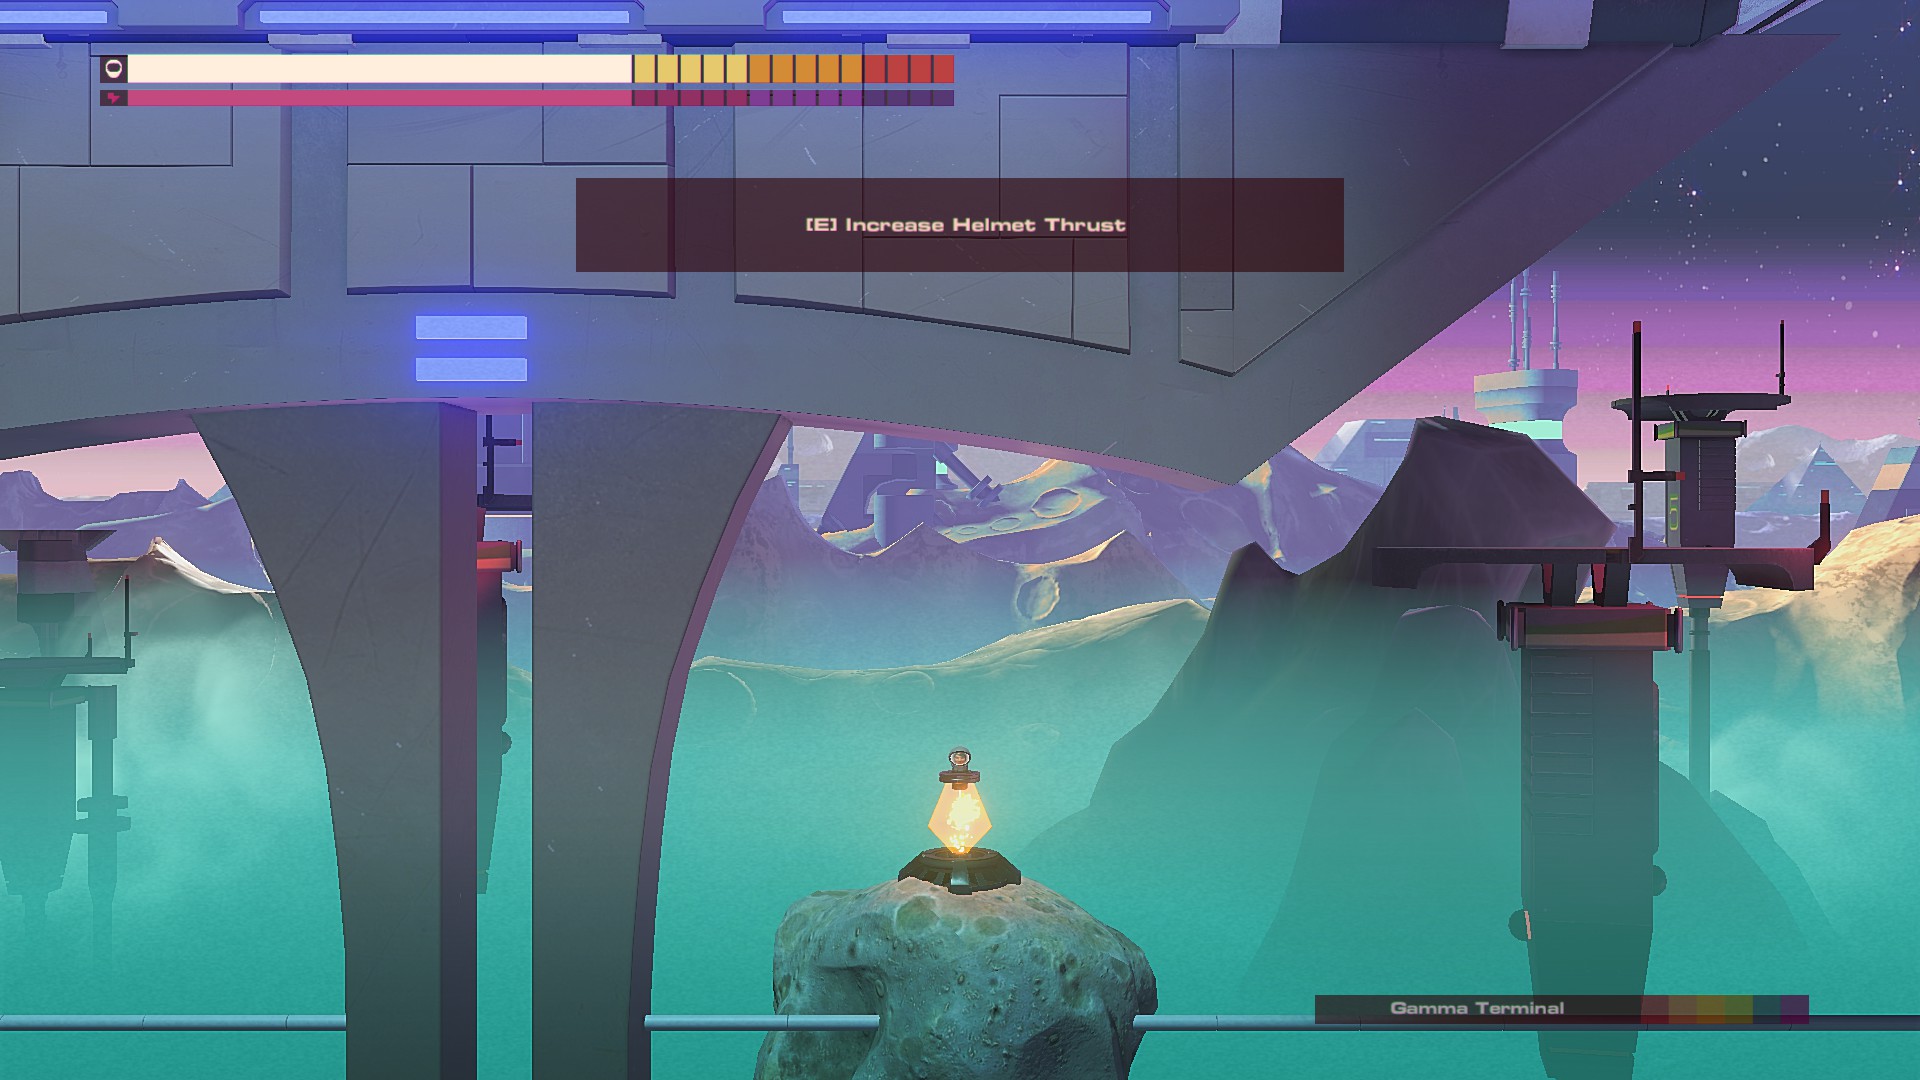
After leaving this structure, you will find a bridge with lasers blocking your path below. Ignore the first set of lasers and cross over the bridge. Below the other end is another pair of lasers. Use your Mirrored Shield to pass through and go to the left, under the bridge. You will find the Gamma Terminal there.

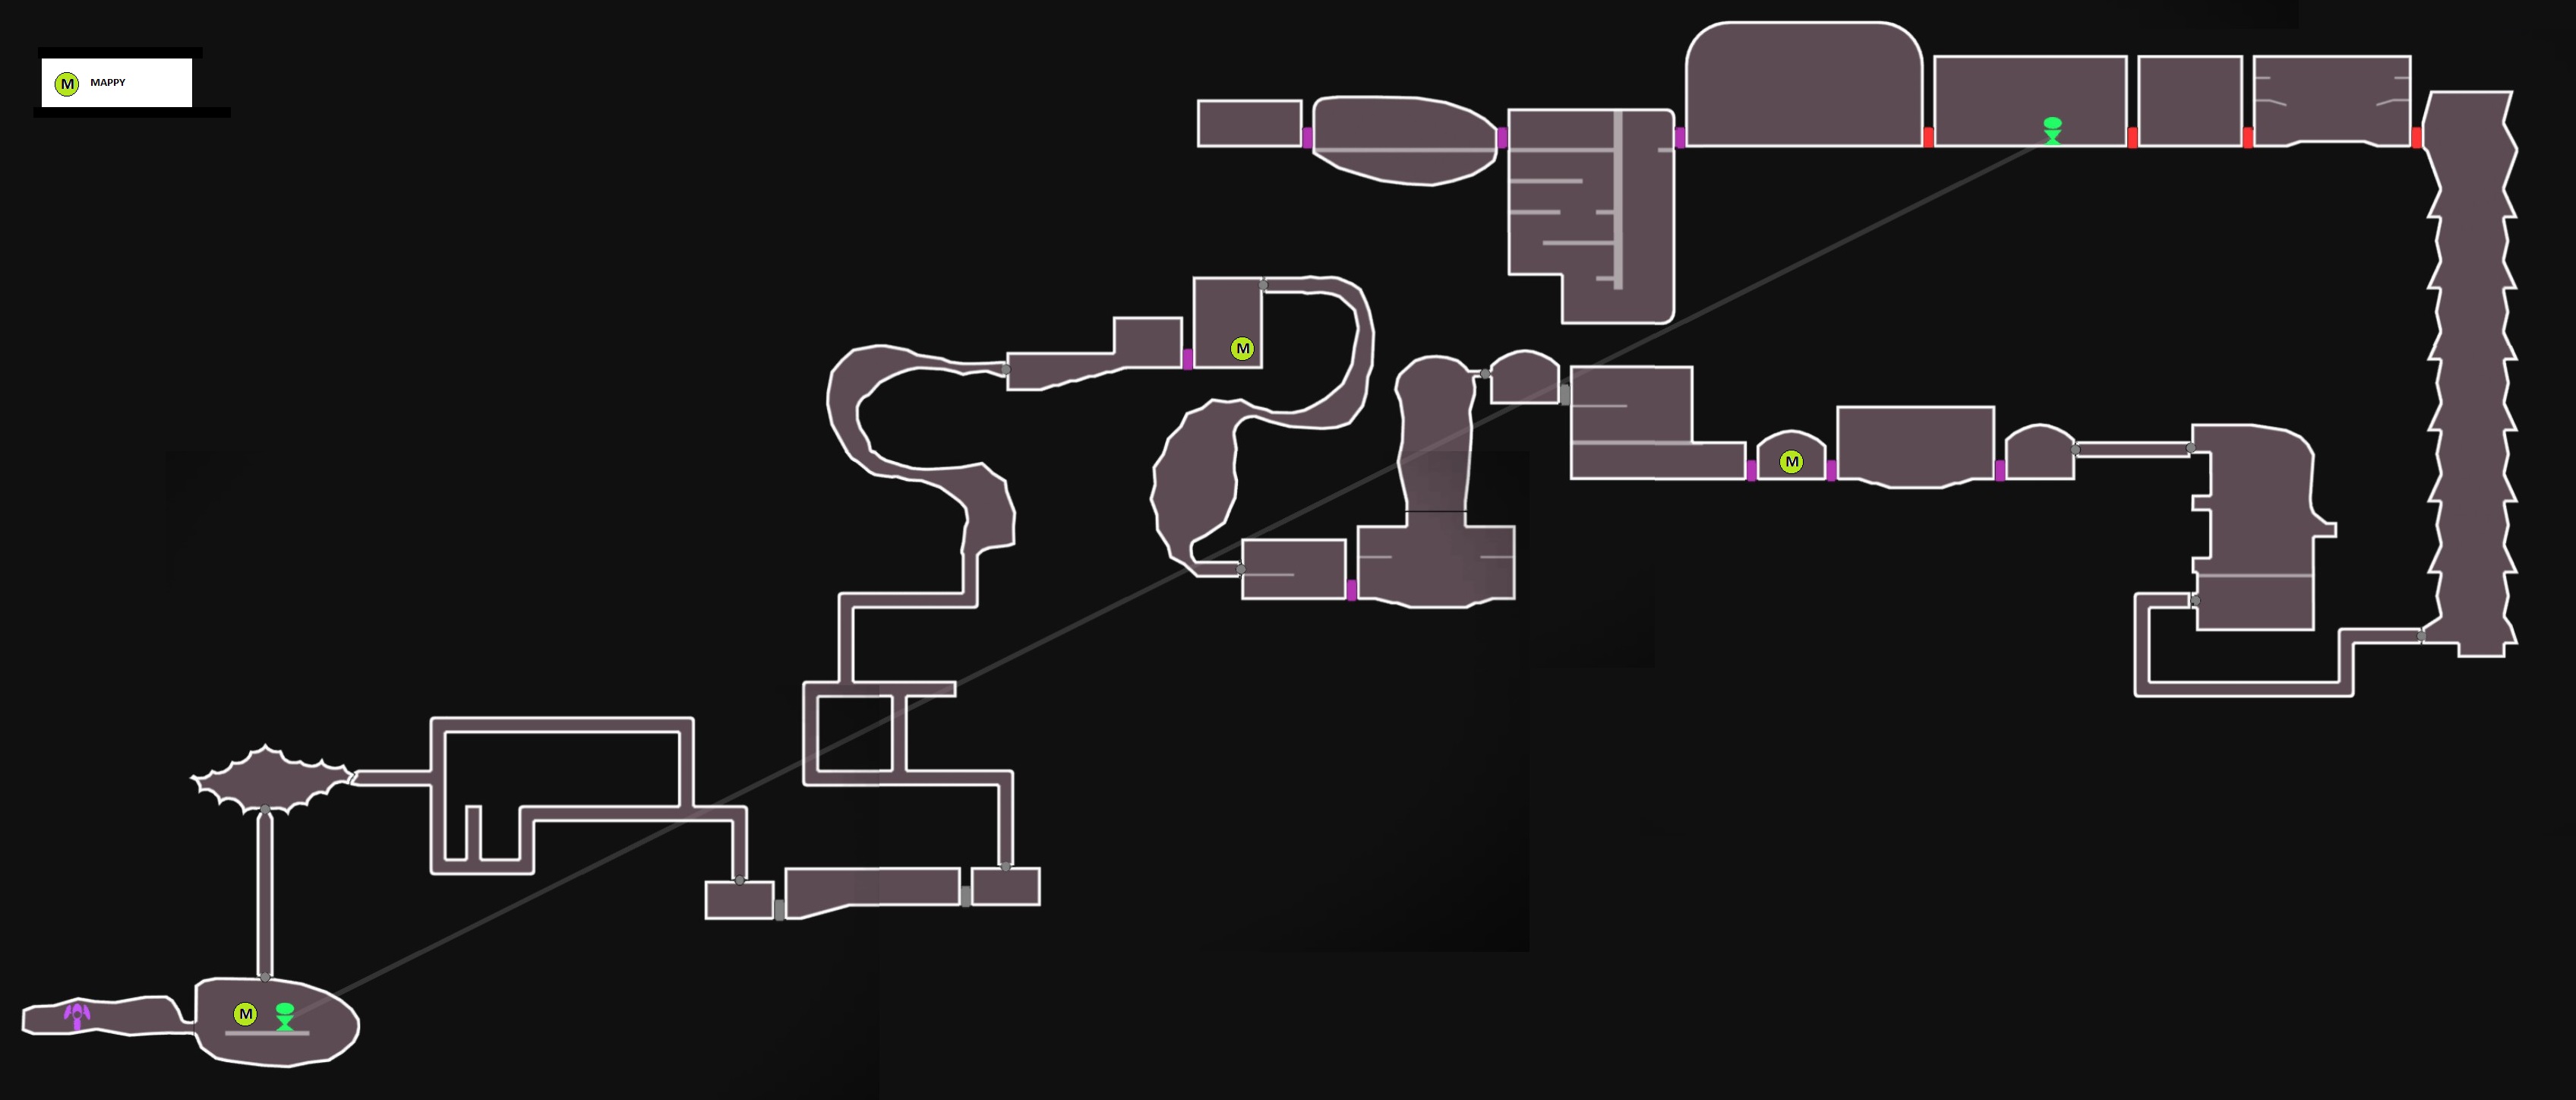
Methuselah's Ship

There are no Collectibles here.

LASER PUZZLES
This section is kind of a bonus. I wasn't going include it on this guide, but since I was taking pictures of everything, I decided to put them here.

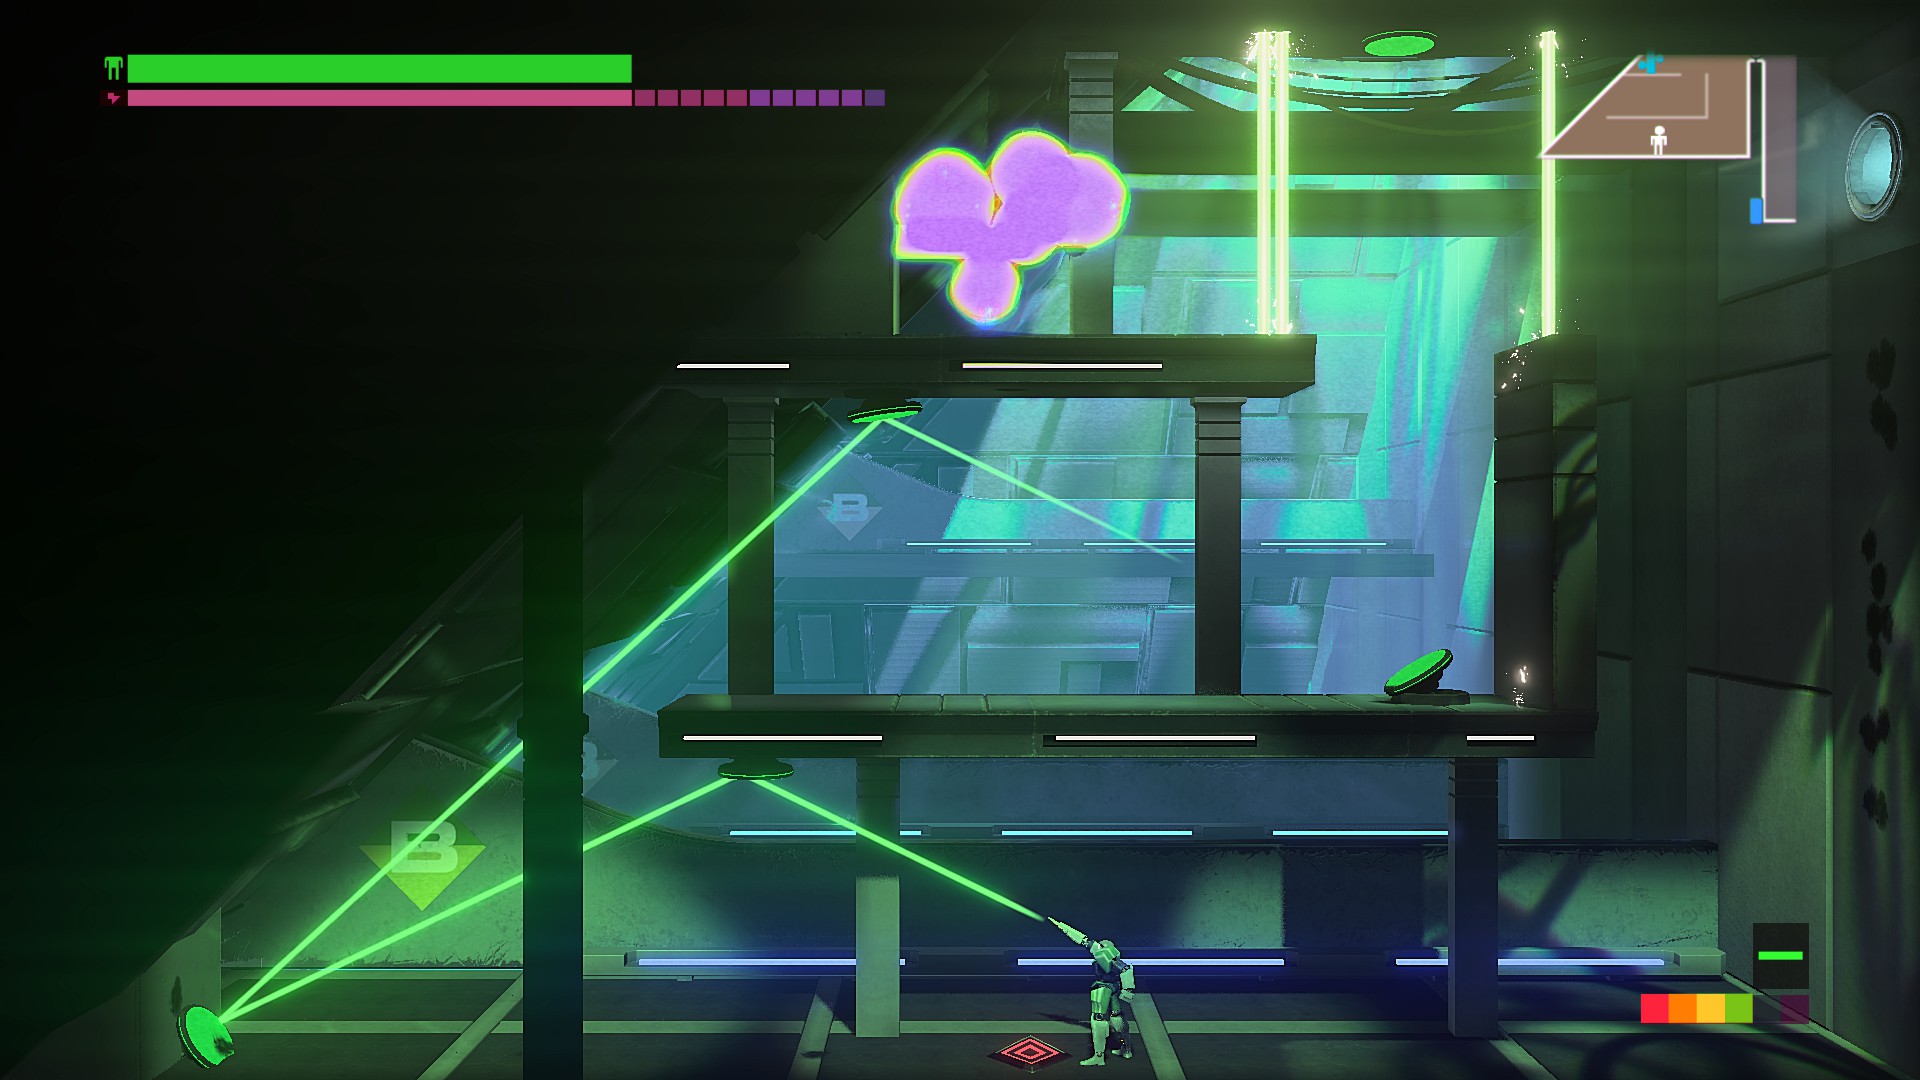
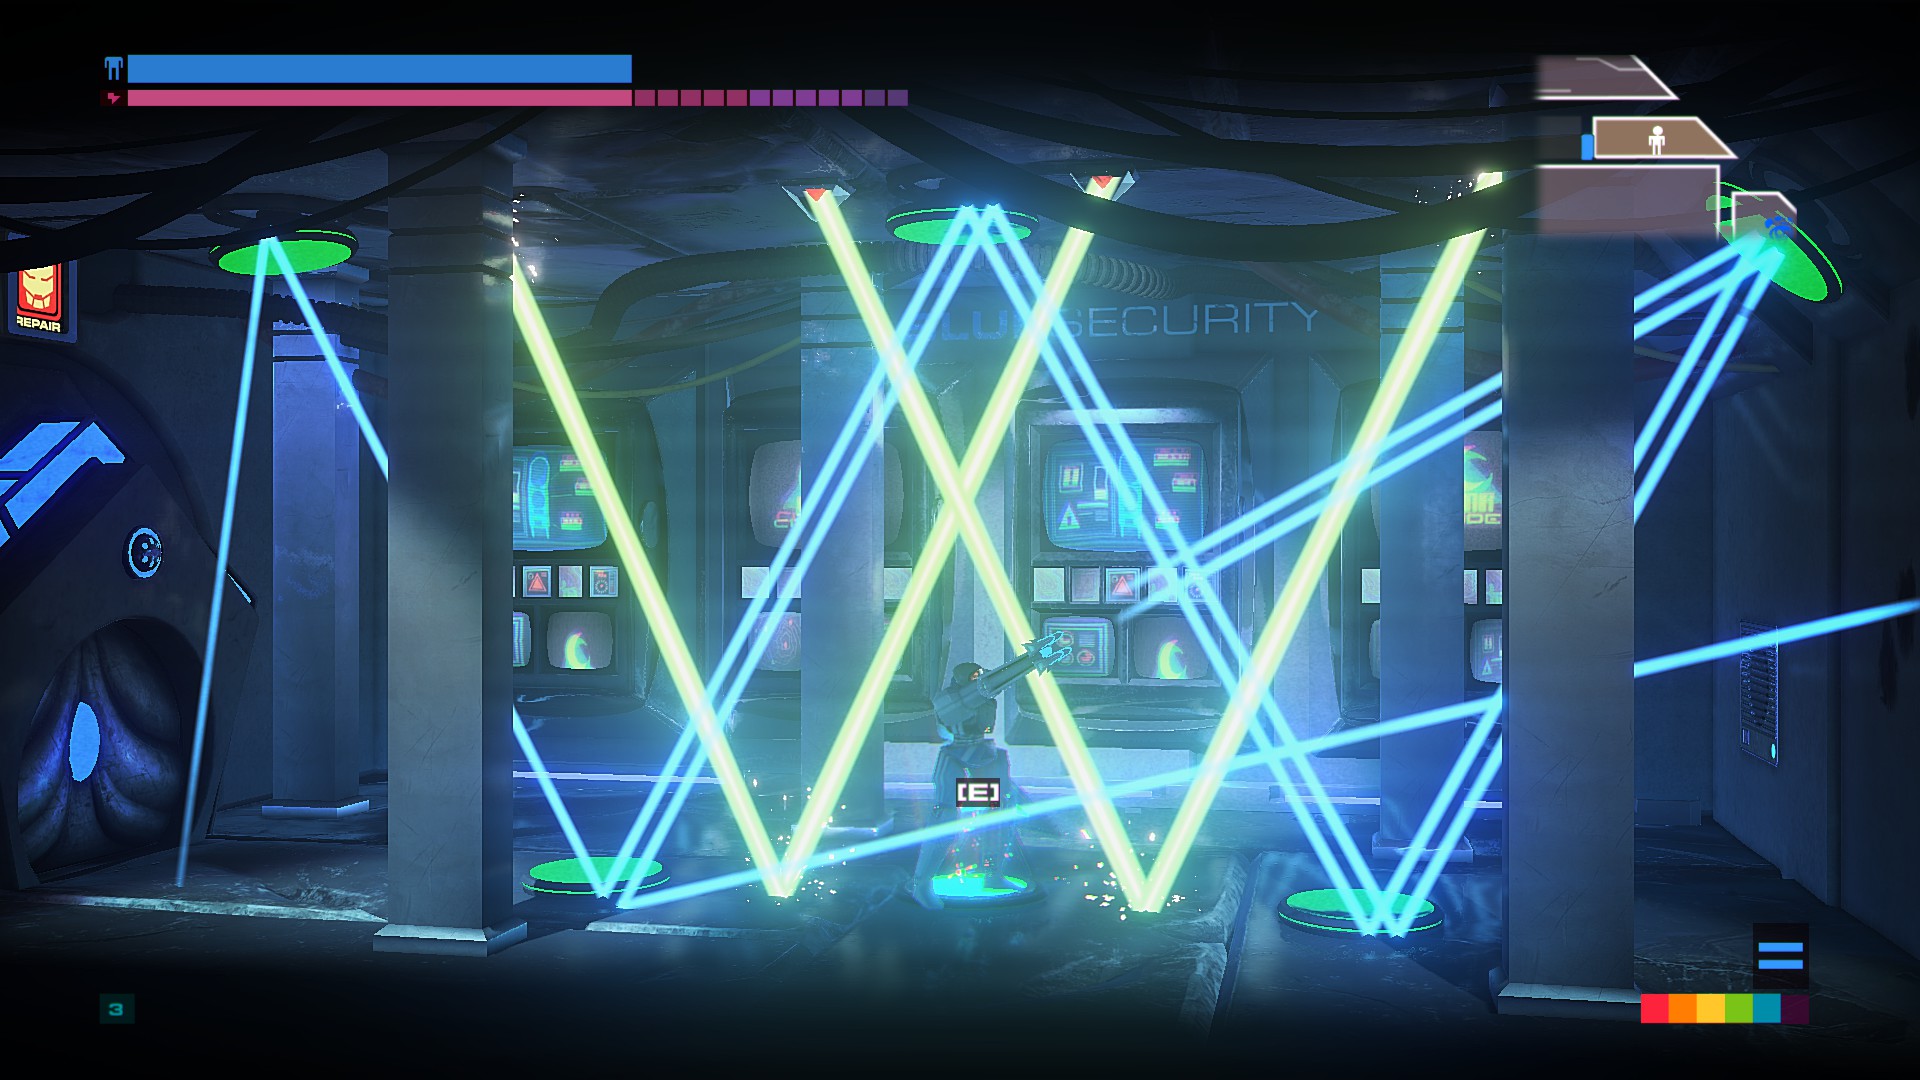
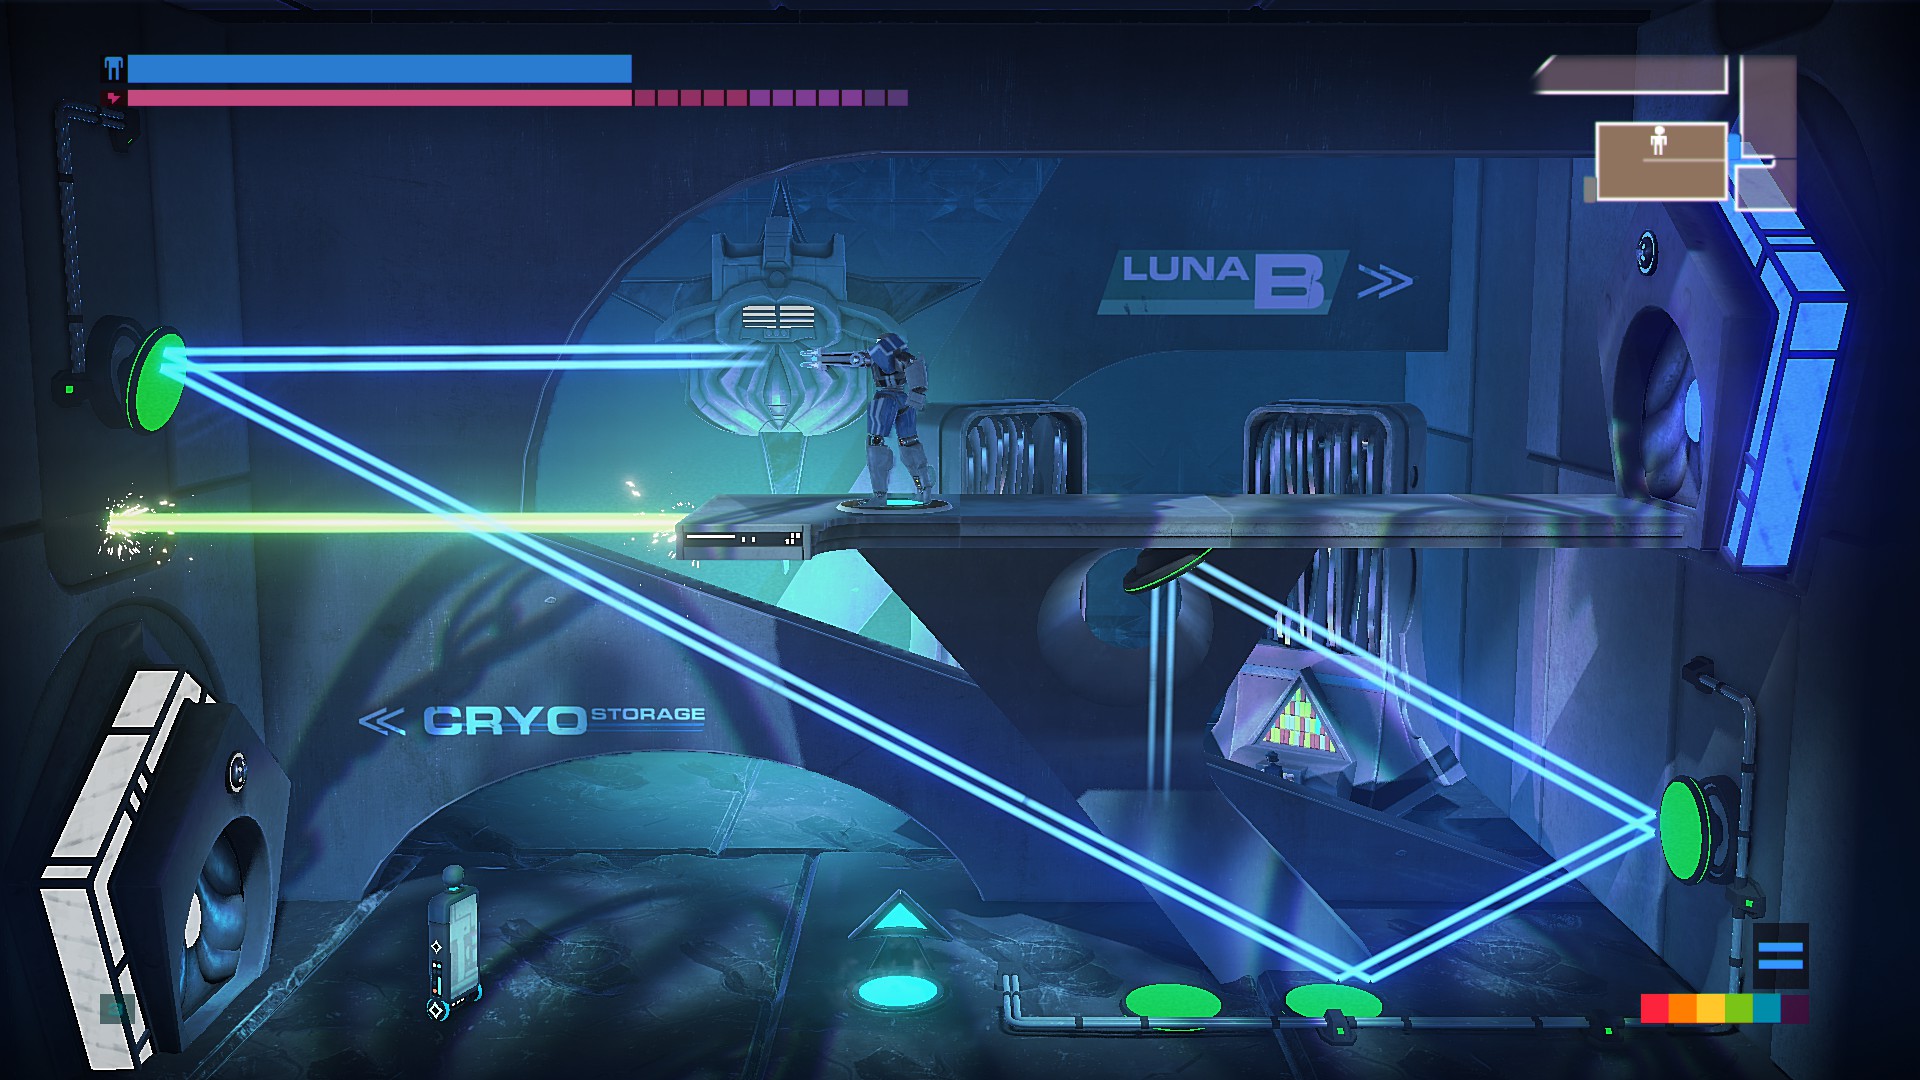
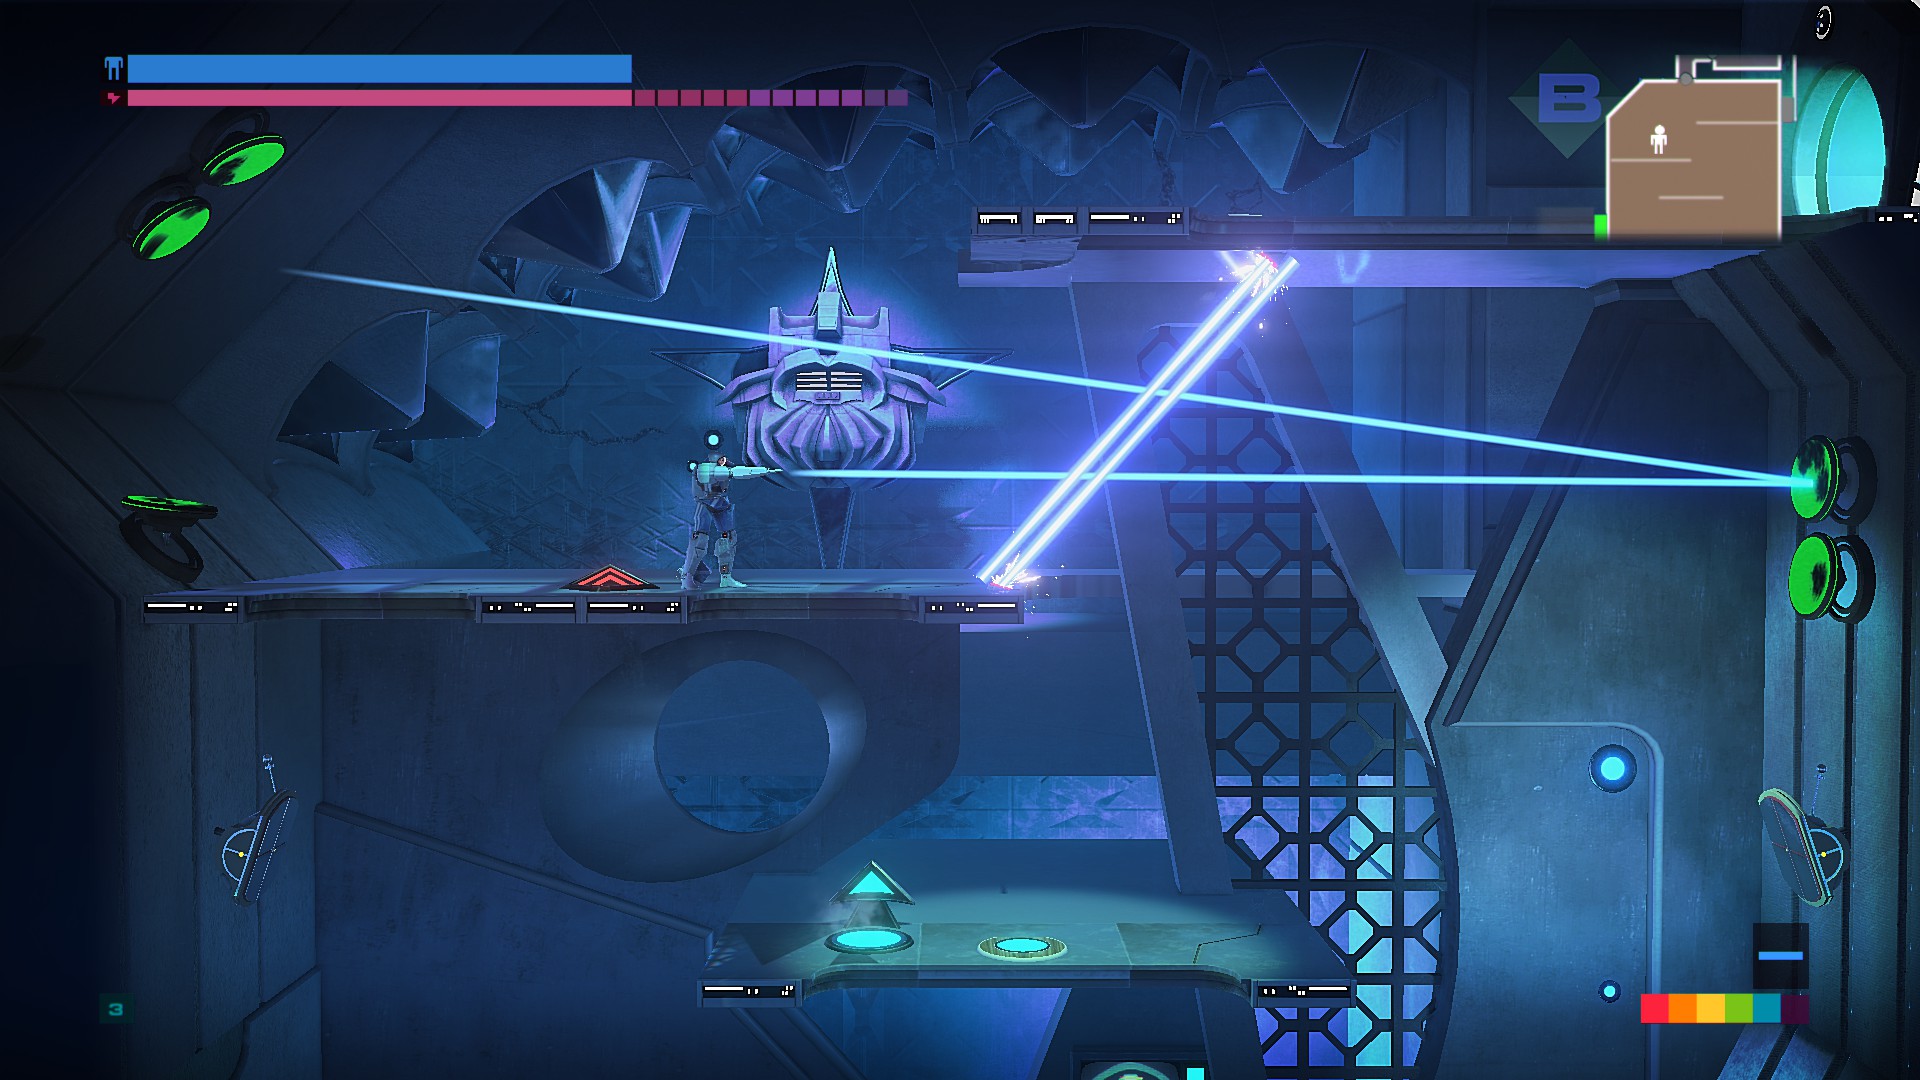
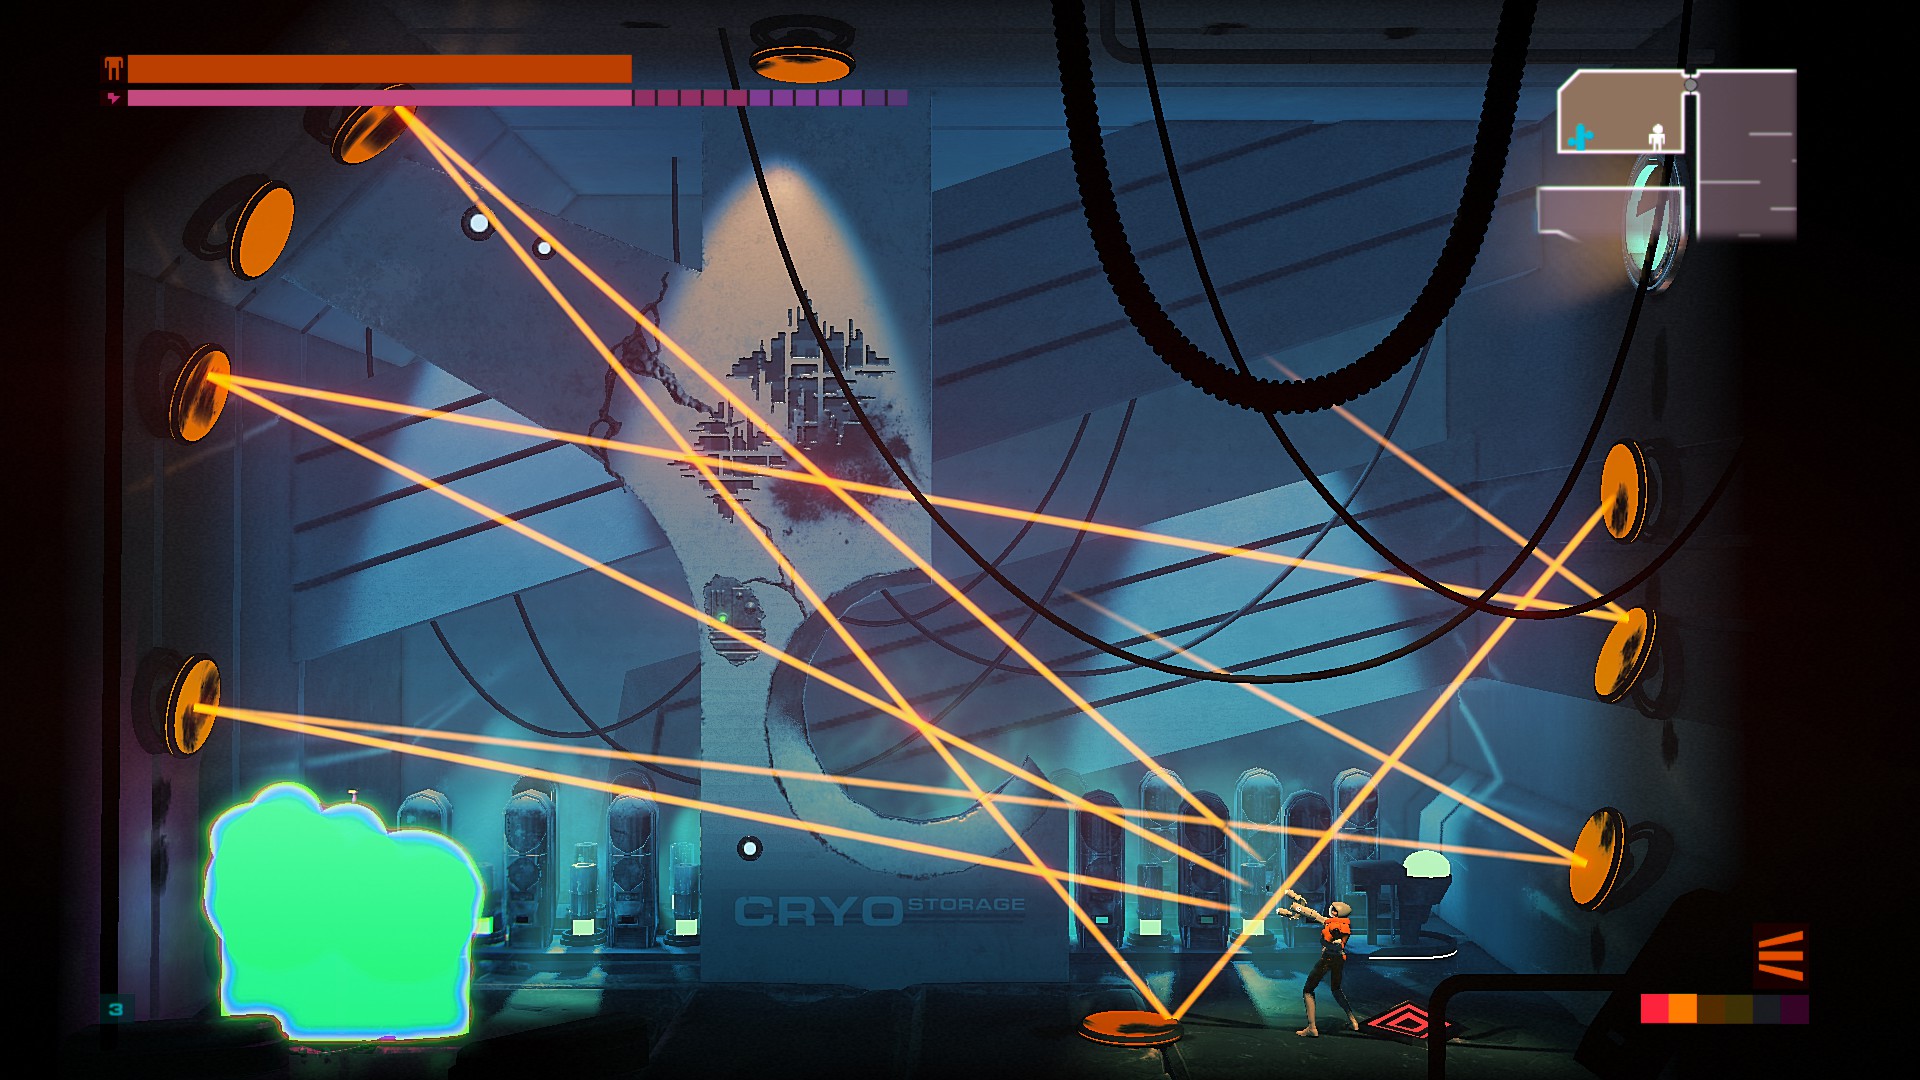
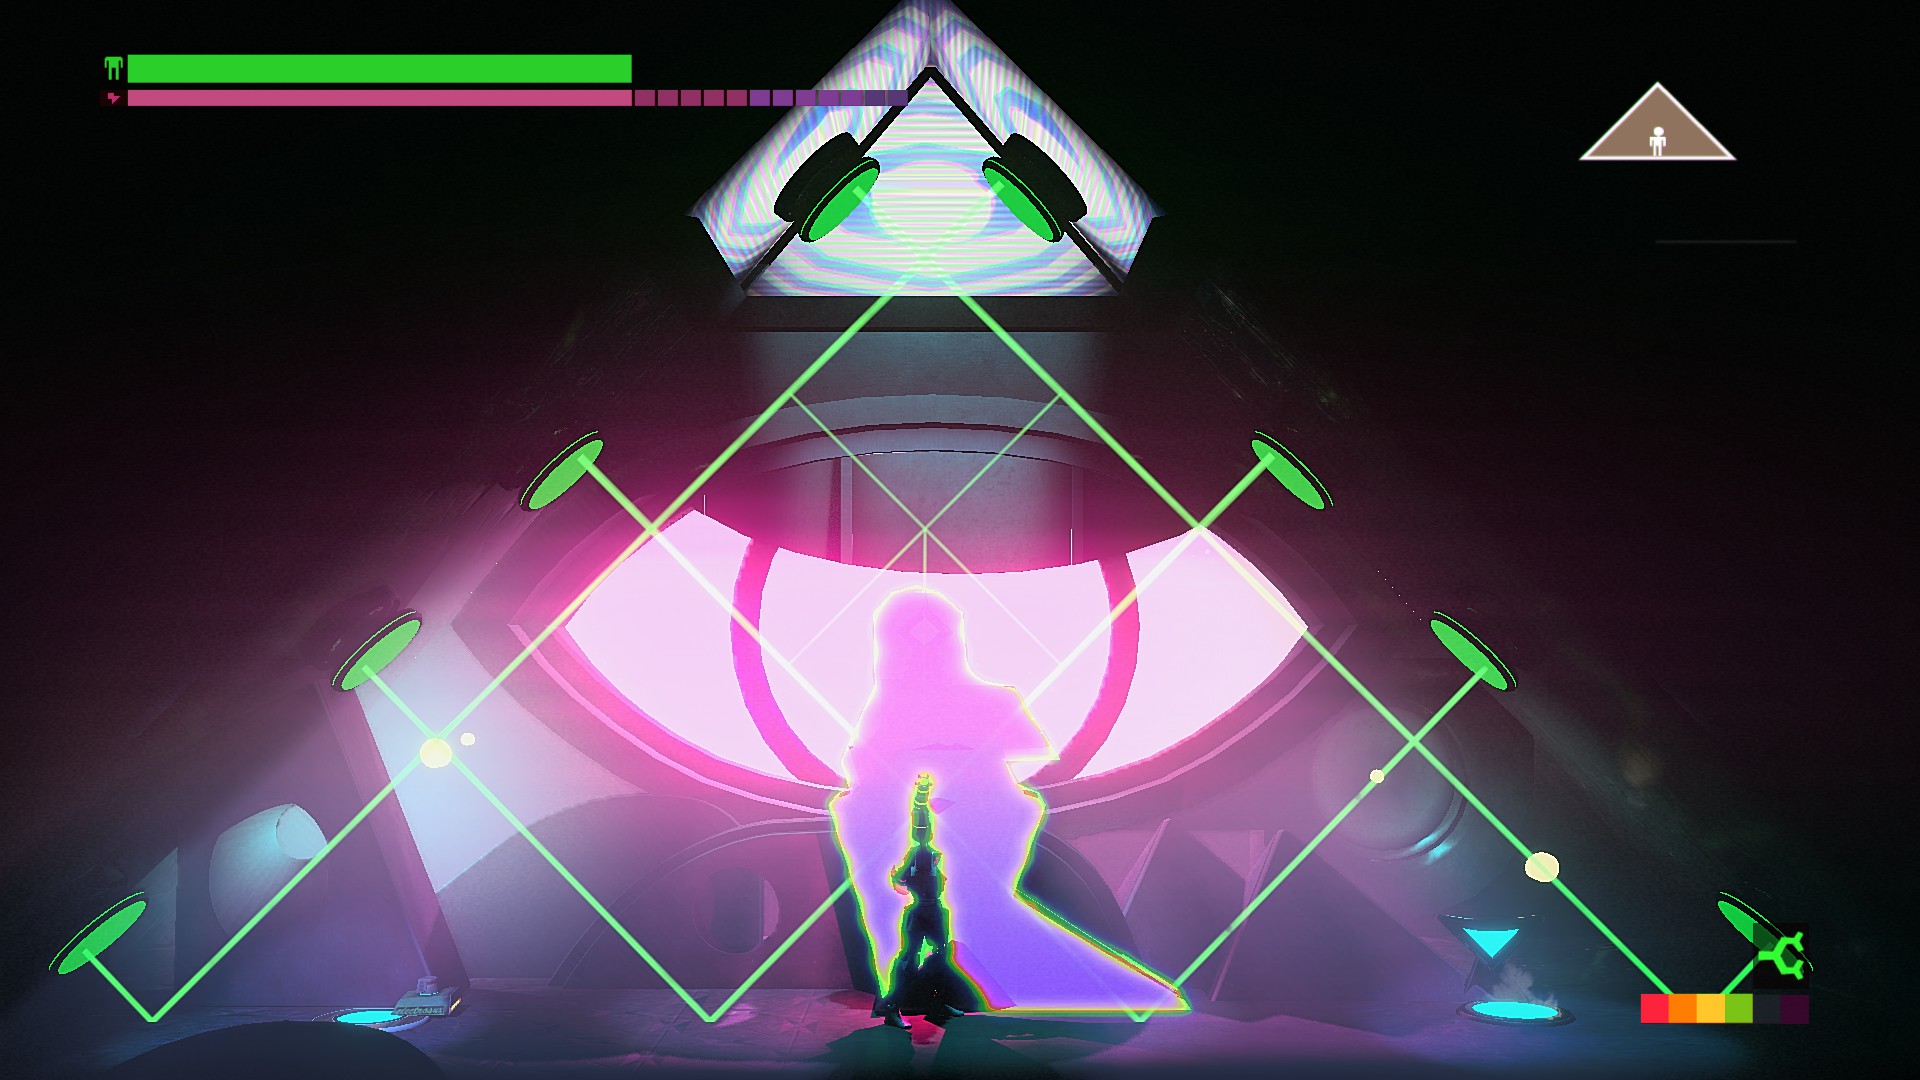
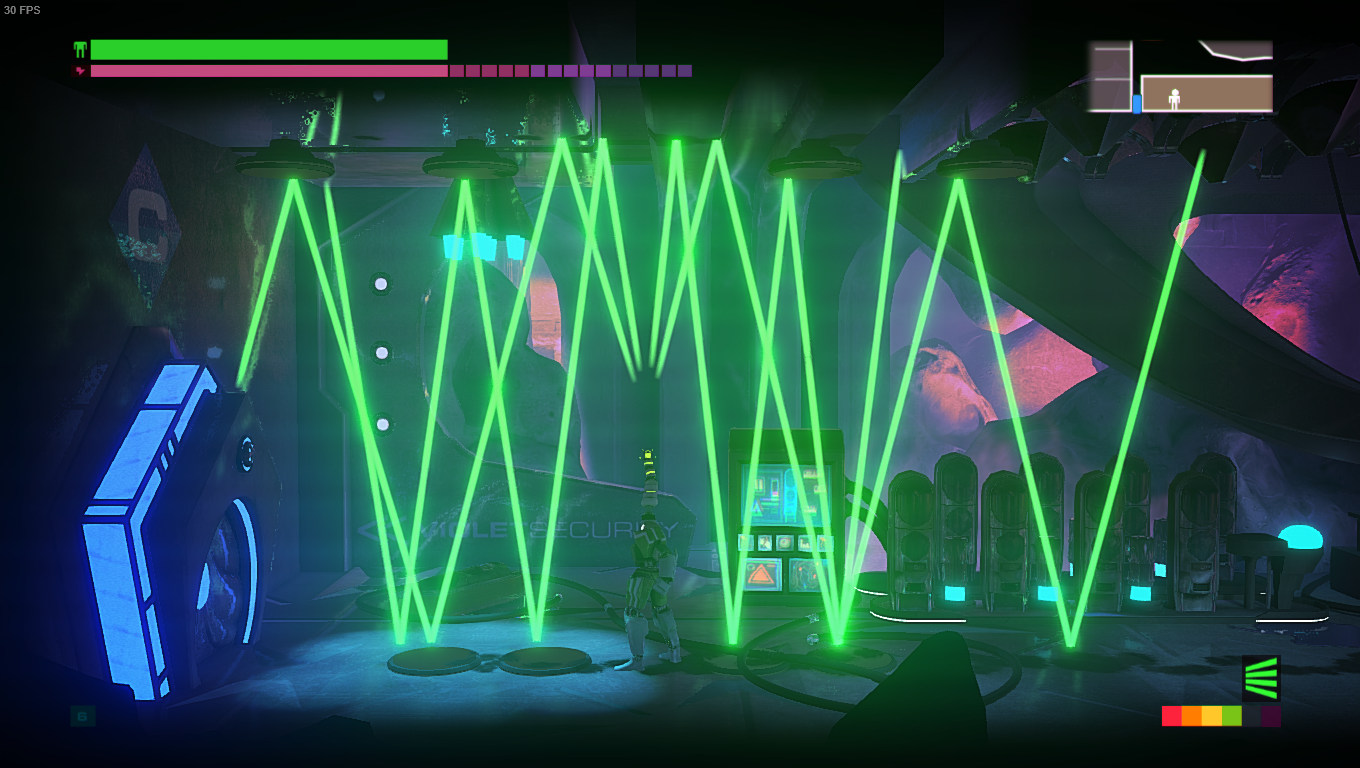
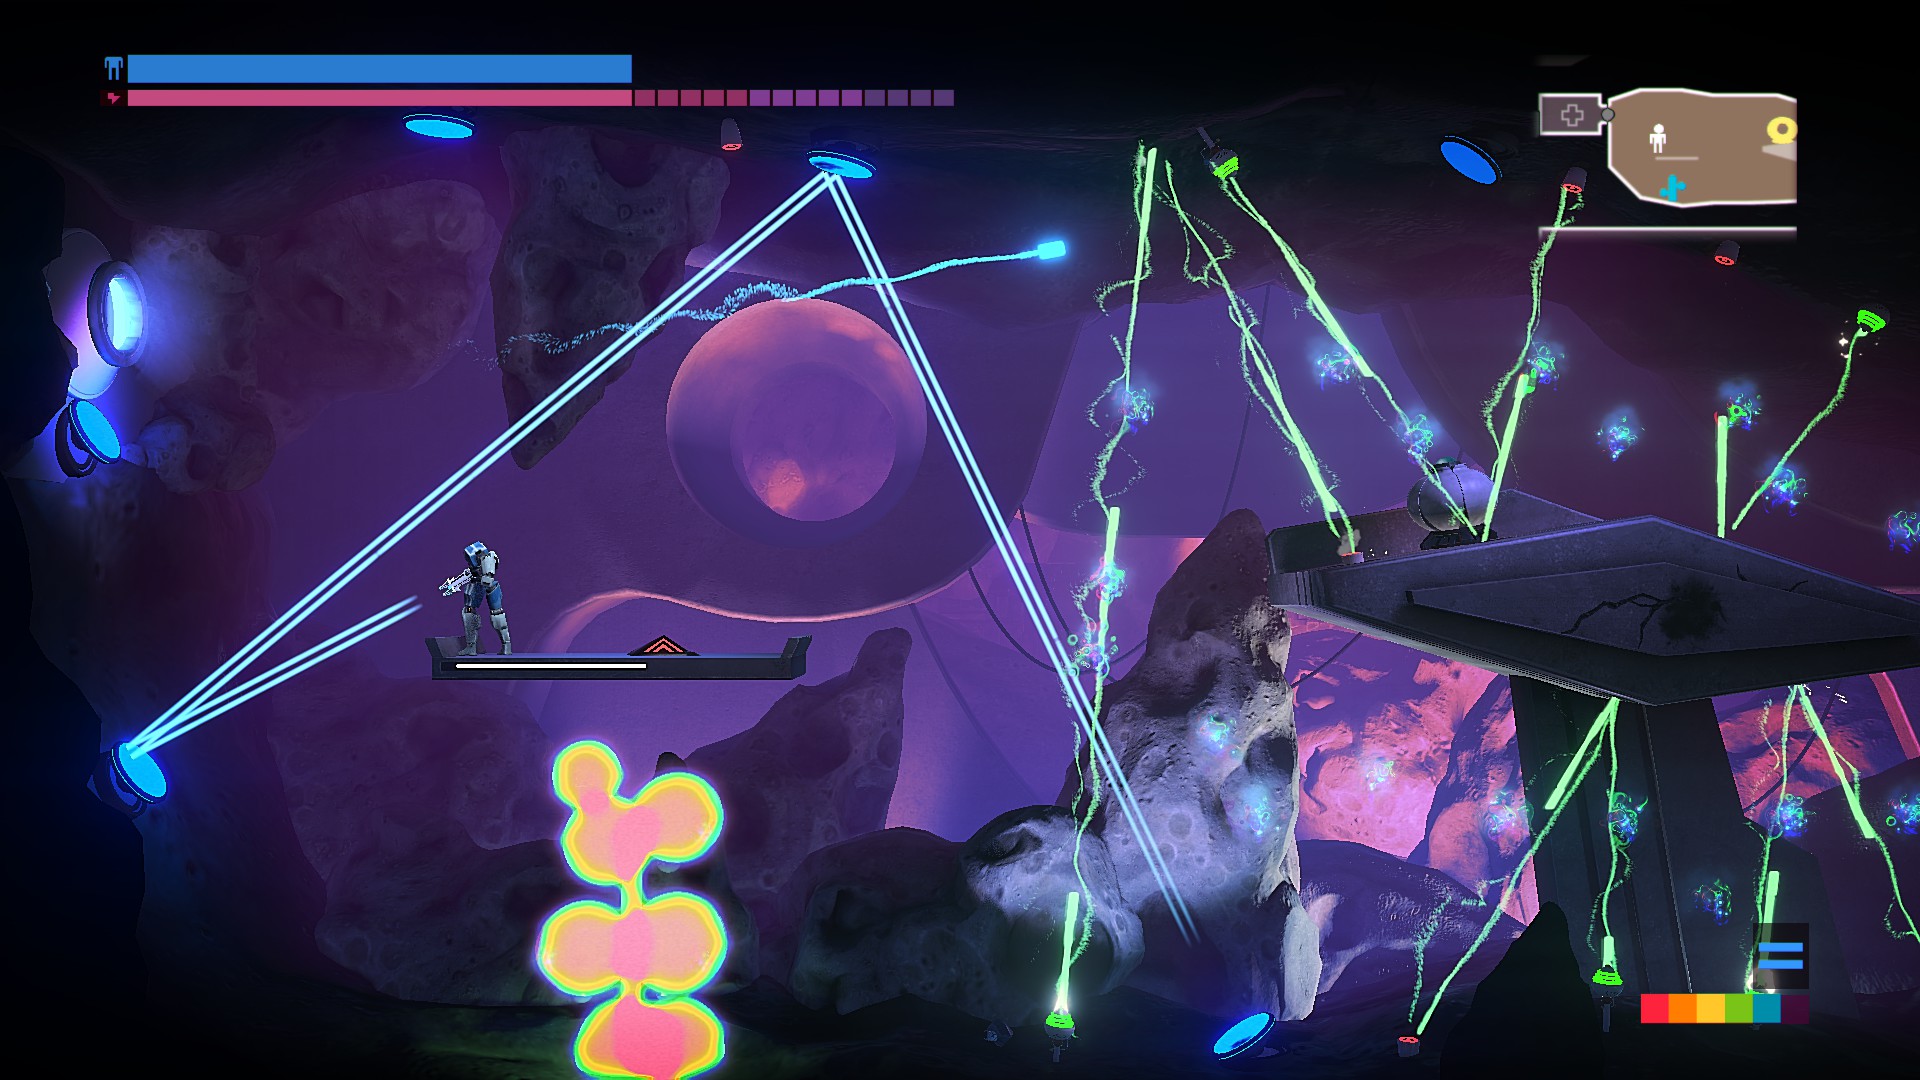
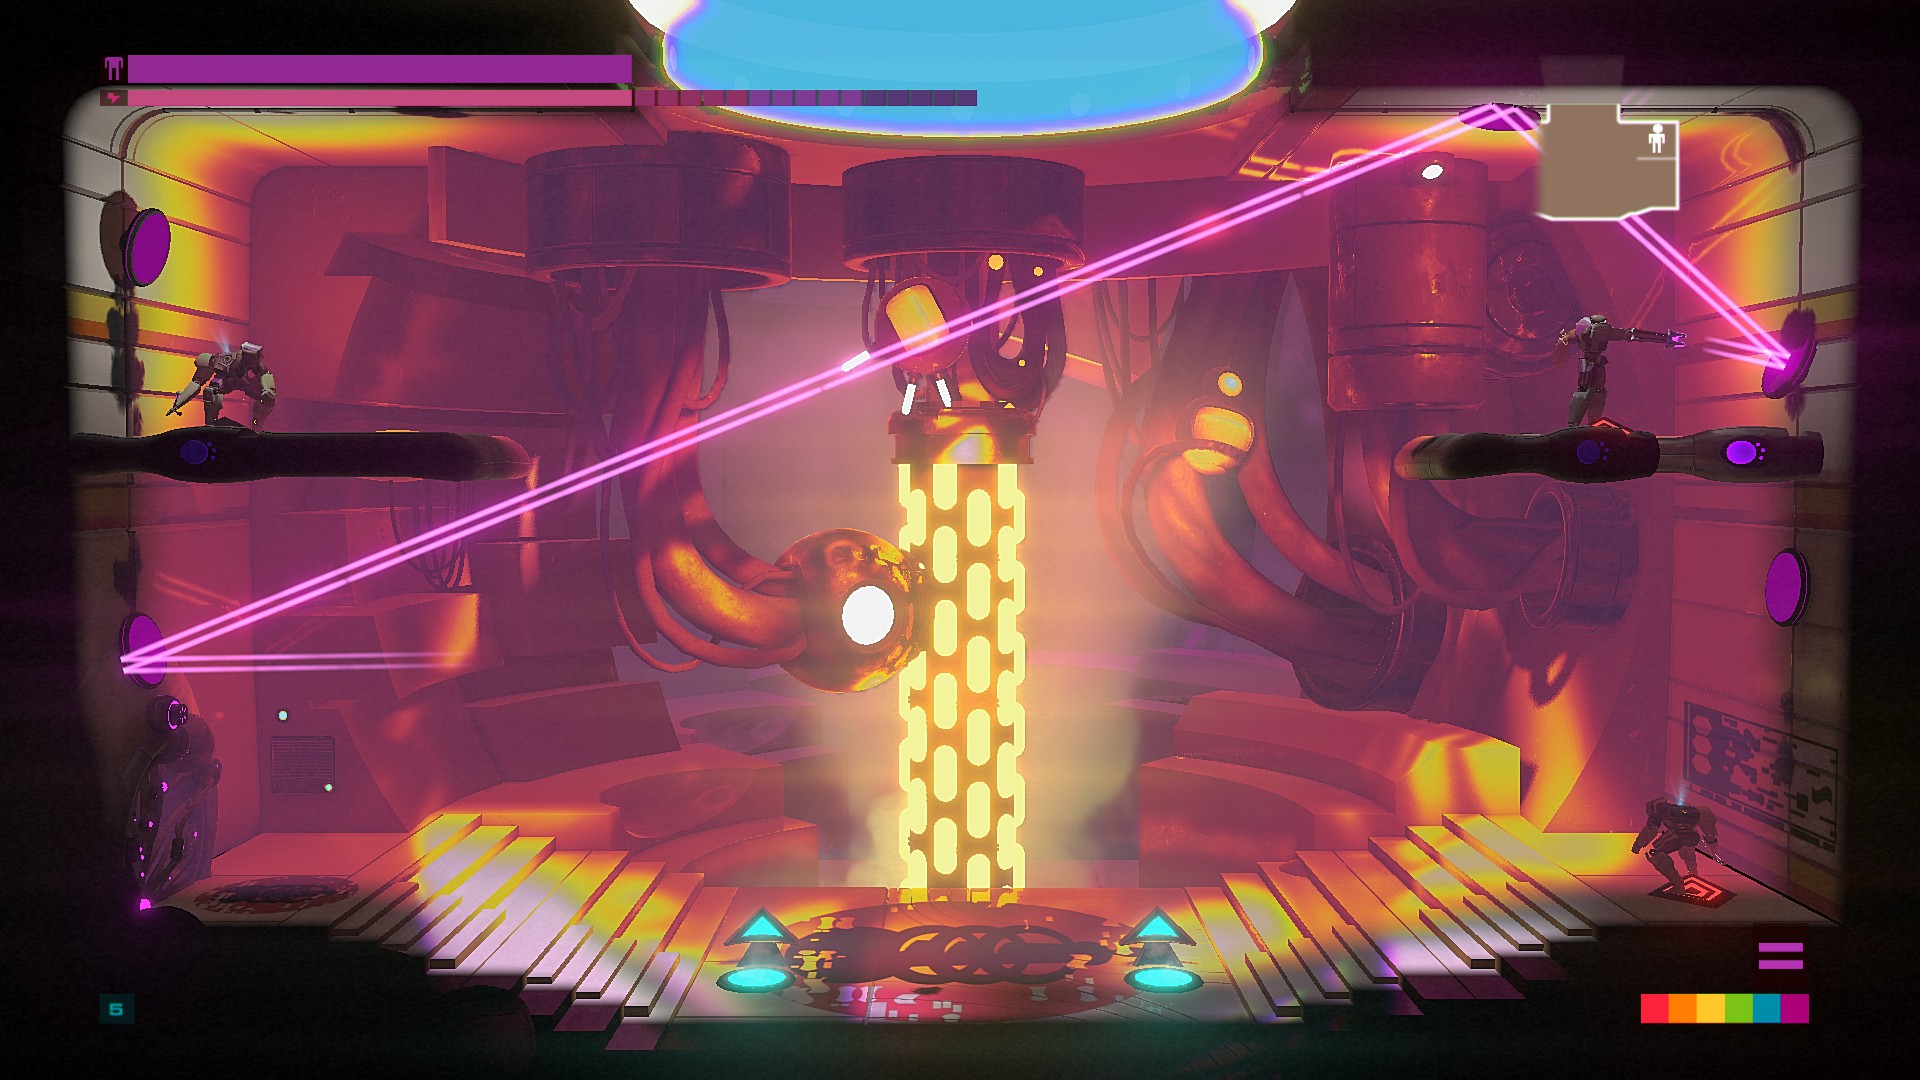
There are certain areas or devices that are blocked by a laser barrier or shield, and a set of mirrors that you must hit in a very short time to disable the barrier. I’m adding this section to help people stuck with those mini puzzles.

Luna Base


Puzzle 1

Puzzle 2

Puzzle 3

Puzzle 4

Puzzle 5

Puzzle 6

Puzzle 7
Edit: Thanks for player Marten , that provided me the correct solution and image for this puzzle!

Puzzle 8

Methuselah's Ship
Puzzle 1

Puzzle 2
FINAL NOTES
Thank you for reading this guide!

I've collected all information myself, so If you find anything wrong, please let me know, and I will update the guide.
13 Comments
ramonpontes  [author] 24 Jun, 2020 @ 3:48pm 
Sorry, I will not be able to help you with this. I don't have those bodies mapped.
MurderFace 24 Jun, 2020 @ 1:50pm 
Do you think you'd be able to map locations for finding all the dance-able bodies?
ramonpontes  [author] 3 Oct, 2019 @ 2:03pm 
Ok, editing done. Thanks!
Marten 27 Sep, 2019 @ 12:27pm 
https://imgur.com/8tP0vVg This kind of shepherd spawns just to the right of the hole this puzzle opens.
ramonpontes  [author] 27 Sep, 2019 @ 12:02pm 
Thanks, I will mention it on the guide, but I'd like to add a picture for that solution.
I don't record any enemy with qad lasers nearby, but I've already uninstalled the game a long time ago, I may have missed something.

If you could kindly provide a picture, It would be of immense help for the guide.
Marten 27 Sep, 2019 @ 11:08am 
As for the Laser Puzzle 7, I am pretty sure the intended solution is to take a quad green shooter from nearby a aim at the ceiling while standing in the middle.
ramonpontes  [author] 9 Mar, 2019 @ 2:02pm 
You break it from the other side. The broken wall is where you exit from the other room.
Echtzeit 9 Mar, 2019 @ 12:48pm 
Sorry, the wall is a bit more down. To the left of that green "hourglass" symbol.
Echtzeit 9 Mar, 2019 @ 12:11pm 
How do you break open the cracked walls? There's one for example just under the green two in Luna Base.
frucs 28 Feb, 2019 @ 6:13am 
Thank you! I had previously only tried entering the room from the right healing room. It was very easily accessable from the left healing room as you said!