Death end re;Quest

Death end re;Quest

27 ratings
Death End Re;Quest Starter Guide & Tips
By Shina147
In this Death End Re;Quest Starter Guide & Tips, I’ll be going over the various mechanics of this game. Death End Re;Quest is a unique RPG game that merges the typical JRPG genre but allows players to convert it into a fighting game, shooter, or even a slot game.
   
Award
Favorite
Favorited
Unfavorite
Death End Re;Quest Starter Guide & Tips
Death End Re;Quest is a quirky JRPG that mixes things up with merging a number of genres under one title. Players can switch between game modes including fighter, shooter and even slot mode. There are other subtle quirks that the game possesses that will seem simple to execute at first, but are difficult to master. In this guide I will explore some helpful notes and tips that can help you in in this fantasy meets reality RPG.
Difficulty
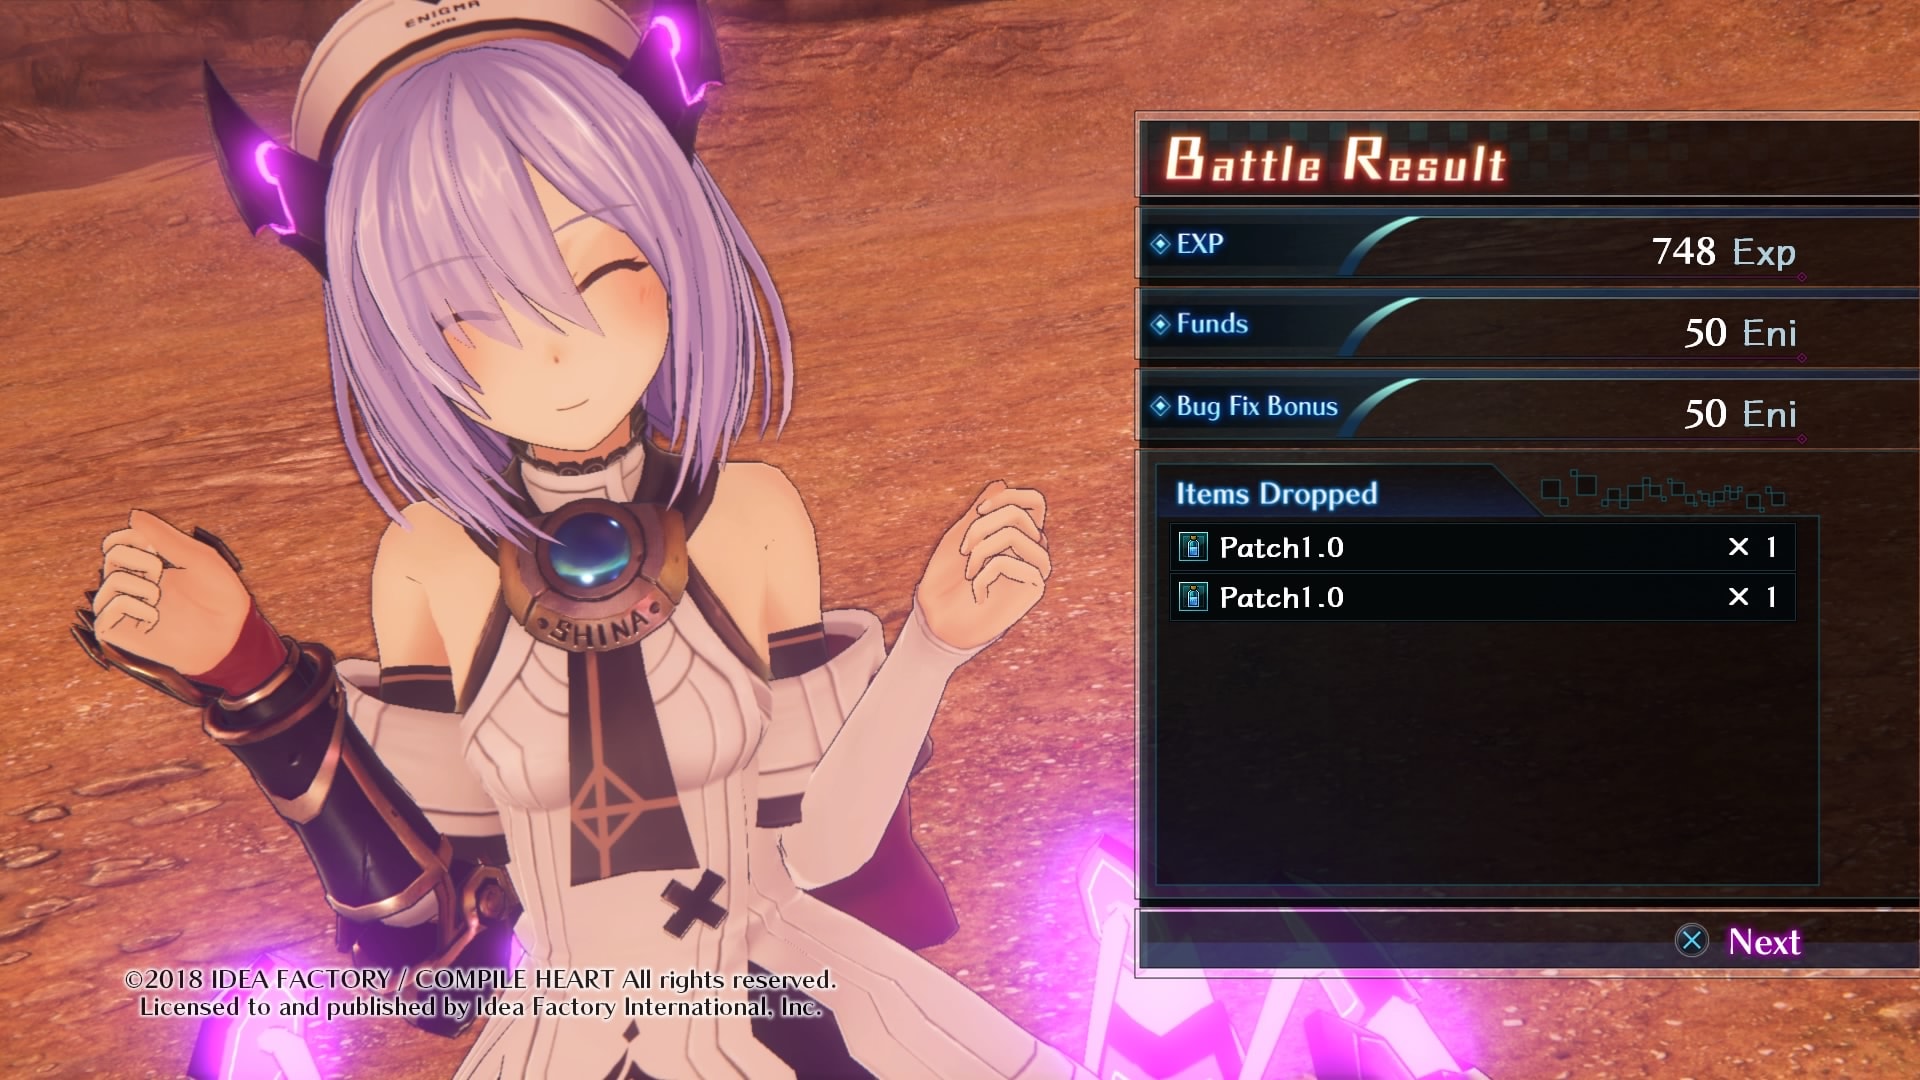
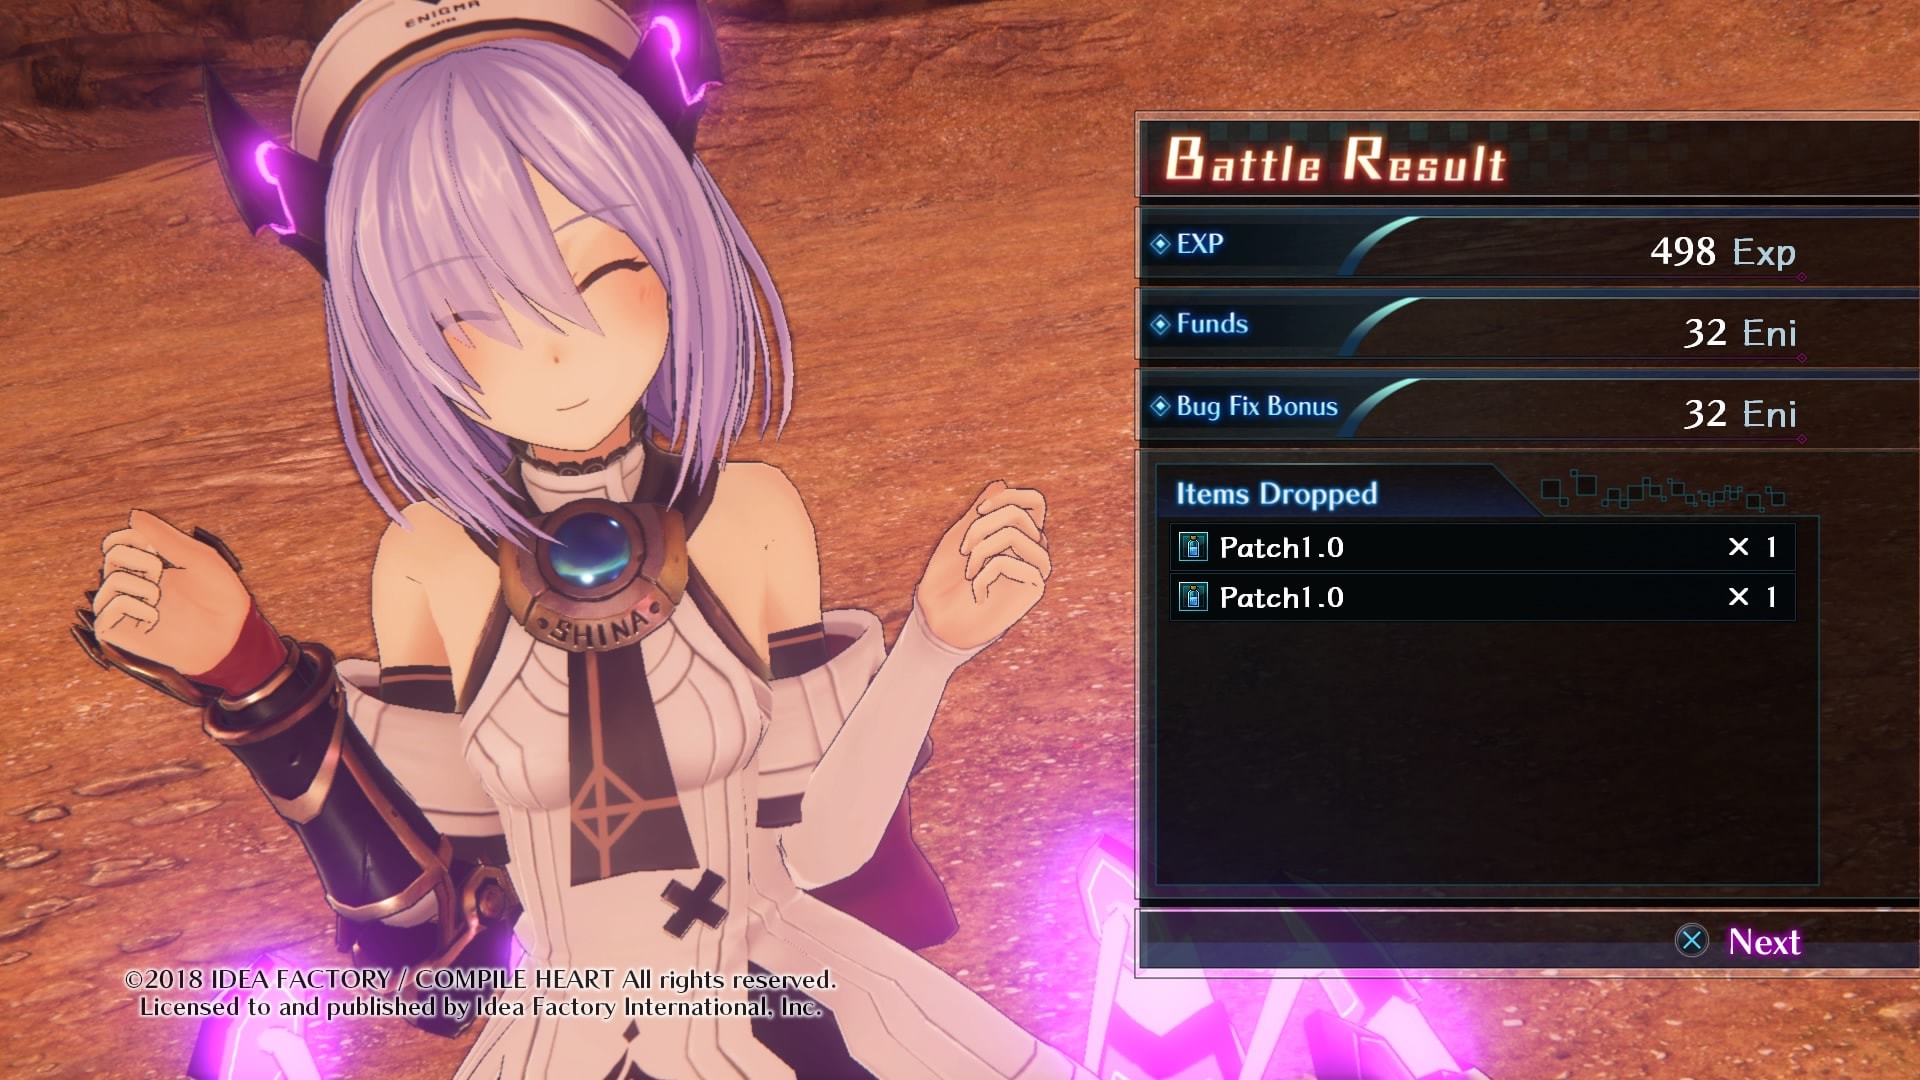
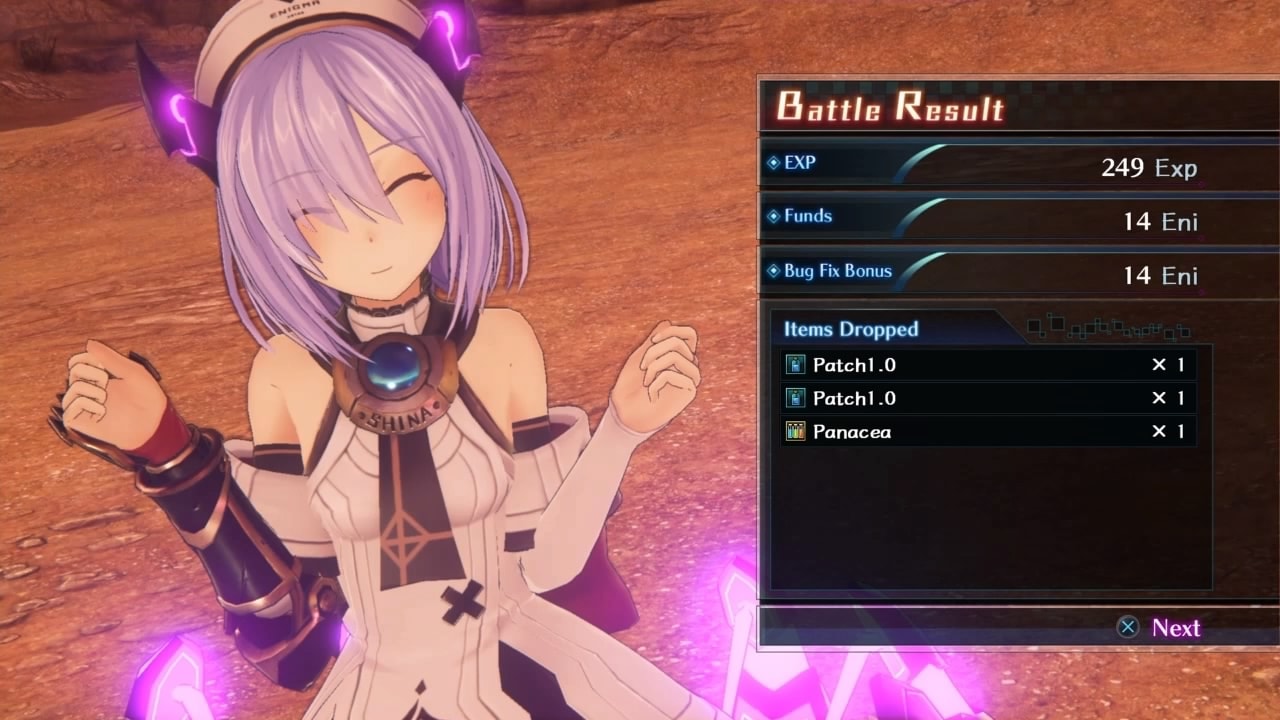
There are 3 levels of difficulty for Death End: reQuest including Easy, Normal, and Hard. The game states that “higher difficulty means tougher foes, and less EXP and funds gained from battle” but with some testing I found some useful info that will come in handy:

  • By playing on Easy: 748 exp, 50 eni funds, 50 bug fix bonus.
  • By playing on Normal: 498 exp, 32 eni funds, 32 bug fix bonus.
  • By playing on Hard: 249 exp, 14 eni funds, 14 eni bug fix bonus.

Easy

Normal

Hard


Battle
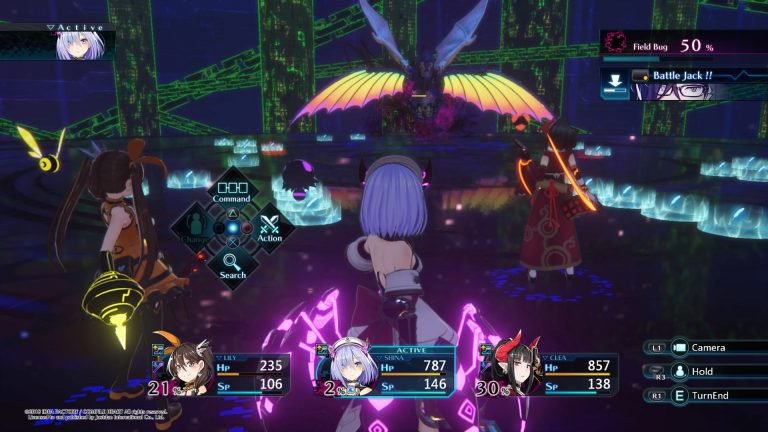
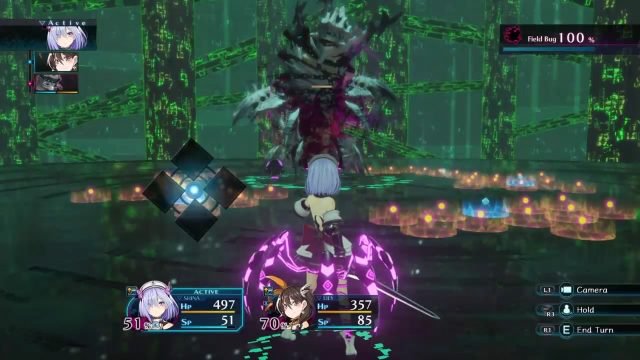
Whenever players enter a fight, a ring will form and that will be the battlefield. Inside that ring players and the enemies can roam around positioning themselves in advantageous locales, to gain the upper hand. The character with the highest speed will go first. Players have the following actions:

  • Command (Triact)
    Allows for 3 actions in 1 turn.

  • Action
    Repeats last turn Command

  • Search
    Analyzes monsters and field bugs

  • Change
    Switch party members


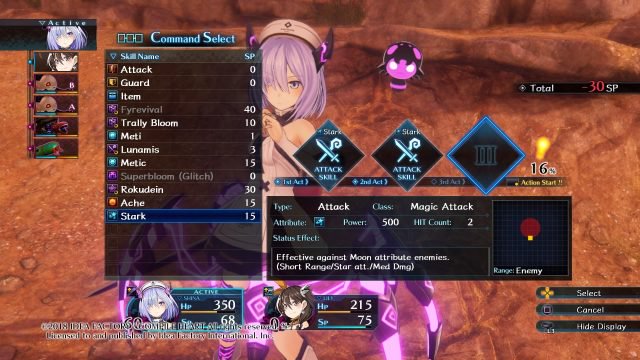
At the start of each character’s turn, they are able to move about freely on the field, so you can choose to perform combos with your character, or attack from outside the enemy’s range to keep units safe. It is always best to use the Triact in order to perform 3 actions during one character’s turn. Basic combos will consist of triple attacks, dealing a higher level of damage, then use a knockback to finish. Selecting 3 guards will improve the effectiveness of it allowing characters to withstand strong attacks. Other actions that can be used are:

  • Attack
  • Guard
  • Item
  • Magic
  • Glitch Ability (if in Glitch Mode)

Aim
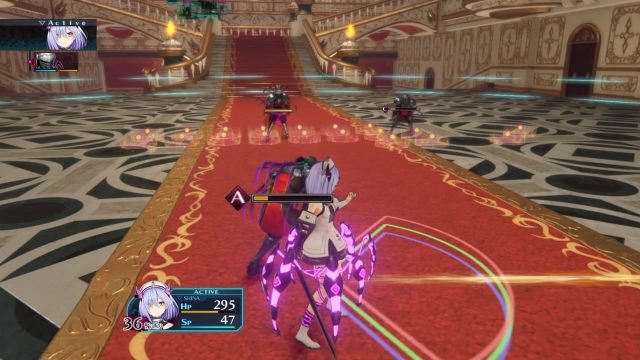
When players select their attacks, they will get an indicator of range whether in a straight line or in an arc. This helps players move around with the analog stick while precise aiming will be done with the dpad (directional buttons).
Red, Green, Blue Lines denotes range while Yellow line denotes knockback path

Utilize the Knockback feature
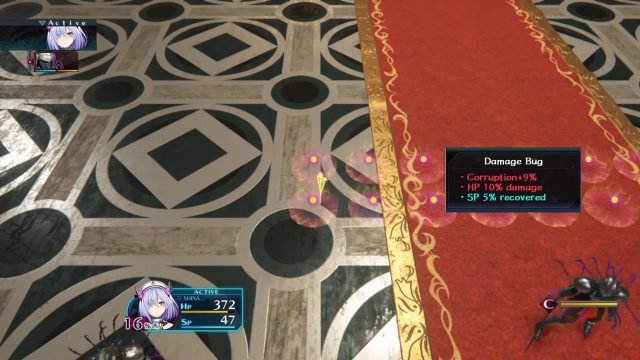
Select actions like the triple attack can trigger a “knockback” that sends enemies flying across the field! Use knockbacks to fling enemies into other enemies in the battle, walls, and even to your own team members! Team members will hit them with a “knock blow” which will deal additional damage. Knockbacks eliminate the “field bugs” (colored areas) that will injure party members but heal their SP. Sending enemy monsters flying into each other, inflicts damage to both, and they will even receive damage from the walls. Learning to master this tactic will be invaluable on Hard Mode.

Field bug example

Type It Out!
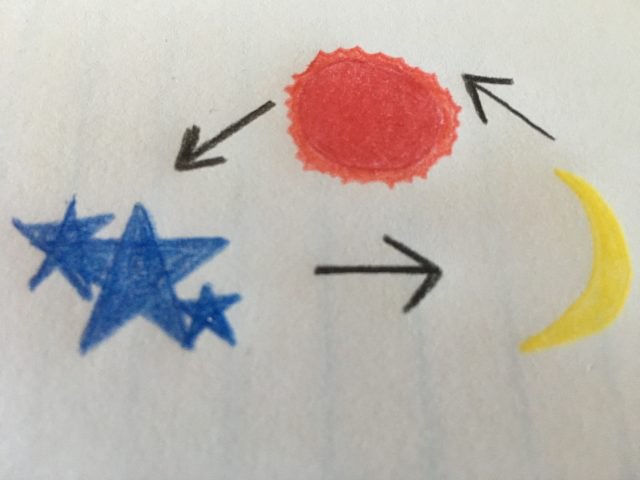
All monsters and heroines have a “type” or attribute. Their attribute will be stronger against certain kinds, while weak to against another. It’s a simple rock, paper, scissors system involving moon, star, and sun.

Follow this chart to see which types counter or are weak against others.

Learn New Techniques! Master Flash Drive
The Flash Drive system allows players a % chance to learn a higher level skill by performing the proper combinations in the Triact for example: Rokudein, Rokudein, then pressing [x]. It’s best to learn these spells early on to continue learning more powerful skills. Starting early allows players to level up often in the beginning, replenishing their SP. Players can also farm enemies near camps to have a fail-safe in case things get out of hand.

Explore All Areas
Treasure chests won’t show up on the map giving off the illusion of an empty map! Don’t be fooled, properly explore and collect all chests you see. There are also blue items that are randomly placed throughout areas and will respawn. They can be sold but the game hints to save them…
Experience Every Interaction No Matter the Cost
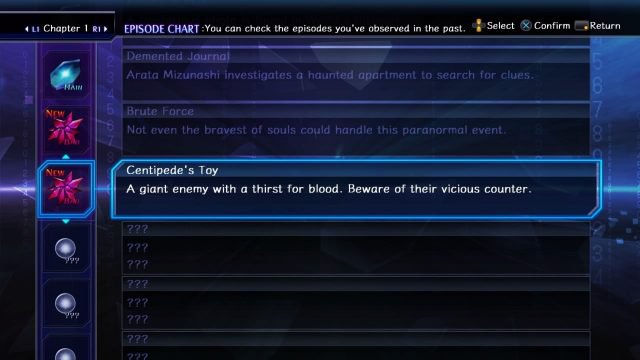
Players will meet their demise often, and with death comes with its own rewards as well as lessons. By exploring everything, experimenting by seeing how going down one path will affect the game is a tempting yet rewarding experience, even if it ends up in tragedy. Players are encouraged to venture all paths and options despite their apparent cost. Bring up the Episode chart to re-check already seen episodes and obtain the respective reward for unlocking it often.


Play to Your Strengths!
Each heroine has their own strengths and weaknesses in battle. By combining each heroine to cover another’s weaknesses, it will lead to an overall stronger team. Example: Converting Shina to main attacker and entering Glitch Mode often while Lily keeps her distance providing heals for Shina.
When in Doubt, Glitch It Out
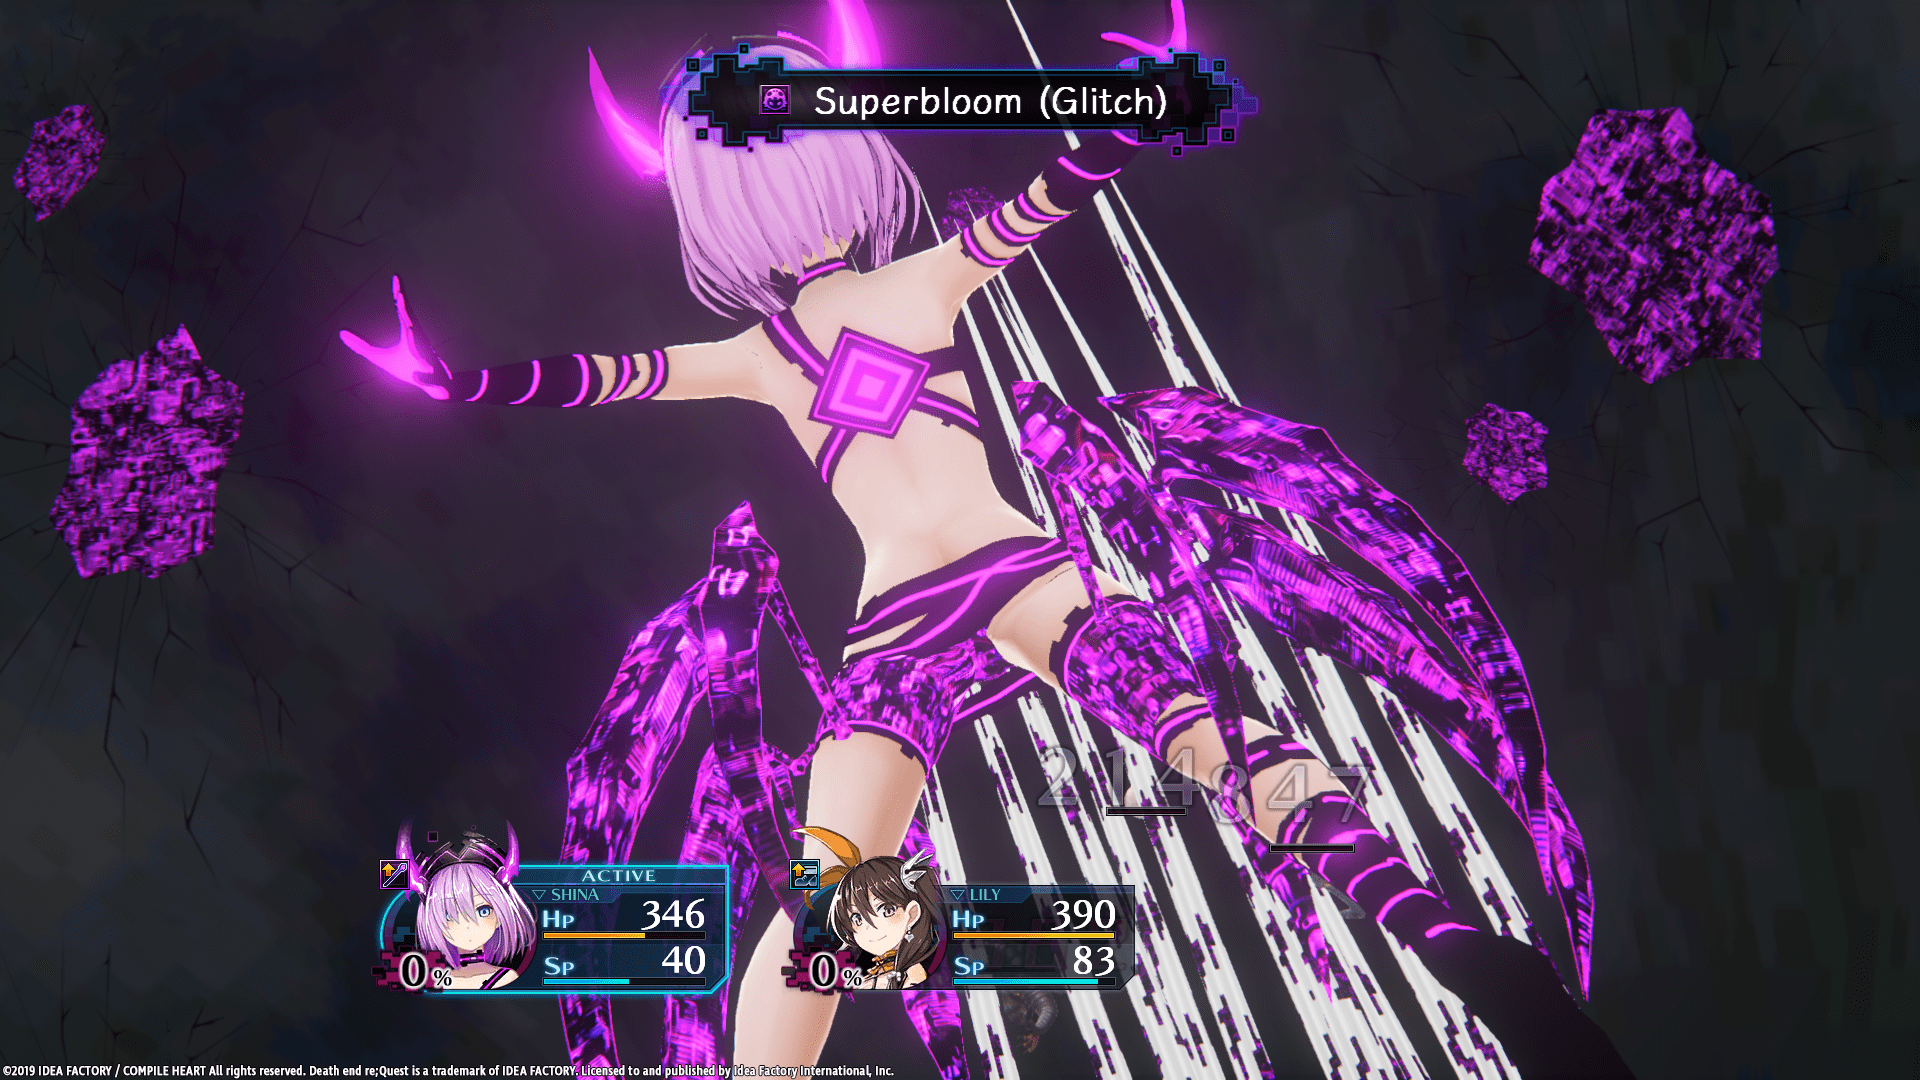
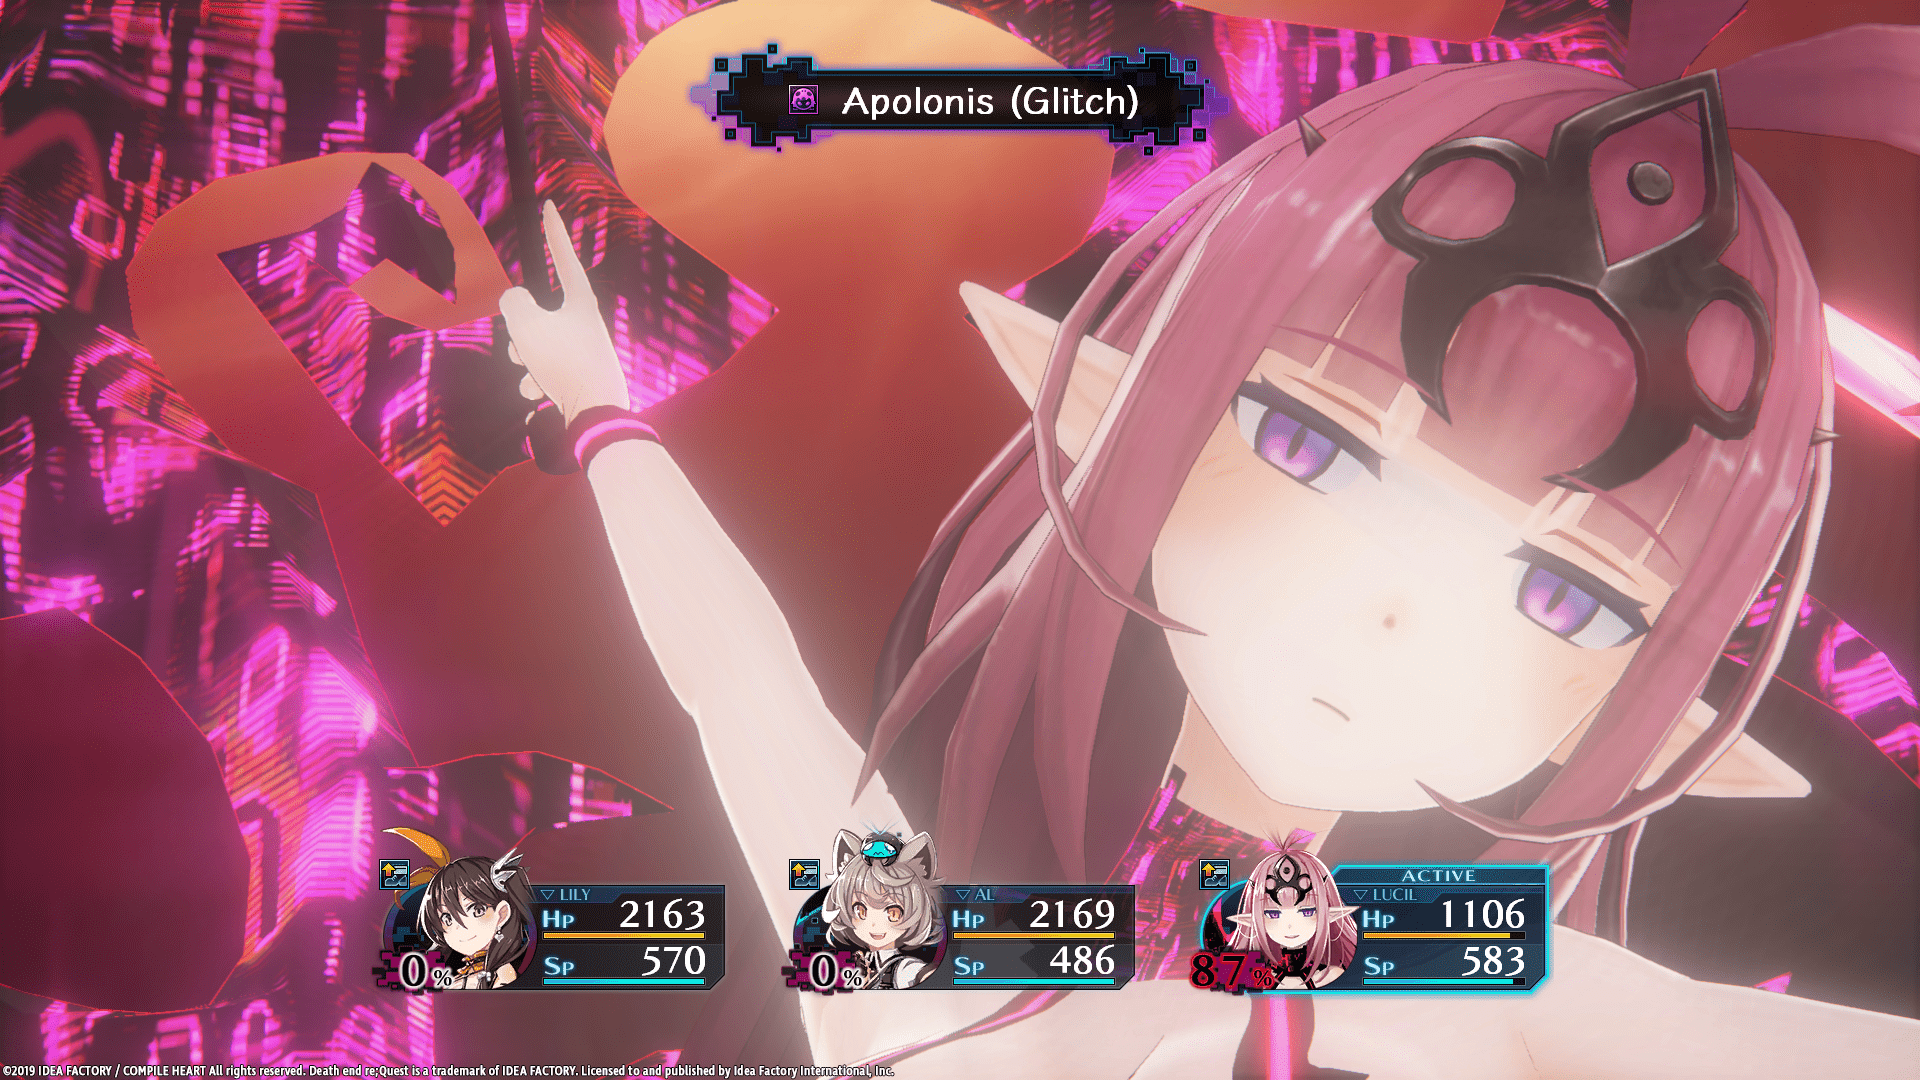
Glitch Mode grants the character a massive stat boost as well as grant players access their specific Glitch Mode final attack for free. This can allow players to turn the tides of battle if they are cornered. Corruption levels will increase if a team member is attacked by an enemy, or if they walk over a bug tile.

Shina’s Glitch Mode

Lucil’s Glitch Mode

Clea’s Glitch Mode
Summon Entoma Queens
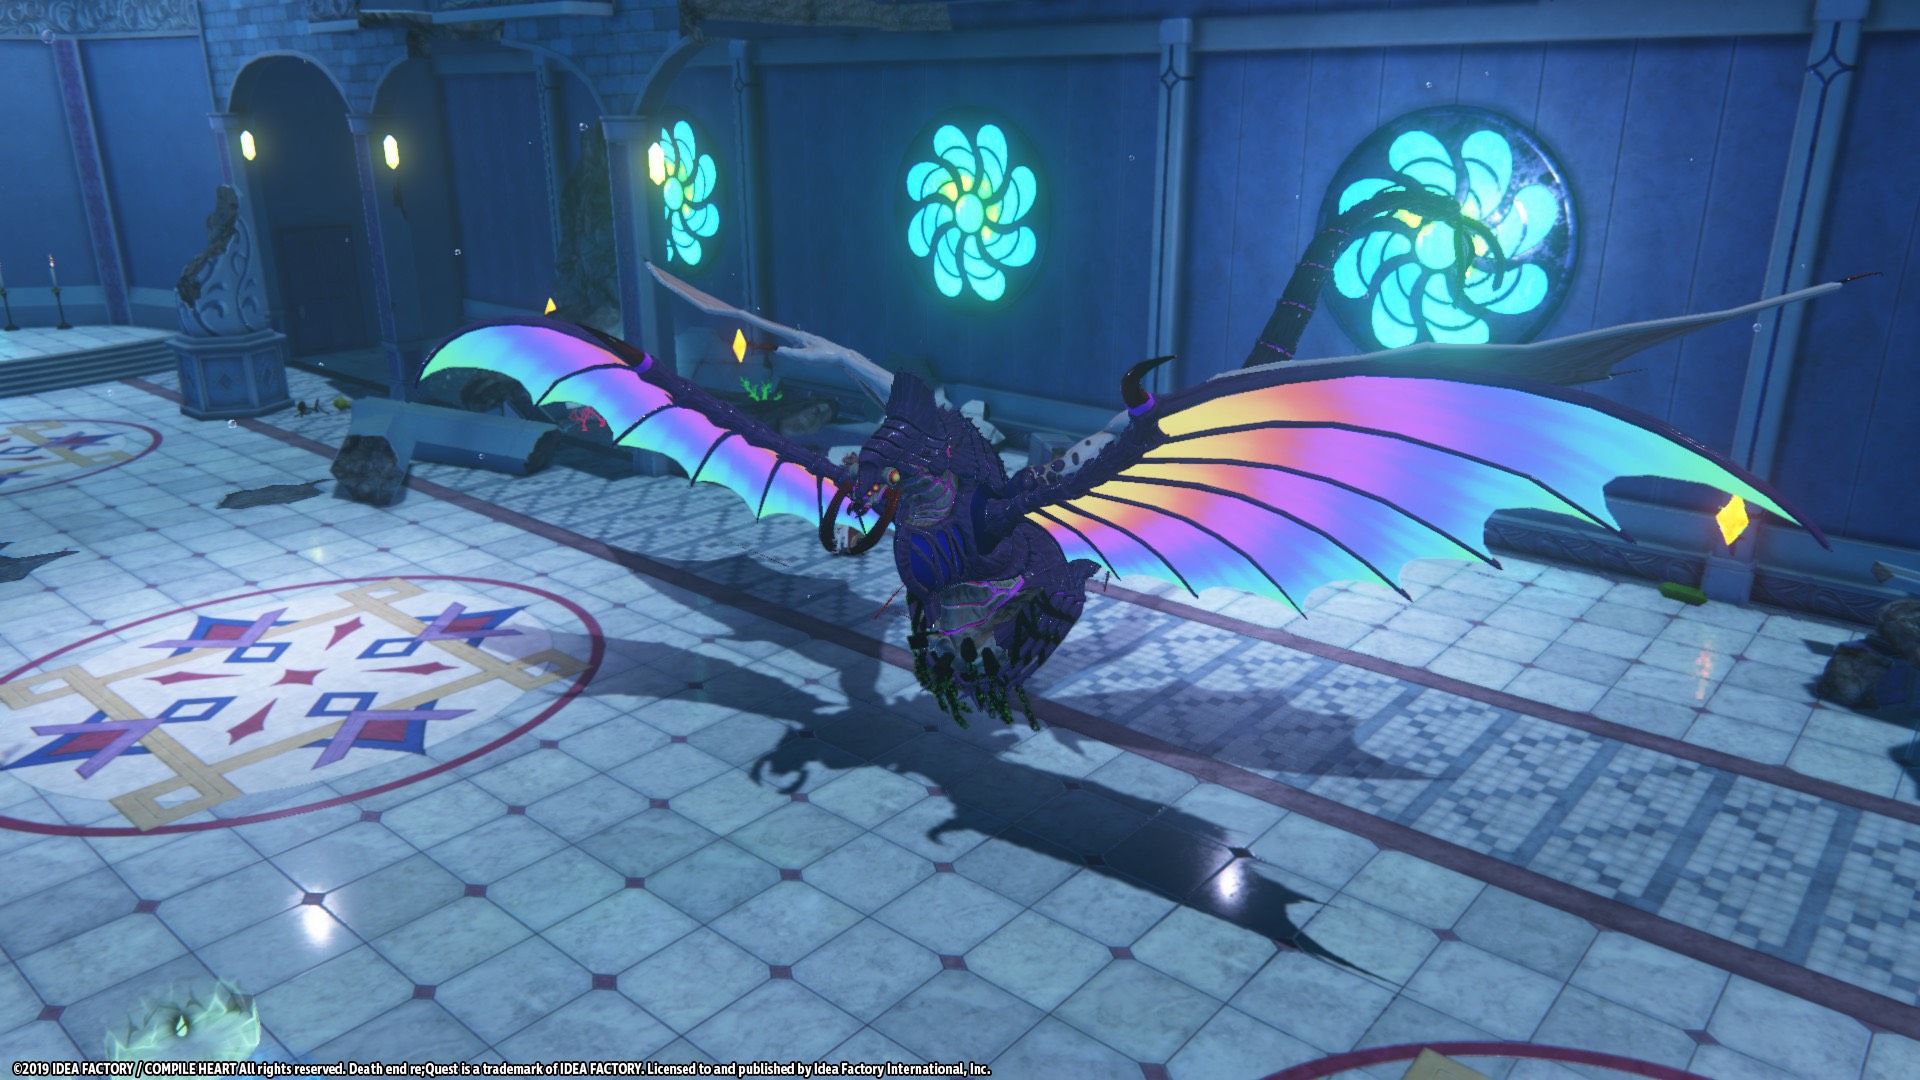
Once players have completed Chapter 1 by defeating the boss, they will obtain access to Summon through Arata’s Code Jack ability. Each Entoma Queen has a very powerful range of stats, allowing them to soak up damage, protecting your team members as well as being a powerful DPS source. The drawback with Queens are that with each action they use, they will cause more field bugs to spawn in the battle field. Use them a wisely and be wary of the additional field bugs.

Exemple of Entoma Queen you can summon to the field
2 Comments
larcek 25 Jun, 2020 @ 3:17pm 
i feel some of these comments would work well on a review itself. thanks a bunch, i'm about to start and these are some good tips.
Luffy III 29 Aug, 2019 @ 10:50pm 
Also, take point, field bug effects will be different based on difficulty. E.g. Stun bugs will not stun the team member on easy whereas in Normal and Hard, they can stun them.

Remember, even though higher difficulties mean less EXP and funds but dangerous field bugs as well!!! I'll show an image example soon!