Umurangi Generation

Umurangi Generation

72 ratings
Photo Bounty Walkthrough
By blzzzrrttt
A simple written guide on how to complete the Photo Bounties in each level of the game.
2
10
   
Award
Favorite
Favorited
Unfavorite
Intro
Umurangi Generation is a photography game that takes place across multiple different areas teeming with all sorts of interesting sights that you can capture with your camera.

To proceed from one level to the next, you have to complete a series of photo bounties by taking photographs of specific objects, subjects or people that exist in each level. When you successfully complete a photo bounty, a chime will play afterwards. After completing every photo bounty in a given level, a deliver point will appear. Interacting with it takes you to the next level and unlocks a new piece of equipment upon completing a level for the first time.

This guide will attempt to plainly explain how to complete each photo bounty in every stage in the base game. Use this guide should you find yourself lost, unsure or otherwise curious about how to complete a certain objective.

The guide will be formatted like so:

Each stage's section will begin with a brief overview of the level.

Followed by a description of where the delivery point will spawn once you complete all the photo bounties.
[And an image of said location.]


A short description of the photo bounty.
Detailed instructions on what the photo bounty is, where to find it and how to capture it.
[An example image of the photo bounty.]


Before we begin, please take some time to familiarize yourself with the following information.
Some of it pertains to certain terminology I will use throughout the guide and some of it you may find useful to keep in mind as you play and explore the game outside of completing the photo bounties in each level.

Your four friends will join you as you move from level to level. There is a bonus objective within each level to take a photo with all of your friends in the same shot. You can also change their idle poses if you walk up to them and interact with them.

Their locations in each stage may be used in reference to finding certain photo bounties. Each of your friends has a name. Please take a moment remember each of them and what they look like.

Micah is tall and wears a beanie and a camouflage jacket.

Atarau wears a cap and has pink hair.

Kete sports a hair bun and glasses.

Penguins are flightless birds that primarily live in the Southern Hemisphere. This chinstrap penguin is your friend too.

The spawn point is the location you are placed in when you enter for the first time. Make not of its location because I will often refer to it as a starting point when giving directions. In certain levels, you can respawn after falling off of the map and you will be taken back to the spawn point.


The camera you'll use throughout the game has a variety of functions, even before you unlock additional lenses and post-processing effects by completing stages and their bonus objectives.

You can rotate your view through the lens by using Q and E on the keyboard. Use this to give your photos dynamic perspectives or better capture certain photo bounties.

By using ALT on the keyboard when you're looking through the viewfinder you can toggle the speed settings used for the zoom and focus controls. Use this to finely tune either setting to your liking.

If you aren't interested in fiddling with the post-processing after taking a photograph, you can turn off photo mode by pausing the game and deselecting the option on the menu. In the options menu, you can change the settings as to whether photo mode defaults to being on or off when you load into a stage.

You also have a few movement abilities at your disposal at the start of the game.

You can crouch by pressing CTRL. Crouching will allow you a lower perspective for your photographs. Use this to alter the mood of a photo or to fit or exclude certain subjects from the frame.

You can jump by pressing the spacebar. By pressing the spacebar twice in succession, you can double jump. The quicker you perform the second jump, the more height you'll achieve. Use this to elevate yourself throughout the environment to reach new areas and higher vantage points.

Additionally, you can jump and move while looking through the viewfinder. Use this knowledge to your advantage by repositioning yourself while seeing what your photos will look like.


While you are encouraged to take photos of whatever you choose in Umurangi Generation, it is unwise to take photos of blue bottles. In the game, blue bottles are a colloquial name for the small gelatinous creatures you'll see lounging around throughout the many area. In real life, blue bottles are another name for the invertebrate creatures, similar to jellyfish, known as the Portuguese man o' war. Please note that you can freely take pictures of blue plastic bottles, should you find any.

When you photograph a blue bottle, you'll hear an unpleasant buzzing sound and the price of the photograph in question will be lowered. The monetary value of your photos doesn't matter for completing photo bounties but it does factor into a bonus objective for each stage.

If you find yourself out of film, you can replenish your supply by collecting one of the various film canisters that are strewn about each level. Finding all the film canisters in each level will fulfill a bonus objective needed for additional equipment. This guide won't detail their locations, so if you want to know where they are I suggest using one of the following guides instead:
https://test-steamproxy.haloskins.io/sharedfiles/filedetails/?id=2111121362
https://test-steamproxy.haloskins.io/sharedfiles/filedetails/?id=2281732603


And finally, this guide will contain unmarked spoilers and photographs for each level. Try to refrain from peeking ahead if you wish to avoid knowing what lies in store for you later on.

I hope you find this guide useful and if not useful, then at the very least somewhat amusing.
Stage 1
Mauao View - a chill and carefree hangout spot.

The delivery point for this stage can be found next to Atarau and Kete, near the starting area.


While close by, take a photo of at least two markers.
Markers are a type of writing utensil that you can find all across Mauao View. To complete this photo bounty, just stand next to two markers and take a picture. You can easily find some markers by walking forward once you spawn into the level, past Kete and Atarau, and turning right in a small area filled with other paint supplies.


While close by, take a photo of a Union Jack.
The Union Jack is a distinctive pattern you can find on the flags of various nations on Earth. You can find at least two representations of the Union Jack in Mauao View. One is the red and white cross pattern on Kete's jacket.

The other is on an overturned skateboard, found on top of a wooden pallet just beyond a fence near where you spawn into the level.


While close by, take a photo of the word "Mix".
You can complete this bounty in the same area as the skateboard with the Union Jack on it. Simply turn around and you'll find a boombox and cassette tape with the words "My Mix" scribbled onto it atop a wooden pallet. Make sure to frame your photo so you don't accidentally capture an image of the blue bottes next to the subject.

You can also complete this objective by going to the lower half of Mauao View. Next to a raised set of planks above a sofa, you can find graffiti that reads "I AM JUST A KID IN A MIXED UP WORLD". If you zoom in on the "MIX" part of "MIXED" and take a photograph you'll complete the bounty. Make sure you're standing next to it or it won't register as complete.


While close by, take a photo of a disposable camera.
Unlike the camera you use throughout Umurangi Generations, disposable cameras are cheap, easy to use and made for temporary use, hence the name. You can find these cameras in a number of locations in Mauao View.

There's a camera nestled in the back of the room with art supplies in the upper part of the stage. Depending on how you frame the shot, you can complete this objective when you take a picture of the markers for the first photo bounty.

In the same location as the Union Jack skateboard and the "My Mix" tape, there's a small construction with a disposable camera inside of it.

In the lower part of the level, adjacent to the sofa, there's a disposable camera inside of a bowl.


Take a photo containing at least seven birds.
Birds are plumed (meaning feather-clad), winged animal. In Mauao View there are 3 types of birds you can photograph. This bounty requires you to have at least seven of them in the frame.
There are numerous creative ways for you to satisfy this bounty but I've provided an example solution that requires little additional platforming and features your penguin pal.

To reach the location for the example image, walk onto the ledge of the upper area and position yourself so that you're next to the unfinished outhouse-like construction. You'll need to crouch to be able to get all seven birds in frame.


Take a photo of the mountain Mauao.
Per some informative graffiti in the upper part of the stage, which you can find to the right of Micah, Mauao is a large mountain and namesake of the stage itself. You can find him off in the distance opposite the direction of the informative text. Simply take a picture with Mauao in frame, even slightly obscured if you desire, to complete the bounty.


Take a photo of at least two boomboxes.
A boombox is a rectangular piece of stereo equipment typically used for playing music at loud volumes in public locations. You can find many of these in various spots throughout the level. Simple make sure two of them are in frame to complete the bounty.

You can easily capture such an image in the upper part of the stage near the text that informs you about Mauao.
Stage 2
Otumoetai - a military outpost where you can find UN soldiers on and off duty.

This level is rather large and you might find yourself getting lost or turned around as you explore it. Falling off the stage will bring you back to the starting point. Be sure to keep this in mind.

This stage also marks the first you'll have another lens to use other than the standard lens. You can change lenses by scrolling on the mouse wheel outside of the viewfinder.

Certain photo bounties require the use of specific lenses. Those that don't can be completed with any lens. This guide will use the standard lens for all examples unless otherwise specified or the photo bounty requires the use of a certain lens.

The exit point for this stage is next to the pink-hared UN soldier in the upper portion of the stage, near the spawn point.


While close by, take a photo of duct tape.
Duct tape is a strong form of adhesive that is typically silver or black in color. The rolls of duct tape in Umurangi Generation are of the silver-ish variety and can be found throughout the level.

For this example, I'll point you toward a roll of duct tape inside the war room on a table with a map on it. The war room is inside a green tent with the letters UN printed on it. To get there from the start of the level, turn left and make your way to the bottom of the the stairs. Turn towards Atarau and walk in that direction to find the tent.


While close by, take a photo of a skull and a knife.
A skull is the collective of bones in the skeleton that form the head. A knife is a bladed instrument that has multiple uses. You can find these two items paired together on an insignia throughout Otumoetai. You can quickly find one that'll complete this bounty on a wall directly adjacent to the war room.


Take a photo of at least three lit cigarettes.
A cigarette is a small cylindrical casing made of paper that typically houses tobacco. You can find three lit cigarettes being smoked by UN soldiers on the lower part of the level near a group of tents. Kete is near this area sitting on some boxes.


Take a photo of Sharkie.
Sharkie is a name given to, presumably by the soldiers, a mortar launcher with sharp teeth drawn on it. You can find Sharkie stationed in the upper portion Otumoetai. To get there from the start of the level, turn left and walk across the planks until you see a pair of UN soldiers. Turn left from where they are to find a small opening to where Sharkie resides.


Using the telephoto lens, take a photo of at least 10 solar panels.
Solar panels are rectangular panes that gather thermal energy emitted from the sun's rays and convert it into electricity. You can find solar panels arranged on the upper portions of the level.

Since you need to take this photo with the telephoto lens, you'll need to position yourself far enough away from the solar panels to fit them all into frame. You can do this by going into the corner near the spawn point and elevating yourself into a suitable position.


While close by, take a photo of text that reads 'Property of the UN' in a sarcastic tone.
You can find the phrase "Property of the United Nations" (UN) on boxes and other items in Otumoetai. For this bounty, however, you need to find use of this text that is sarcastic in nature.

You can find an example of this on the bottom of the set of stairs that Micah is standing on. Make sure you're standing next to this passage when you take the photo to complete the bounty.


Take a photo of at least three targets.
A target, in the parlance of shooting, is a marker made of some sort of destructible material that is used to measure one's accuracy. The targets in Umurangi Generation are yellow hexagons in the shape of coffins with skeletal creatures printed on them.

You can find targets in groups of three located inside of the building that Atarau is standing in the bottom of the level. For an easy shot that'll complete this bounty, find the entrance to the building next to the war room. You'll find three targets waiting for you there.

Stage 3
Kati Kati | Walled City - a claustrophobic and colorful slice of life.

The exit point can be found tucked away in a corner next to a person sitting on a tire just outside where your human friends are located.


Using the telephoto lens, take a photo containing a cat and a bird.
The word cat generally refers to an animal that belongs to a group of domesticated four-legged mammals of the feline variety. If you've been following along with the guide then you should already know what a bird looks like.

Surprisingly, you don't have to move from the starting point to complete this photo bounty. Simply take out your telephoto lens and turn slightly to the right and you'll find a bird gently perched upon a fence and a cat positioned behind the bird grooming itself.


Take a photo with at least fifteen candles in it.
A candle is an object made of wax with a burnable wick that's used to create light or spread fragrant aromas. There are dozens of candles spread throughout this stage but you can find a high concentration of candles near the shallow pool of water where your friends are.

To get there, move past the bird on the fence and continue until you reach a small flight of stairs. Head into the water and turn so you can see the candles on the stairs.


While close by, take a photo of the word "Cops".
There are multiple pieces of written graffiti in Kati Kati that mention cops but I will guide you toward the more accessible one.

From the start of the level, immediately turn right and walk past the burned out van into a fenced off area with a staircase in it. Continue up the stairs and jump onto the wooden platform at the end of the walkway to find the phrase "COPS ARE DIRTY" painted onto a wall. Take a picture of it to complete the bounty.


Take a photo of a Manaia memorial.
The Manaia is a mythological creature in Maori culture that is often depicted as serpentine in its appearance. You can find drawings of Manaia on the walls in this and other levels throughout Umurangi Generation but those won't cut it for this photo bounty.

You can find a Manaia memorial at the base of the stairs in the same area as the "COPS ARE DIRTY" graffiti. Take a picture with the sculpture in frame to complete the bounty.


Take a photo with at least four bikes in it.
A bike, or bicycle, is a single-person vehicle with at least two wheels on it. A bicycle is typically powered by the person riding it using a pair of pedals or by a motor engine. You can find both types of bike in Kati Kati.

To find four bikes that easily fit into frame, face the Manaia memorial and turn right down the steps and then turn right again to go up another set of steps to reach an alleyway. You should immediately come across two different pairs of bikes as well as a group of bikers.


Take a photo of a butterfly.
A butterfly is a delicate winged insect renowned for its beauty.

In the same alleyway, you can find a giant luminescent depiction of a butterfly drawn onto a wall. Depending on how your frame the example shot of the four bikes, you might be able to get credit for this photo bounty too.


Take a photo with at least four feather icons in it.
A feather is a singular strand of the plumage that covers a bird's body.

You can find feather icons scattered across the walls of Kati Kati. You can find four feathers in the same space near the pool where your friends are on the walls opposite the multi-colored arch. You can either jump onto the raised platform where the arch is or move along the wall below it to frame the four feathers that you need for the shot.
Stage 4
The Strand - a lively nighttime city street.

The exit point for this level can be found directly behind the Tauranga Deliver Service van that is directly to the left of the spawn point.


Using the telephoto lens, take a picture that contains the word "Gamer" at least seven times.
You can already see a prime location for this photo bounty once you spawn into the level. Turn towards the bevy of bright signs to your right and walk backwards until you get the "For Gamers. By Gamers." sign in frame with at least four "Gamers Hideout" signs and take a picture.


Using the telephoto lens, take a photo of a bloodhound.
A bloodhound is breed of dog known for their keen sense of smell and saggy skin.

Chances are you don't need to move at all to complete this photo bounty after completing the first one. Simply turn to the left side of the street and look upwards to find a sign for Bloodhound Lawyers, which features an image of a bloodhound on it.

You can also find the same sign at the mouth of the underground passageway on the right side of the stage.


While close by, take a photo of the word "XCF".
You can find this three letter initialism printed on the sides of one of the sports cars parked on the street. It's on the car that has a person sitting on the hood.


Take a photo with at least four spray cans in it.
A spray can is typically any sort of cylindrical instrument that can expel a compressed liquid inside of it. The spray cans you're looking for contain paint in them and show up in other levels too. Perhaps you've seen some by now.

You can find spray cans scattered about in the underground portions of The Strand. If you enter through the stairs next to the XCF car, you will immediately be able to see four spray cans down a hallway.


Take a photo with at least two vans in it.
A van is a type of large motor vehicle suited to transport people or items.

You can find three vans on the surface of The Strand. You can find exactly two of them near the tail of the XCF car.


Take a photo with the word "Tepuna" in it.
Head to the underground once more and walk around until you see a somewhat empty corridor with a table and chairs on the ceiling. In this area you can find the word "Tepuna" tagged on the wall. It's on the same side as the "UNnecessary" graffiti.


Take a picture with at least two cats in it.
If you've been following the guide up until this point you should already know what a cat looks like. You just need to find two of them to complete the bounty.

You can do so by heading up to the surface and finding the XCF car once more. Just beyond it there's another car and right next to it another entrance to a subsurface area. Down here is where you can find a pair of cats lounging about.


If you're having trouble framing these two cats, try using the wide-angle lens you received for completing the last level to see more of this somewhat cramped area.
Stage 5
Otumoetai | Contact - a fearsome figure brings along a crisis.

This stage uses parts of Otumoetai, the second stage of the game, but is much smaller. Not for any positive reasons, however.

The exit point on this level can be found on top of the defensive structure you spawn in front of.


While close by, take a photo of the word "boomer".
The location of this photo bounty is on the other side of the map and you'll need to do some platforming to get there. Don't worry about stepping into fires but do worry about touch any blue bottles you see along the way. Doing so will cause you to respawn at the start of the level.

Make your way to the burning wreckage of the jet and head towards the narrow tip of the plane. On a nearby wall you'll find writing that reads: "BOOM BOOM BOOM FROM THE SQEUID ERASER GANG". You'll noticed that due to how they're placed together the words "boom" and "eraser" can be read as "boomer" if you cut off the rest of "eraser".


You don't have to frame your photo to obscure the rest of "eraser" but remember that you do have to be close to the writing to complete the bounty.


While near by, take a photo of a generator.
A generator is a machine that generates, or creates, anything. In this case, the type of generator you're looking for is meant to portably generate electricity.

You can find a generator directly opposite of the writing you need to photograph for the first bounty. To make sure you're the proper distance away from it, simply walk up to the writing, turn around and take a photo. You might accidentally take a photo of a blue bottle in the process though.


Take a photo with at least two carbines in it.
A carbine is a type of firearm with a shorter barrel than its standard counter part.

The UN soldiers in the game are armed with carbine rifles. An easy place to find two of them is in the hands of the soldiers taking fire near the spawn point.


Take a photo with at least ten green chemlights in it.
Chemlights, or glow sticks, are small temporary light sources that can be used in a variety of situations.

This photo bounty requires you to capture ten green chemlights in a single photo. It can be difficult to determine which of the chemlights are green if you're using any of the colorblind modes. Thankfully, you don't have to look that far for a potential solution.

From the start of the level, turn directly to your right and walk between the downed soldiers and you should see arrows made of chemlights in the distance. These arrows are made of five green chemlights apiece so taking a picture of two of these arrows that are fully in frame will complete the bounty.


Take a photo with at least four first aid kits in it.
A first aid kit is any sort of bundle of medical supplies that can help an injured person. In Umurangi Generation, first aids kits take the appearance of small pouches with crosses on them that are labeled "First Aid Kit".

Unsurprisingly, you'll be able to find first aid kits near the injured soldiers by the spawn point. Two are near the downed soldier near your feet, one is toward the left near a tire and one is next to Kete and another injured soldier. With some trickery you can get all four into frame with the standard lens buts it is significantly easier to climb on the fences near the spawn point and take a photo with the wide-angle lens.


Using the telephoto lens, take a photo of at least three targets.
If you recall from the first visit to Otumoetai, the targets were relegated to the lower parts of the level which are now completely inaccessible.

Maneuver towards the downed jet and onto the barrier surrounding it. Face the defensive structure and look down to see the same coffin-shaped skeletal targets engulfed in some strange, pulsating substance.


Take a photo with at least two body bags in it.
A body bag is a type of container used to secure and transport corpses, or dead bodies.

You can find two body bags just past the injured soldiers at the start of the level. They're beyond a set of planks next to a table and a blood splatter on the ground.
Stage 6
Karangahake - The narrow confines of a train in transit.

There are quite a few time-sensitive photo bounties in this stage. The train seems to loop endlessly, so if you miss something you can simply wait it out until another opportunity arises.

The exit point for this stage can be found in the back of train with the military supplies..

Take a photo with at least five seagulls in it.
The first photo bounty of the stage can be quite difficult to obtain if you're specifically looking for it or it might be one you inadvertently complete as you take pictures in this stage.

One possible solution is to reach the top of the train by going to the back of the train and using the generator and other items back there as platforms. There you can find exactly five seagulls just chilling out. You'll have to move back quite a bit to frame them all though.

If you find yourself having difficulty getting up there, you can wait for the train to exit the tunnel and take a photo of this structure:
If you look closely, you'll notice that there are seagulls perched on the bars in the distance.


While near by, take a photo of a flashing red light while it's on.
This photo bounty is time sensitive and requires a bit of timing to get just right.

Near the middle of the train there are two open doors. Face the front of the train, where you spawn, and peer out the door on the right side. From this position, you should be able to see blinking red lights that face you as the train makes its way past them. Wait here until you're close enough to snap a picture of one as it flashes on.


Using the telephoto lens, take a picture with at least five American flags in it.
The American flag is a distinctive design made of red and white horizontal lines and fifty white stars.

For some reason, there's an American-themed kitchen in the train that is filled with the American flag. Go towards the back of the train and situate yourself behind the last table with people at it. This is the table behind the one Micah is sitting at.
From here, equip the telephoto lens and point it towards the framed pictures in the kitchen. Adjust your view until you can also get a miniature flag and the kitchen sign into frame then take the photo.


Using the wide angle lens, take a photo with at least two coffees and a downlight in it.
Coffee is a caffeinated beverage. You can find it in lidded brown cups throughout the train.
The term downlight generally refers to any sort of light that is affixed to an opening inside the ceiling of a building. The lights that line the ceiling of the train are all downlights.

You can find both of these items near the front of the train. There are two passengers in seats across the aisle from each other with coffees on their table. Get them in frame and aim towards the ceiling to complete the bounty.


Using the fish eye lens, take a photo with at least three bottles of sauce and three boxes of cereal in it.
For completing the previous level, you'll have received the fish eye lens which skews and distorts the images you capture with it in use.

Sauce generally refers to any sort of liquid or semi-solid that is meant to be consumed with another food product. In Umurangi Generation, sauce can be found in unmarked bottles with red lids.
Cereal, in this case, refers to breakfast cereal which is made from processed grains. It tends to come in tall rectangular boxes, as is the case for their appearance in Umurangi Generation.

You can find both of these items in the kitchen between the stove top and glass door refrigerator.


Using the fish eye lens, take a photo with at least twenty sticky notes in it.
A sticky note is a small piece of paper with adhesive on it that allows you to attach it to any surface of your choosing.

You can find sticky notes inside the train kitchen and on the bulletin board just outside of it. Stand outside the kitchen, with your back towards Kete and your Penguin friend, with your fish eye lens equipped to get a shot with the necessary amount of sticky notes in it.


Using the telephoto lens, take a picture of the numbers "2" and "3".
2 and 3 are the third and fourth numbers of the Arabic numeral system. They have a variety of uses.

You can find these two numbers in close proximity to each other at the back of the train near the edge of the tables.
Stage 7
The Metro | Subway - a busy transit station.

A fairly large level with lots of people in it. If you fall on or between the tracks you'll respawn at the start of the level.

The exit point for this level can be found next to a bunch of luggage near the spawn point.


While close by, take a photo of a boombox and a spray can.
You should know what these two items look like by now, so I'll just tell you where to find them.

Traverse to the area directly opposite the spawn point, either by jumping on the trains or by taking the constructed overhead path, to find a group of dancers. They have a bunch of boomboxes set up next to spray cans so take your pic as to which one you'd like to photograph. Just make sure you're right next to it when you take your photo.


While close by, take a photo of a kiwi.
A kiwi generally refers to one of three things: the small, fuzzy fruit, the small flightless bird endemic to New Zealand or a resident of New Zealand. Although Umurangi Generation does take place in New Zealand, the kiwi you're better off looking for is the bird.

You can find a picture of a kiwi on the back of a sign on the overhead path, near the trees and other foliage.

If you'd rather take a photo of the fruit, then look just beyond the sign with the kiwi bird on it to see a UN blockade. Jump on it and walk towards the signage on the walls and mount the scaffolding there. Carefully move down this path of exposed scaffolding towards the shipping containers and you'll come across a sign with photos of the kiwifruit being cut on it. Make sure you're right up on it and take a picture, if you so desire, to complete the bounty.


While close by, take a photo of a pair of glasses and a trilby.
Glasses are pieces of eyewear composed of a frame and lenses worn for fashion or for medical purposes.
A trilby is a style of hat with a short and angled brim that is similar in appearance to the fedora.

You can find both of these items worn by someone standing outside of the line for the UN checkpoint at the bottom of the stairs near the spawn point.


Take a photo of at least three ferns and a bench.
A fern is a type of plant that is typically used as an ornament in décor.
A bench is a piece of furniture that seats multiple people at once that is usually seen in a public setting.

You can find both of these items in the overhead path that lies above the stationary trains.


Take a photo of at least six "Enlist" posters.
The "Enlist" posters appear throughout Umurangi Generation. They are blue and white posters that encourage any passersby to join the UN.

You can find many of these posters lining the walls near the UN checkpoint.


Using the telephoto lens, take a picture of the word "squid".
Make your way towards the dancers again and you should be able to see multiple signs for an establishment called The Krispy Squid.

Use your telephoto lens to take a picture of the sign and complete the bounty.


Using the telephoto lens, take a photo of at least two face masks.
A face mask can refer to any sort of covering that protects or obscures parts of the face. Many people in The Metro are wearing masks but you can easily capture a picture of two in the same space by heading back to the spawn point.

There, you'll find a pair of similarly dressed individuals wearing masks standing right next to each other.
Stage 8
Mauao View | Invasion - a chill spot robbed of its respite.

This is the final level in the base game. Some of the bounties here are tricky, but not impossible, to capture without certain piece of optional equipment. As a reminder, all example shots use the standard lens or other non-optional lenses

The exit point for the final level of the base game can be found on the bottom portion of the level near a door with an exit sign above it.


Take a photo with at least fifteen candles and four boomboxes in it.
You can find a number of both items littered throughout this stage, the problem, as you'll no doubt see, is finding satisfactory angles to get them all in one shot.

For this first bounty, head to the upper portion of Mauao View and climb to the point on Kete's right-hand side. From this high vantage point, equip the wide angle lens and point it towards the pool of water. Line it up so you have the right amount of items to complete the bounty. If you can't seem to get the right angle here, check and see in there's anything on the same ledge you can climb onto.


Using the telephoto lens, take a picture with at least two skateboards in it.
A skateboard is a construction made up of wood, metal and other components. It has four wheels and can be ridden as a mode of transportation or as part of the recreational activity known as skateboarding.

The only location that seems to have two skateboards in close enough proximity is in the area in front of where Atarau is facing in the upper portion of Mauao View. To frame this bounty, you'll want to be near the top of the staircase that you spawn in front of. From there look to your left through the fence with the telephoto lens and you should see the pair of skateboards.

It's worth noting that this shot is significantly easier to take if you rotate your view to the left.


Using the standard lens, take a photo with at least two work lights and at least five blocks in it.
Work light is a term that refers to any sort of high intensity lighting used for any sort of job. The work lights in Umurangi Generation are the lights situated upon the tripods you can find throughout Mauao View.
Blocks, in this case, refer specifically to cinderblocks/concrete blocks. These are gray, rectangular and are typically used in building construction.

For this bounty, you can easily walk behind Atarau and frame a shot with the required items inside of it.


Using the telephoto lens, take a photo with two disposable cameras in it.
If you'll recall from your first visit to Mauao View in the daytime, there was a small construction with a disposable camera in it.

In this stage you'll find that there are now two of them there. Find a distance that suits you and take a picture of the cameras to complete the bounty.


Take a photo with at least four robots in it.
A robot is any sort of machine capable of performing a variety of complex tasks. In this case, the term may refer to any machine that has been given a humanoid form.

If you look into the distance, you'll notice three prominent shapes in the horizon launching ordinance at their adversary. These are three of the four robots you need to capture on film. A fourth can be found painted on a wall in the upper area of Mauao View. To get all four of these robots in the same shot, get on top of the boxes in the corner where the fence meets the wall at the top of the stairs near the spawn point. Use the wide angle lens to ensure you fit all four of them into frame.


Using the telephoto lens, take a photo with at least three lanterns in it.
A lantern is either a portable or stationary enclosure designed to shield extinguishable light sources from wind or other impeding elements. The lanterns in Umurangi Generation are stationary and house candles.

For this bounty, get on top of the wall that Kete is sitting on and make your way towards the edge of it. Once you're there turn toward your penguin friend and zoom in with the telephoto lens. Look to the right and you should see a trio of lanterns lined up for a shot.


Using the standard lens, take a photo with at least three tires and four pallets in it.
A tire is a rubber ring that provides traction to a wheel when placed upon its rim. They are typically round and black.
A pallet is a typically wooden surface used to aid the transport of materials with a forklift or other compatible machine or tool.

This final bounty can be swiftly completed by standing behind Micah and lining up the necessary items in frame. You may need to elevate yourself by standing on the wall or taking a photo in mid-air by jumping while zoomed in to get everything in frame.
7 Comments
Syn 6 Mar @ 8:19am 
Thank you, I wouldn't have been able to play the game without this :crying_yeti:
babs 15 Oct, 2024 @ 11:51am 
Dont know if your guide helped me. have you considered updating?
lex 27 Apr, 2024 @ 4:26pm 
Insanely late, but thanks a lot for the awesome guide!!
livinghell 12 Sep, 2021 @ 11:53am 
Using the telephoto lens, take a picture of the numbers "2" and "3". => "2 navy seals and 3 CIA officers" will work too
Puppydoll 28 Jul, 2021 @ 7:09pm 
Been a while since this was published, but any plans for one for the Macro DLC?
blzzzrrttt  [author] 2 Jan, 2021 @ 9:24am 
The pieces of equipment I was referring to there are the ultra wide angle lens which you get for completing all the bonus objectives on Stage 6 (which tends to trivialize a lot of the photo bounties in the game) and the hover boots which you get for completing all the bonus objectives in the final stage.

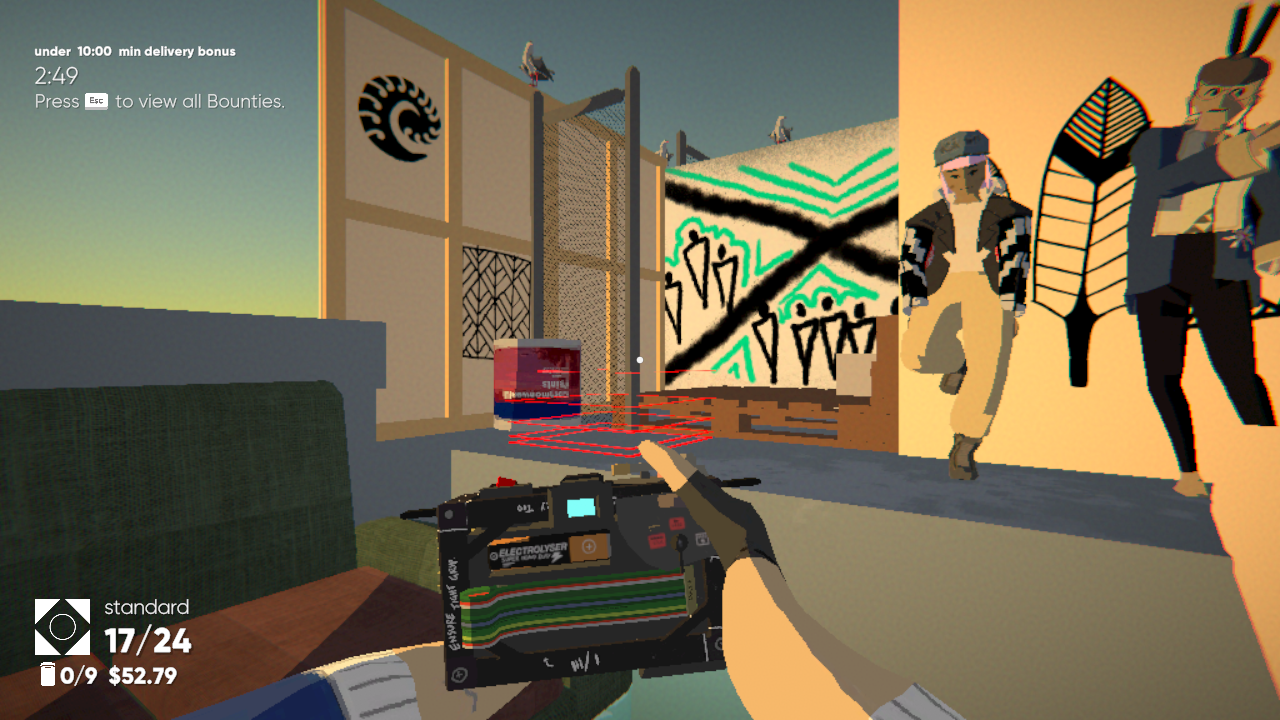
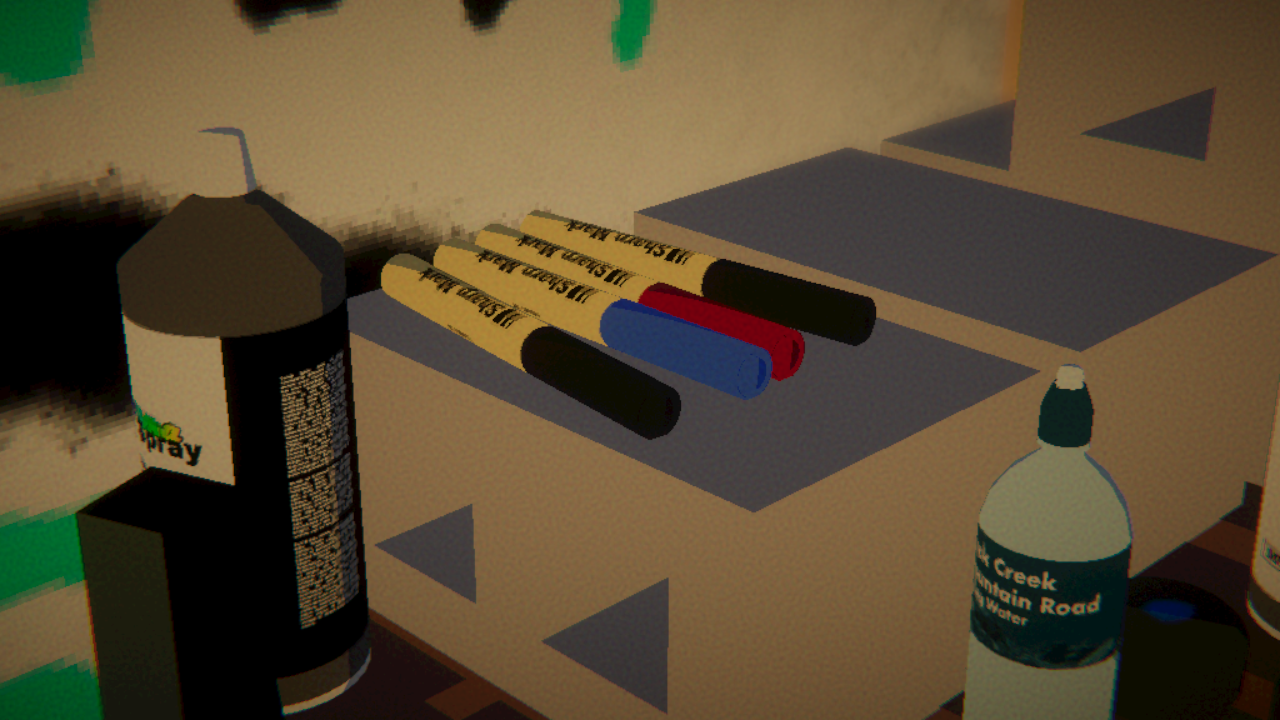
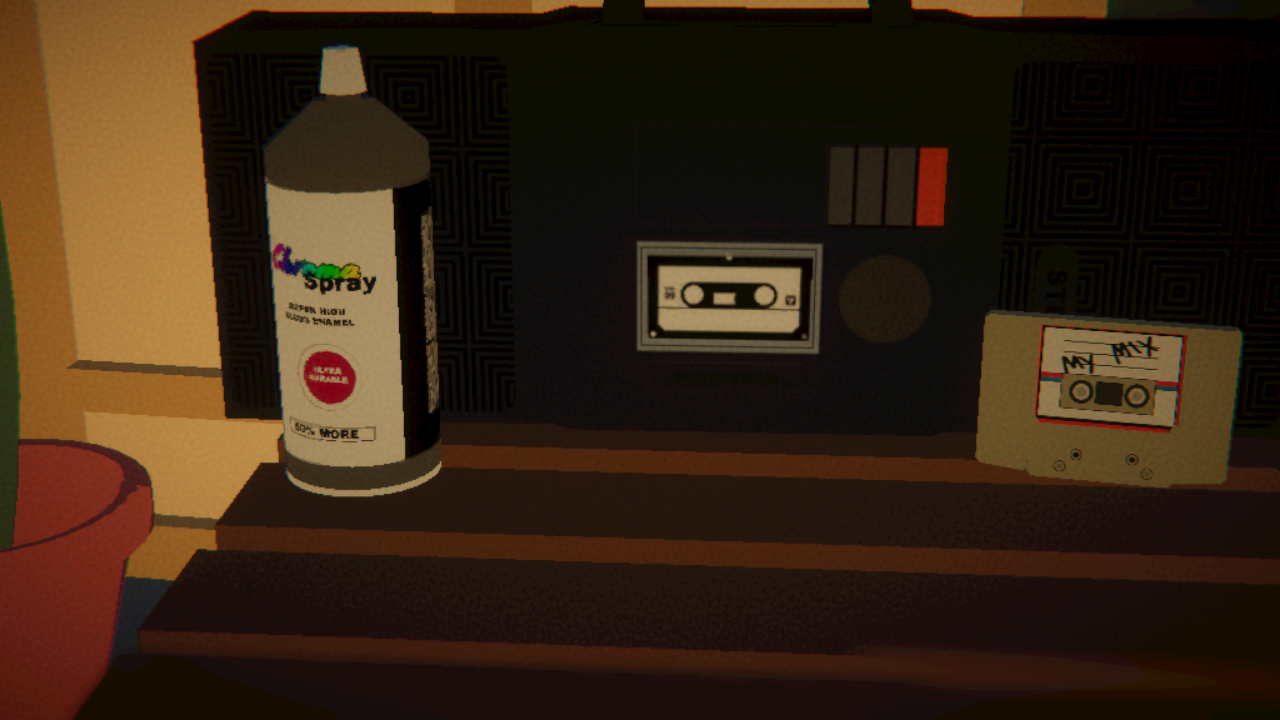
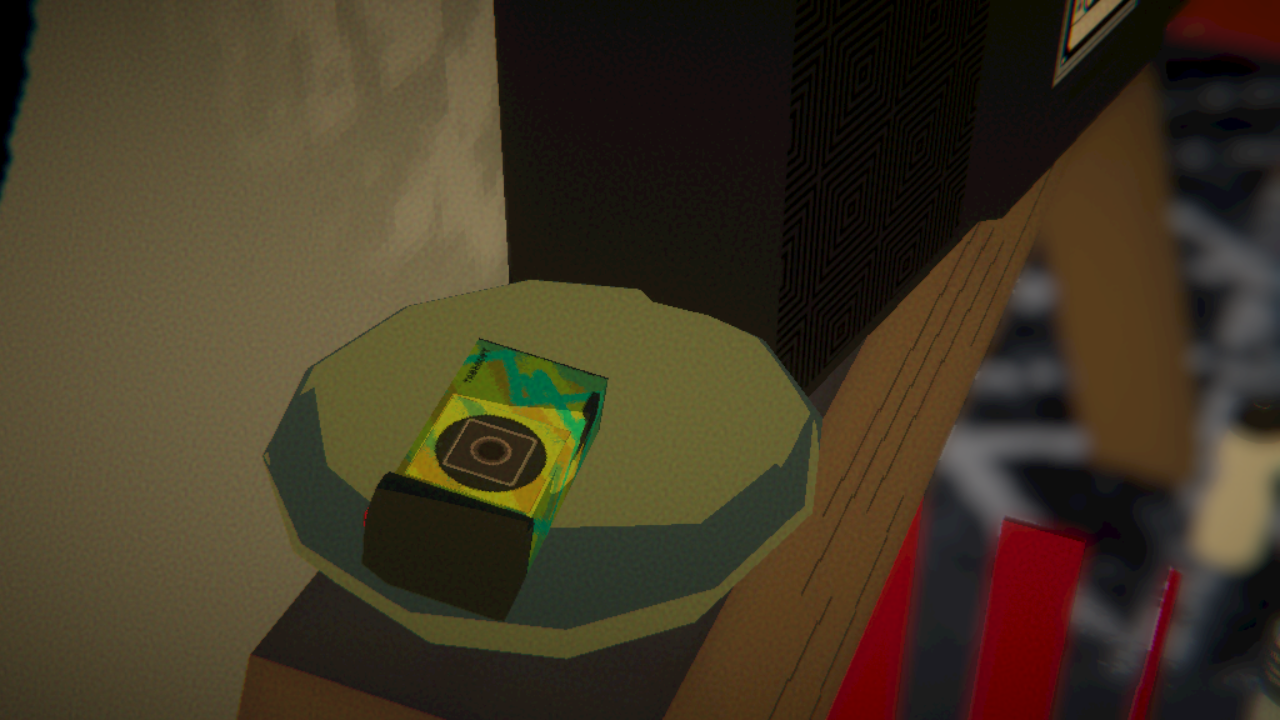
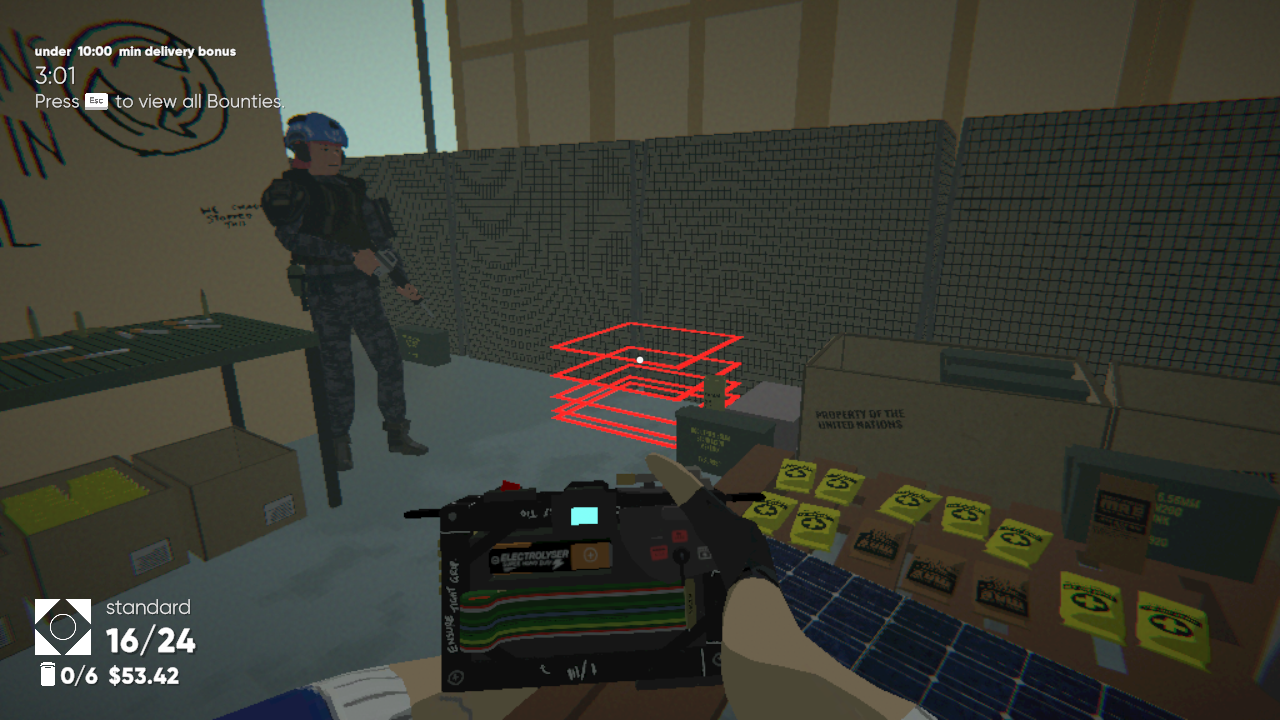
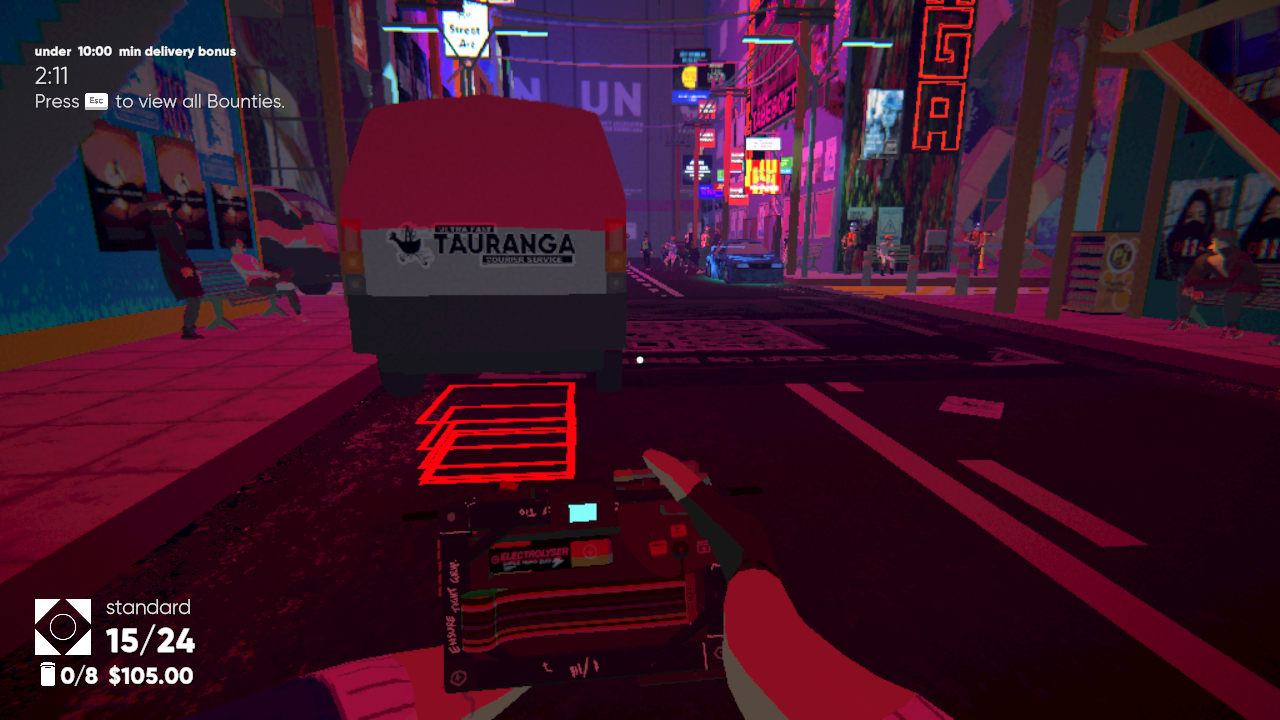
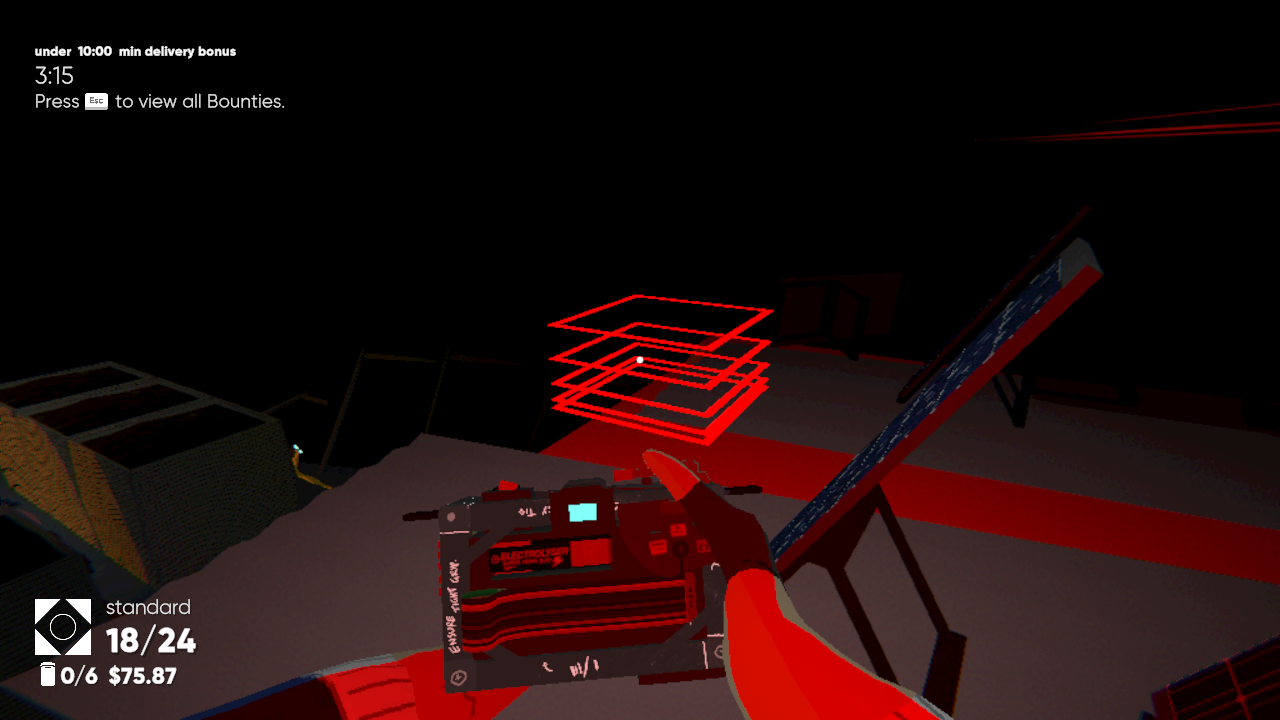
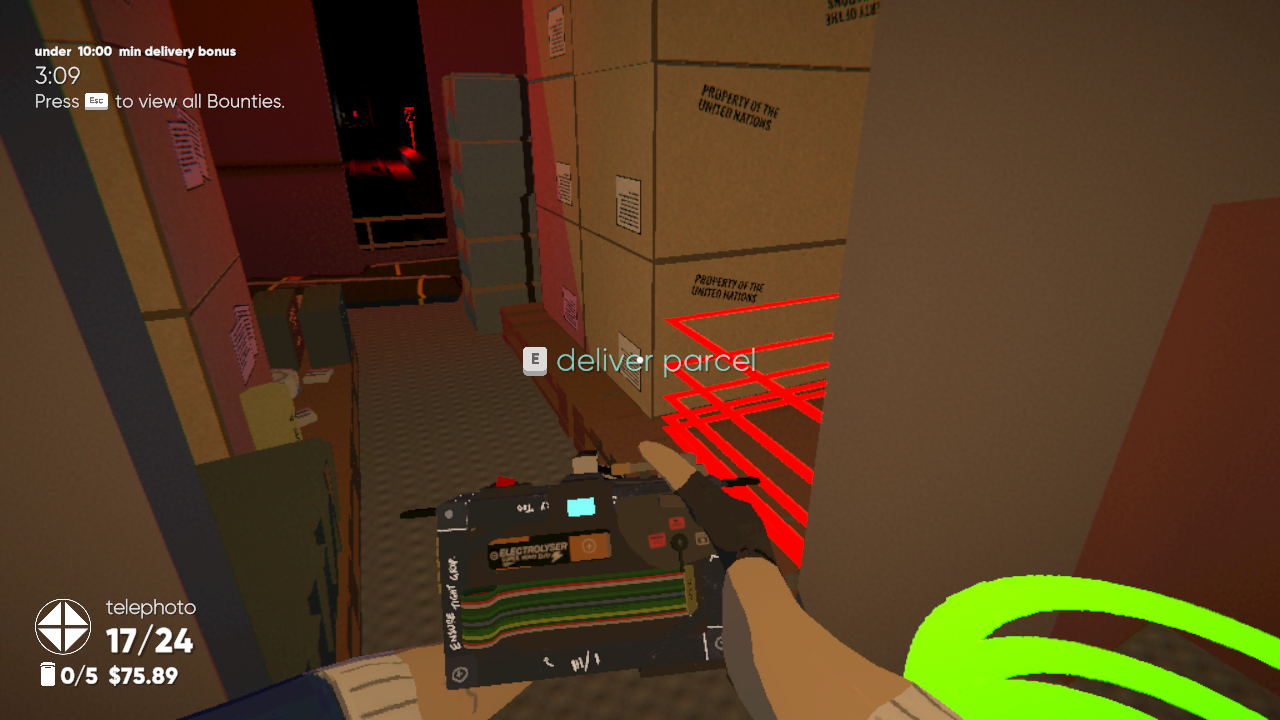
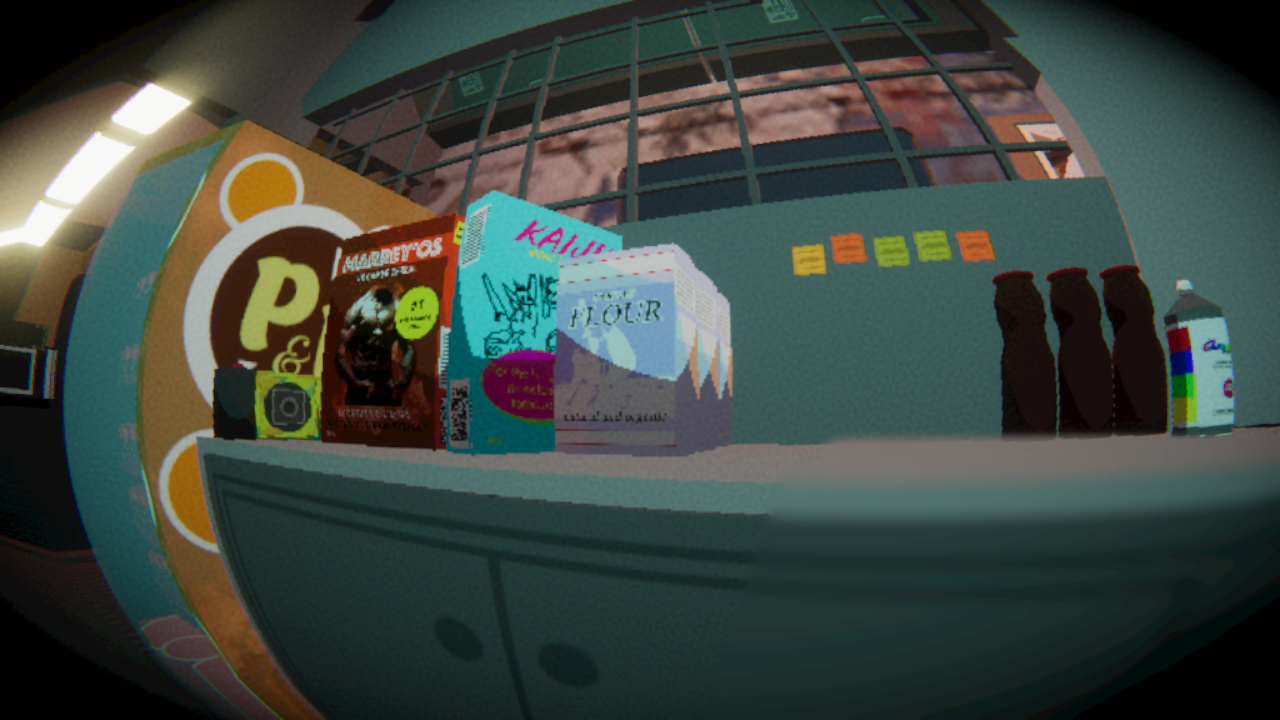
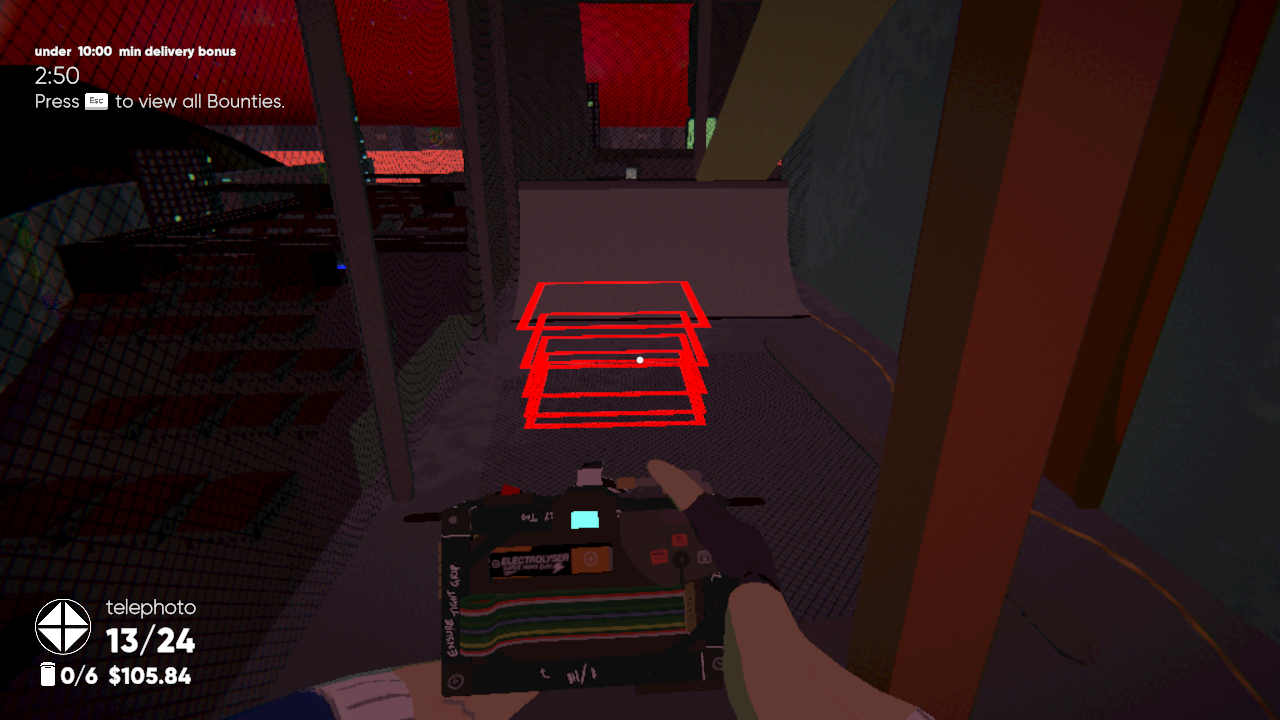
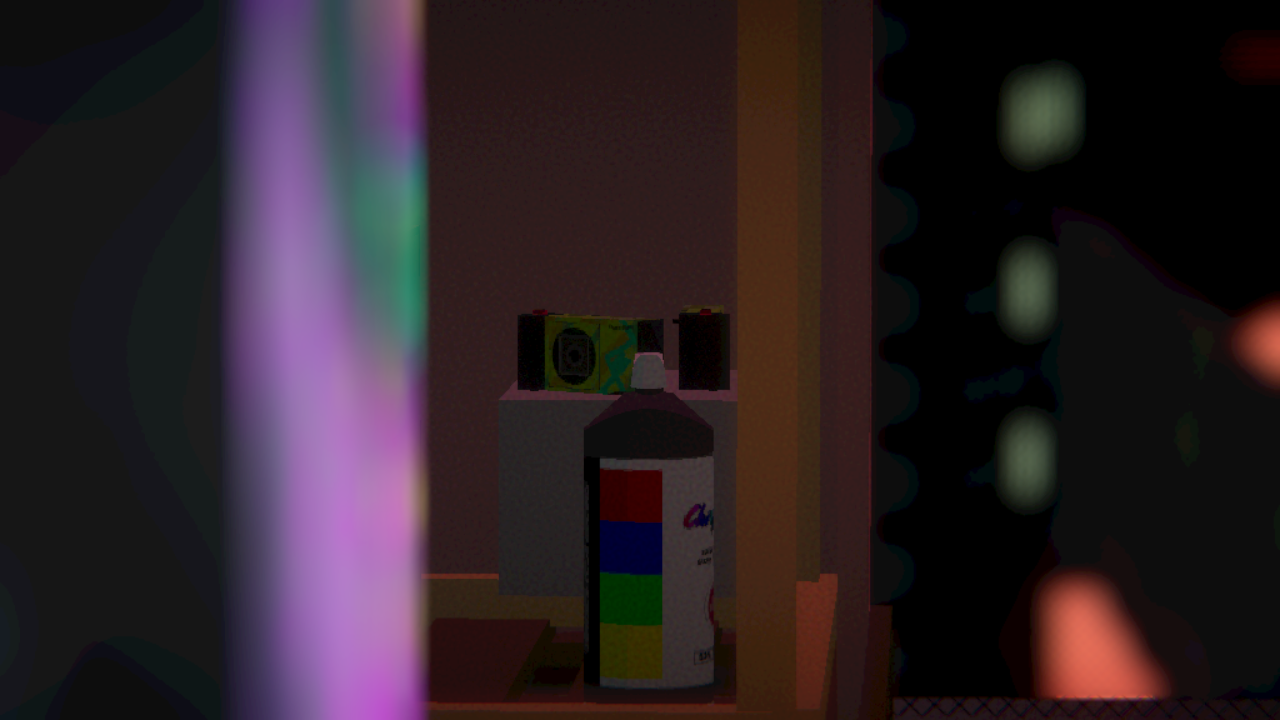
As for the blue bottles, I seem to recall that most of them in the final stage don't give you a demerit when you photograph them. You can definitely complete some bounties without getting blue bottles in frame but I'm not certain if that's the case for the bounties that require you to frame so many specific objects in them. Would definitely be an interesting goal to try and achieve though.
Prof_J 2 Jan, 2021 @ 8:46am 
For the last level you say "Some of the bounties here are tricky, but not impossible, to capture without certain piece of optional equipment." What is the optional equipment , and is it even possible to do these shots without getting Blue Bottles in every photo ? Yours seems to be the only guide on the internet.