Far Cry Primal

Far Cry Primal

140 ratings
Survival of the Fittest: Survivor, Expert, and Permadeath
By Mejdrich
The hardest achievement in the Ubisoft portfolio, made easy(ish).
8
2
2
6
3
2
2
3
   
Award
Favorite
Favorited
Unfavorite
Introduction
Survival Of The Fittest: an achievement so hard that unlocking it gets you a video from the developers. To earn it, you have to beat the game at the hardest difficulty without dying once.


There are lots of video playthroughs of people making the attempt, but almost no guides. This everything I wish I knew when I first set out to earn this achievement. In it are the most important tips and tricks I've picked up, along with walkthroughs of the most challenging parts of the game.

I hope you find it helpful!
Before You Begin
Beat the Game on Expert Survivor

I strongly recommend you beat the game on Expert Survivor mode WITHOUTPermadeath before you launch into a SoTF run.

Trust me: you don’t want to lose dozens of hours of gameplay for every lesson you need to learn. Use this guide and play with some training wheels until your skills are up to the challenge. When I did this, I kept a log of all of things that killed me (it was long).

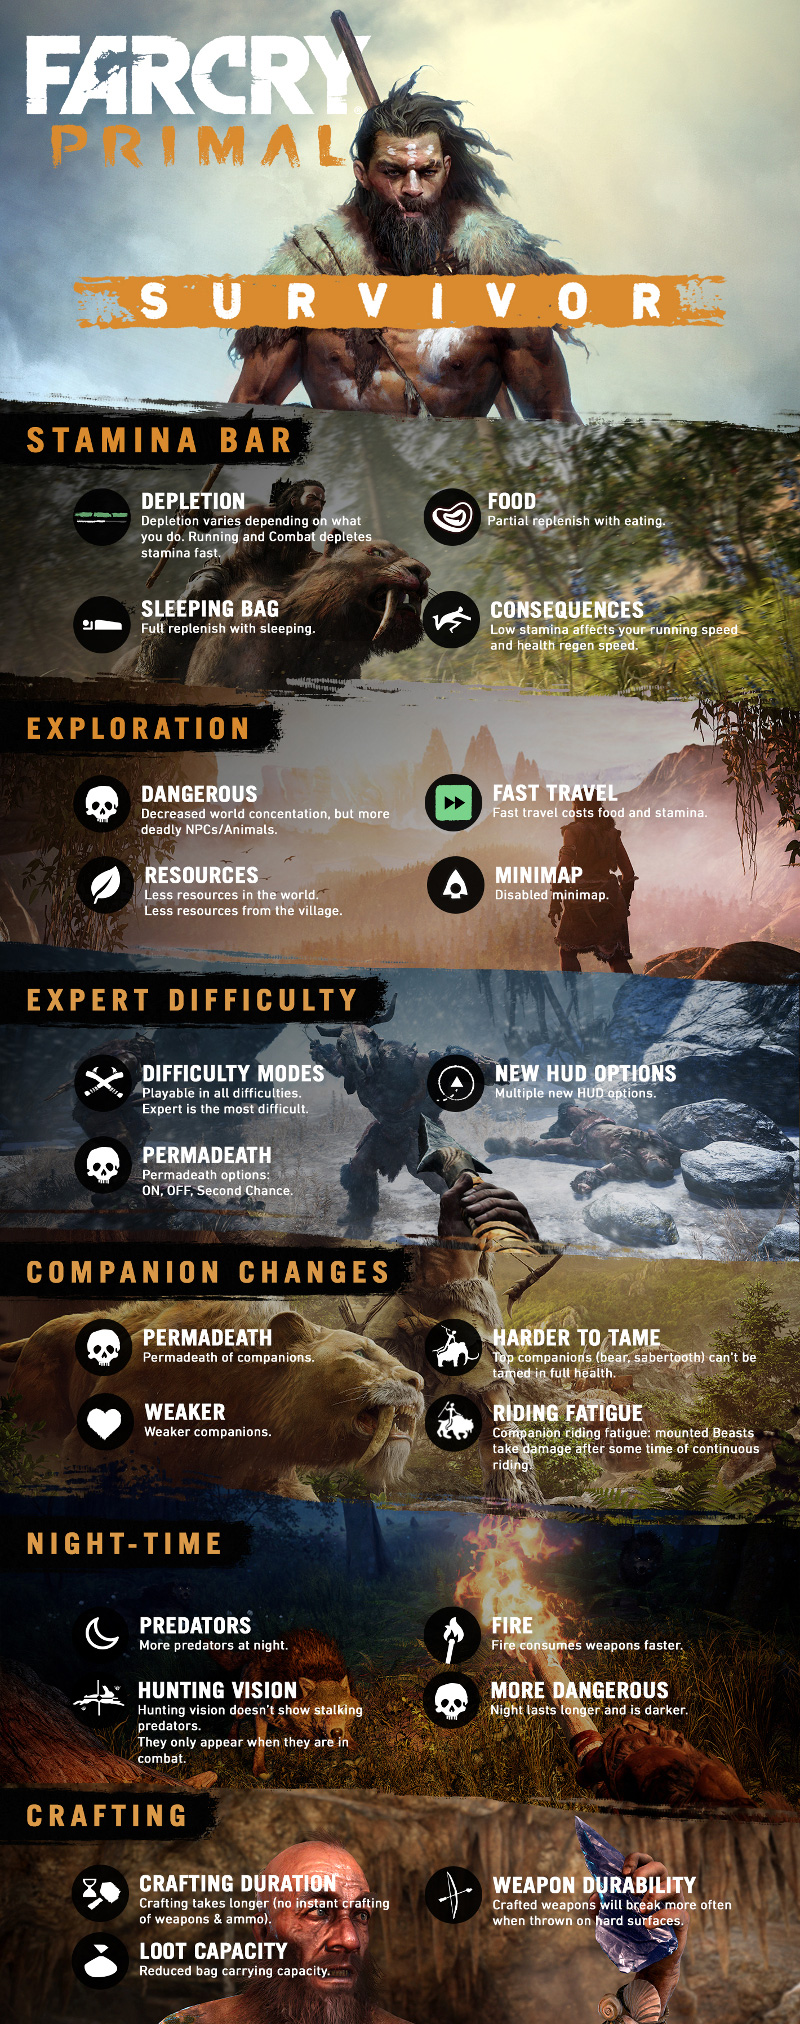
Fun fact: Primal actually shipped without Survivor mode. They added it as a patch after confused players started complaining. So what's the difference? You can see their official infographic on the right, and the detailed patch notes here[forums.ubisoft.com].

The most important stuff is:
  • Health limit of 4
  • No owl attacks or bombs
  • Sleep and meat are required constantly
  • Encounters are less common, but deadlier
  • Pet death is permanent
  • Predators are invisible to hunter vision
  • Save & Quit only works outside combat
  • Gameplay ""rebalanced"" for realism

For me, the hardest part of Survival Of The Fittest was unlearning all of the guns-blazing moves from other Far Cry titles. Tekkar will never level-up to be an unstoppable God-mode badass gunning down entire armies. No, that honor goes to your pet sabretooth. While your tiger is shredding neanderthals and tearing out the throats of the local megafauna, you'll be hiding in the bushes clutching your spear with trembling, white-knuckled hands.

Primal isn't a realistic wilderness survival game. There is no weather. Wounds don't fester. Butchering a house-sized mammoth is instantaneous. You swim in glacial water like it's a warm bath.

No, what Primal gets right is capturing the short, brutal life in the ice age where death is waiting in every shadow. A SotF run is all about leaning into that fear. You have to play cautiously every step of the way, constantly ready for fight-or-flight. The shock of seeing hours of gameplay end with one violent mistake sucks ... but is also perfect.

The Strategy

My strategy centers around taming a Sabretooth as early into the game as possible, roughly two hours in. There are a number of dangerous encounters in those two hours, but once you get there, the game gets dramatically easier.

From there, there is a long middle game completing all of the Specialist missions. Most missions aren't hard, but there is a ton of opportunity to get sloppy and make the one mistake that ruins your game. I advise skipping side missions completely. The Specialist missions give you all the XP you'll need.

The endgame requires two difficult fights with Ull and Batari. To ""win"", you need to complete all of the Specialist missions and upgrade their huts. You do not need to do any of the Beast Master Hunt missions, although I recommend picking up Bloodfang.

Cheating

Primal is an AAA game, but it's not perfect. I've had Bloodfang vanish, and died from a myriad of glitches ranging from true technical issues to poor game design: grappling hook failures, melee auto-aim launching me over a cliff, once in the middle of a field from nothing, a stalactite that didn't stun Ull, animations randomly switching my weapons, etc., etc. If any of that would ruin your enjoyment of the game, consider these alternatives:
  • Restart a Mission. A surprising large part of a playthrough is in missions. where you can restart or load the last checkpoint at any point. You can, for example, restart any time you break stealth or take damage (most enemies take two hits to kill you). You can choreograph every move until you can play the mission perfectly, as long as you're quick on the 'Escape' key. To my mind, this is squarely fair game, as it's how the developers designed it.

  • Save and Quit. Also fair game. As long as you aren't within a couple seconds after taking damage, you can usually quit and reload normally. For example, when a herd of Rhinos are inches away from trampling you to death, or a moment before hitting the ground falling off a cliff.

  • Force Quit. During combat, you can still hit 'Esc', and force quit the game through the task manager. Sometimes you can quickly Alt-Tab as Tekkar is falling dead and still force quit with your game intact. I consider all of this cheating. But when the game actually glitches, I'm okay doing this.

  • Copy Your Save Files. There are a number of guides about how to do this, including Advanced Saves Management By Akunamatata. Basically, you manually copy the files in the savegame folder to somewhere safe. It is the only way to resurrect a game after the death screen. This makes the Permadeath setting meaningless, but is the only sure way to protect your game from true glitches.

Believe it or not, my first successful SotF run actually glitched and didn't unlock the achievement (seriously). I've now got three SotF runs under my belt (with the achievement finally unlocked), with the last run being ""clean"". Choice is yours.

Essential Settings

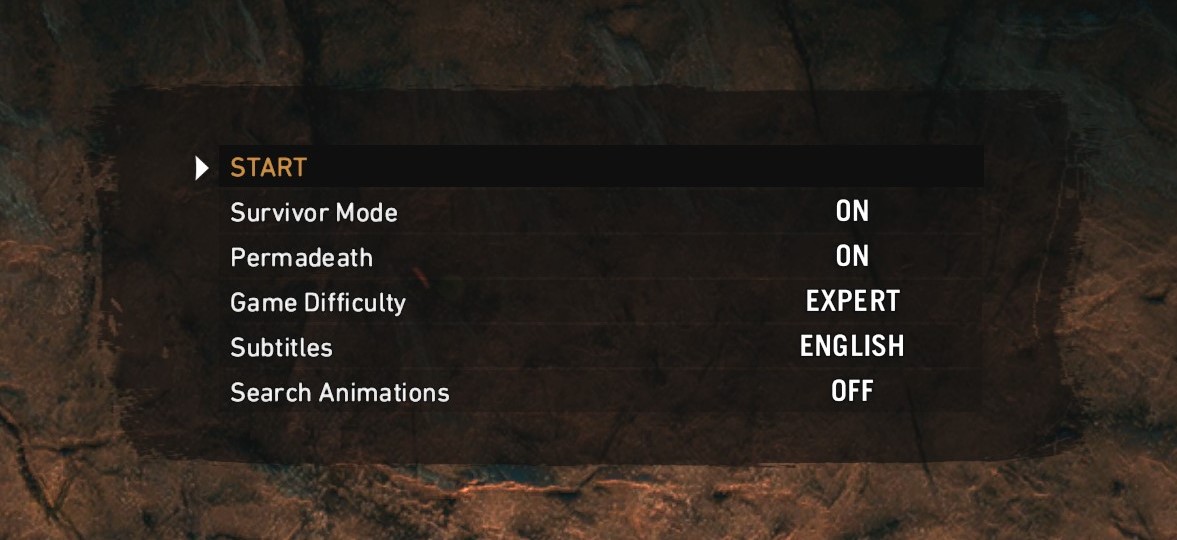
Start A New Game (required):
  • Survivor mode: ON
  • Permadeath: ON
  • Game Difficulty: EXPERT


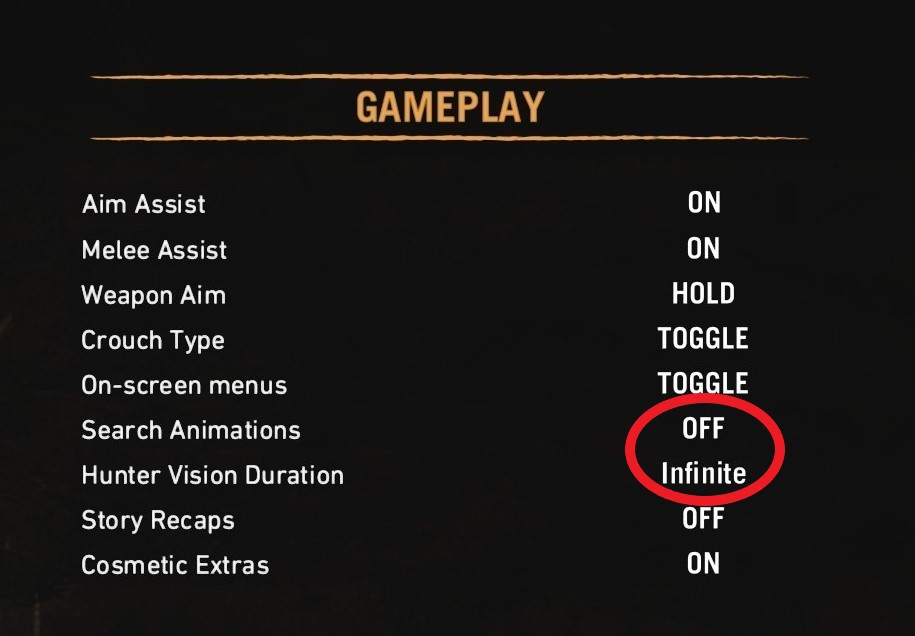
Search Animations: OFF
    Without this, you will stop for an animation every time you pick up a resource. Forced animations can kill. You will want to be able to harvest resources without stopping.

Hunter Vision Duration: Infinite
    You're going to want to have Hunter Vision active for almost the whole playthrough.

Music OFF
    Since predators don't show up on Hunter Vision, listening for their unique sounds is super important. Strap on some headphones. Music can be somewhat helpful when it alerts you to an aggro’d enemy, but in general, I find it distracting.

Brightness (+)
    Preference item. Make it bright enough you can see at night. You can also play with contrast and gamma to offset the graying out of Hunter Vision.

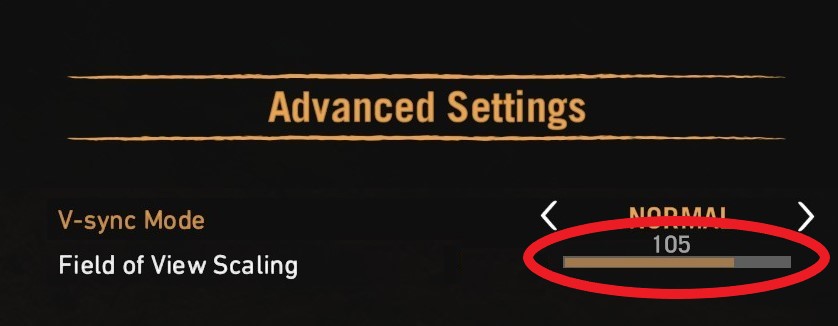
Field of View Scaling (105)
    Probably the most important setting, a wider field of view protects from flanking and improves situational awareness. To high, though, and you get a fishbowl effect. Make as high as you can without getting sick or losing your aim. For me, the sweet spot is 105.

Interface options all ON
    Why limit your information? Some of these are invaluable. The only ones I skip are tooltips and tutorial updates (if you need these, you're reading the wrong guide!).
Surviving the Early Game
Far Cry Primal was designed to be played with a pet. Until you get one, you are very, very squishy, which is why this walkthrough gets pretty specific.

Path to Oros
Thankfully, the Prologue itself isn't very deadly. In fact, it's one of safest places in the game to gather resources. After you make camp and craft your club, double-back to the area where you hunted goats, and you'll find it full of tapirs. Be sure to fill up your resources before moving on.

As you follow Sayla's tracks, also be sure to follow the 'investigate' prompts at every opportunity. Each investigation site gives you 100 XP risk-free.

Before you enter the cave system, you'll have to get past three wolves. Scare them with fire and move on. Hunting wolves becomes much easier once you have one of your own.
Deep Wounds
I can't say enough just how weak you are at this point in the game. Any fair fight? You lose. So you want to run away? Too slow. The only options are Takedowns or complete avoidance.

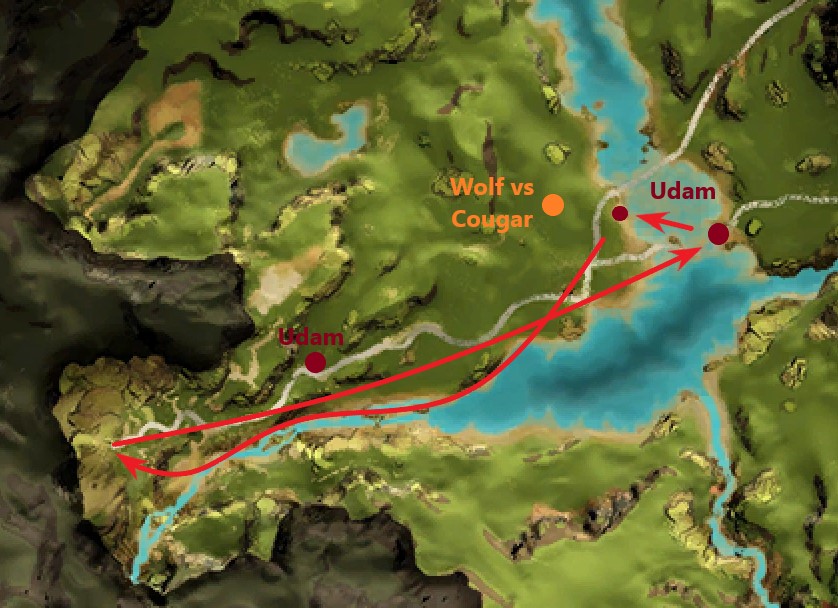
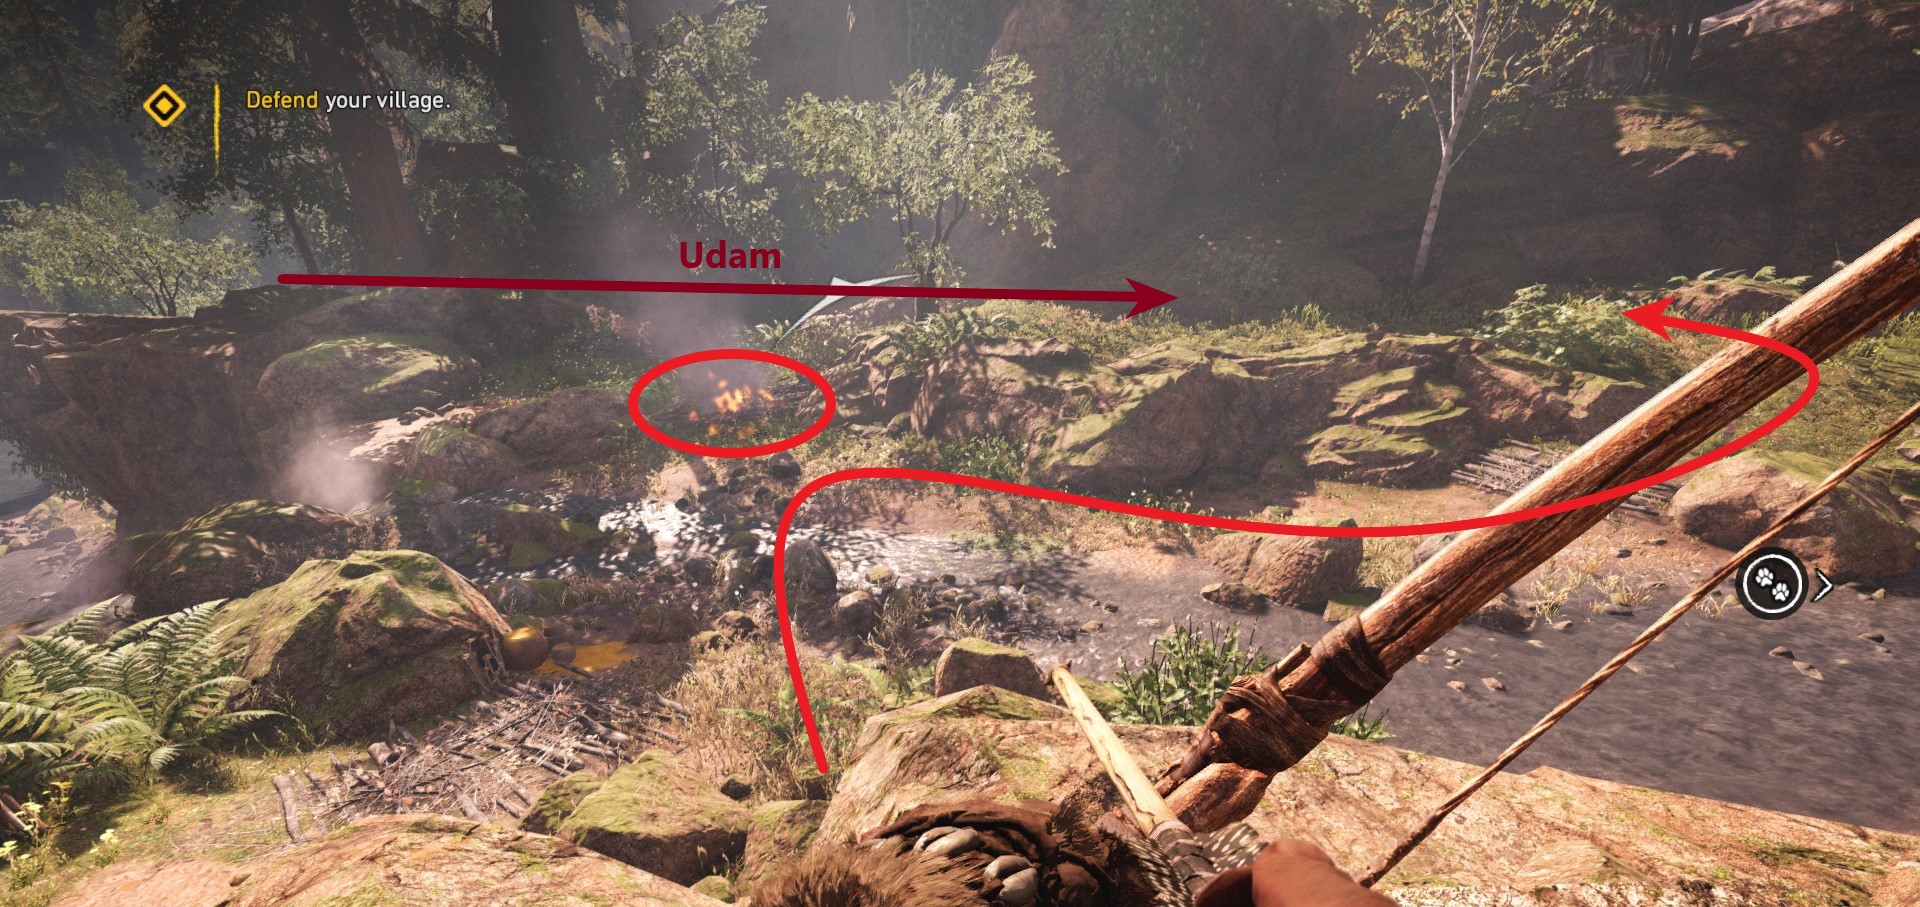
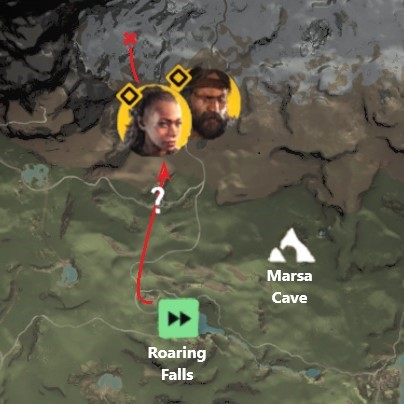
Follow the creek from the village to where it empties into the river. You'll see two Udam ahead on the other side, and one on your left (the near side of the river). Head to the two on other side of the river first. Approach quickly, only sneaking for the last 20 feet or so. Takedown the Udam on the right first, then immediately take down the other. Harvest the Green Leaves and loot the bodies.
There is a chance one body has a Green Leaf, in which case you can head straight back to the village. Otherwise, cross back to the village side of the river and take the Green Leaf behind the last Udam without killing him. There is a Jaguar fighting a Wolf further on past him that you want to avoid.

Green Leaves in hand, head back to the stream coming out of the village. Don't go up the vines on the right or you'll come up right in the middle of three Udam out on a walk. Keep going up the stream bed and climb up the last vines on the left.

Tensay the Shaman
For the first time, you have unscripted freedom outside missions. This is a bad thing: no reloading from checkpoint, and encounters are randomized.

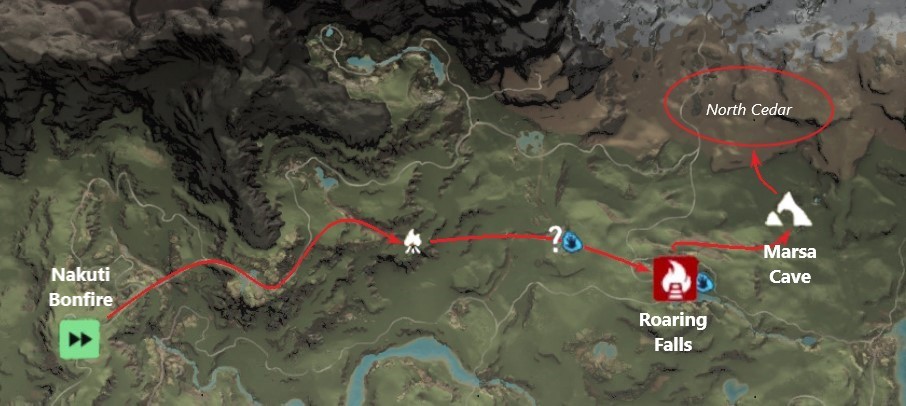
Head back down the riverbed and follow your quest marker to the Nakuti Bonfire. Possible threats are boars, Wenja Events, and the chance of a wandering Dhole. Resist hunting the deer and goats.

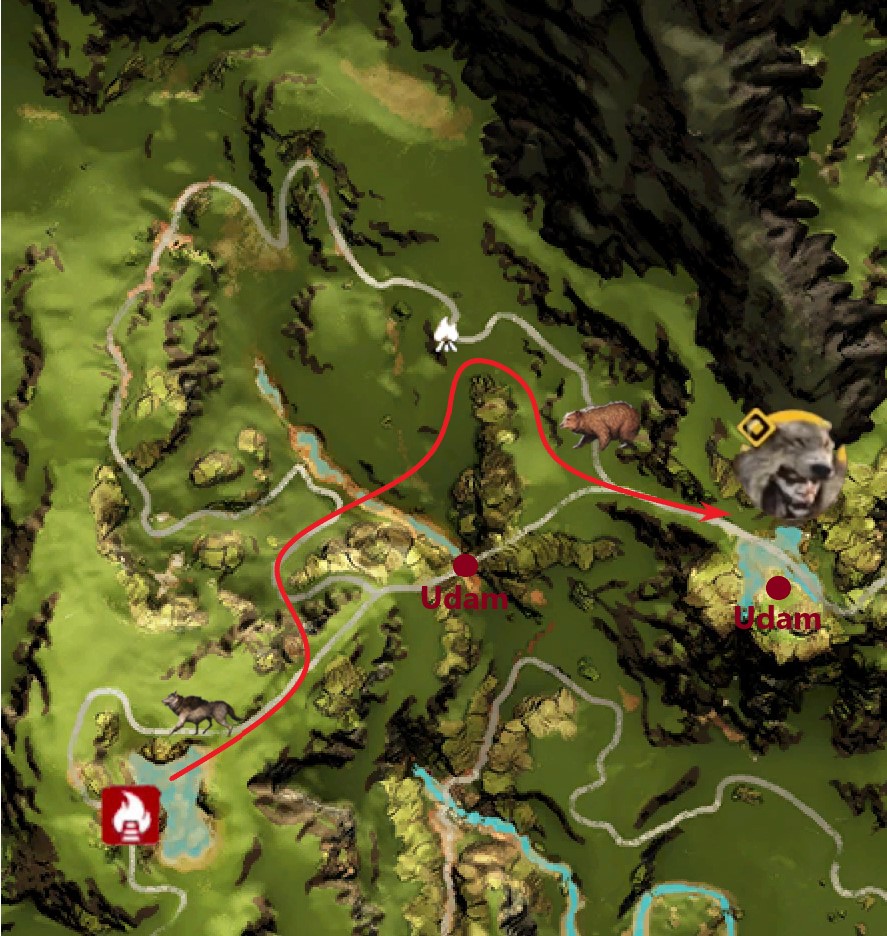
After claiming the bonfire, there may be a Wolf spawned in the pool below. Follow the quest marker toward Prashrawa's Birth, but chances are three Udam will be camped on the bridge, blocking your way. Instead, slide down the hill to the left and cross the valley below. As you start climbing the other side, keep your ears open for a bear. If it's in your way or if it sees you, slide back down into the valley and circle around to the other side of Prashrawa's Birth.

As an aside, sliding down hills is super important, especially early game. Until you can afford the Sprint Forever skill, it is often the only way to escape enemies.

As you approach Tensay's cave, you may run into three Udam camped at the Stone Fingers. If they aren't there, pick up the two Daysha hands nearby before heading in. After Vision of Beasts, take care coming out of Tensay's cave, as the three Udam or a bear (or both) may have spawned. Head to the second Tensay mission to the northwest.

Master of Beasts
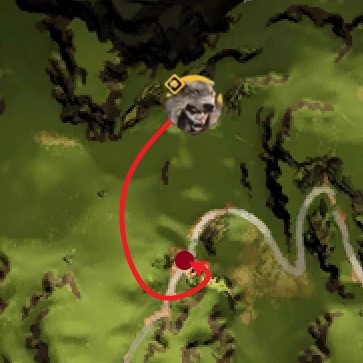
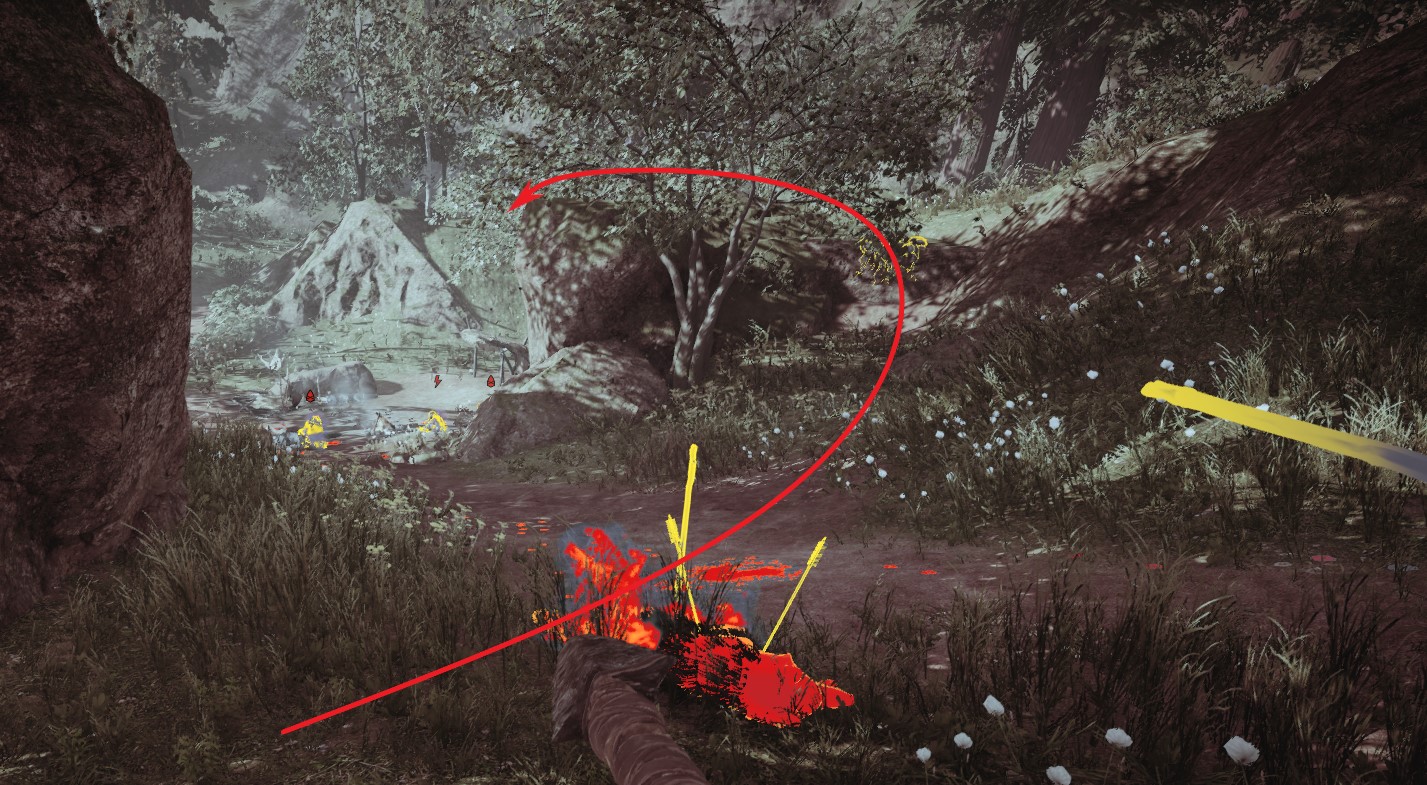
Dealing with the three Udam wolf hunters is your first real unavoidable fight, but no reason to rush in. Sprint far to the right and circle around behind them. If you need arrows or a spear, grab them near the dead wolf, then walk across the path and climb up the rock directly over the Udam.

At this point, killing three Udam is still tricky, even with the element of surprise. You only effective attacks are bow headshots and your one spear throw. You might be able to 1v1 the last one, but if you find yourself under fire from two of them, reload from checkpoint.

So the trick is to be quick between bow shots. There should be two sitting near your perch. Line up the first for a clean headshot. It usually takes the 2nd a second to stand, which holds him in place just long enough to get another headshot. If the 3rd doesn’t have line of sight, you can hide behind the rock ledge and wait for a headshot opportunity. Otherwise, I recommend a spear throw body shot. If you miss, there is a spare behind you at the dead wolf. Again, if things go sideways, reload from checkpoint and try again.

After that, there's a short hike to tame your White Wolf. Be sure to have a spare Bait, in case the first throw misses. This shouldn't be a fight - you have plenty of range before it'll attack you. With your new bodyguard, take out the final two Udam, letting the wolf 1v1 them one at a time.
Marsa Cave
Now that you have a pet, it's time for upgrades.


Fast travel back to the village and upgrade Tensay's hut. DO NOT also build Sayla's hut, until you are ready to trigger the Attack Of The Udam mission. First, we need to visit Akunamatata's magical Marsa Cave, so named because three rare beasts spawn there.
Originally posted by Akunamatata:
When you visit Marsa Cave, you will encounter one of the following (each variant has equal probability of 20%):
  • 1 Black Jaguar;
  • 1 Stripe Wolf + 2 gray wolves;
  • 1 Black Lion;
  • 1 Brown Bear;
  • 3 Udam - one armed with a club, one with spears and the 3rd one with poison bombs (in an early stage of the game you shouldn't mess with the last one if you're not 100% sure that you'll get an arrow to the head of a moving target in a split second ;).
The technique to find all animals at that location is ... when you see something you no longer need, save and quit to menu, then reload the game and travel back to the cave from nearest discovered/conquered resting point.

That's 3 rare and 2 common animals to tame in the cave, with Jaguars and Cave Lions in the forests surrounding, for a total of 7 tamable animals.

Which is great, but how to tame them without getting murdered?

Scaring Your Way Up the Food Chain
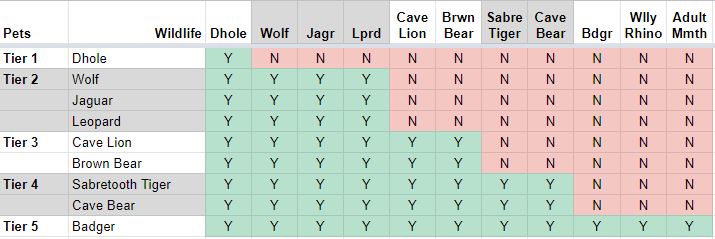
The most useful thing about having a pet is their ability to scare off wildlife. Animals can generally scare off other animals of their tier or lower, with those tiers being:
  • Tier 1 - Dholes
  • Tier 2 - Wolf, Jaguar, Leopard
  • Tier 3 - Cave Lion, Brown Bear*
  • Tier 4 - Sabretooth*, Cave Bear*
  • Tier 5 - Badger* (Mammoth, Rhino)
    * Must be brought to 1/2 health to tame.
With your White Wolf at your side, you can tame the Jaguars in and around Marsa cave from relative safety.

The danger is in leaping to Tier 3. Your best bet is to keep your ears open for a Lion roar, or get the drop on the rare Lion in the cave itself. Either can kill you. Your only defense is bait, so have a couple spares.

Once you have a Lion, my advice is to keep coming back until you have both the Rare Black Lion and the Brown Bear. A tamed Lion is the only way to safely tame the Brown Bear, because (like the Sabretooth) it require you bring it down to half-health to tame. You might be thinking, if a Sabretooth has to be brought down to half-health, and nothing you have scares it, how are you supposed to tame one? Answers lie at the Bone Cave.

While you're here, also worth your time to take a short detour north to gather 6 North Cedar to upgrade your spear. After that, head back to the village and get ready for a fight.

But one other word of warning, as long as we're here...
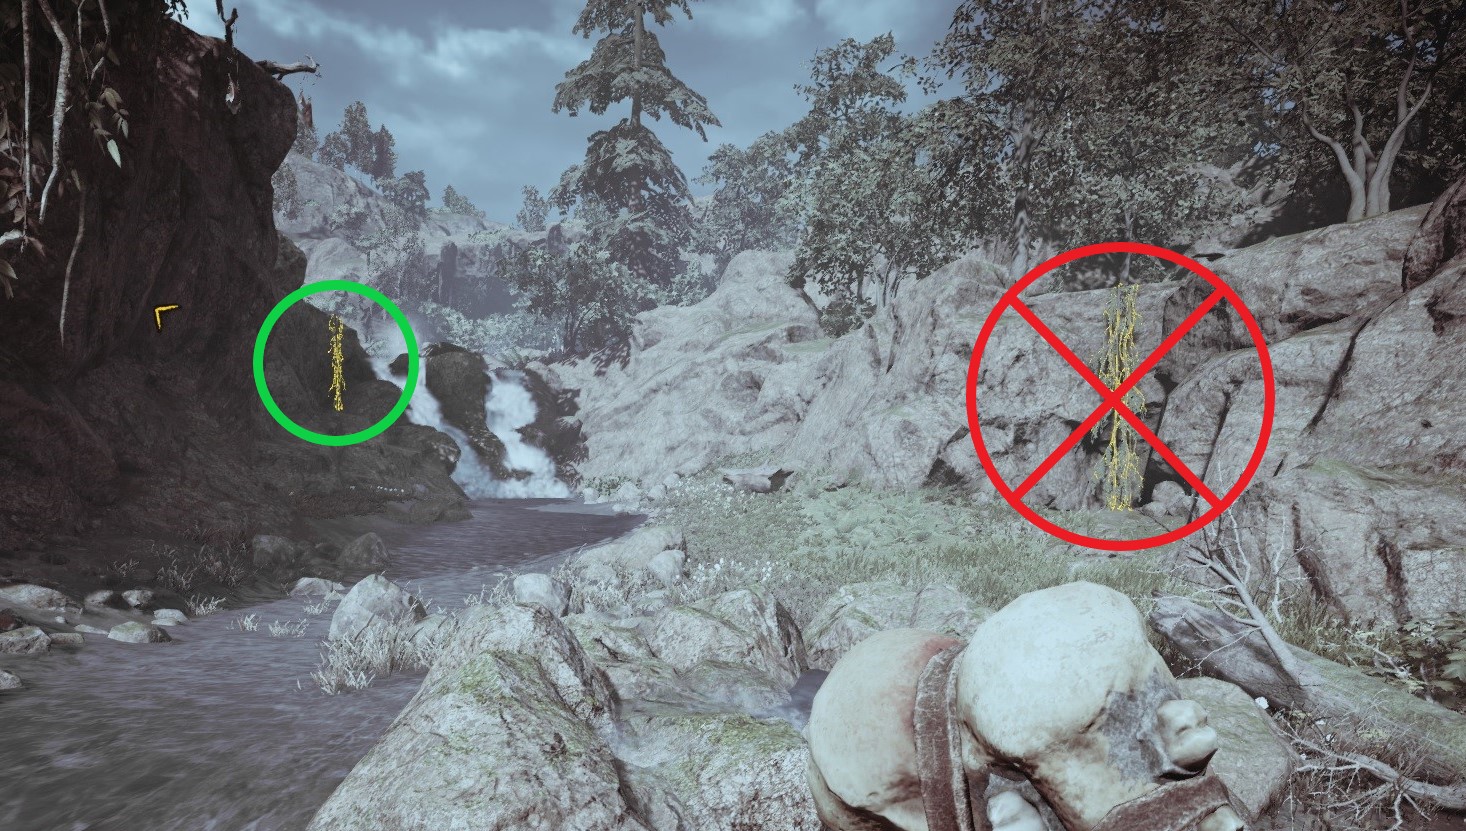
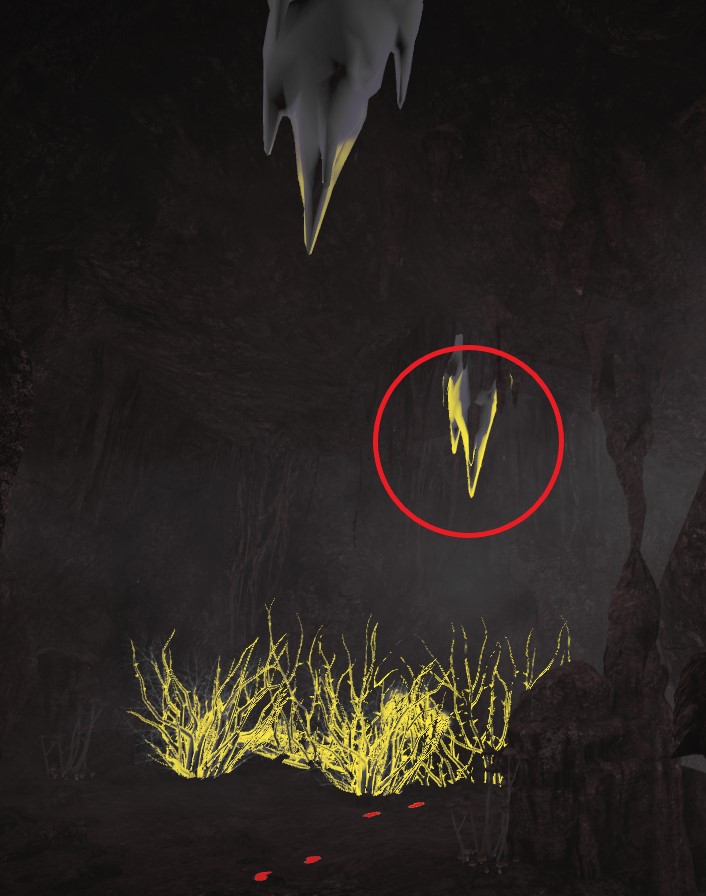
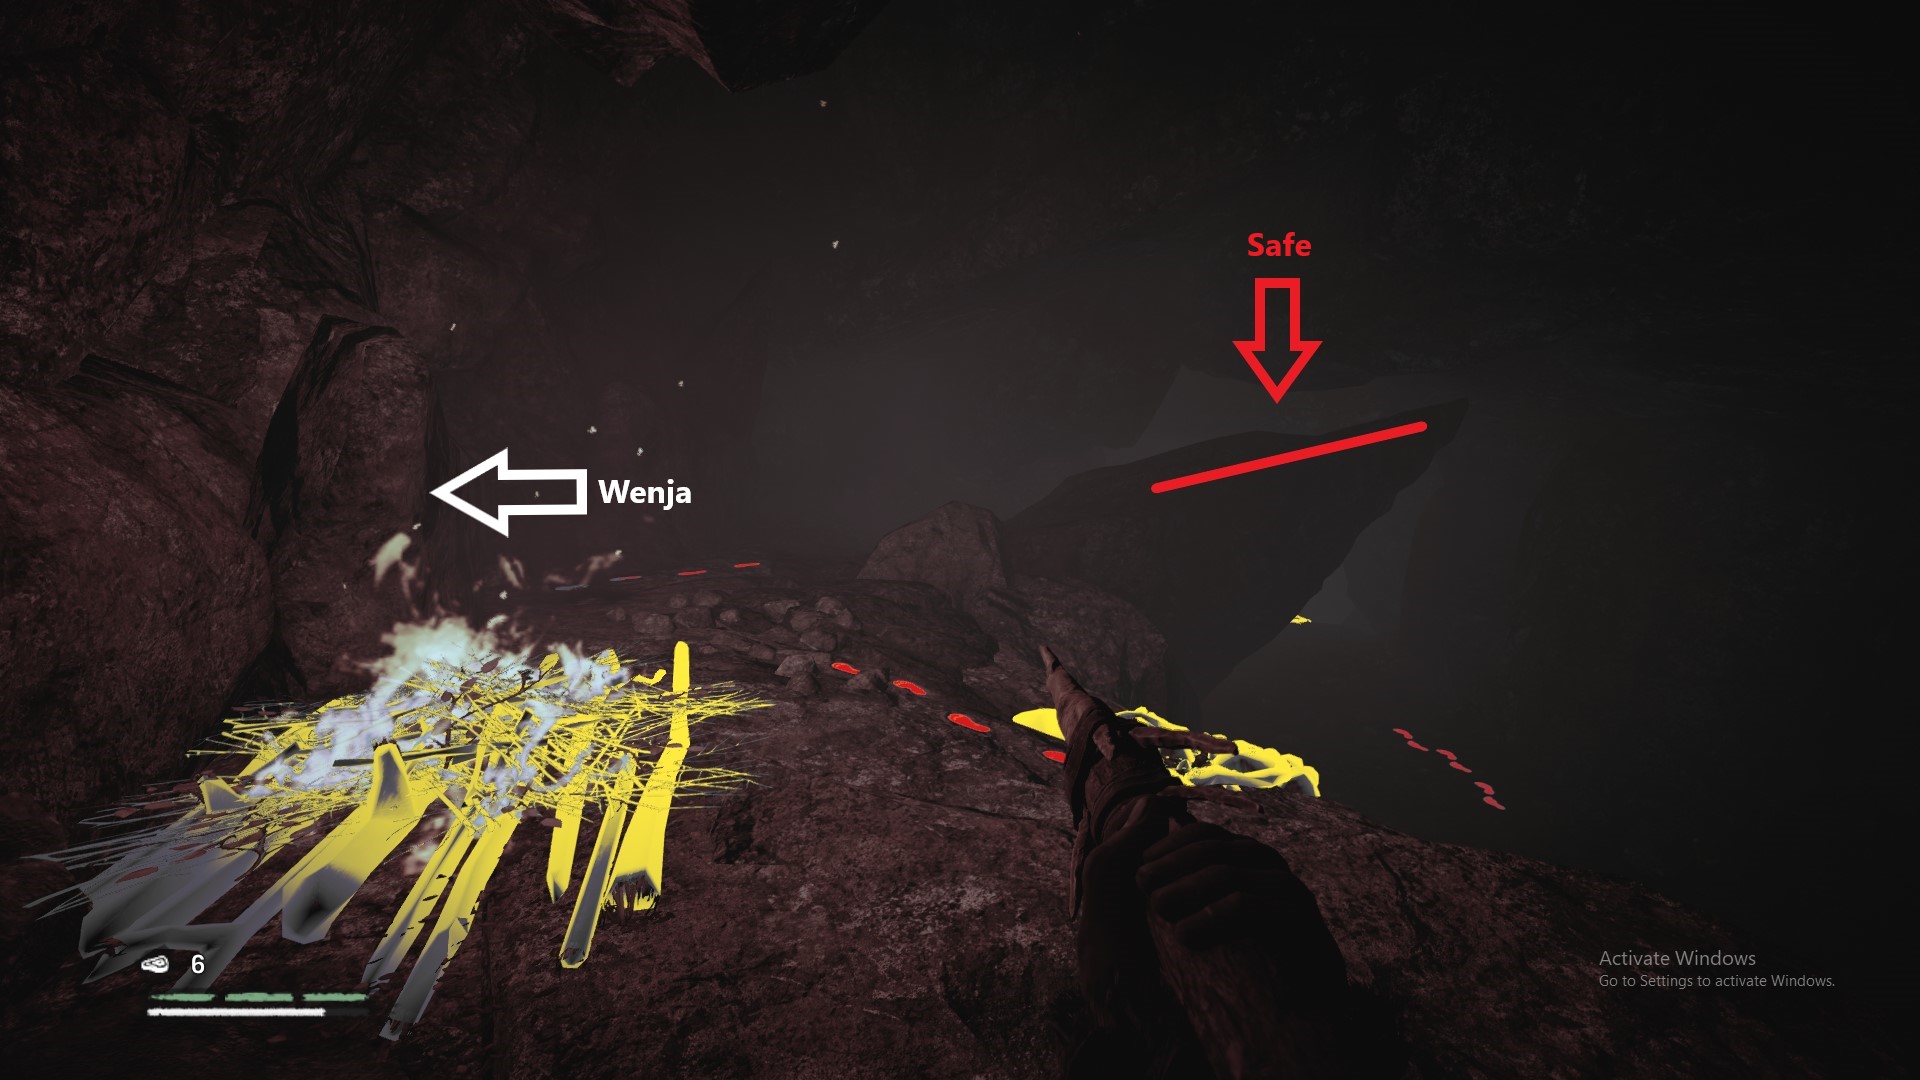
The cave painting at Marsa Cave is a trap. When you clear the vines with fire, the flames run up the wall to the stalactite right above you. In about ten seconds it'll come crashing down right where you're standing. So back up!

You're welcome. :-)
Attack of the Udam
A Choice
This is where Akunamatata and my advice diverge. He recommends you tame every beast, upgrade all your equipment, and unlock every skill you can before progressing the main quest. I prefer to advance to the Bone Cave, where you have an opportunity to safely tame a sabretooth. With a sabretooth at your side, the rest of game is easier and waaaay safer.

Attack of the Udam: defending the village
Time to prepare for a battle. Top off your meat and weapon stores, summon your best pet (hopefully the Rare Black Lion), and lock in any skill points. I recommend both 'Extra Health I' and 'Sprint Heal'. Once you're ready, upgrade Sayla's hut and follow the prompts.

The strategy is to not be a hero. Let your pet and Wenja allies do the heavy lifting while you support with spears and arrows. When you jump into the fray, it should be to revive your pet or peal off melee Udam who are pinning down your ranged Wenja. Look for safe Takedown opportunities, where a Udam turns his back to you, either because he ran past you or is attacking a Wenja on the front line.

For each wave, the next will trigger when only 2 Udam are left, so it's important to kill those last two Udam in quick succession. If anything starts going sideways, remember: this is a mission. You can reload from last checkpoint anytime.

On your side are 3 Wenja archers and 2 Spears.

There are 19 Udam that come in four waves:
  • 1st Wave (front) 7 total: 4 Warriors, 3 Archers
  • 2nd Wave (cave) 6 total: 3 Warriors, 1 Archer, 1 Spear, 1 Scourge (poison bomber)
  • 3rd Wave (front) 5 total: 2 Warriors, 2 Spear, 1 Scourge
  • 4th Wave (cave) 1 Scourge

1st Wave
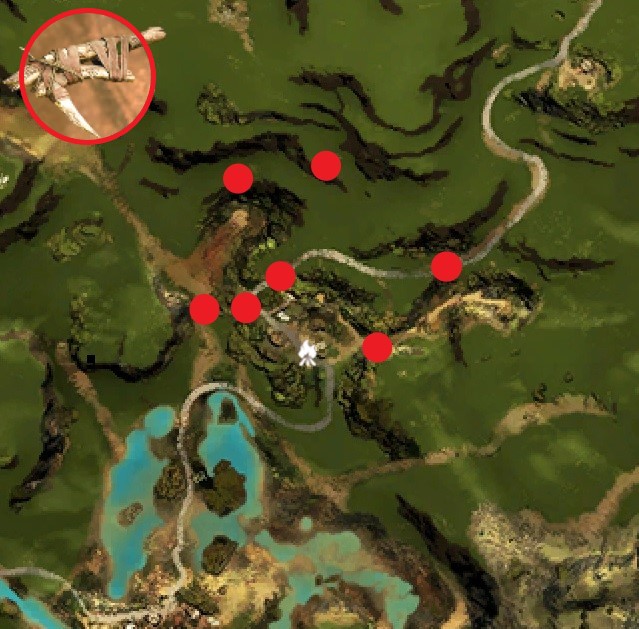
The barricade you really need is circled here on the right. It will divert the first wave into a kill zone. This is chaotic, with the Udam hitting almost all at once. Take care not to get drawn into a melee. You want to position yourself back, throw your spear into the kill zone, and using your heavy melee attacks and takedowns on enemies that break through to your back archers. When there are only 2 Udam remaining, you will hear a war horn signaling the next wave is on its way from the cavern entrance.

2nd Wave
The Udam will spawn in three sets of two:
  1. Warrior/Warrior
  2. Archer/Spear
  3. Warrior/Scourge
The temptation is to lead out with the stalactite overhanging the barrier for an easy double-kill. Don't. It'll prematurely trigger the third wave. Instead, wait for them to break down the barrier and charge. When the Scourge appears, hit it with your pet, and you can try using stalactites for stragglers. When there are only two left, the third wave will trigger.

3rd Wave
Udam will spawn scattered across the front half the village. If you have all barricades lit, a few will be boxed in, but if you've been quick with the 2nd wave, mopping up with Takedowns and your pet should be relatively easy. As always, when there are only two left, the final wave will trigger.

4th Wave
A single Scourge spawns from the cavern entrance. Take your time.


Attack of the Udam: the Udam camp
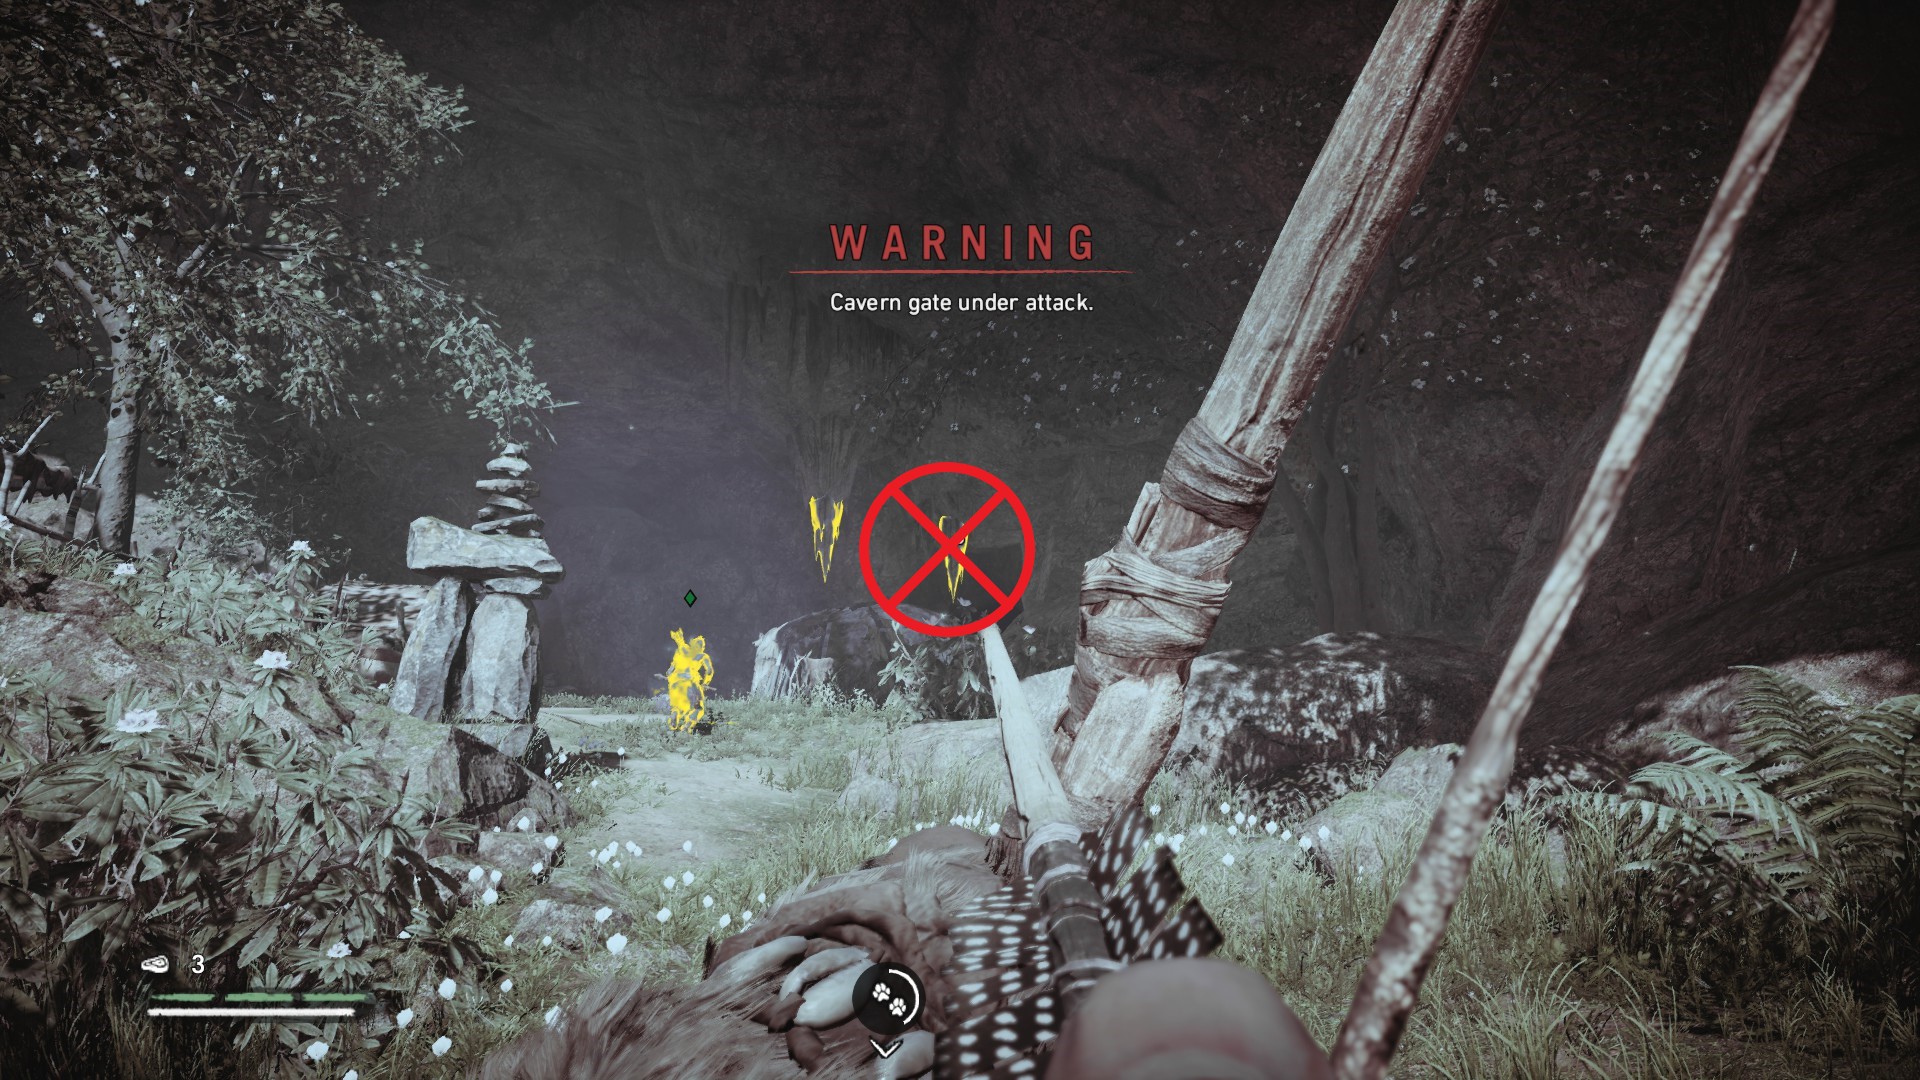
Once the Udam attack is repelled, Sayla tells you to go take the fight to their camp. Keep a low profile and avoid random skirmishes or wildlife.


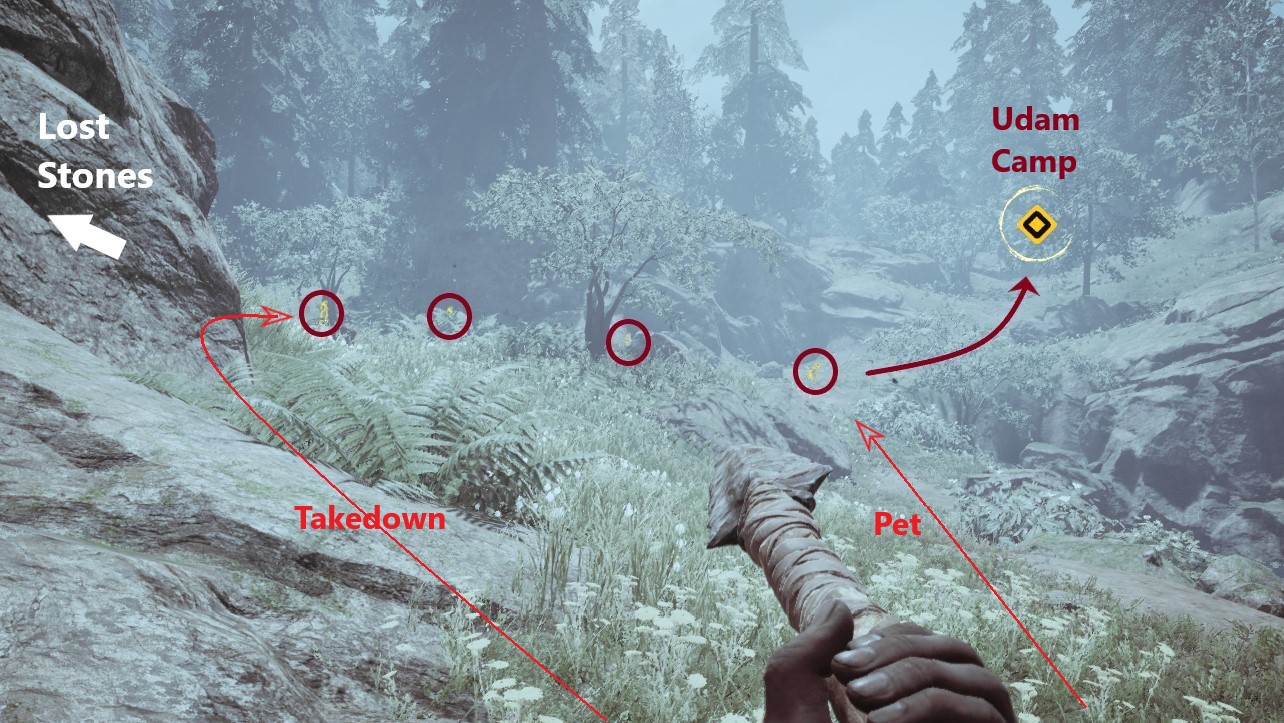
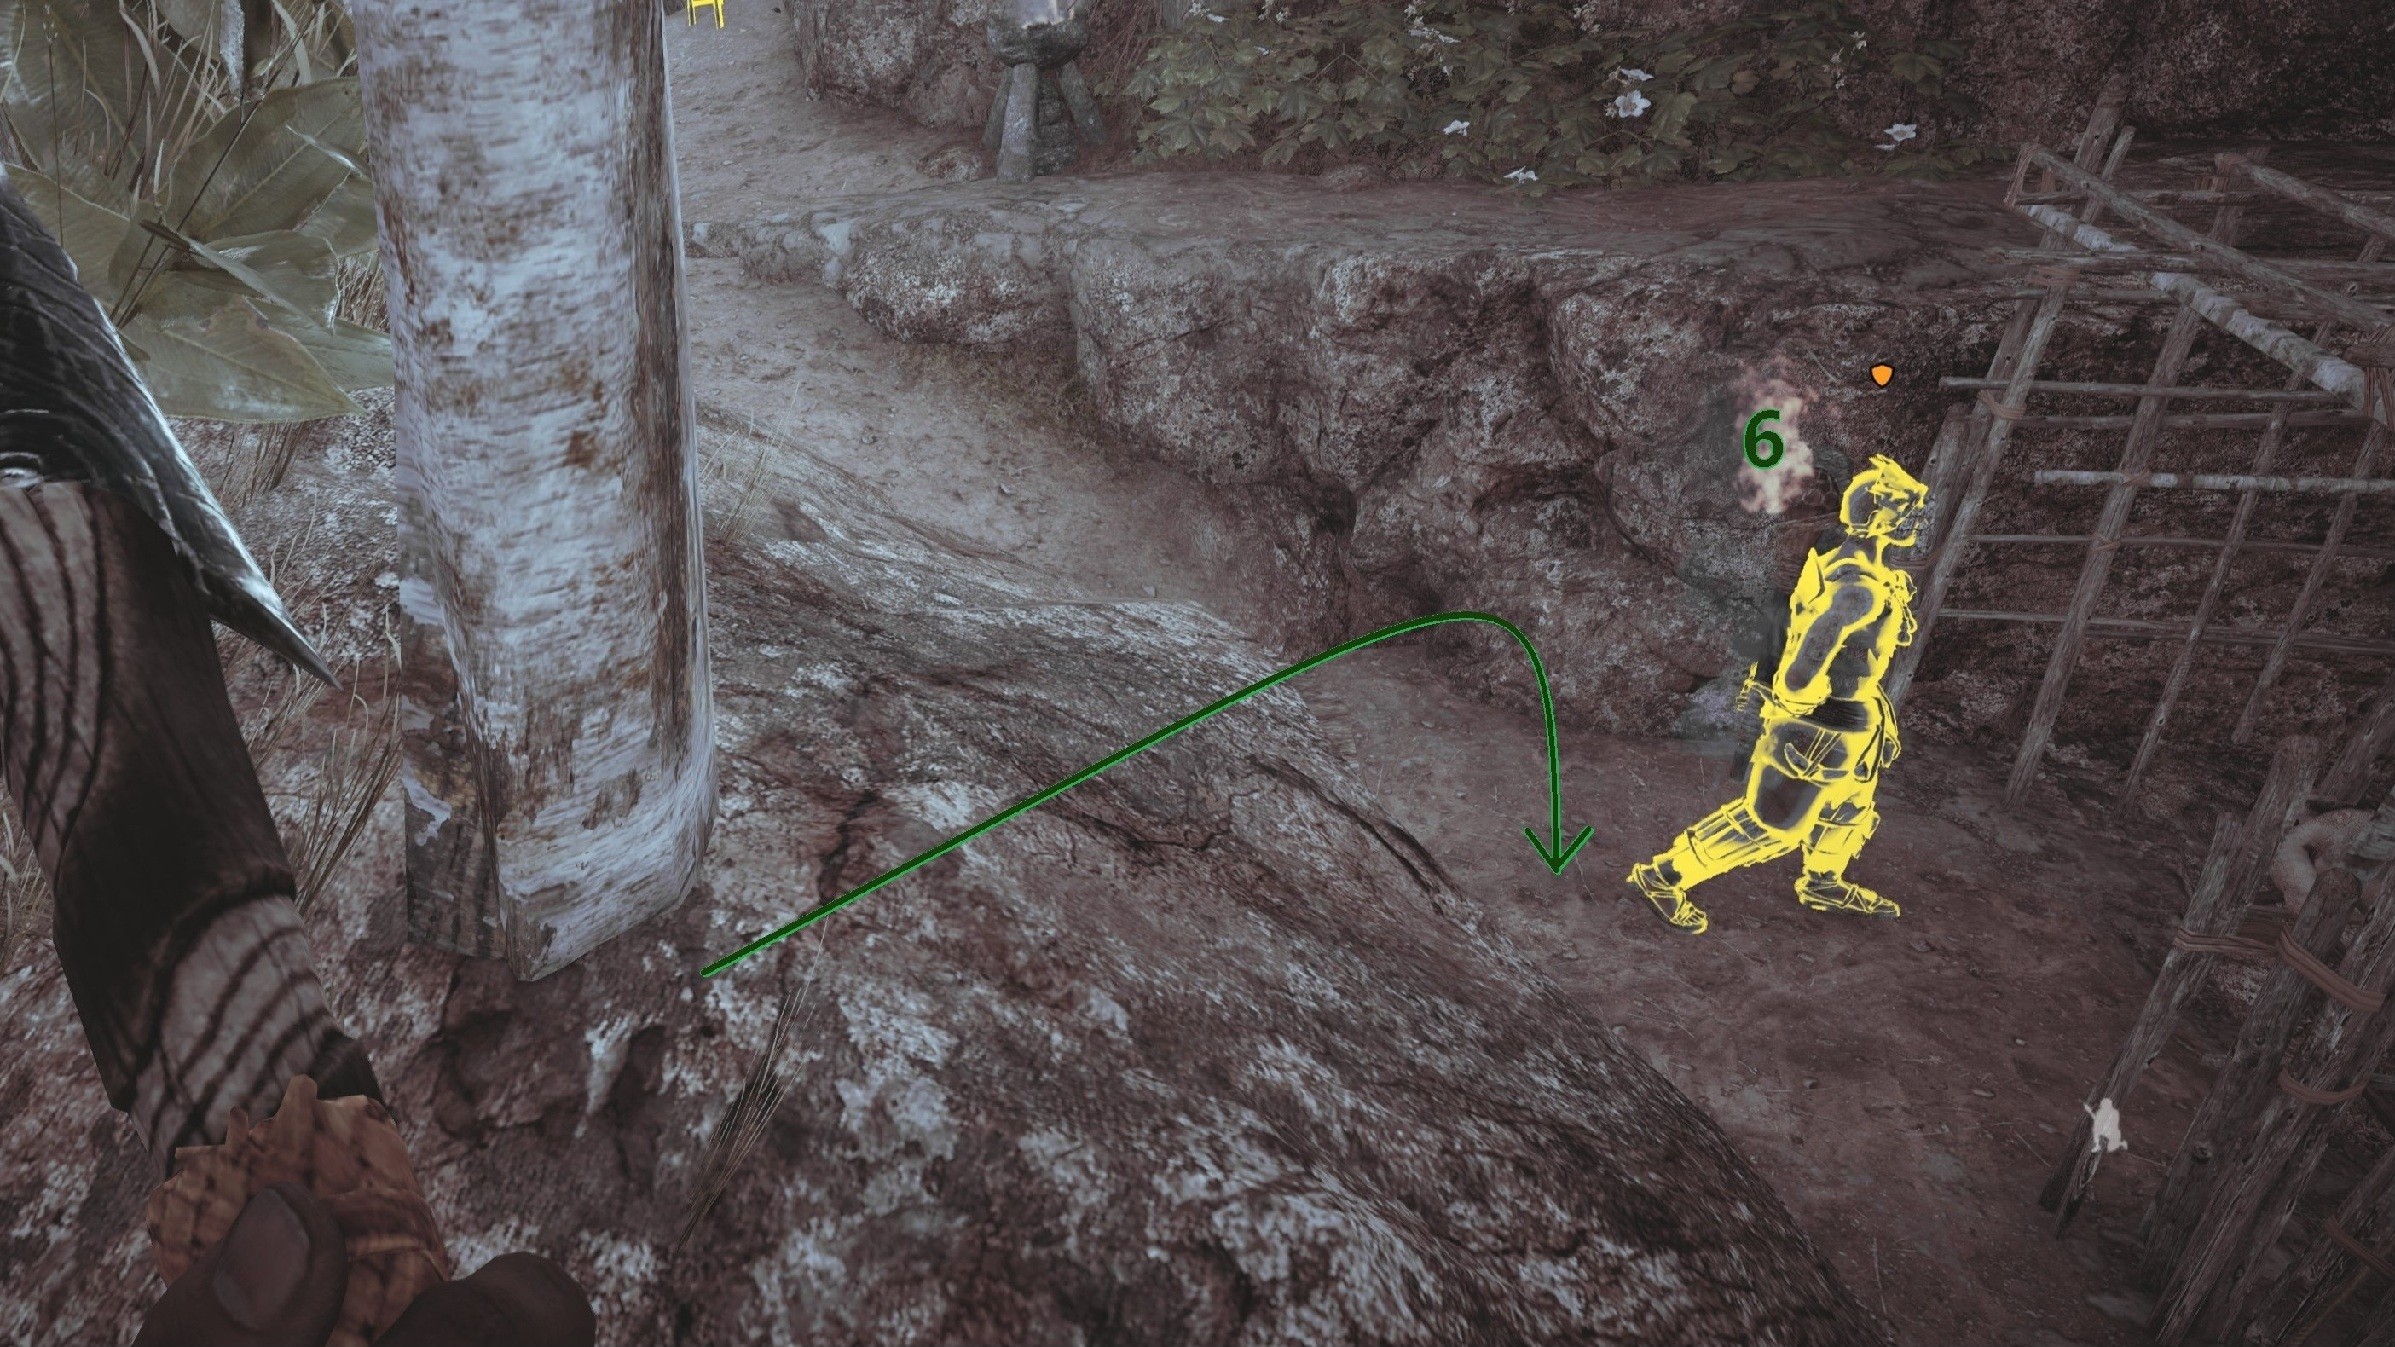
As you round the bend at the Lost Stones, you will see four Udam running away in single-file, heading to reinforce their camp. You can't catch them, but keep moving forward. Once you see a Checkpoint Reached, reload from checkpoint. This time, you'll spawn close enough to catch them. Send your pet to attack the first in line to slow them down, then sprint behind the last and Takedown them one at a time.

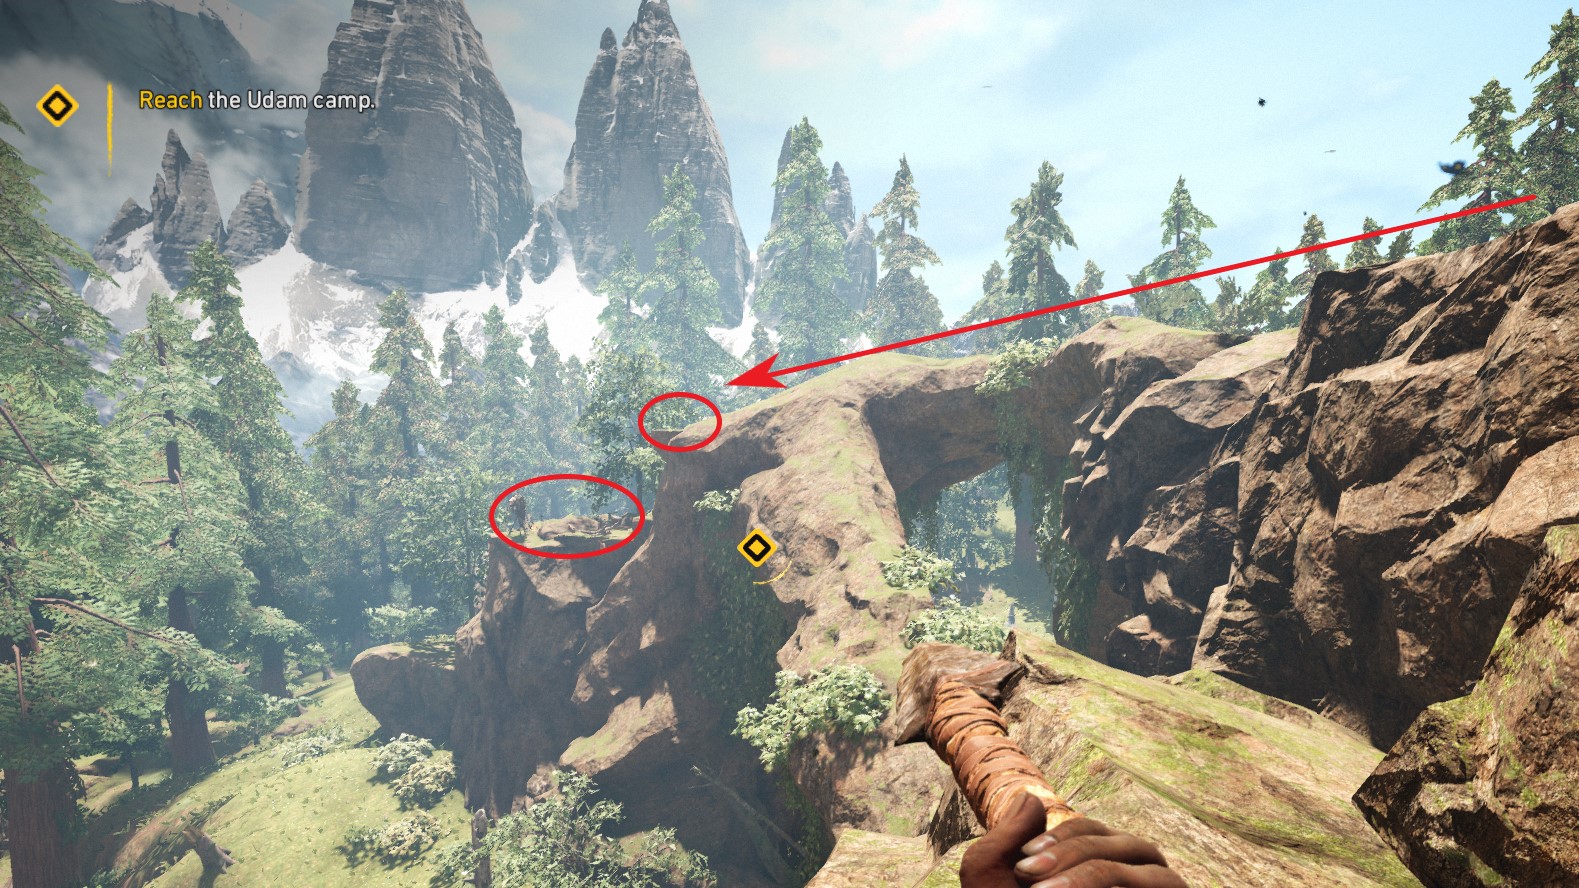
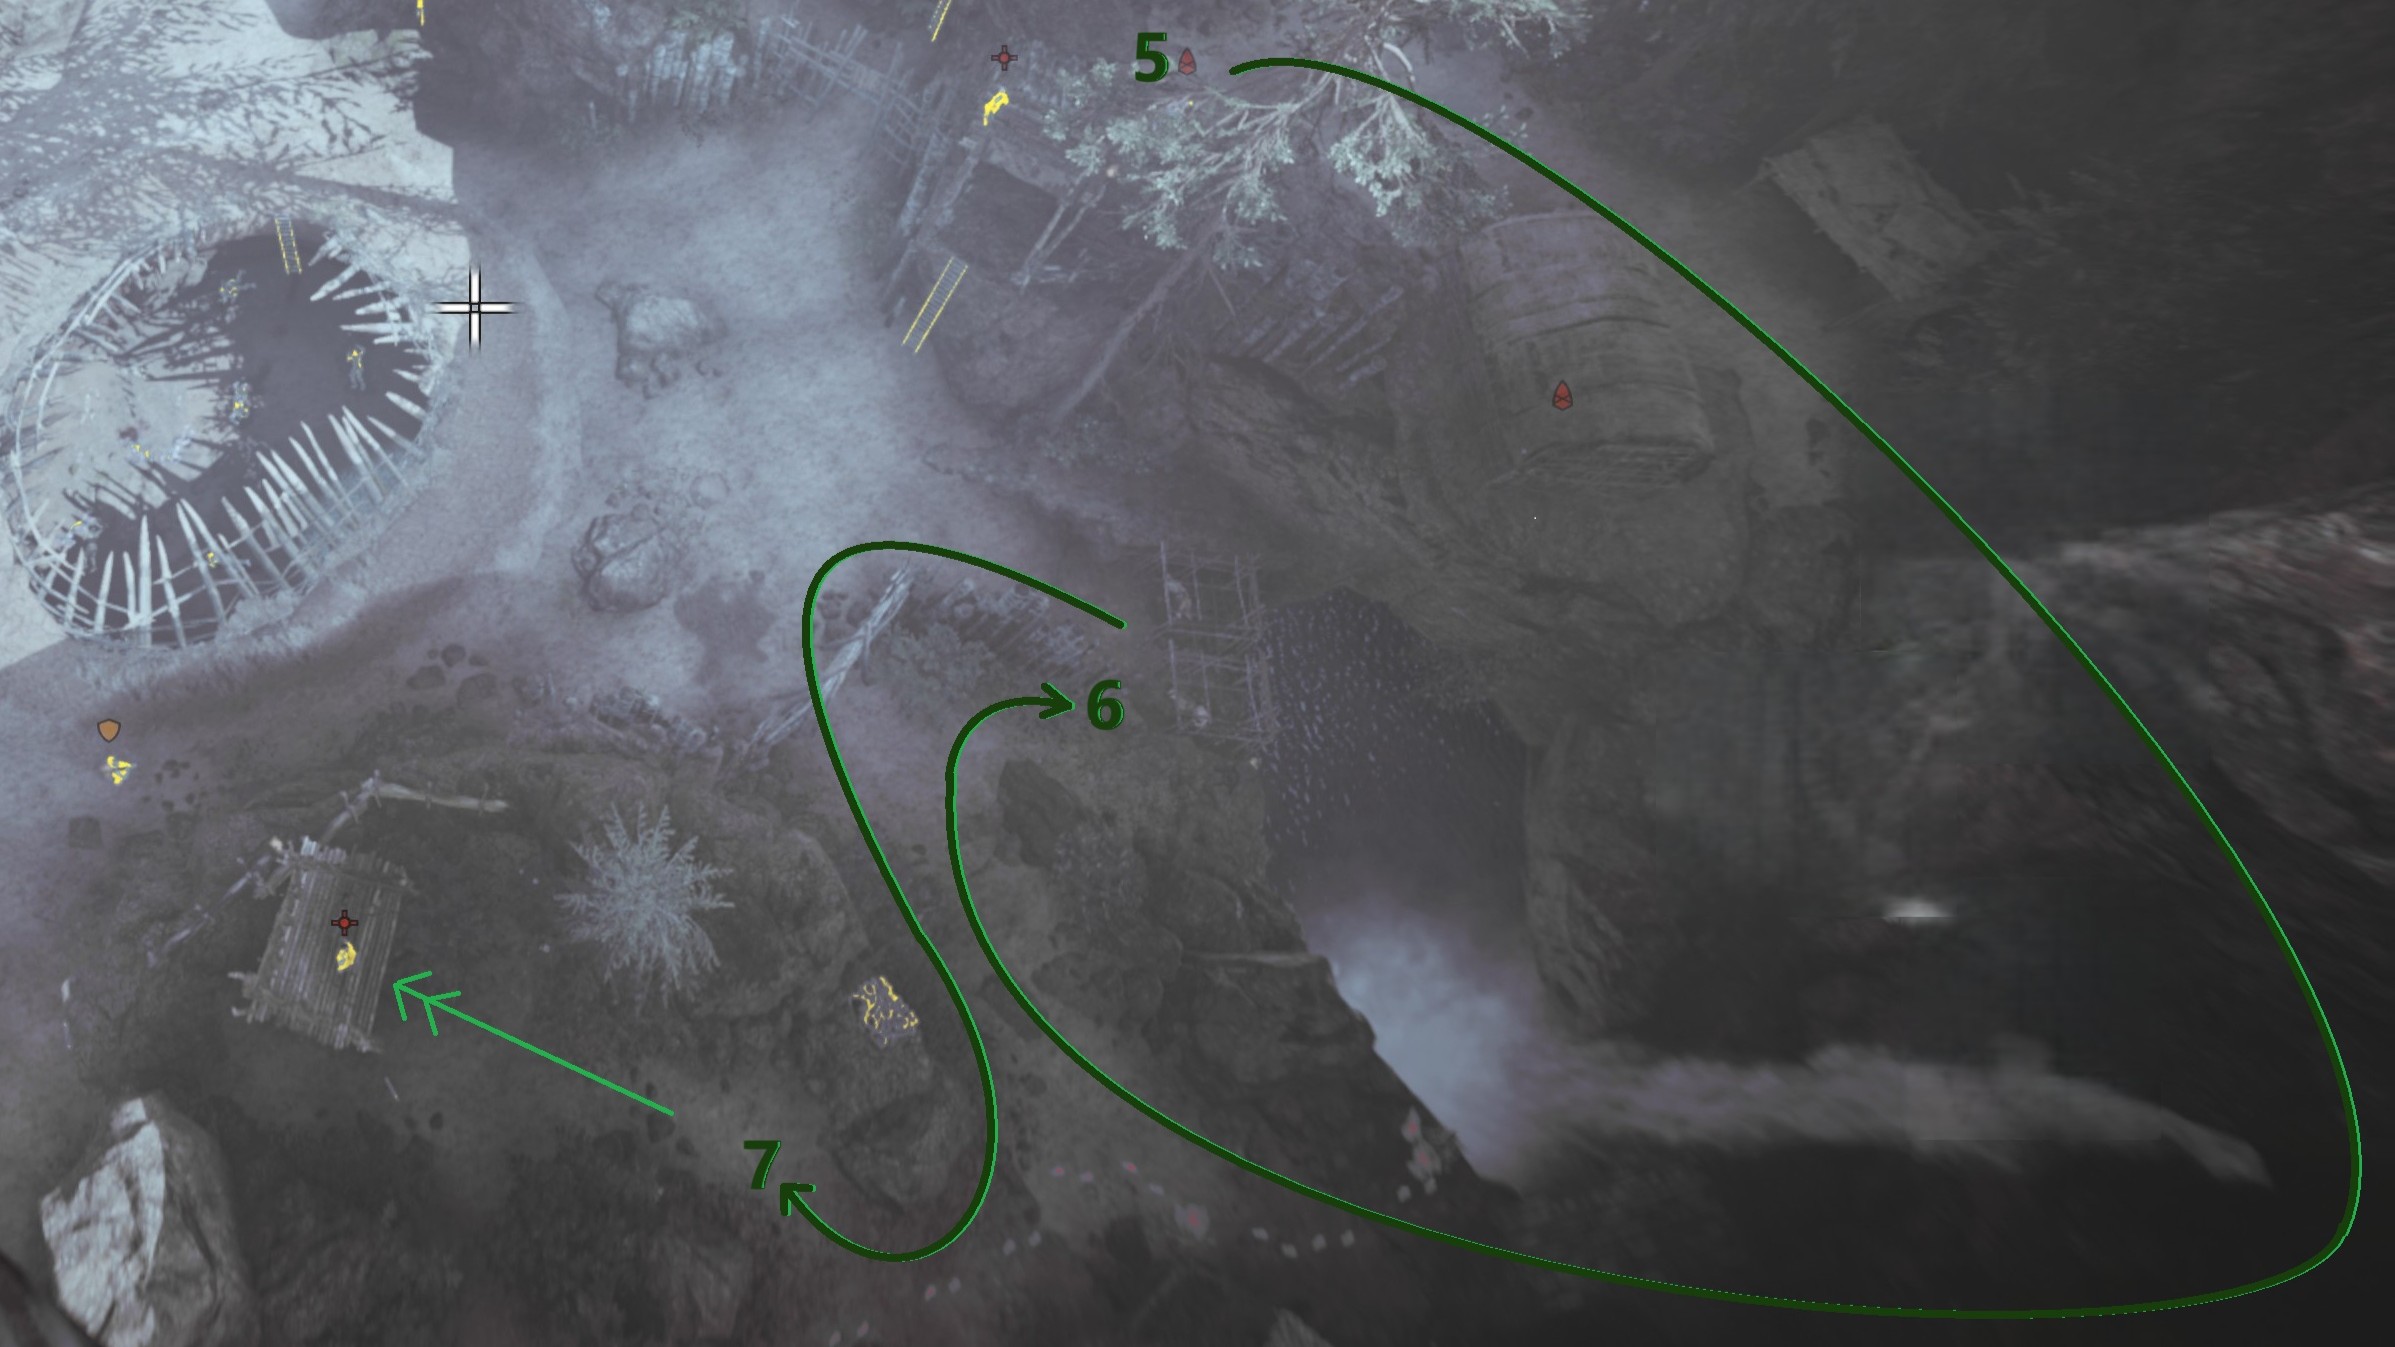
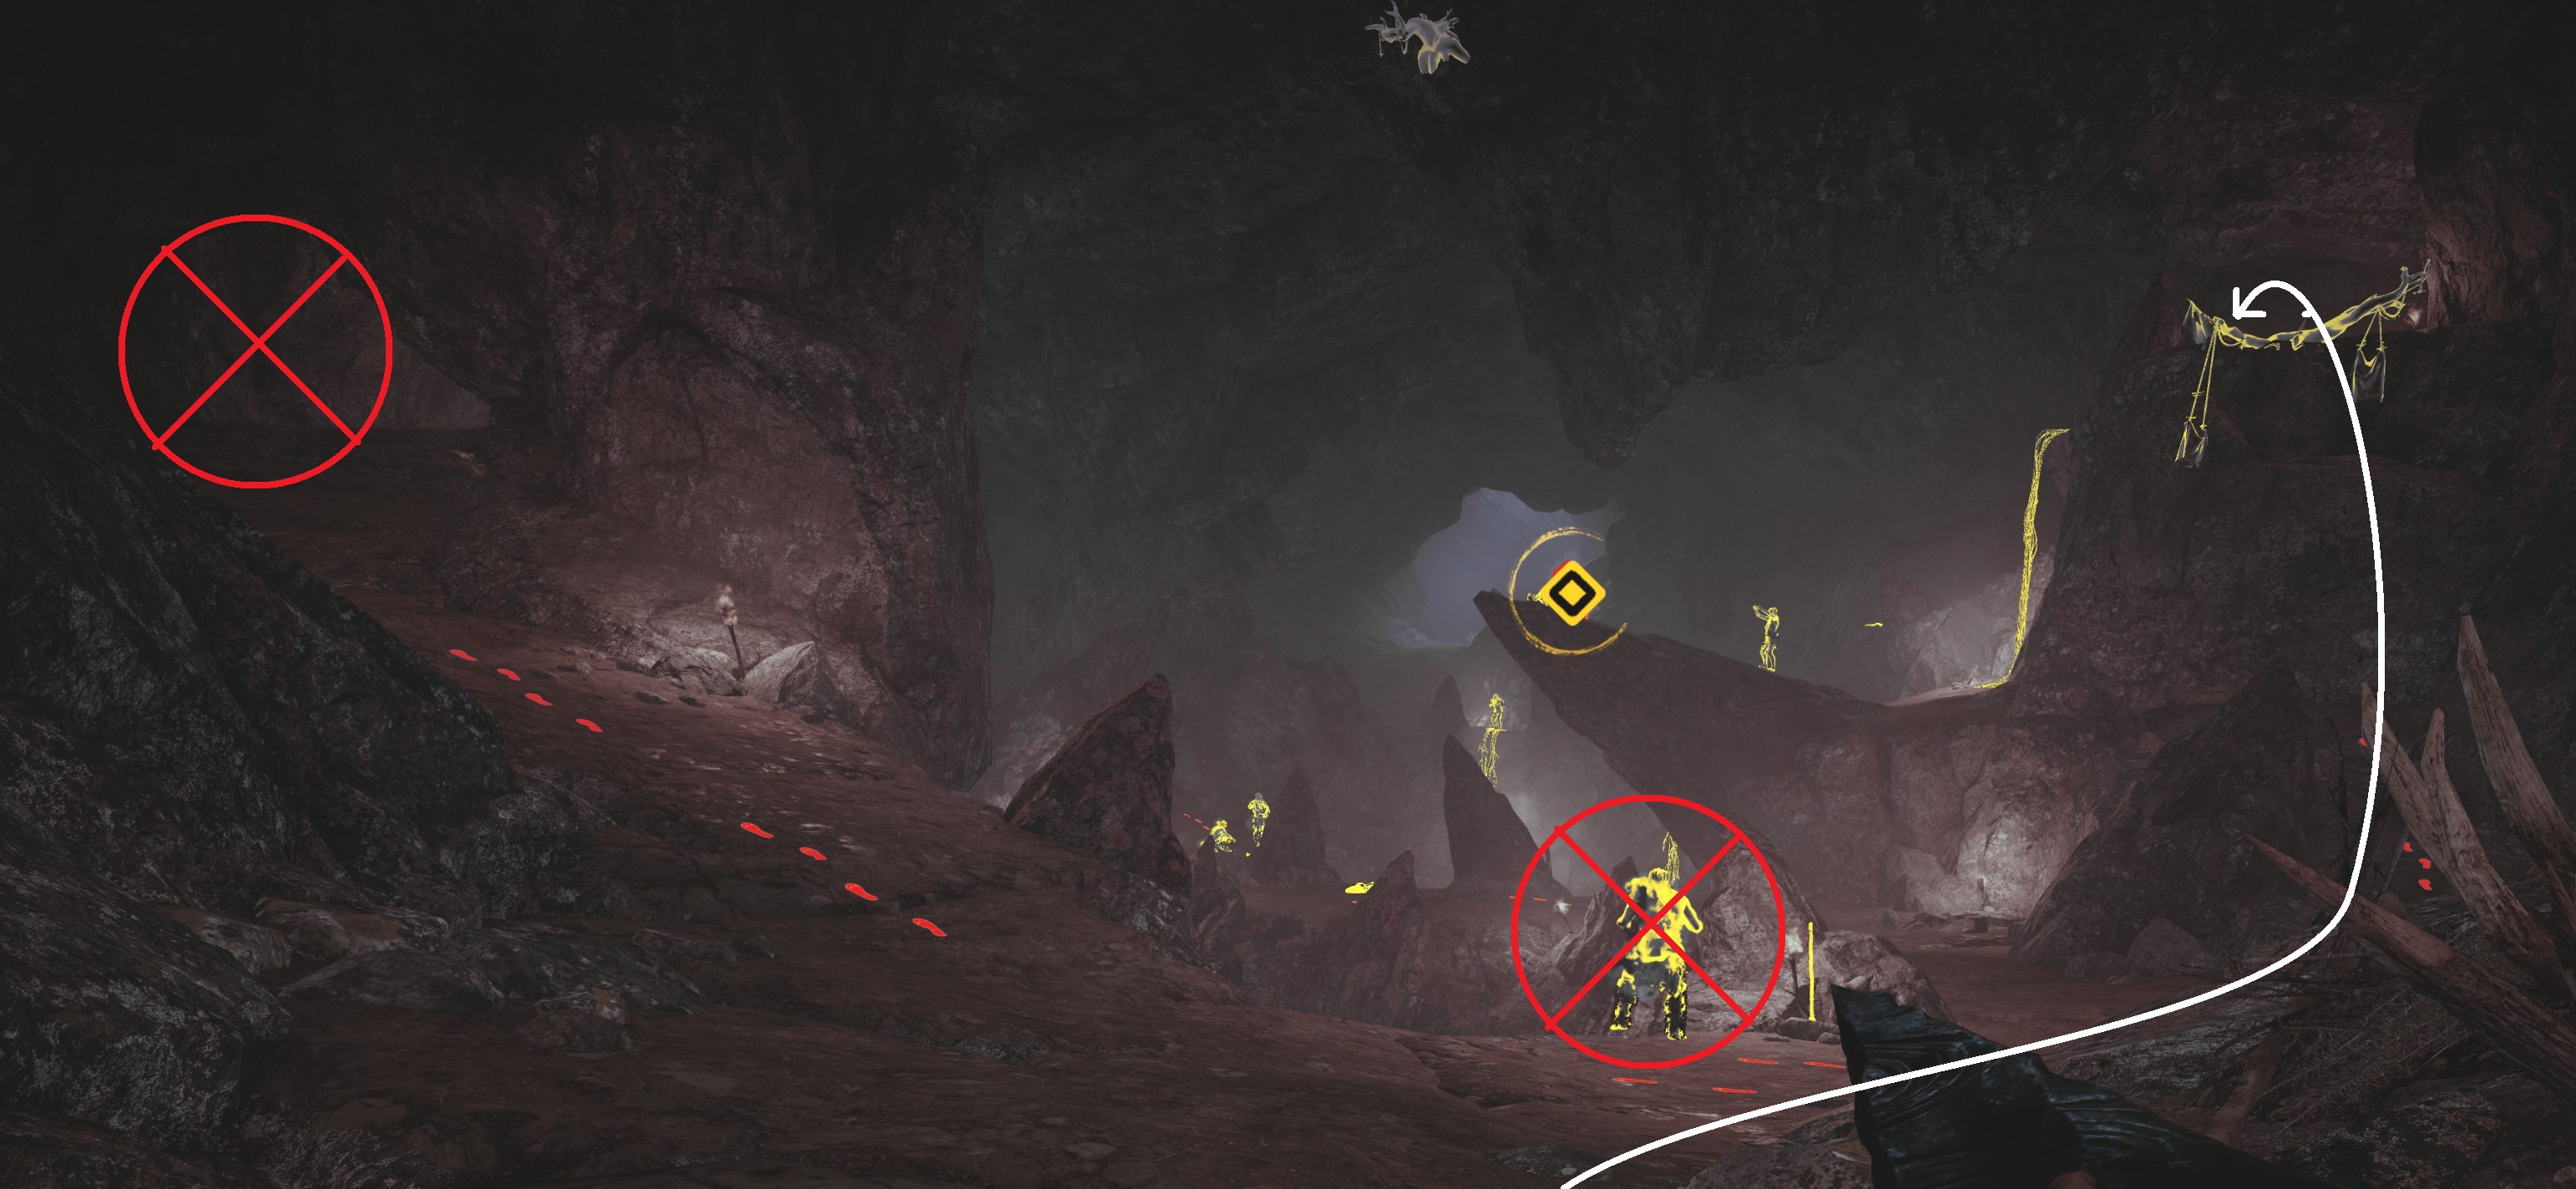
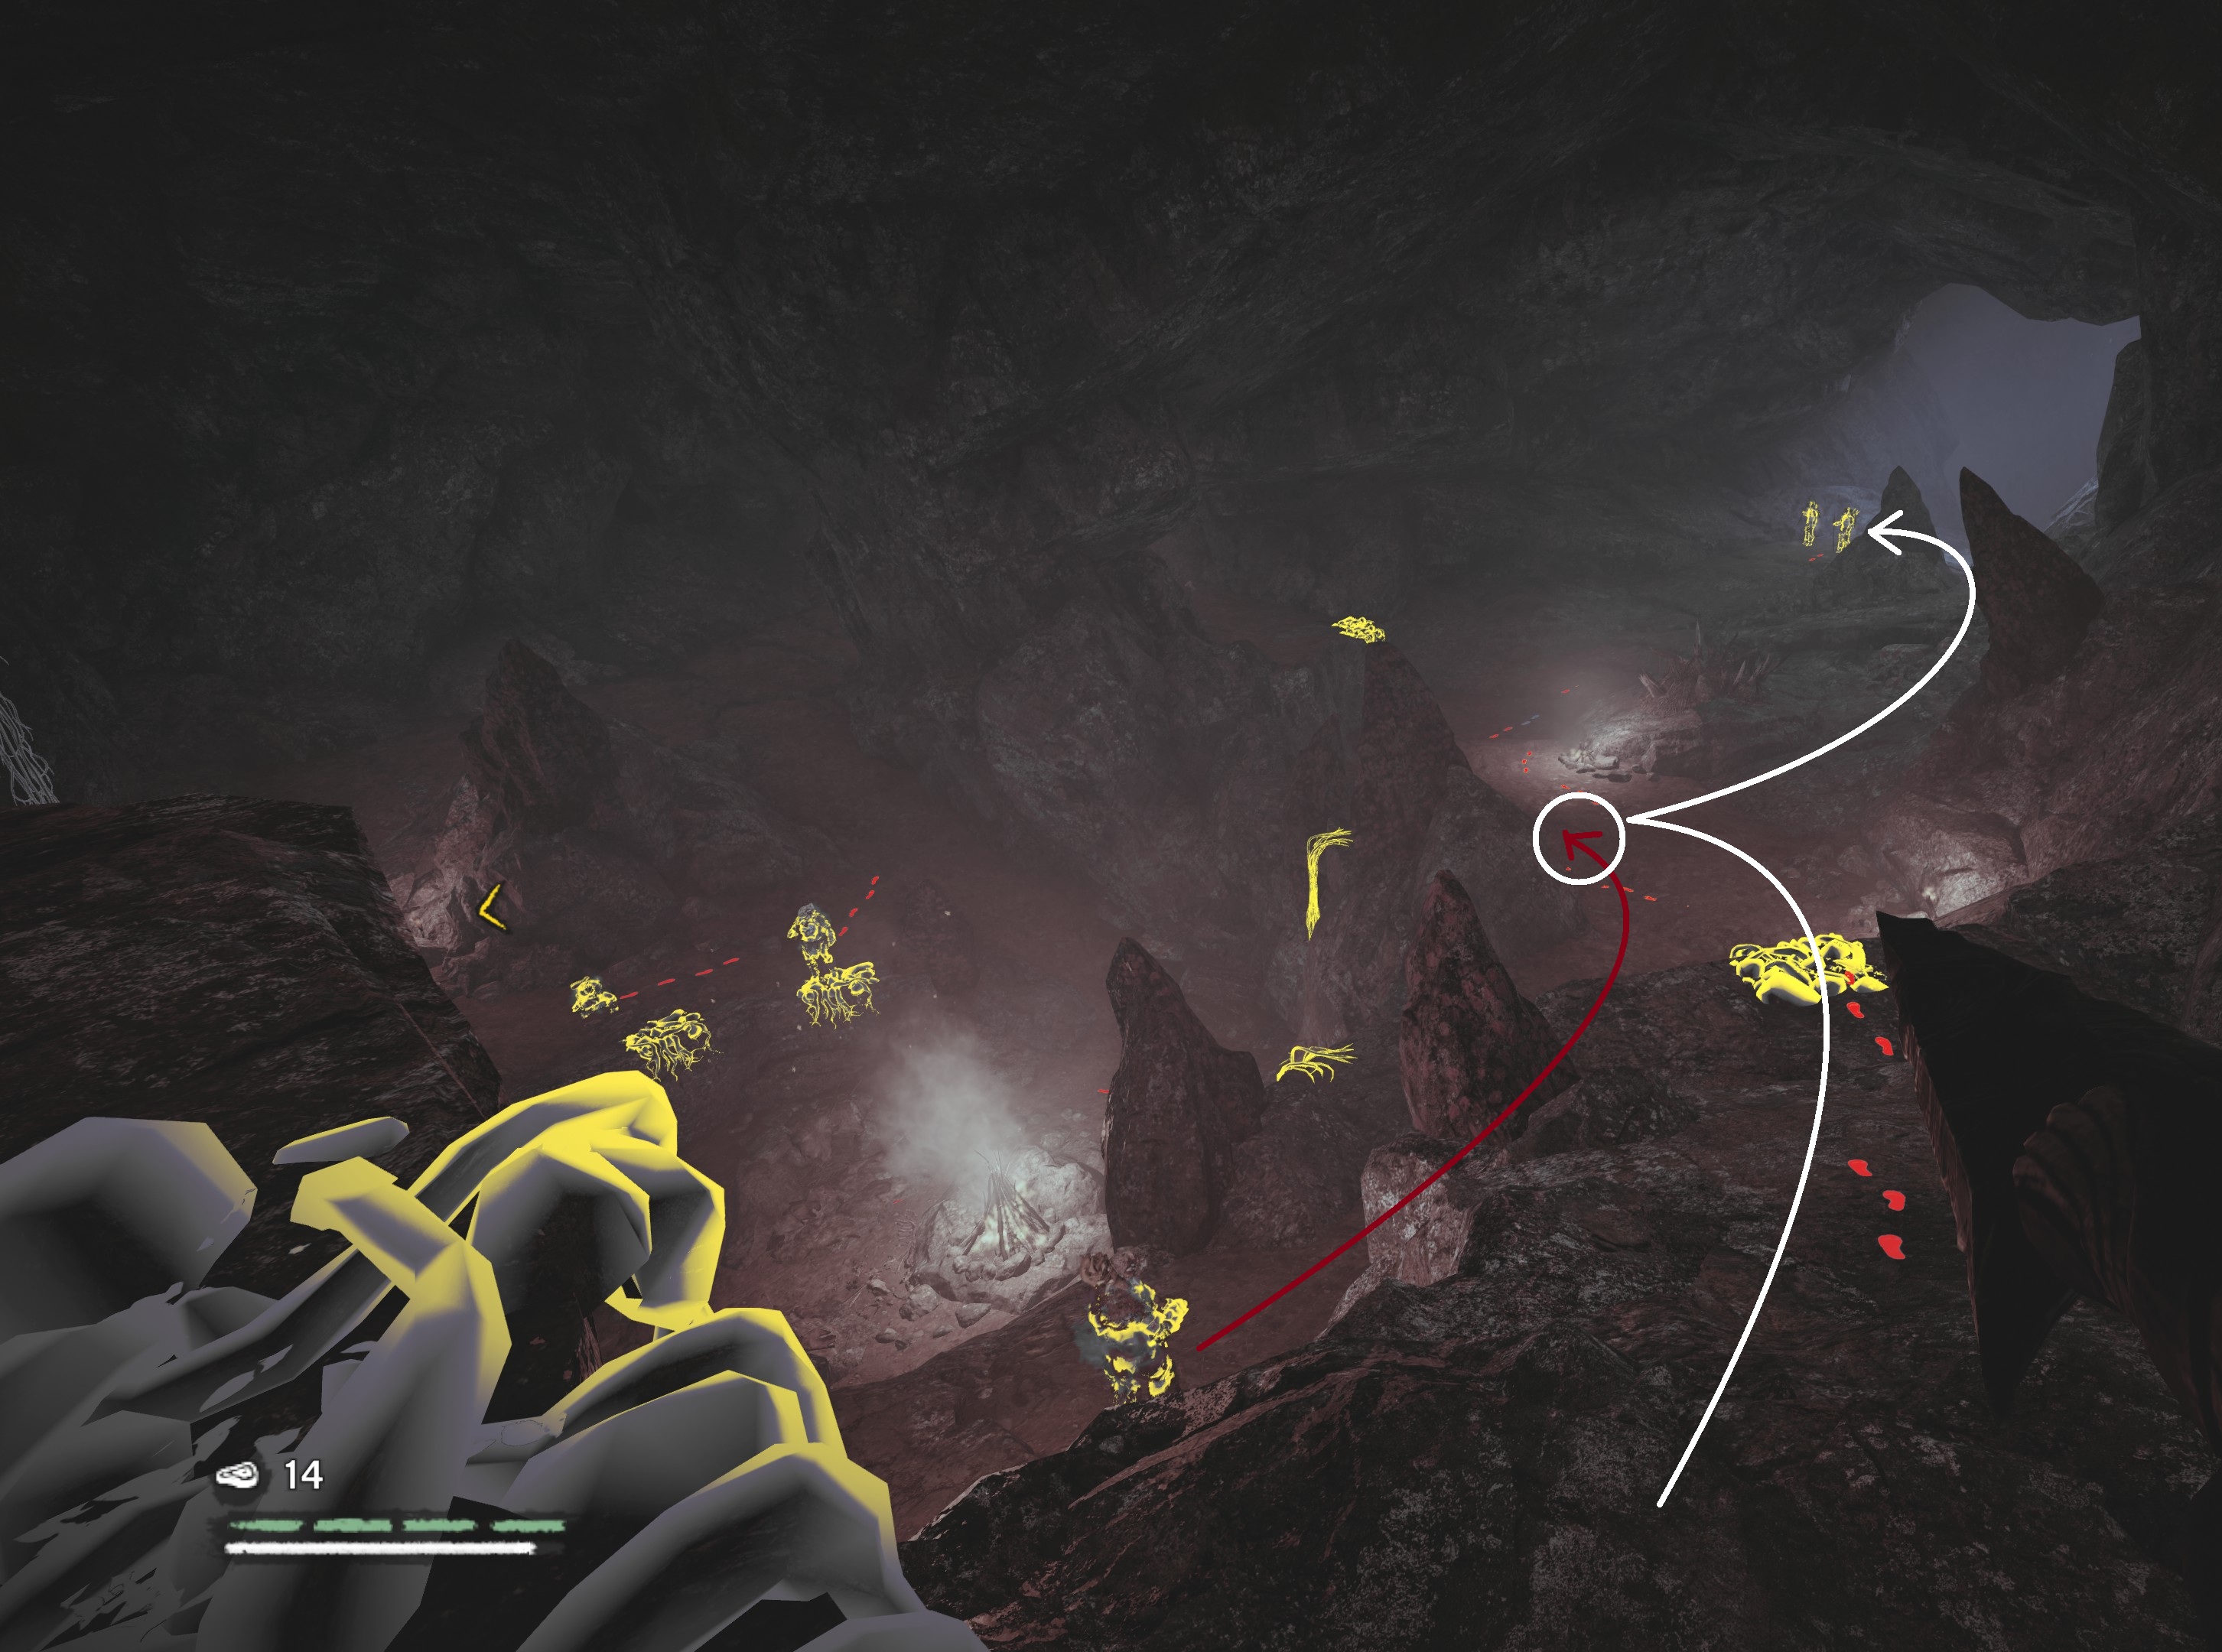
Looking up the hill to your right, you should see a ridge. Circle all the way back to the right to find a path up (you'll get a warning that you are leaving the mission zone). This will let you enter the camp from a perfect sniping position. If you succeeded at the Lost Stones, there should only be four Udam left to deal with, and the first one is served up on the middle ledge below you. Pick them off one at a time from this ledge. If they notice you, climb the vine to the platform above or hide in the bushes to finish them off.

Each bone tree will spawn 3 Udam, but the first will also summon 4 Wenja allies. Stay back and let your pet and the Wenja mop them up, one wave at a time. Once it's done, you will travel back to the village to plan your next move.
The Bone Cave
Time to tame a sabretooth. Speak with Tensay to complete Vision of Ice, then speak with Sayla to unlock The Bone Cave mission.

As an aside, the cave you’re looking for is actually called Dantan's Den - strangely, there is an unrelated 'Bone Cave' elsewhere.

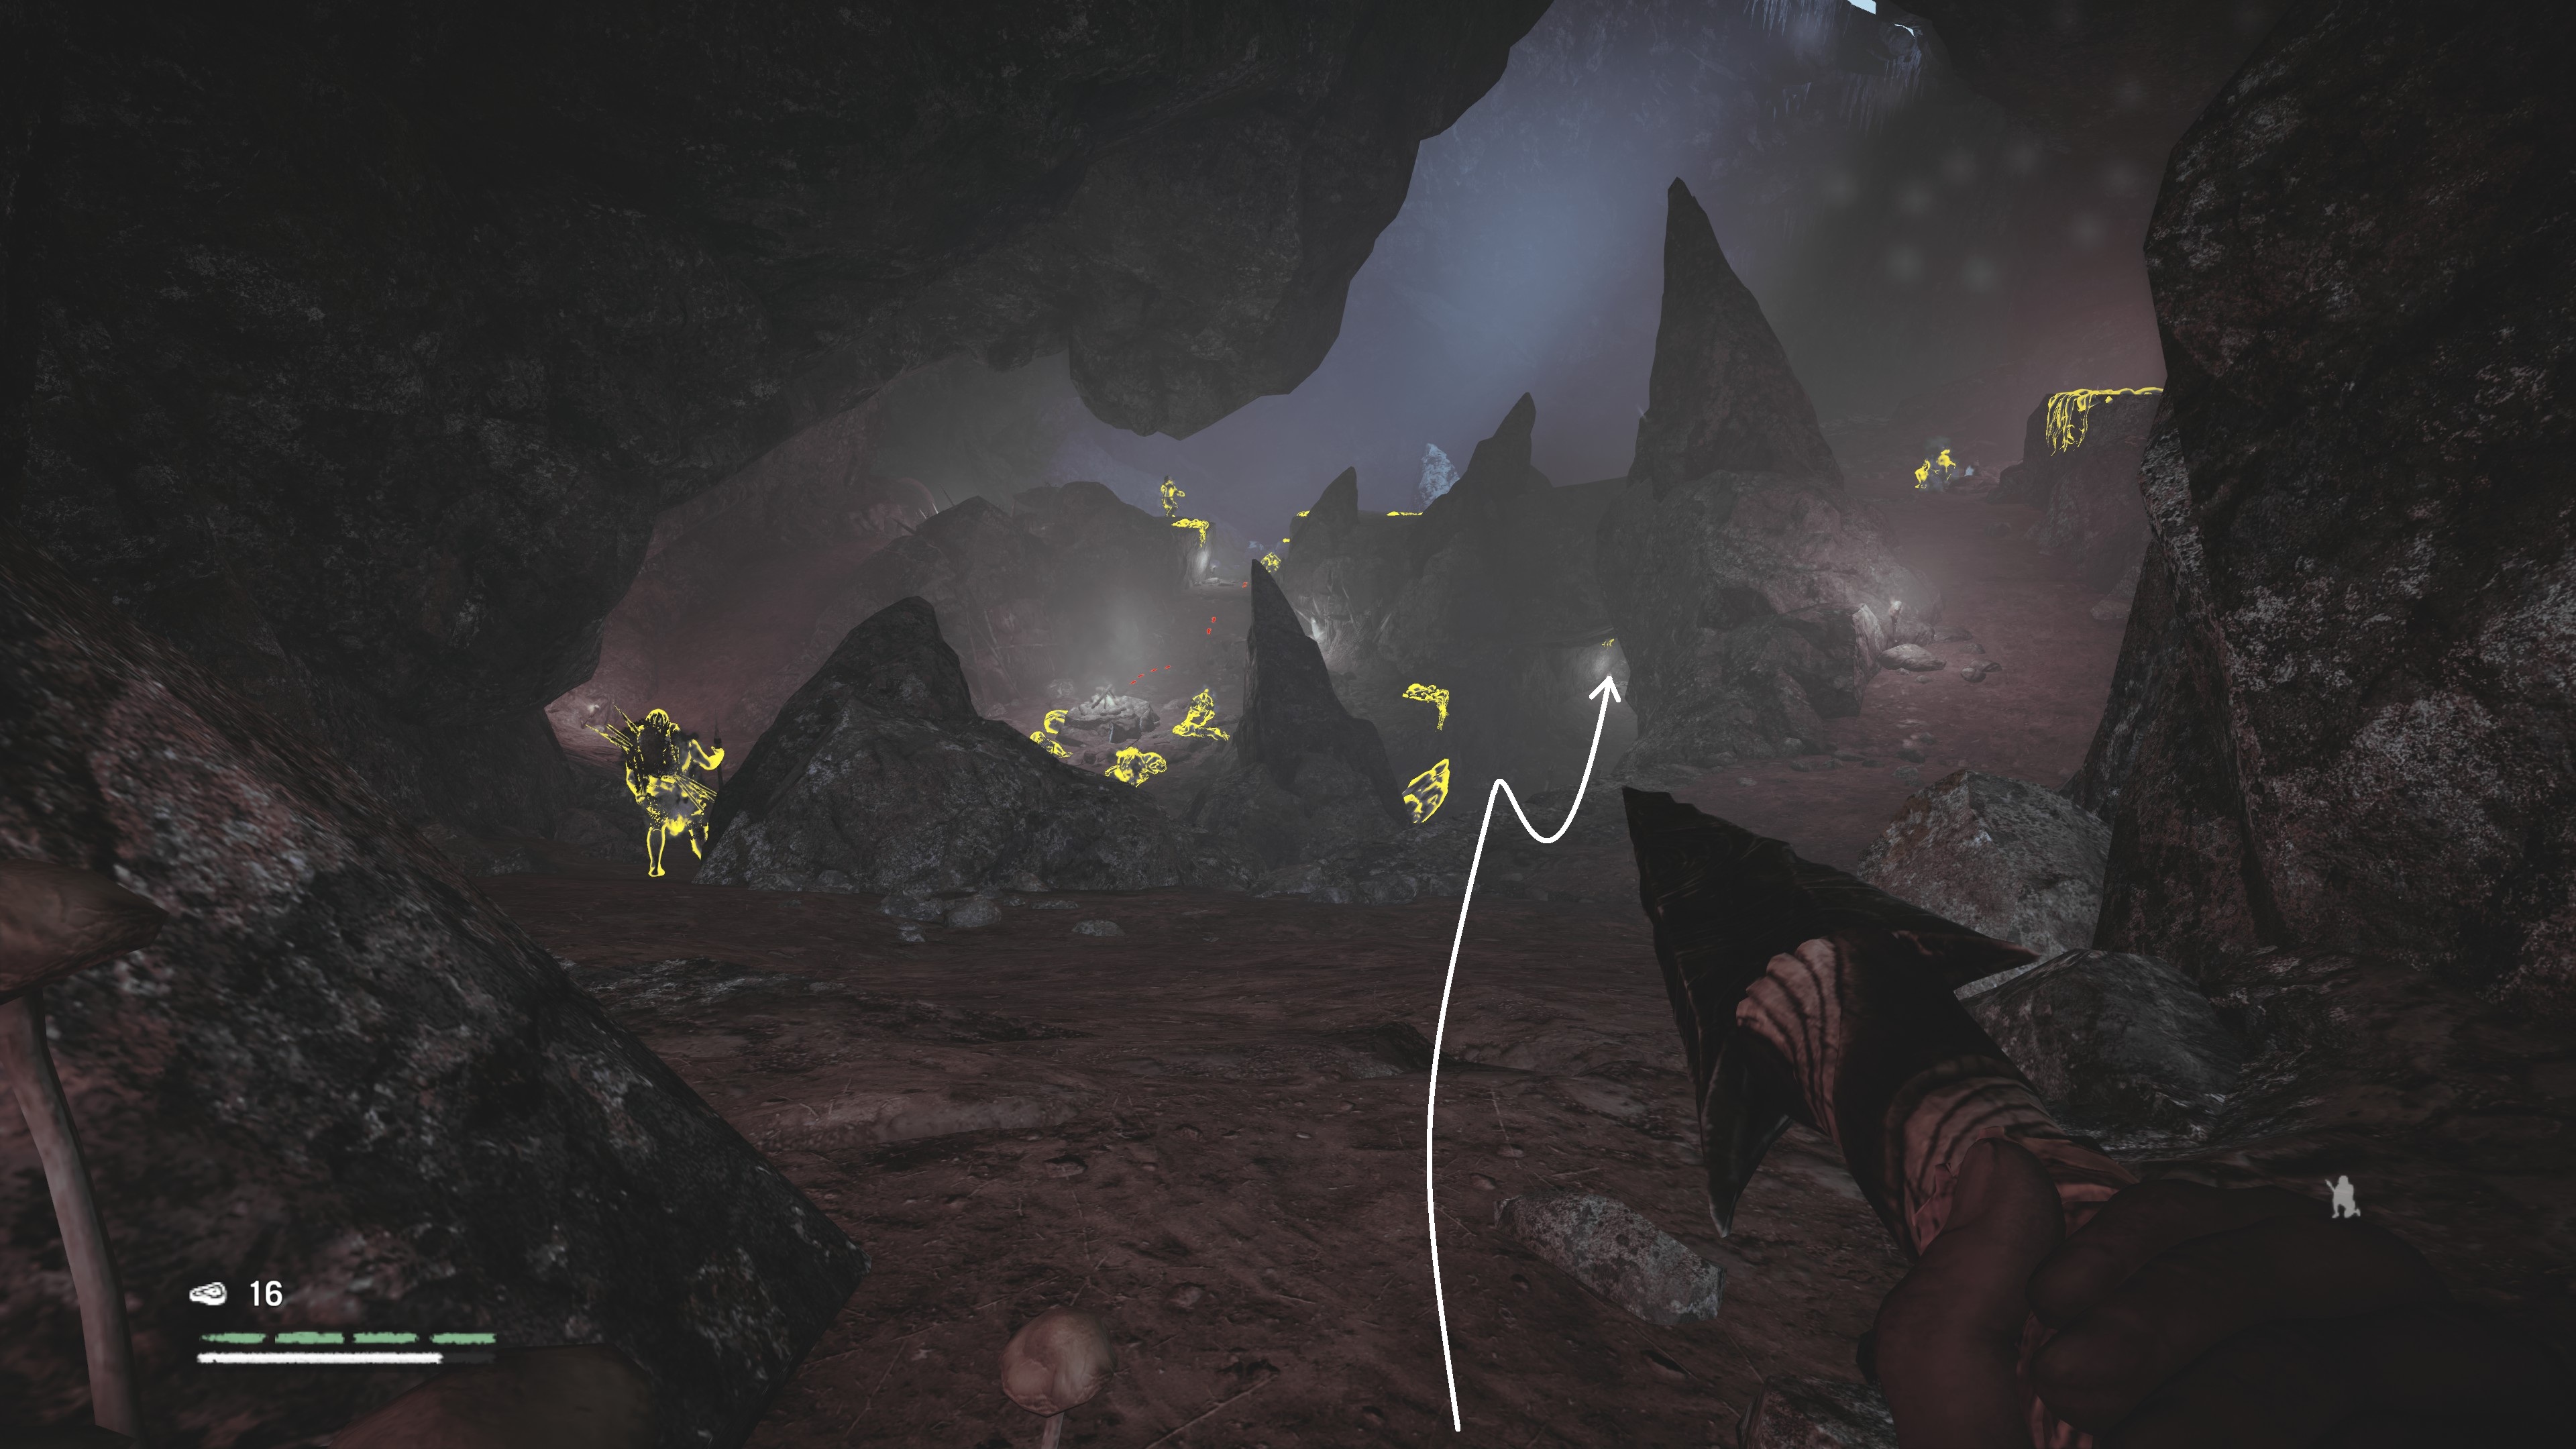
Head north. I recommend scouting the cave before triggering the question. You can find it by following the footprints up the hill north of the quest marker. Take some time to light torches and get familiar with the layout, especially the outcroppings and ruined settlement.

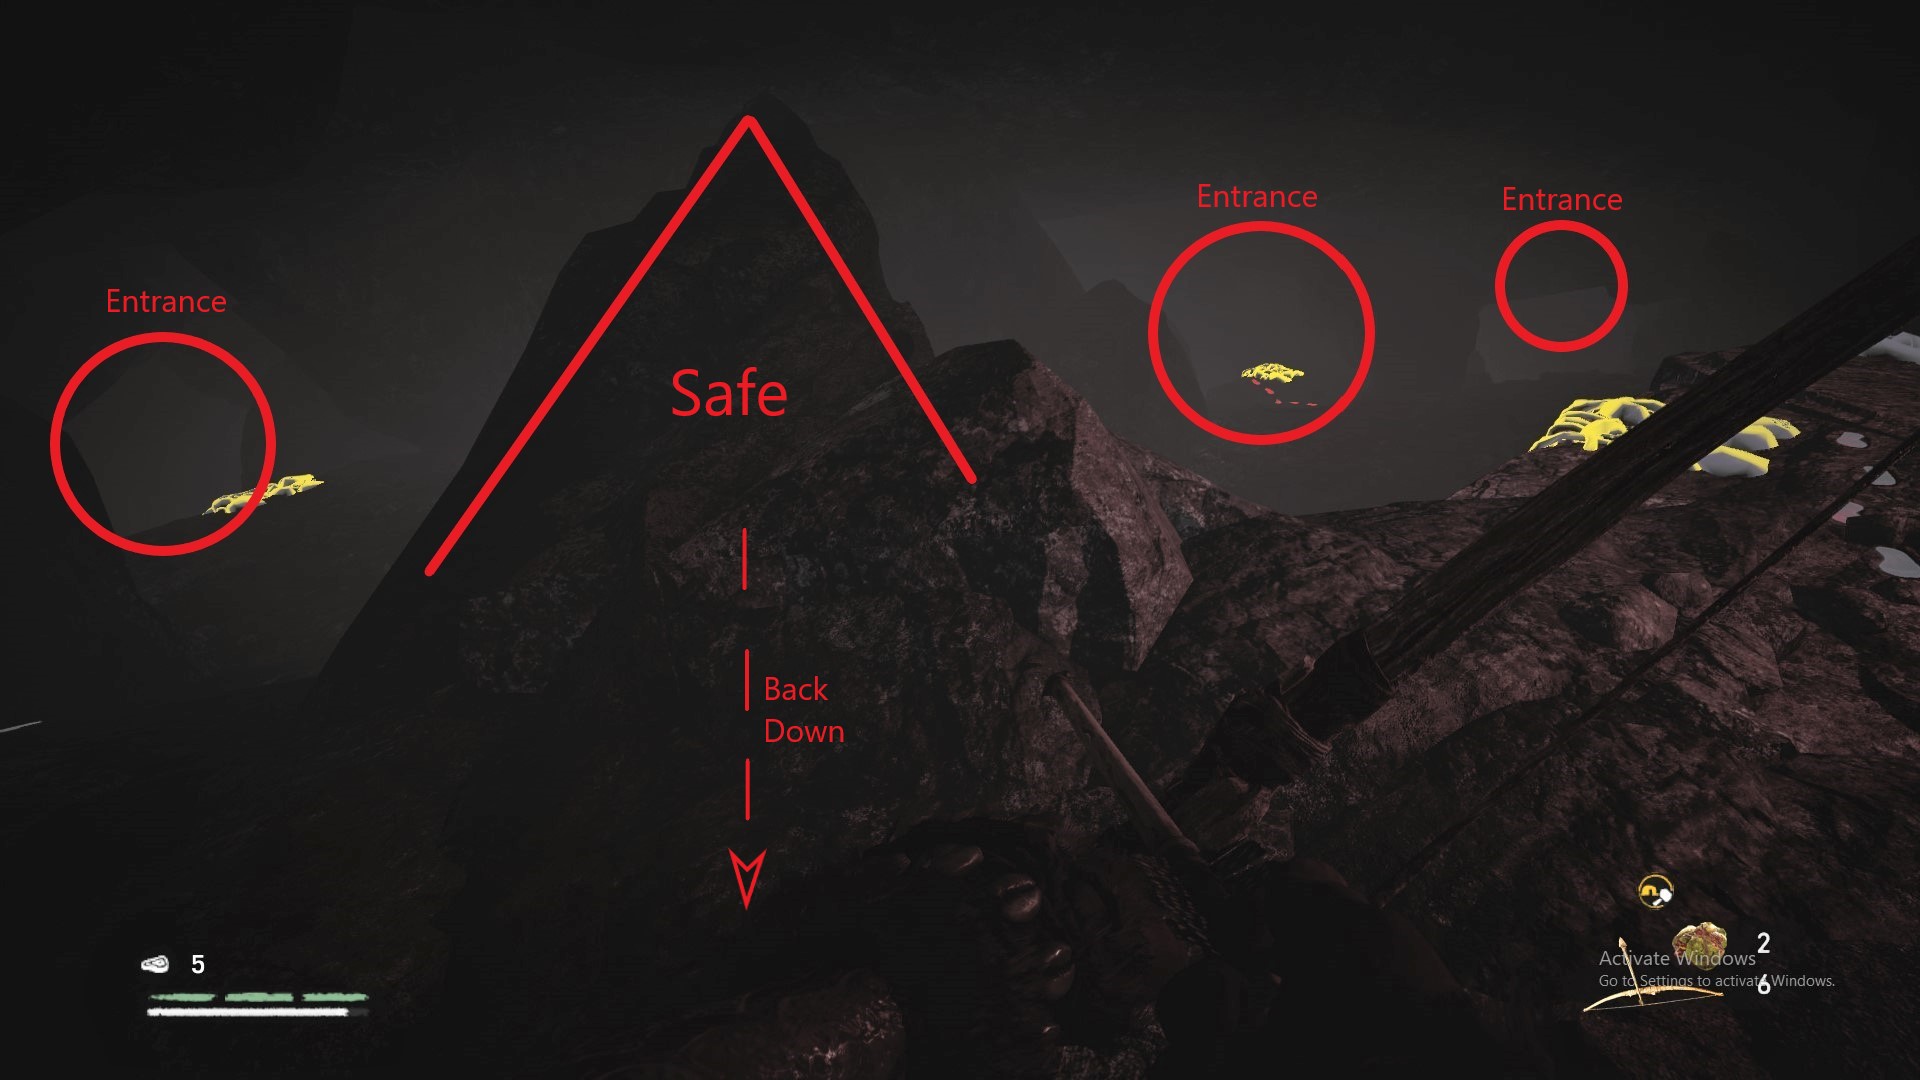
You're looking for spaces you can stand out of reach of the cats. There are many options, but for my preferred spot, take a left immediately after entering the main chamber, and quickly climb up until you reach the very back of the cave, where the lost Wenja will be hiding in a crack in the wall. Across from the crack, there is a 'V'-shaped outcropping that rises up to the ceiling. There, you will be completely safe.
Once you trigger the quest, there will be two Cave Lions to deal with in the first large chamber of the cave. Run up to the safe zone, and be patient. You can lure both cats into view by backing down the outcropping to the main platform. Keep all three entrances to the cavern in view so you know when to run back up to the "safe" zone. Flaming arrows are your friend.

Once they're dispatched, talk to the Wenja, move back to safety, and wait for a Cave Lion and your future best friend. Ignore the Cave Lion for now, and focus on bringing the Sabretooth down to half health.

The Sabretooth usually notices you much faster than the Cave Lion, which is helpful in pealing him off. Once you've hit him with 2-3 spears or flaming arrow headshots, throw bait on the platform right outside the "safe" zone. Keep back so that the Cave Lion doesn't get to you while taming.

If any part of the plan goes sideways, remember you can always restart the quest. If you accidentally kill the Sabretooth, restart the quest. If you run out of arrows, restart the quest. If you take a hit from any of the cats, restart the quest (a second hit will kill you). If you're patient, you will eventually be rewarded with a bodyguard that can take you through the end of the game.

Using Your New Pet
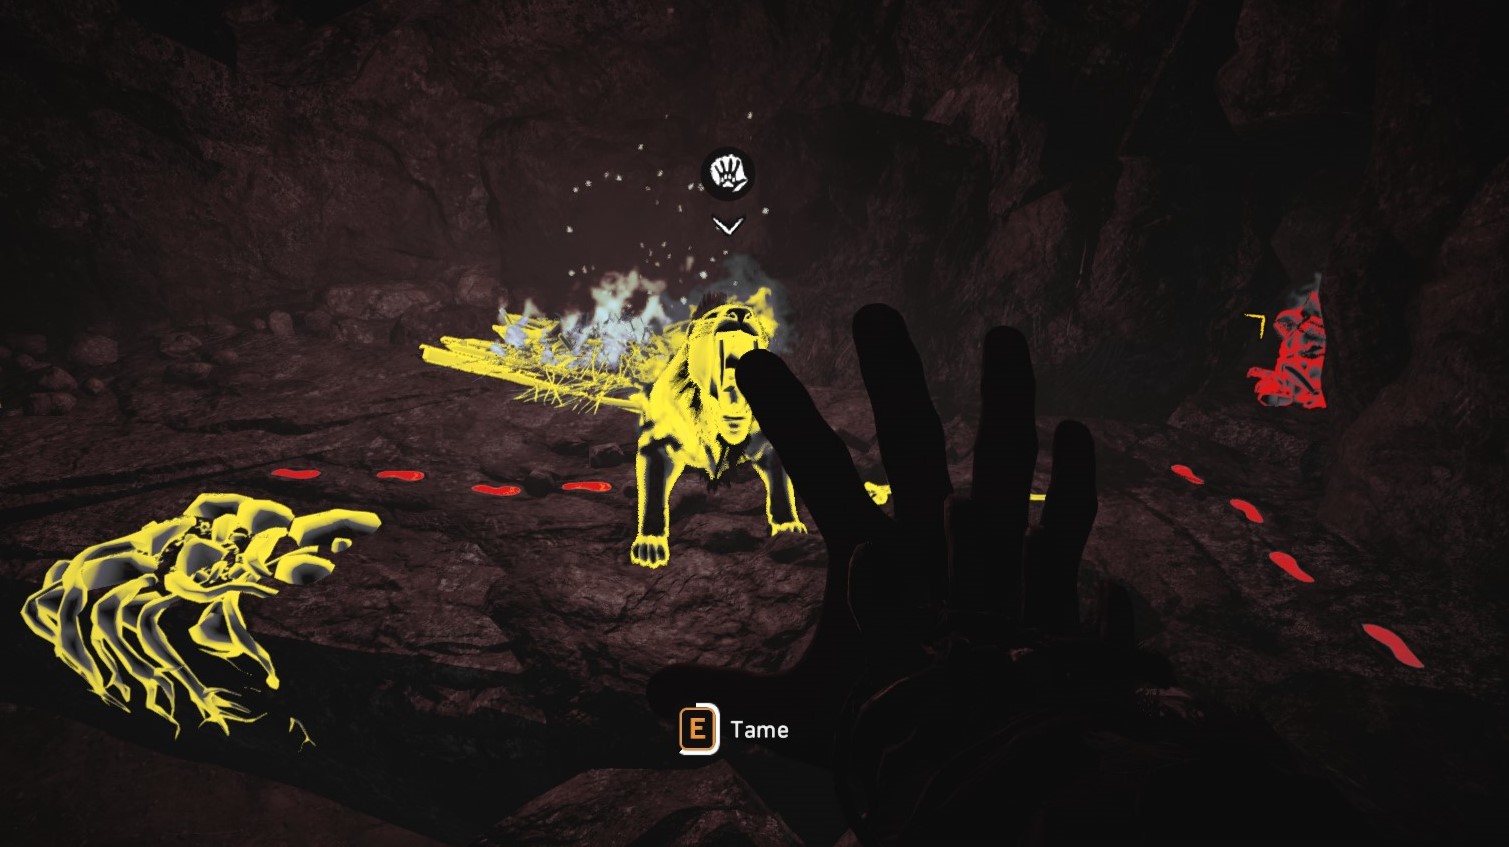
Your pet will general use their "scare" ability on any predator of equal or lower tier. You'll first see their icon change to the "attack" icon, then they'll do an animation a few seconds long involving a growl or roar. They will never try to scare an animal of a higher tier, and there are no "misses."

This will work against almost all wildlife. Exceptions are rhinos, mammoths, eagles, and some cats. The small cats especially (Jaguar / Leopard) use hit-and-run tactics, moving faster than most pets can detect and scare them. Large cats (Cave Lion / Sabretooth) are similar, being fast, deadly, but somewhat easier for your pet to spot. Your best bet is to keep your pet close and slow down when in cat territory.

I've found the Badger to be particularly useless when it comes to all of this. They are slow enough that they miss detecting wildlife until it's too late. They can clear out Mammoths and Rhinos blocking your path, but for defense, I find they are never close or fast enough to offer any real protection.

This is the full chart, with your pet on the left and wild animals across the top.

A couple other tips:
  • Heal your pet from the side. Approaching from the front locks you into 5 seconds of playfully tossing it food into the air, petting, etc., even if you're in the middle of a swarm of Udam. Approach from the side, and once the animation starts, back away or strafe to the side to avoid your pet turning and locking you into the long animation.
  • Take care around cliffs and water. Every so often a pet's pathing will get screwed up and it'll fall, drown, or just disappear (dead). Always keep an eye on your pet. If it disappears, force-quit and reload.
  • The 2-Udam Takedown. I use this maneuver so much it's second nature. Udam are going to attack what they see first. When you ambush two enemies walking in a line (like in Rescue Wenja events), send your pet ahead to take out the Udam furthest from you. The near one will turn their back to you as your pet runs past, giving you the opportunity for a Takedown. If you time this right, they'll both go down simultaneously. Once you get comfortable, you can use the same idea with larger groups, with you and your pet killing your way toward each other.
Surviving the Long Mid Game
The Game Has Changed
Up until now, my advice has been to avoid encounters and diversions at all costs. To be clear, you are still very, very squishy, but now you have a freaking pet sabretooth tiger. Take it out for a spin. Get used to the feel. Keep it close and yourself in a supporting role, but start testing the limits.

Some random advice for this stage:
  • AVOID AT ALL COSTS: all Mammoths, all Rhinos, all Heavies
  • FIND risk-free XP: discover locations, collectables
  • AVOID risky XP: camps, sidequests
  • Carefully engage wandering enemies or Wenja Events
  • Accumulate resources you need for key upgrades (like your spear, longbow)
There is also a lot more freedom of choice in what Specilaist missions you want to prioritize. I'll give you my preferred route, here, but you should feel free to explore your own path.

Wenja Specialists Round 1
Each of these specialist missions has their own tricks to make them easier, but if you've taken my earlier advice and beaten the game on Expert Survivor (no Permadeath), then will be no surprises here. One word of caution: until you spec into Heavy Takedown, avoid all bonfires with heavies. They are one of the few enemies your tiger can't reliably 1v1, and at this stage your thrown spears aren't enough.

Karoosh: Brother In Need
    is a short jog from the Bone Cave and bags a Mammoth skin for free. Hang back with your bow to pick off slingers and let your tiger do all the heavy lifting. Remember, your tiger is the tank, you're the support.

Wogah: Trapped
    gives you the perfect opportunity to tame a Jaguar, if you haven't already. After dropping down into the caverns, toss bait toward to opening to the next room and ditch into the water if anything goes sideways. Make sure you leave with at least 2 skins to build Wogah's hut. For the 2nd part of the mission, Blood of Oros, approach from the high ground and let your tiger pick them off one at a time as they climb up.

Jayma: On The Hunt
    features a bear, who you can tame or use the skin for her hut (you'll need 2). As you approach the bair's lair, there are some vines that lead you to an overhanging ledge that gives you the perfect spot to snipe with flame arrows. Stay out of view or it'll circle all the way around to reach you. Alternatively ... just send your sabretooth to kill it.

Once you've made the circuit to recruit your specialists, head back to the village and build their huts. You'll need these resources:
  • 4 Wolf Skin
  • 2 Jaguar Skin
  • 2 Brown Bear Skin

Wenja Specialists Round 2
Once their huts are built, you're rewarded with another round of missions. As before, you should have little difficulty with these missions, and you should take some time to claim campsites, find collectables, and gather resources. It's also a good opportunity to build a network of Bonfires for fast traveling. Your goal, by the end, should be to have upgraded your spear to level 3 and built a longbow.

Avoid Dah's fort and Tensai's Caught Wenja mission. At this stage they're still hard. Besides, once you check back in at the villiage, Jayma will unlock all of the Great Beast missions. There's only one you need.

Wogah: The Peak of Oros
    pits you against a flock of Eagles, which can be delt with in two ways. Eagles start shreaking when they see a target and are getting lined up for a dive. If you can break line of sight for even a moment, usually by ducking behind a tree, it'll go back to circling. Alternatively, wait for the Eagle to start it's dive to take a shot with your short bow. Eagles won't one-shot you: like almost all enemies, the first hit will at worst take you to an inch from death, giving you a chance to hide and heal. Don't forget to pick up the hidden cache and the Dayshe hand while you're up there.

Karoosh: Stomp Udam
    requires you spec into Mammoth Rider. Kind of a novelty mission, the only difficult is mounting the mammoth right at the beginning. You know the drill: send your tiger into the fray and support with your bow. If it goes sideways, restart from last checkpoint until you get it right.

Jayma: The Tall Elk
    is the singular mission made easier by Expert Survivor mode. Remember how Survivor was added as an update, post-production, without AAA playtesting? Well, the trigger for the eponymous elk to come into the clearing is a certain yellow plant that, in expert survivor mode, rarely spawns. You'll find the elk rooted and unresponsive in its cave. Club it to death and you're done.

Bloodfang Hunt
Bloodfang is a hefty upgrade to your Sabretooth, both in damage dealing and health. While not required to earn Survival Of The Fittest, it's really easy to get.
  • Top off your Hardwood stock before starting.
  • Ignore the Ring Wall Outpost on your way in.
  • When given the choice, follow the fresh tracks into the forest. (south, not west)
  • The Stone Galu Bonfire is optional. You don't need to come back to the Wenja homeland.
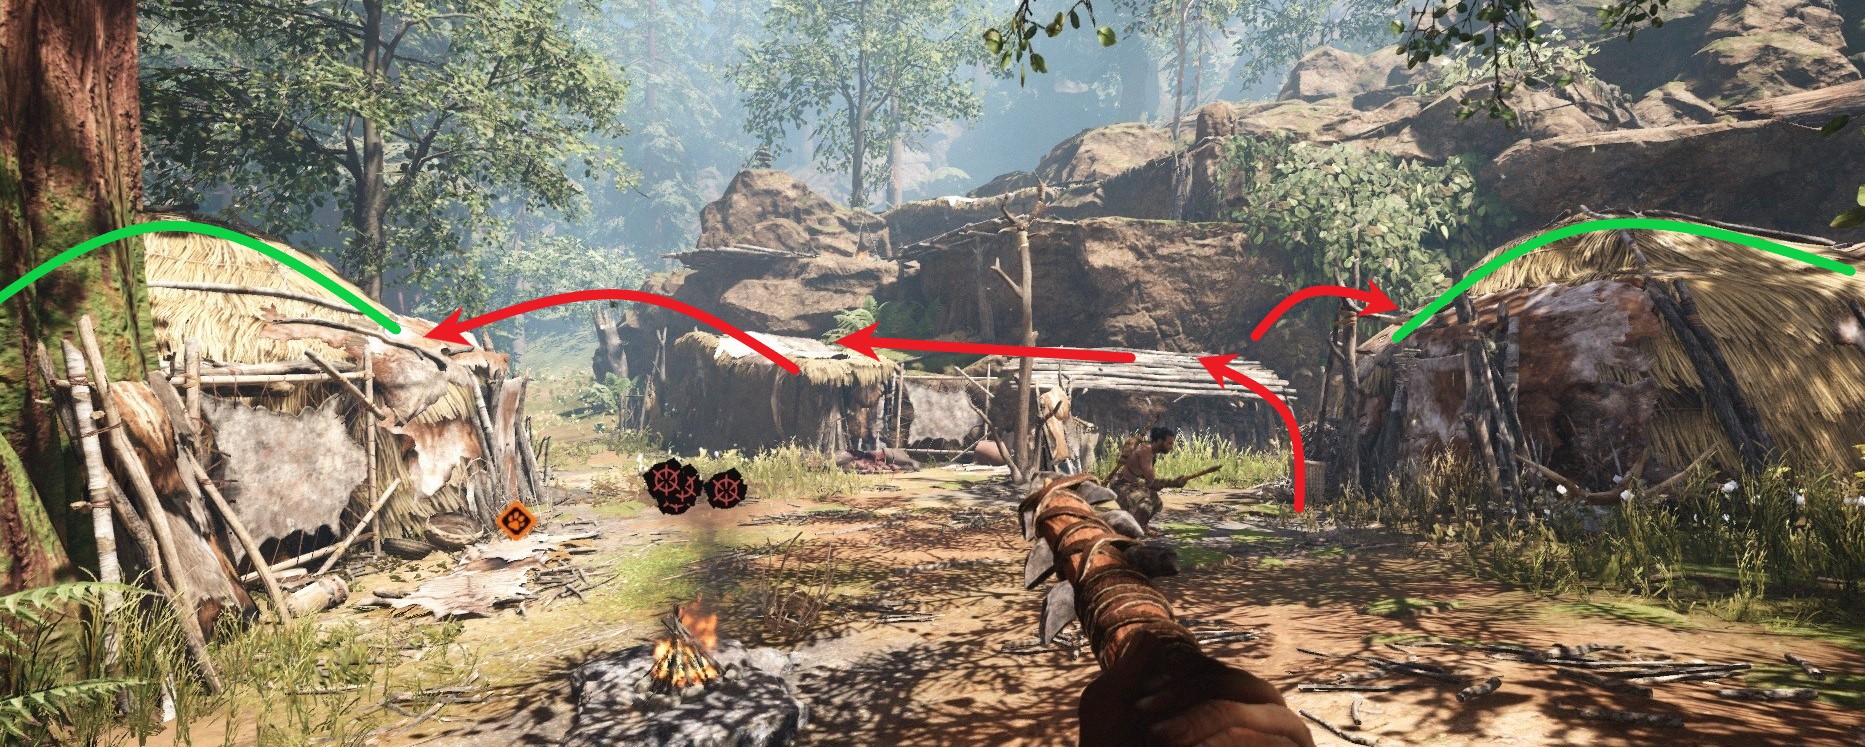
As you approach the hunter's camp, light the campfire and check out your surroundings. Look for two huts with rounded thatch roofs. These roofs are your safe zones. Arm all 7 Great Beast Traps and set 6 of Wogan's crafted Traps (on laying the 7th, the 1st will disappear). Practice jumping onto your roof of choice. Summon a bear, if you've tamed one, otherwise your tiger will do. When you're ready, sleep until nightfall. DO NOT save and quit after setting the Great Beast Traps, as they will reset / disappear, along with your Wenja allies.

Sometimes the Great Beast Traps do all of the work on the first try. Sometimes he'll evade them all, kill the hunters, and run off.

Focus on keeping your pet on the other side of Wogan's Traps to lure Bloodfang. You're pet will go down. Don't bother attacking with spears or arrows - you want Bloodfang to run off. You'll know the coast is clear when you're prompted to chase Bloodfang to his lair. Don't. Instead, revive your pet, reset your traps, go sleep until the next night, and he'll come again with lower and lower health. Repeat until he's tamed.

DO NOT chase Bloodfang to his lair. The hunter's camp is your trap for Bloodfang; his lair is his trap for you.

A few ways your trap can go sideways:
  • You miss your jump and he kills you before you make it to safe zones. This is why the bear is helpful, since it attracts the aggro.
  • Your pet times out and dies. Usually Bloodfang runs off with plenty of time to revive, but it's possible. Summon another pet and keep at it.
  • Occassionally a herd of rhinos will move in on the hunter's camp. Flaming arrows from a high perch is your best bet.
  • You run out of hardwood, get impatient, and try to 1 v 1 Bloodfang. Just don't.

Wenja Specialists Round 3
    This will wrap up your missions for Karoosh, Jayma, and Wogah. They are a touch trickier, but with Bloodfang should still be a light lift.

Karoosh: Eye For An Eye
    The first part is a lot like Brother in Need. Stay back and pick off slingers while Bloodfang does the rest. Dismiss your pet before entering the cave, though, as this is a prime location for glitching. Once you revive Karoosh, you'll have to fight your way out. Again: stay behind and support with bow and spear while Bloodfang does the heavy lifting.

Wogah: The Lost Totem
    Occassionally they rig a mission against stealth runs,

The Great Beast
    Late Game Part 1
    I recommend postponing these missions for later, because their technical difficulty is a big step up from the Wenja Specialist missions. You need to use a combination of stealth and heavy damage dealing against enemies that can quickly overwhelm even Bloodfang. Before taking these on, I recommend crafting your lvl-5 Spear and locking in Heavy Takedown.

    The Taken Wenja
    I heavily choreograph this mission. I run it with stealth, but don't bother hiding bodies: you'll need to move quickly and consistently make longbow headshots.

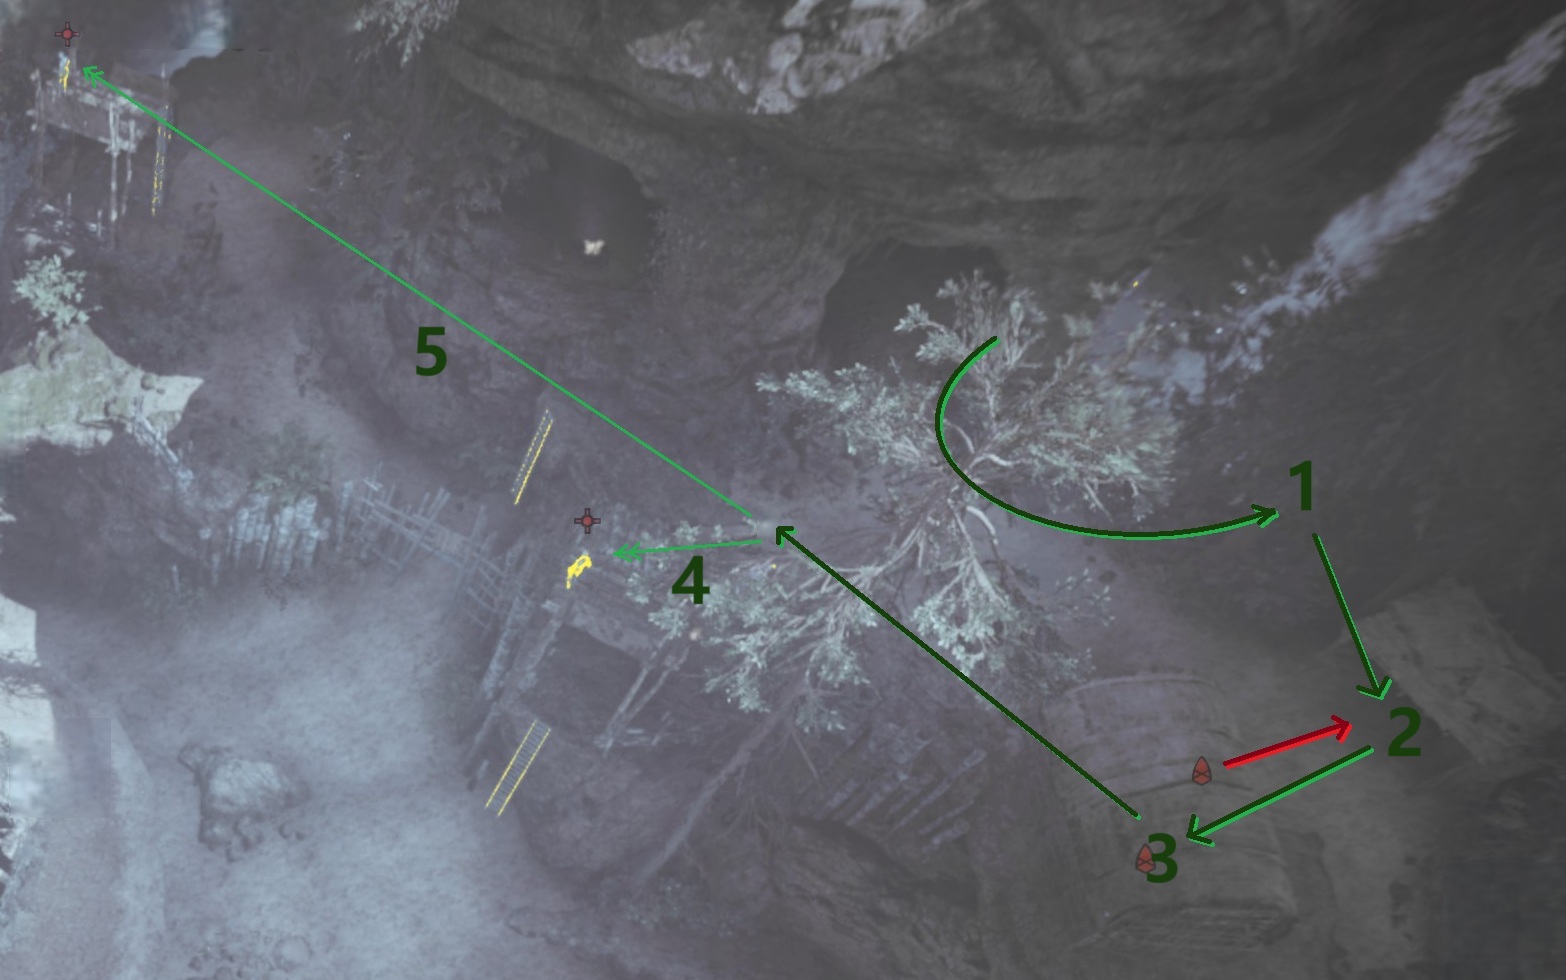
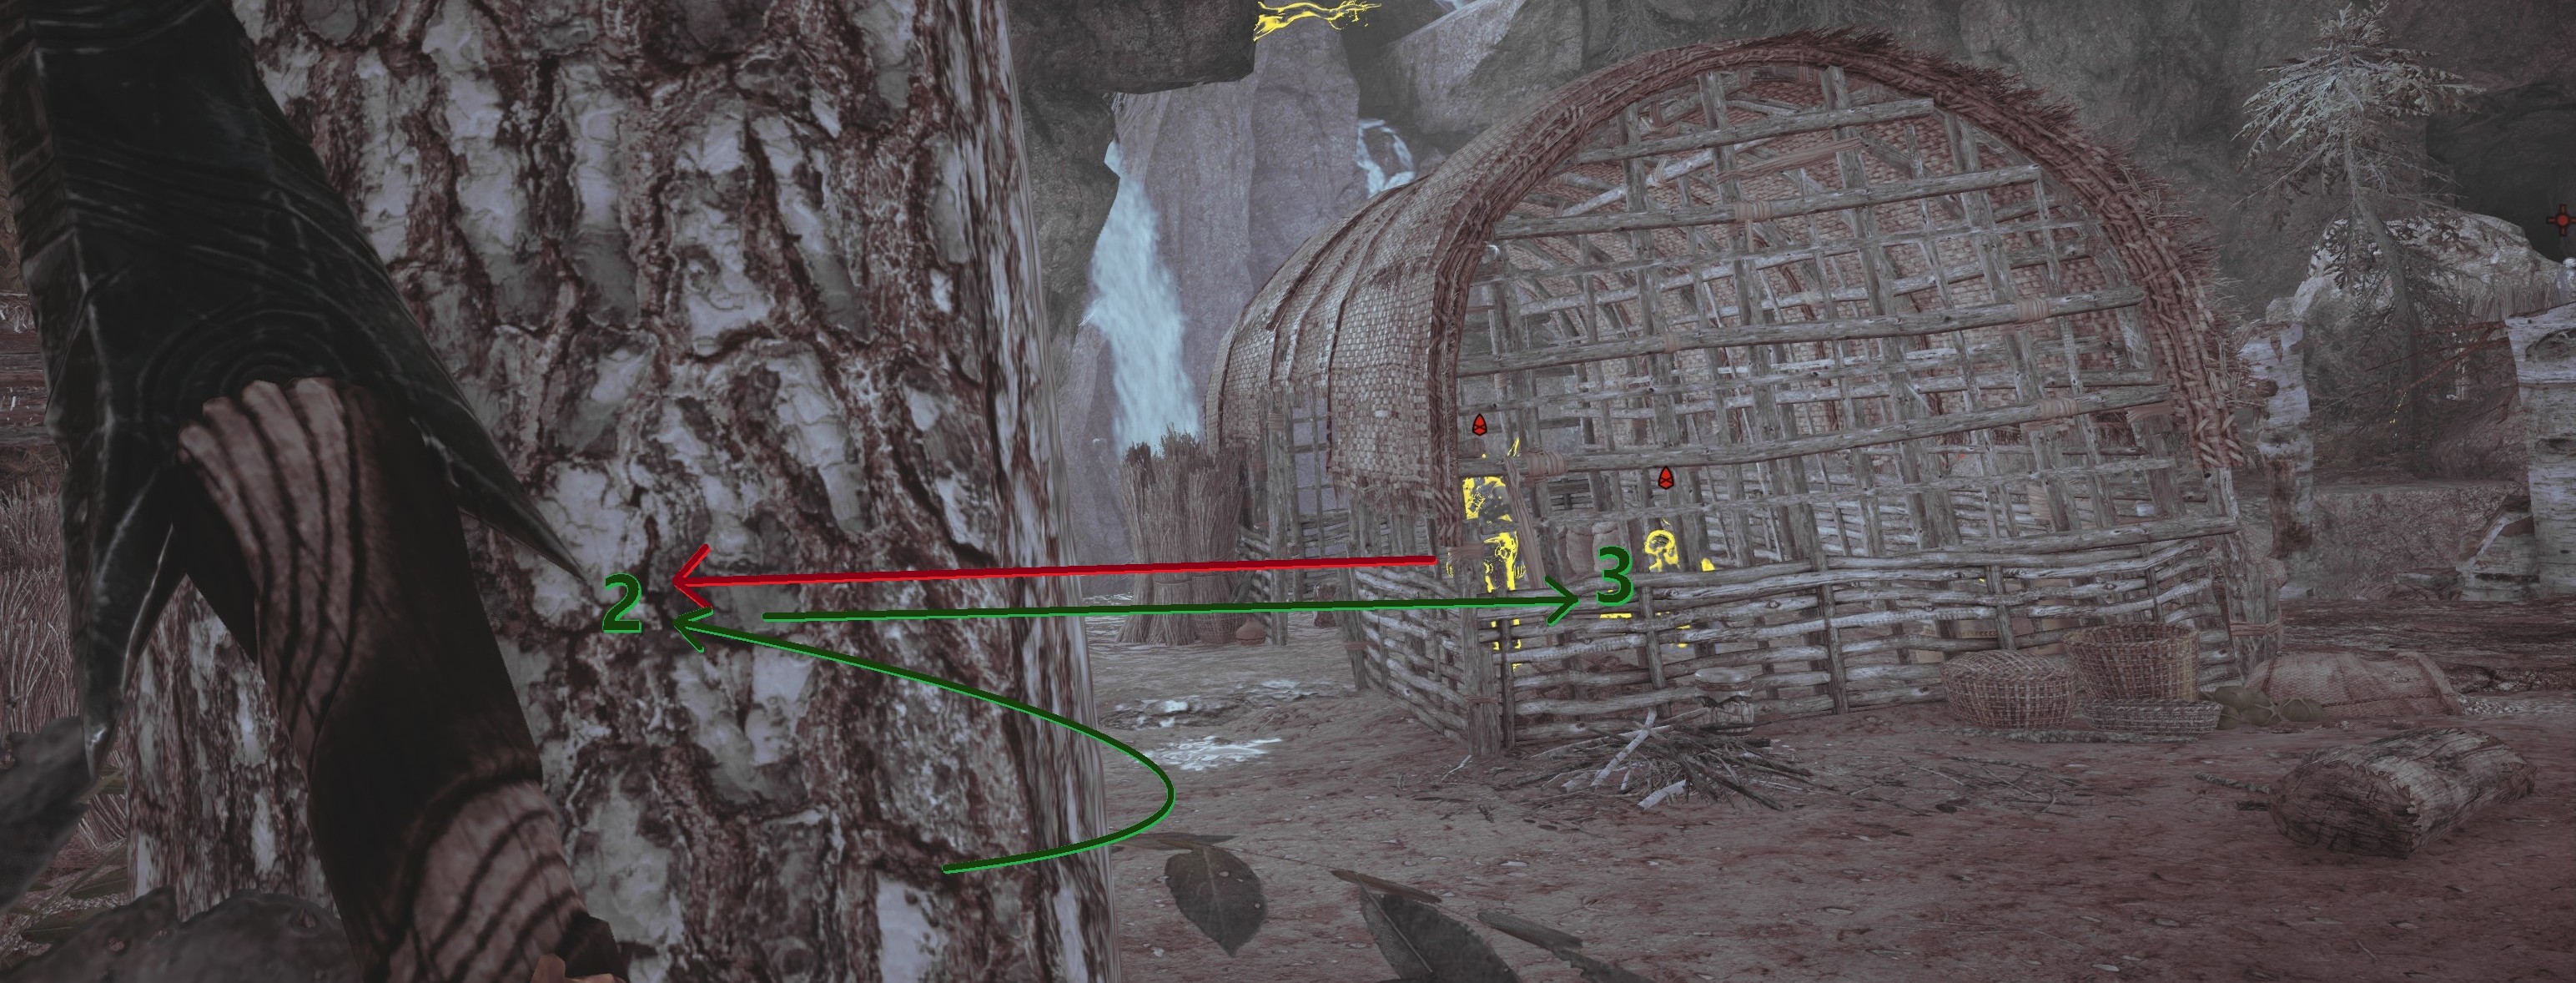
    Dismiss your pet before getting in the water, then swim past the bridge scene straight to the first grappling hook up. Hide in the bush behind a tree and do a quick scout with your owl.
    By the time you're done, one of the two Izila will have left the storage shed. Takedown them both, then the archer in the tower (Takedown or snipe).
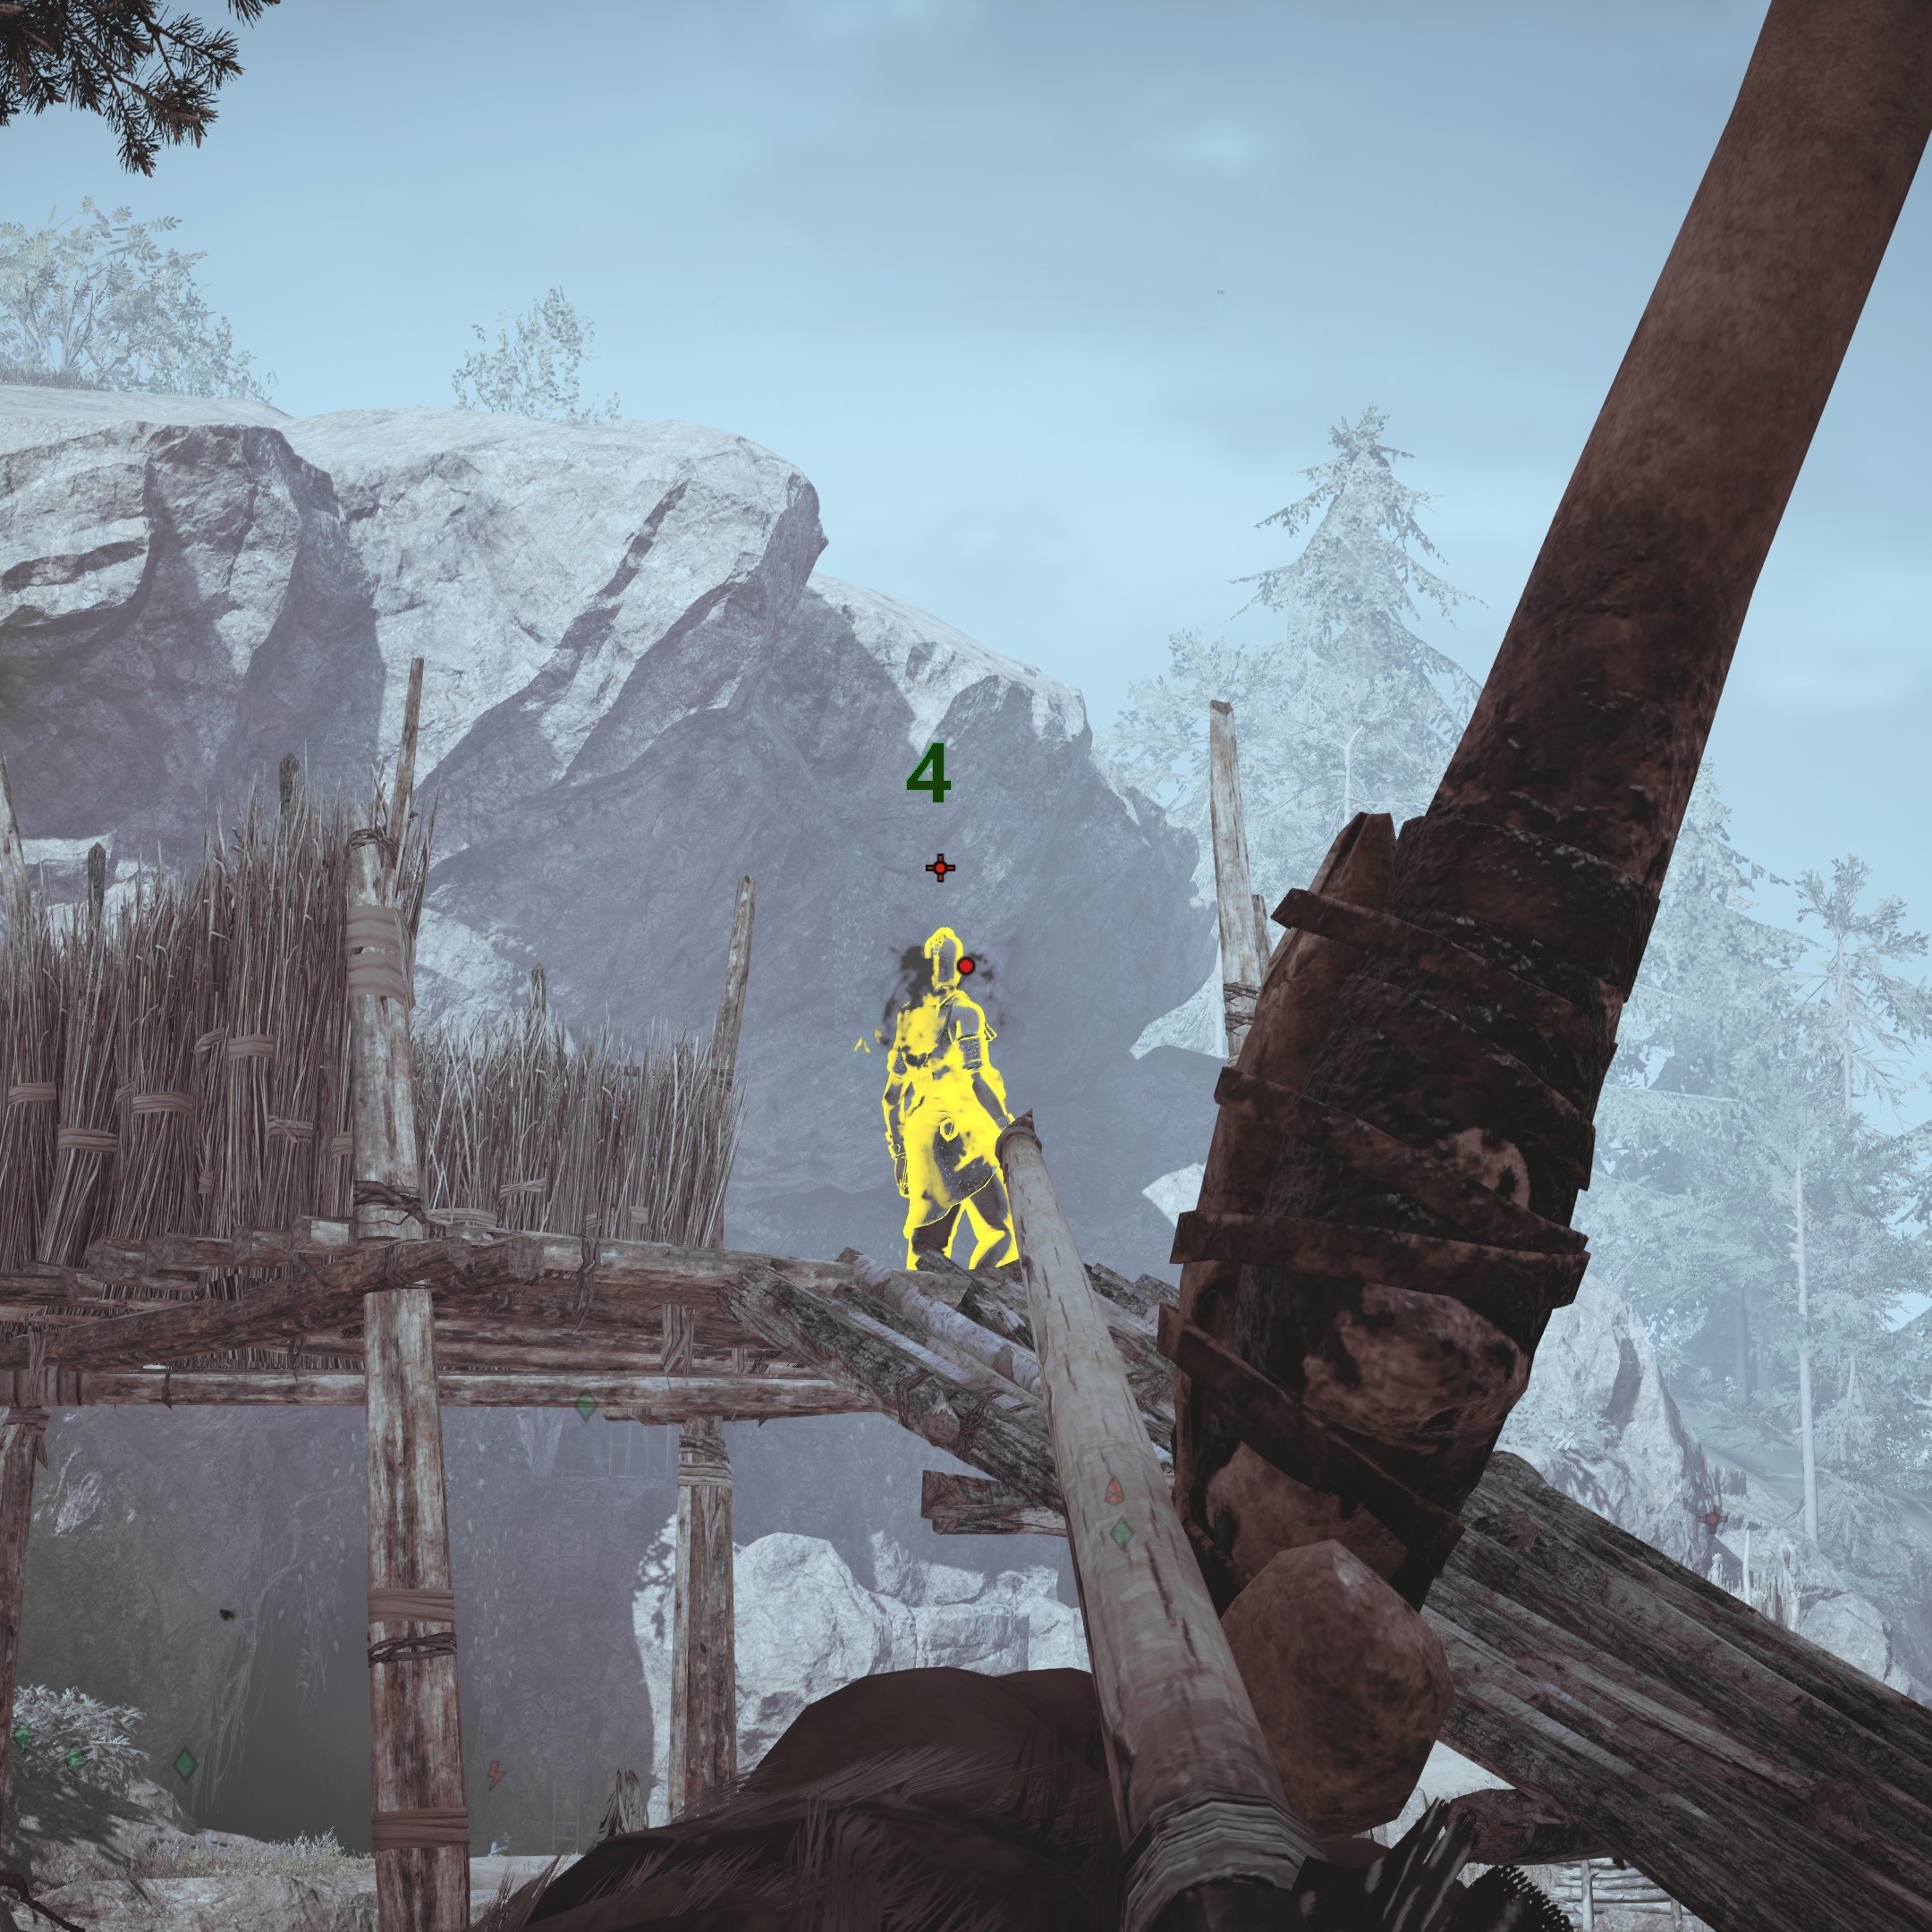
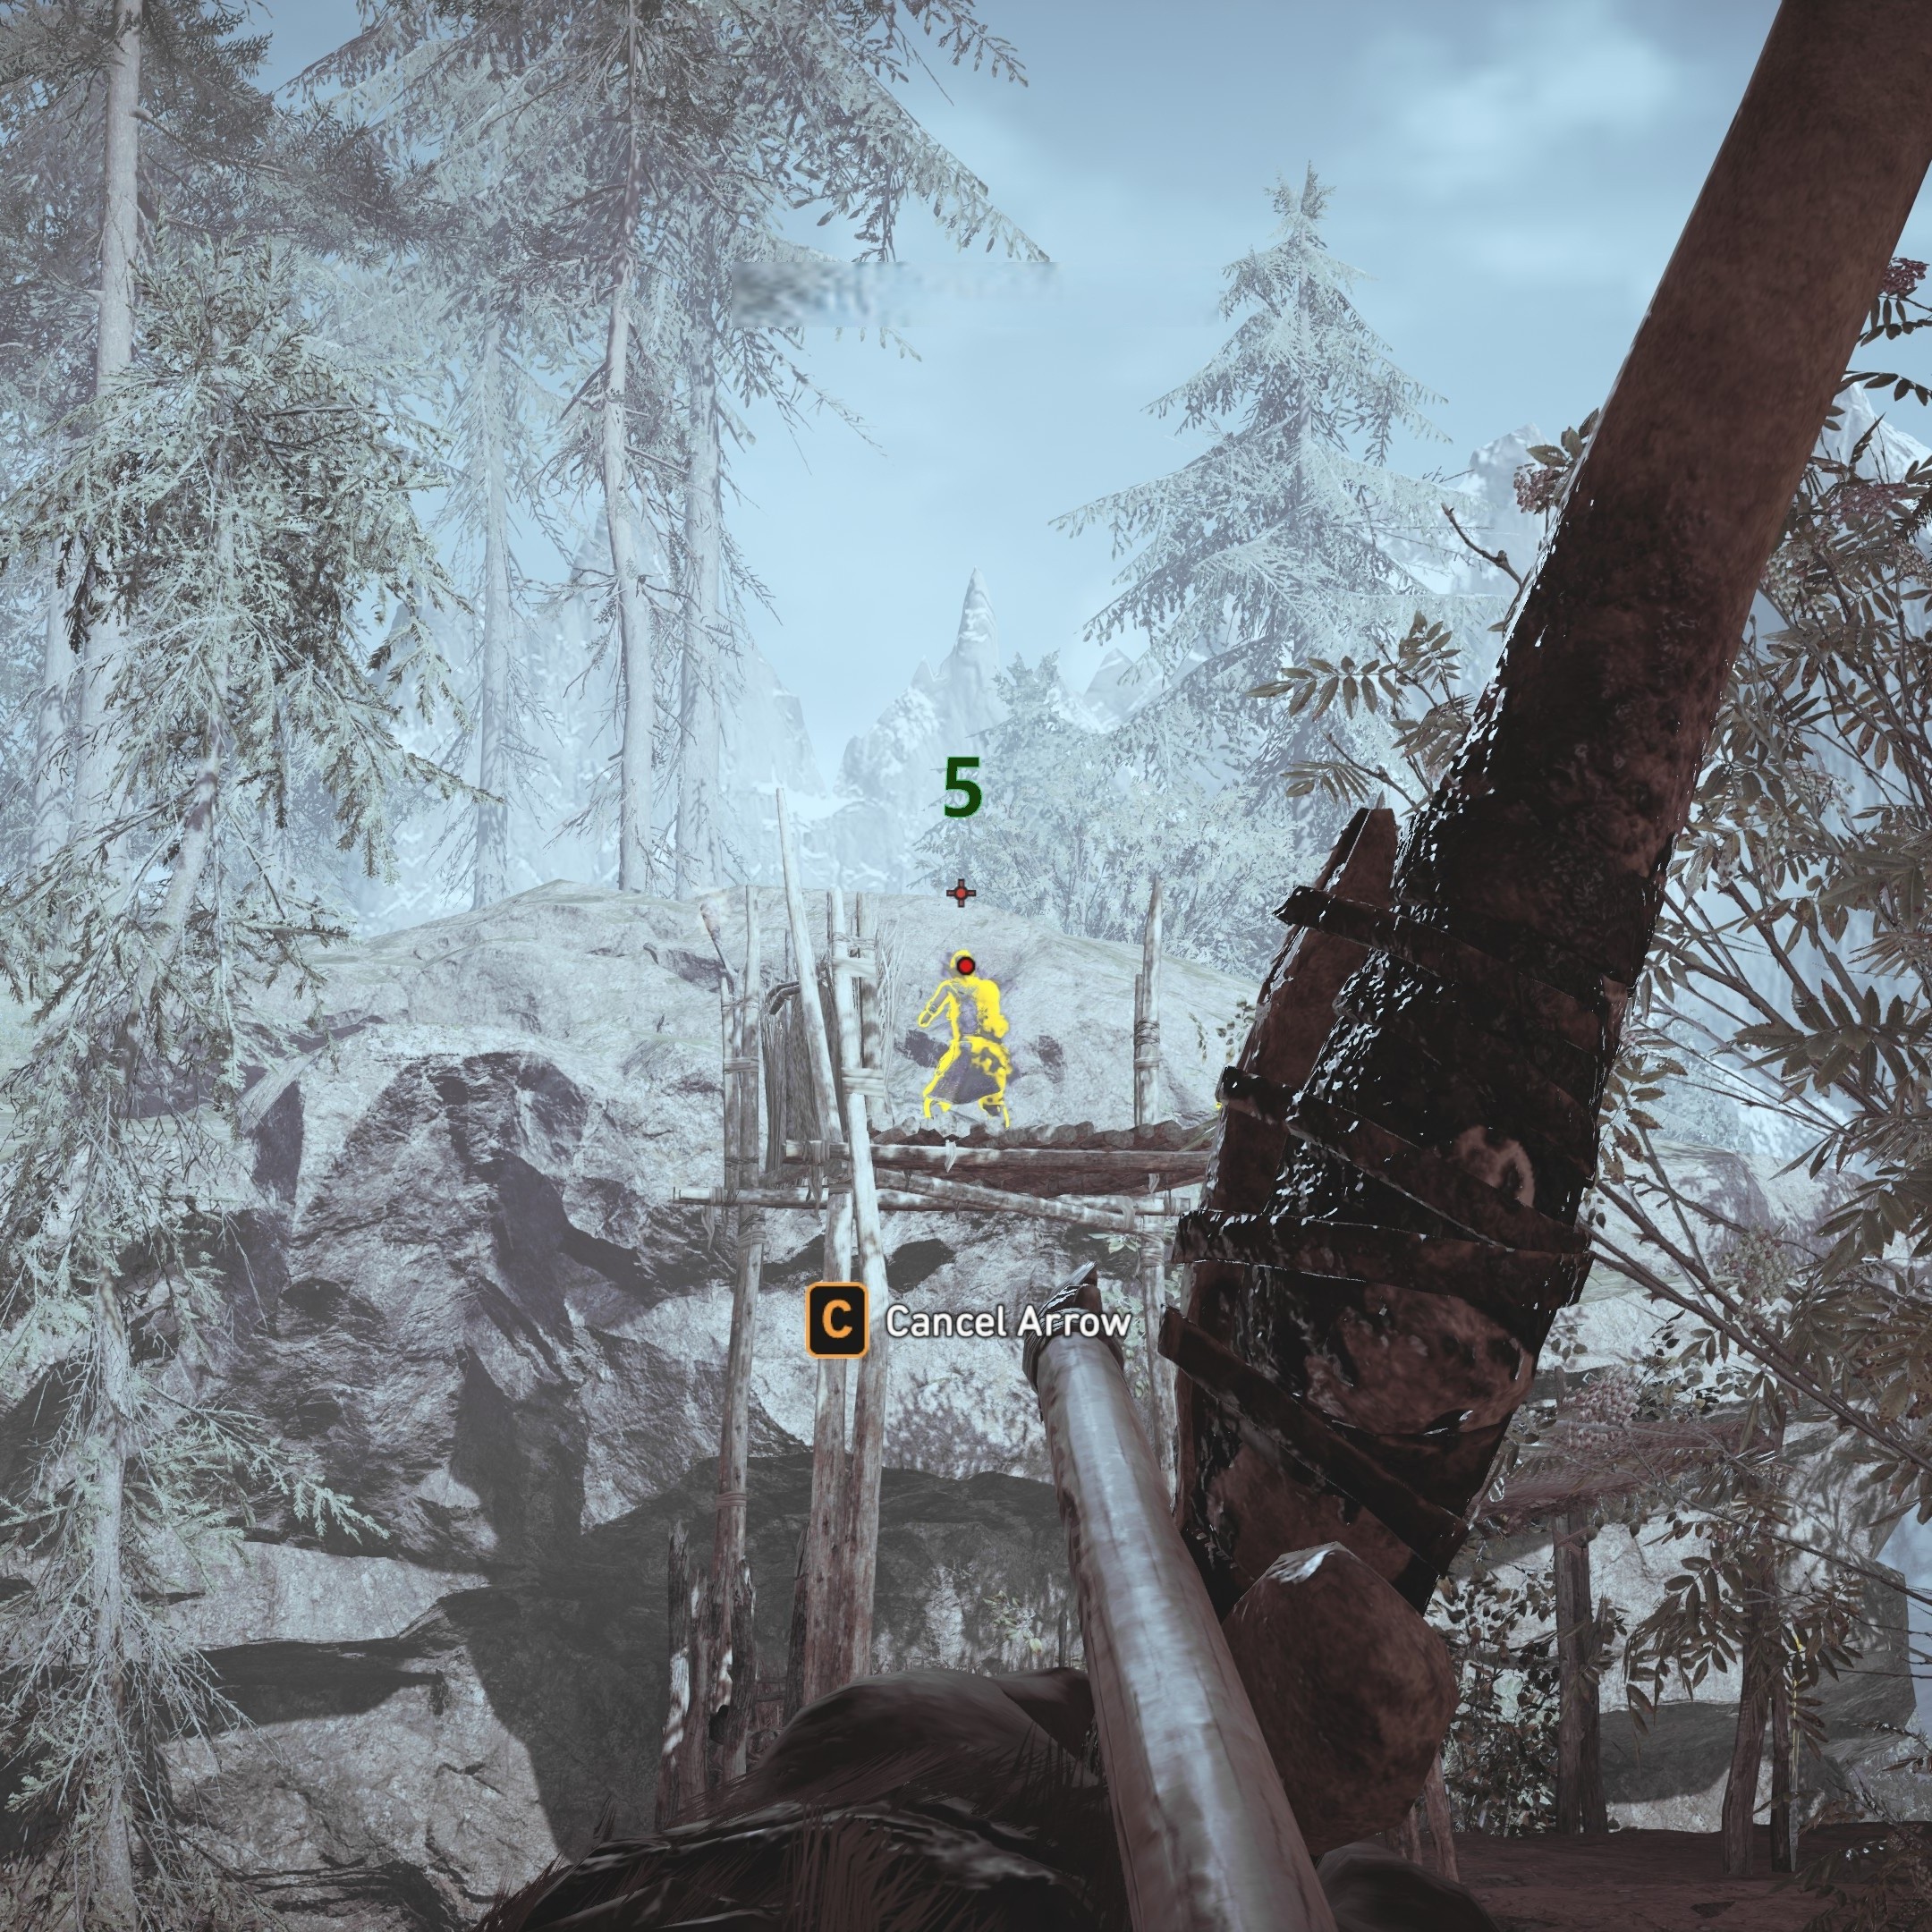
    From there, use your longbow to snipe the dancing musician in the next tower over.
    Here's where speed starts to catch up with you. If you've moved slowly, you may have a Spearman moving across the bridge behind you. Snipe him. But if you've moved quickly, you should be able to move straight to the cages, where you will wait to ambush the Heavy.
    Run up the ramp, turn left, and circle back toward the bridge. Here the randomness of pathing will have jumbled up the exactly location of the last 4 Izula, so you'll have to wing it: I prefer to move forward quickly and snipe them all, but you can also use the secret route to free the Wenja prisoners and use Takedowns. If all else fails, summon Bloodfang.
    Once the Izula are dead and the Wenja are free, position Bloodfang near the main entrance and burn it all to the ground. Pro Tip: you don't need to hold out your weapon to set things on fire. You can just do a regular attack. It's way faster. Dismiss Bloodfang before you leave. After the cutscene, you'll have a few Izila to cleanup or sneak past - your preference.

    Big Darwa Fort
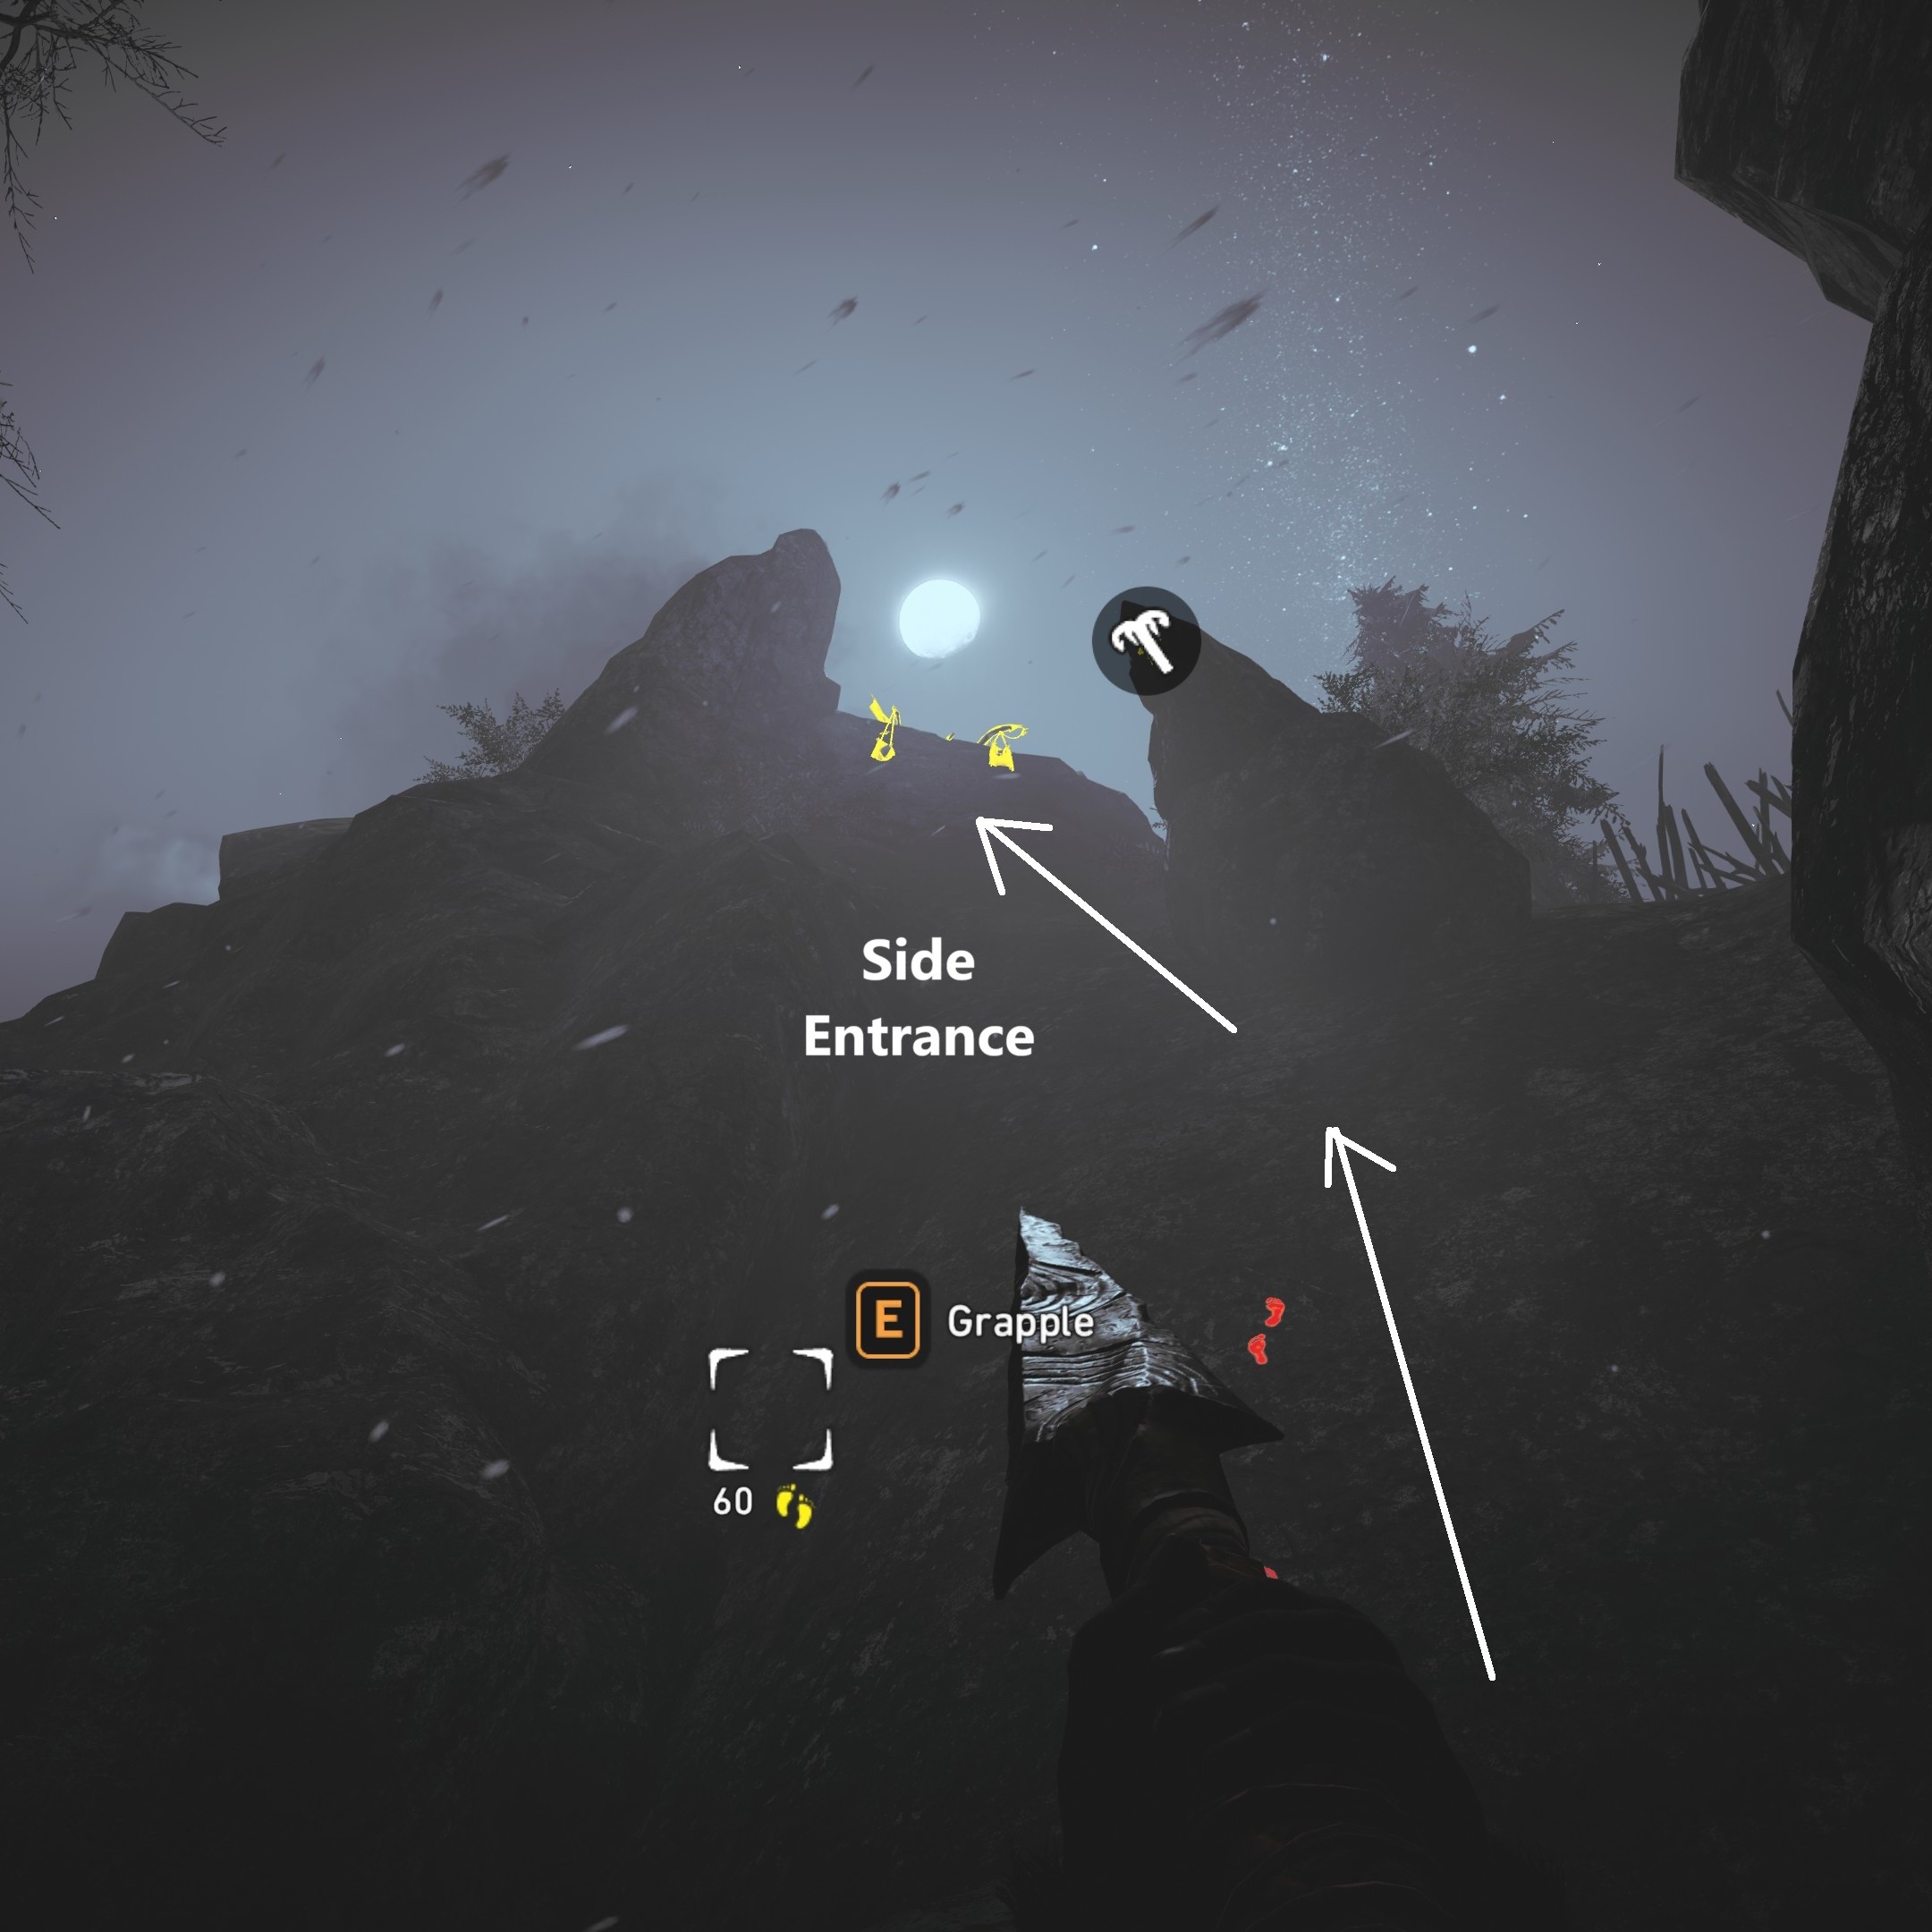
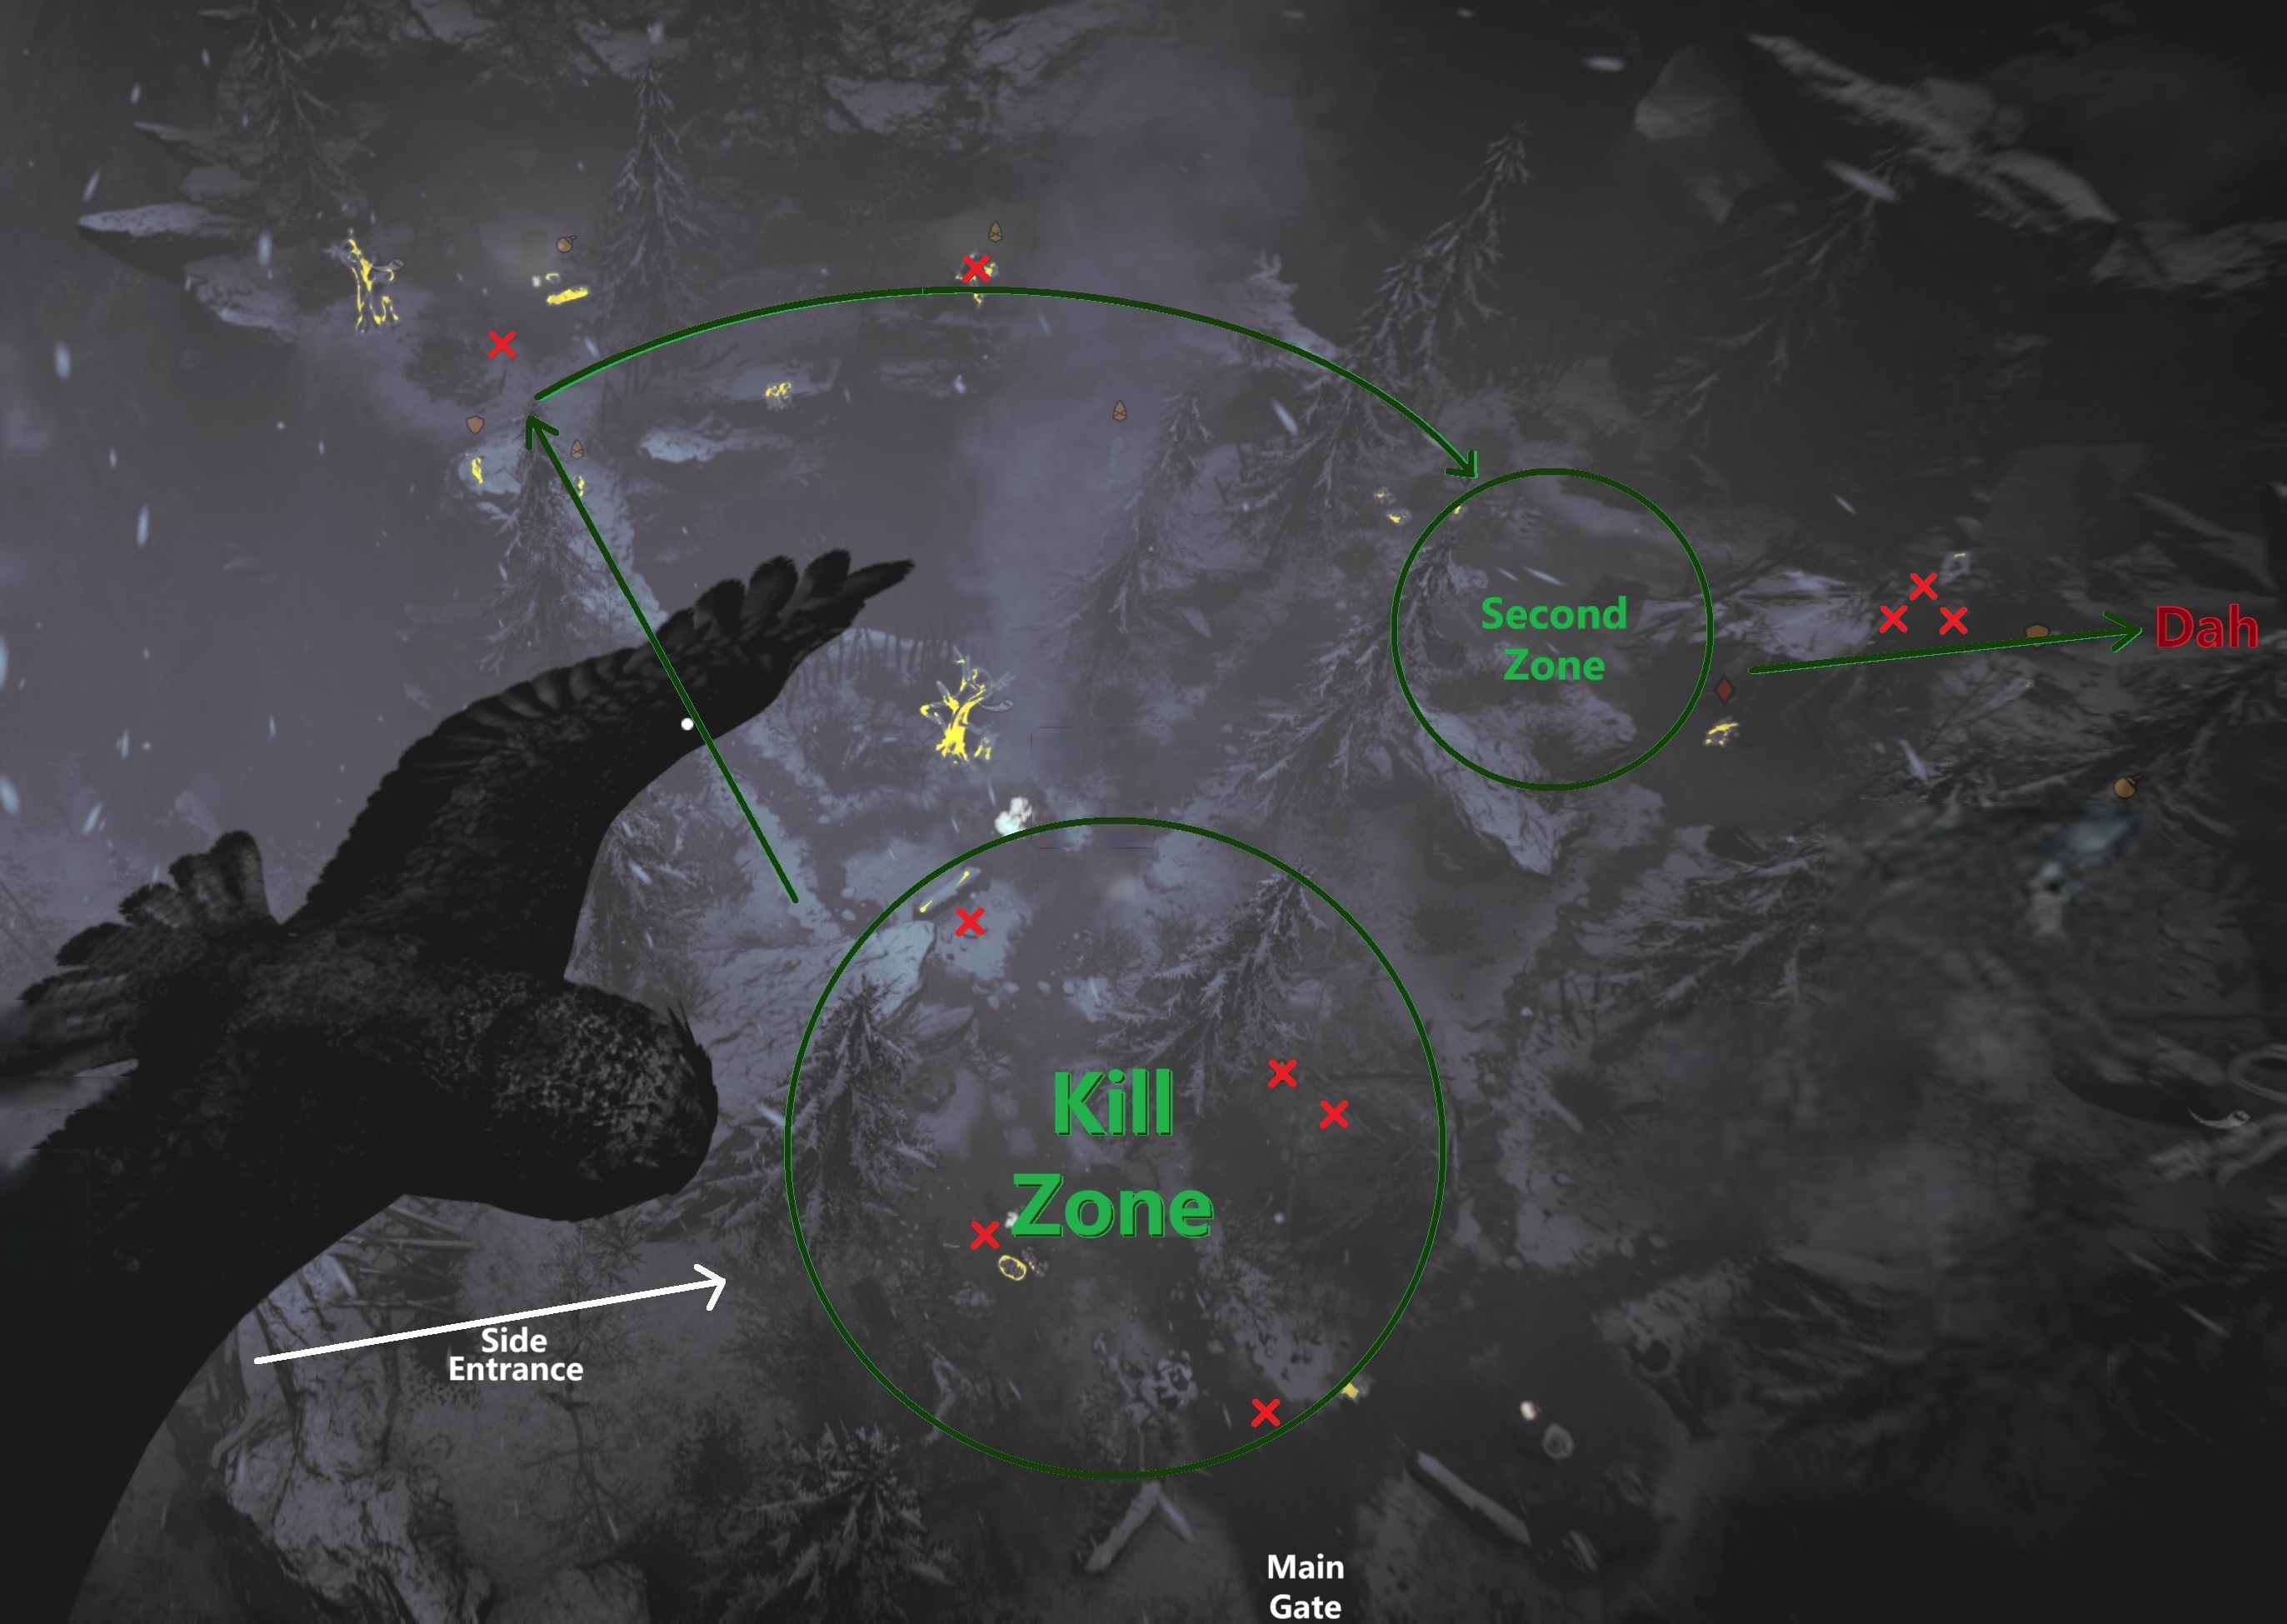
    Again, a heavily choreographed stealth mission, but with the extra challenge that it isn't a Mission, so you can't restart at checkpoint. If you blow cover, I recommend doing a Save & Quit and reload. Approach at night and dismiss Bloodfang. Obviously don't run in the front door - you want to grapple up the side entrance. Keep moving up until you find a torch for heat while you scout with your owl.

    The goal is to stealth kill the entire fort so you can isolate Dah (Heavy). Unlike Taken Wenja, the Udam are constantly rotating patrols, which makes it harder to choreograph, but the good news is that once you clear the 'Kill Zone,' you can camp there while singles trickle in to be picked off. Take your time. I toss bodies all the way back off the cliff just to pace my progress. If you approach at night, there are two free kills sleeping in the central hut. Make sure you also break the reinforcement horns.
    Once the 'Kill Zone' is clear, take a tour across the bridge on the far left and continue clockwise to clear the 2-3 Udam there. Ignore the caged leopard. Keep an eye out for any singles wandering back into the 'Kill Zone'.

    There should only be 2-3 left by the time you make it to the 'Second Zone.' At this point, prioritize any remaining 'horn' enemies. As long as they don't call reinforcements, you can probably take them even if you break stealth.

    To 1v1 Dah, keep moving to avoid poison bombs, but otherwise all you need are flaming arrows and a couple thrown spears. If you take advantage of Dah's slow speed, this shouldn't be a problem.

    Fire Screamer Fort
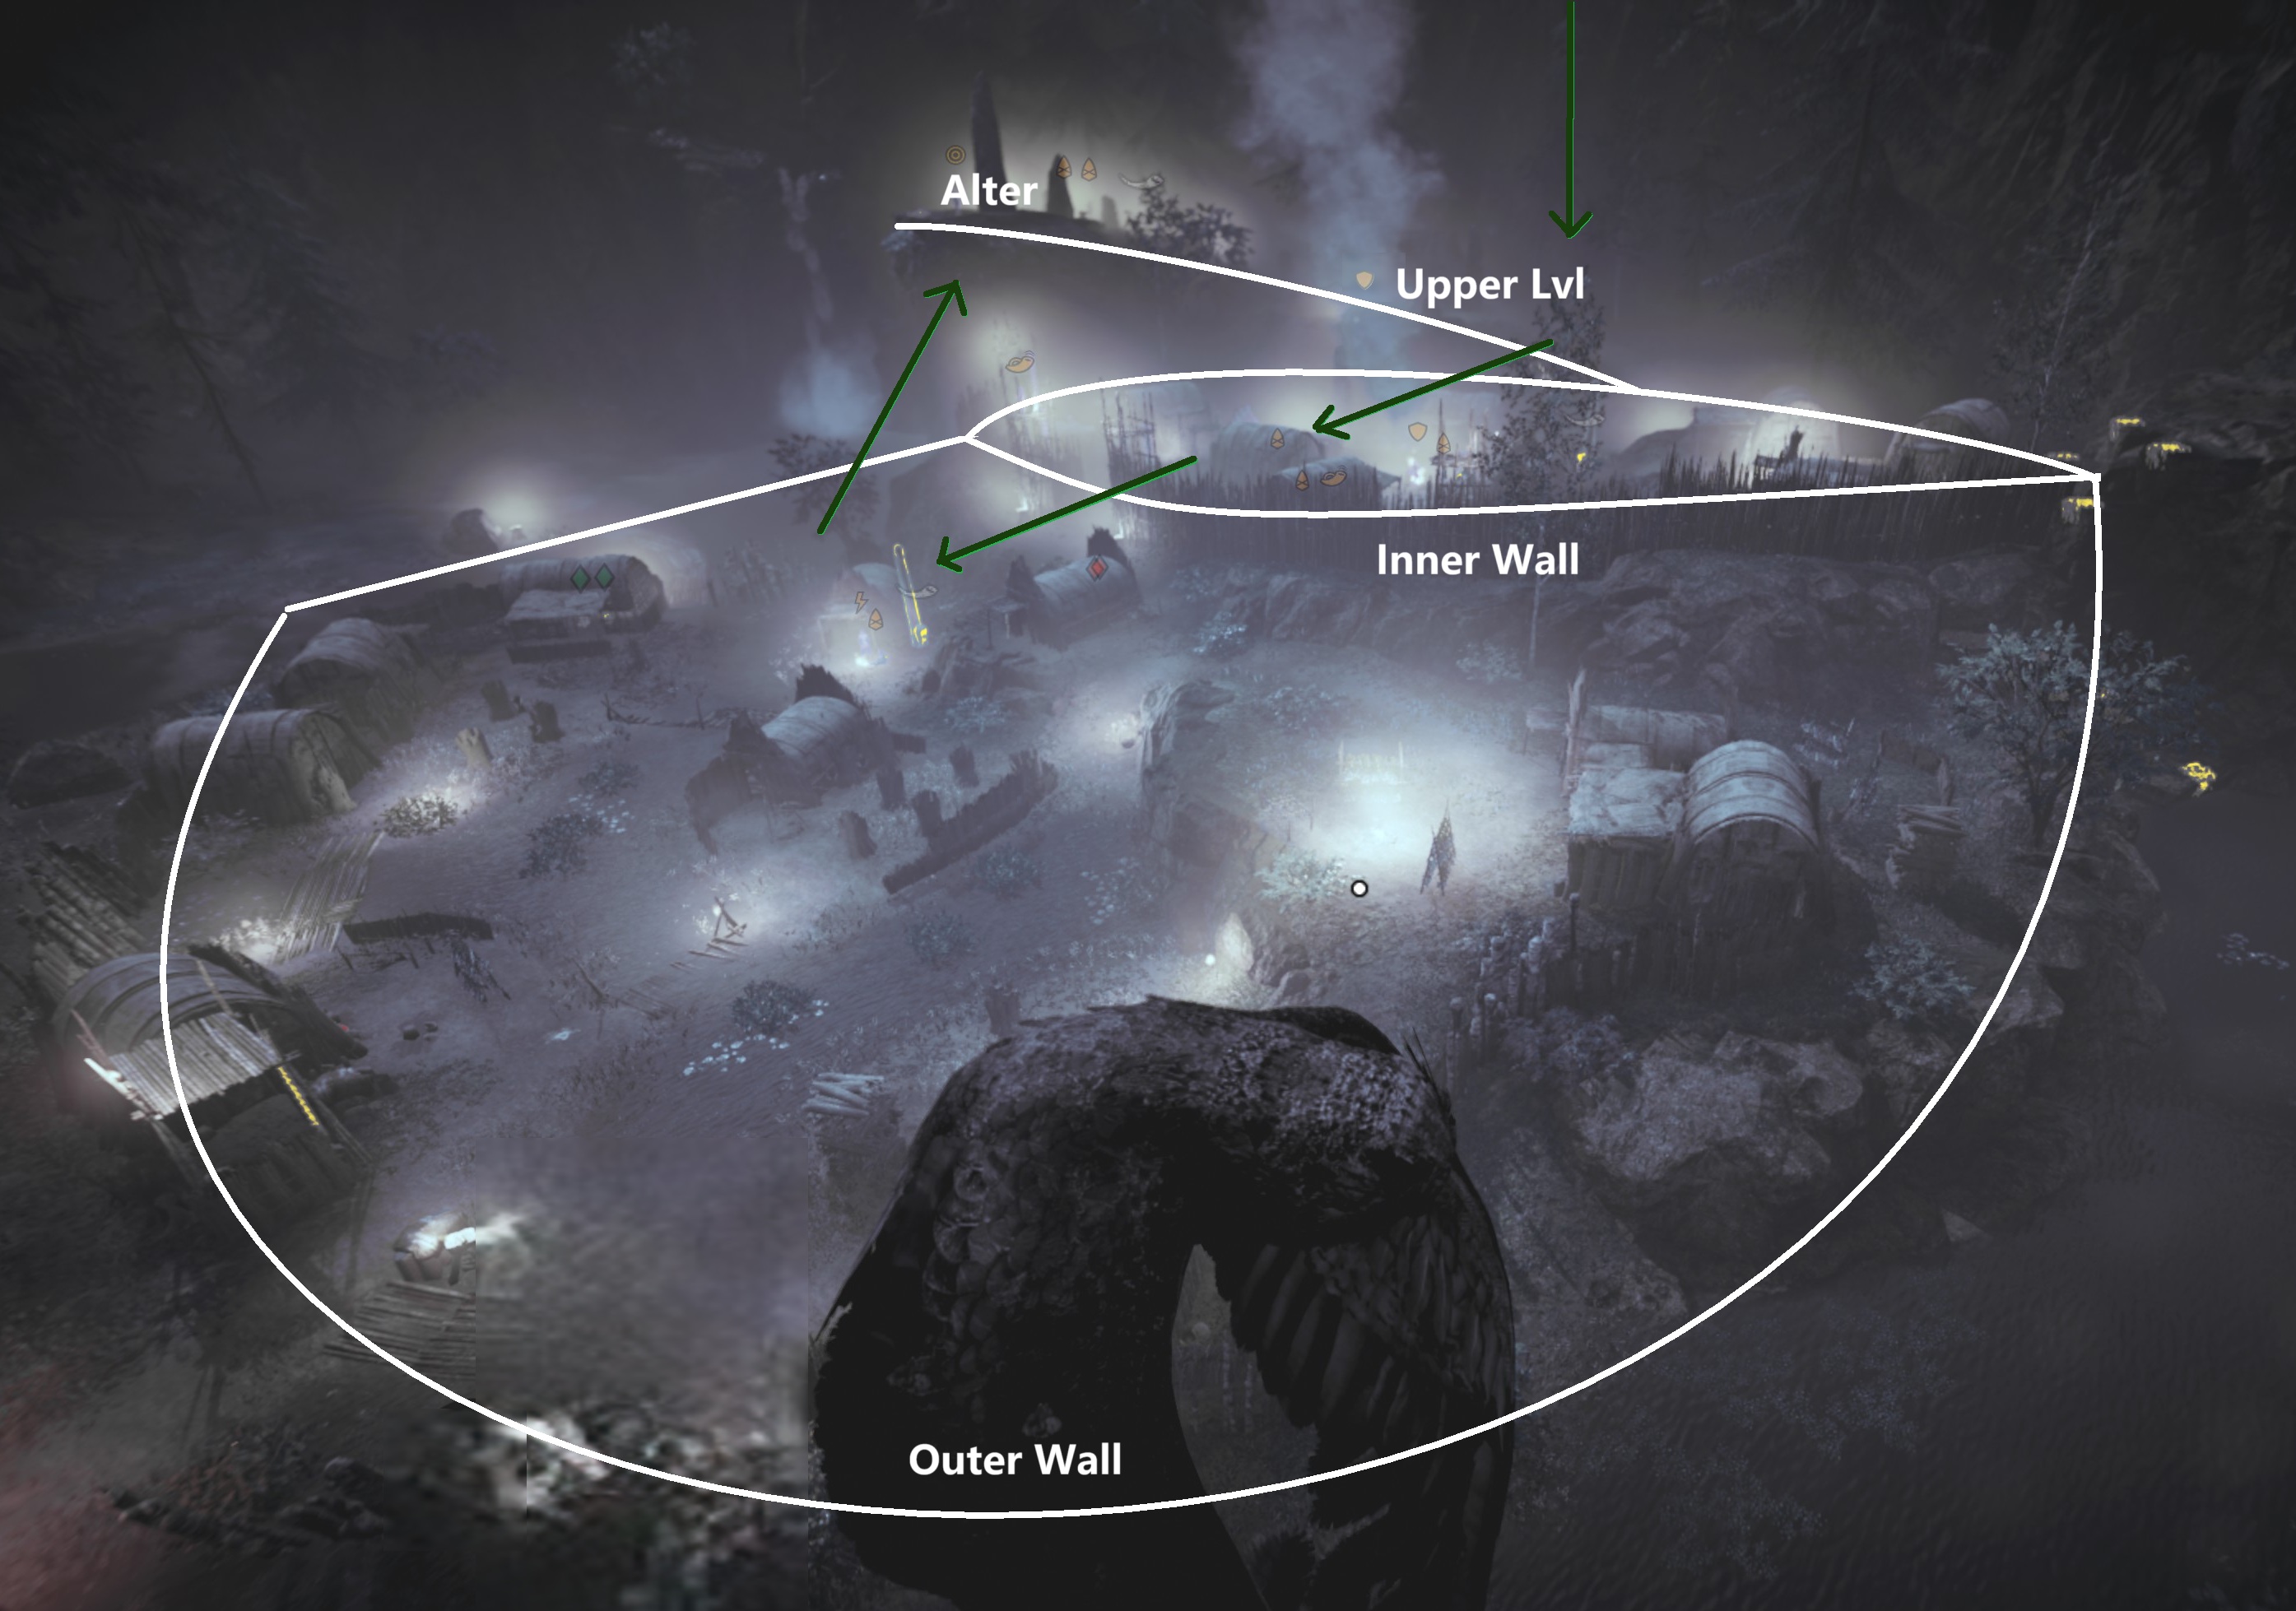
    This mission is the twin sister of Big Darwa Fort. Approach at night, and I recommend taking it apart from the inside, using the hidden passage at the back. Take care hiding bodies, and circle around any couples and pick them off when they separate. The two walled rings actually helps split up enemies, making it easier to work without fear or discovery.
    Once you've cleared the field, there will be two priests chanting at the alter, next to Roshani. You can Takedown the priests one at a time, and when you're ready, take Roshani alone. Like Dah, keep your distance. Fire isn't as effective with Roshani, so instead of flaming arrows I rely on thrown spears. Throw them all, then retreat down the hill. Once he gets to the building in the upper level, circle around the other side and run back up to pick up your used spears. Repeat until he's down.
    Late Game Part 2
    Into Udam Land
    This is a pretty straight-forward mission, but there are a lot of Udam and Bloodfang is MIA. This is the last of my heavily choreographed missions, and needs a combination of stealth, avoidance, and quick killing.
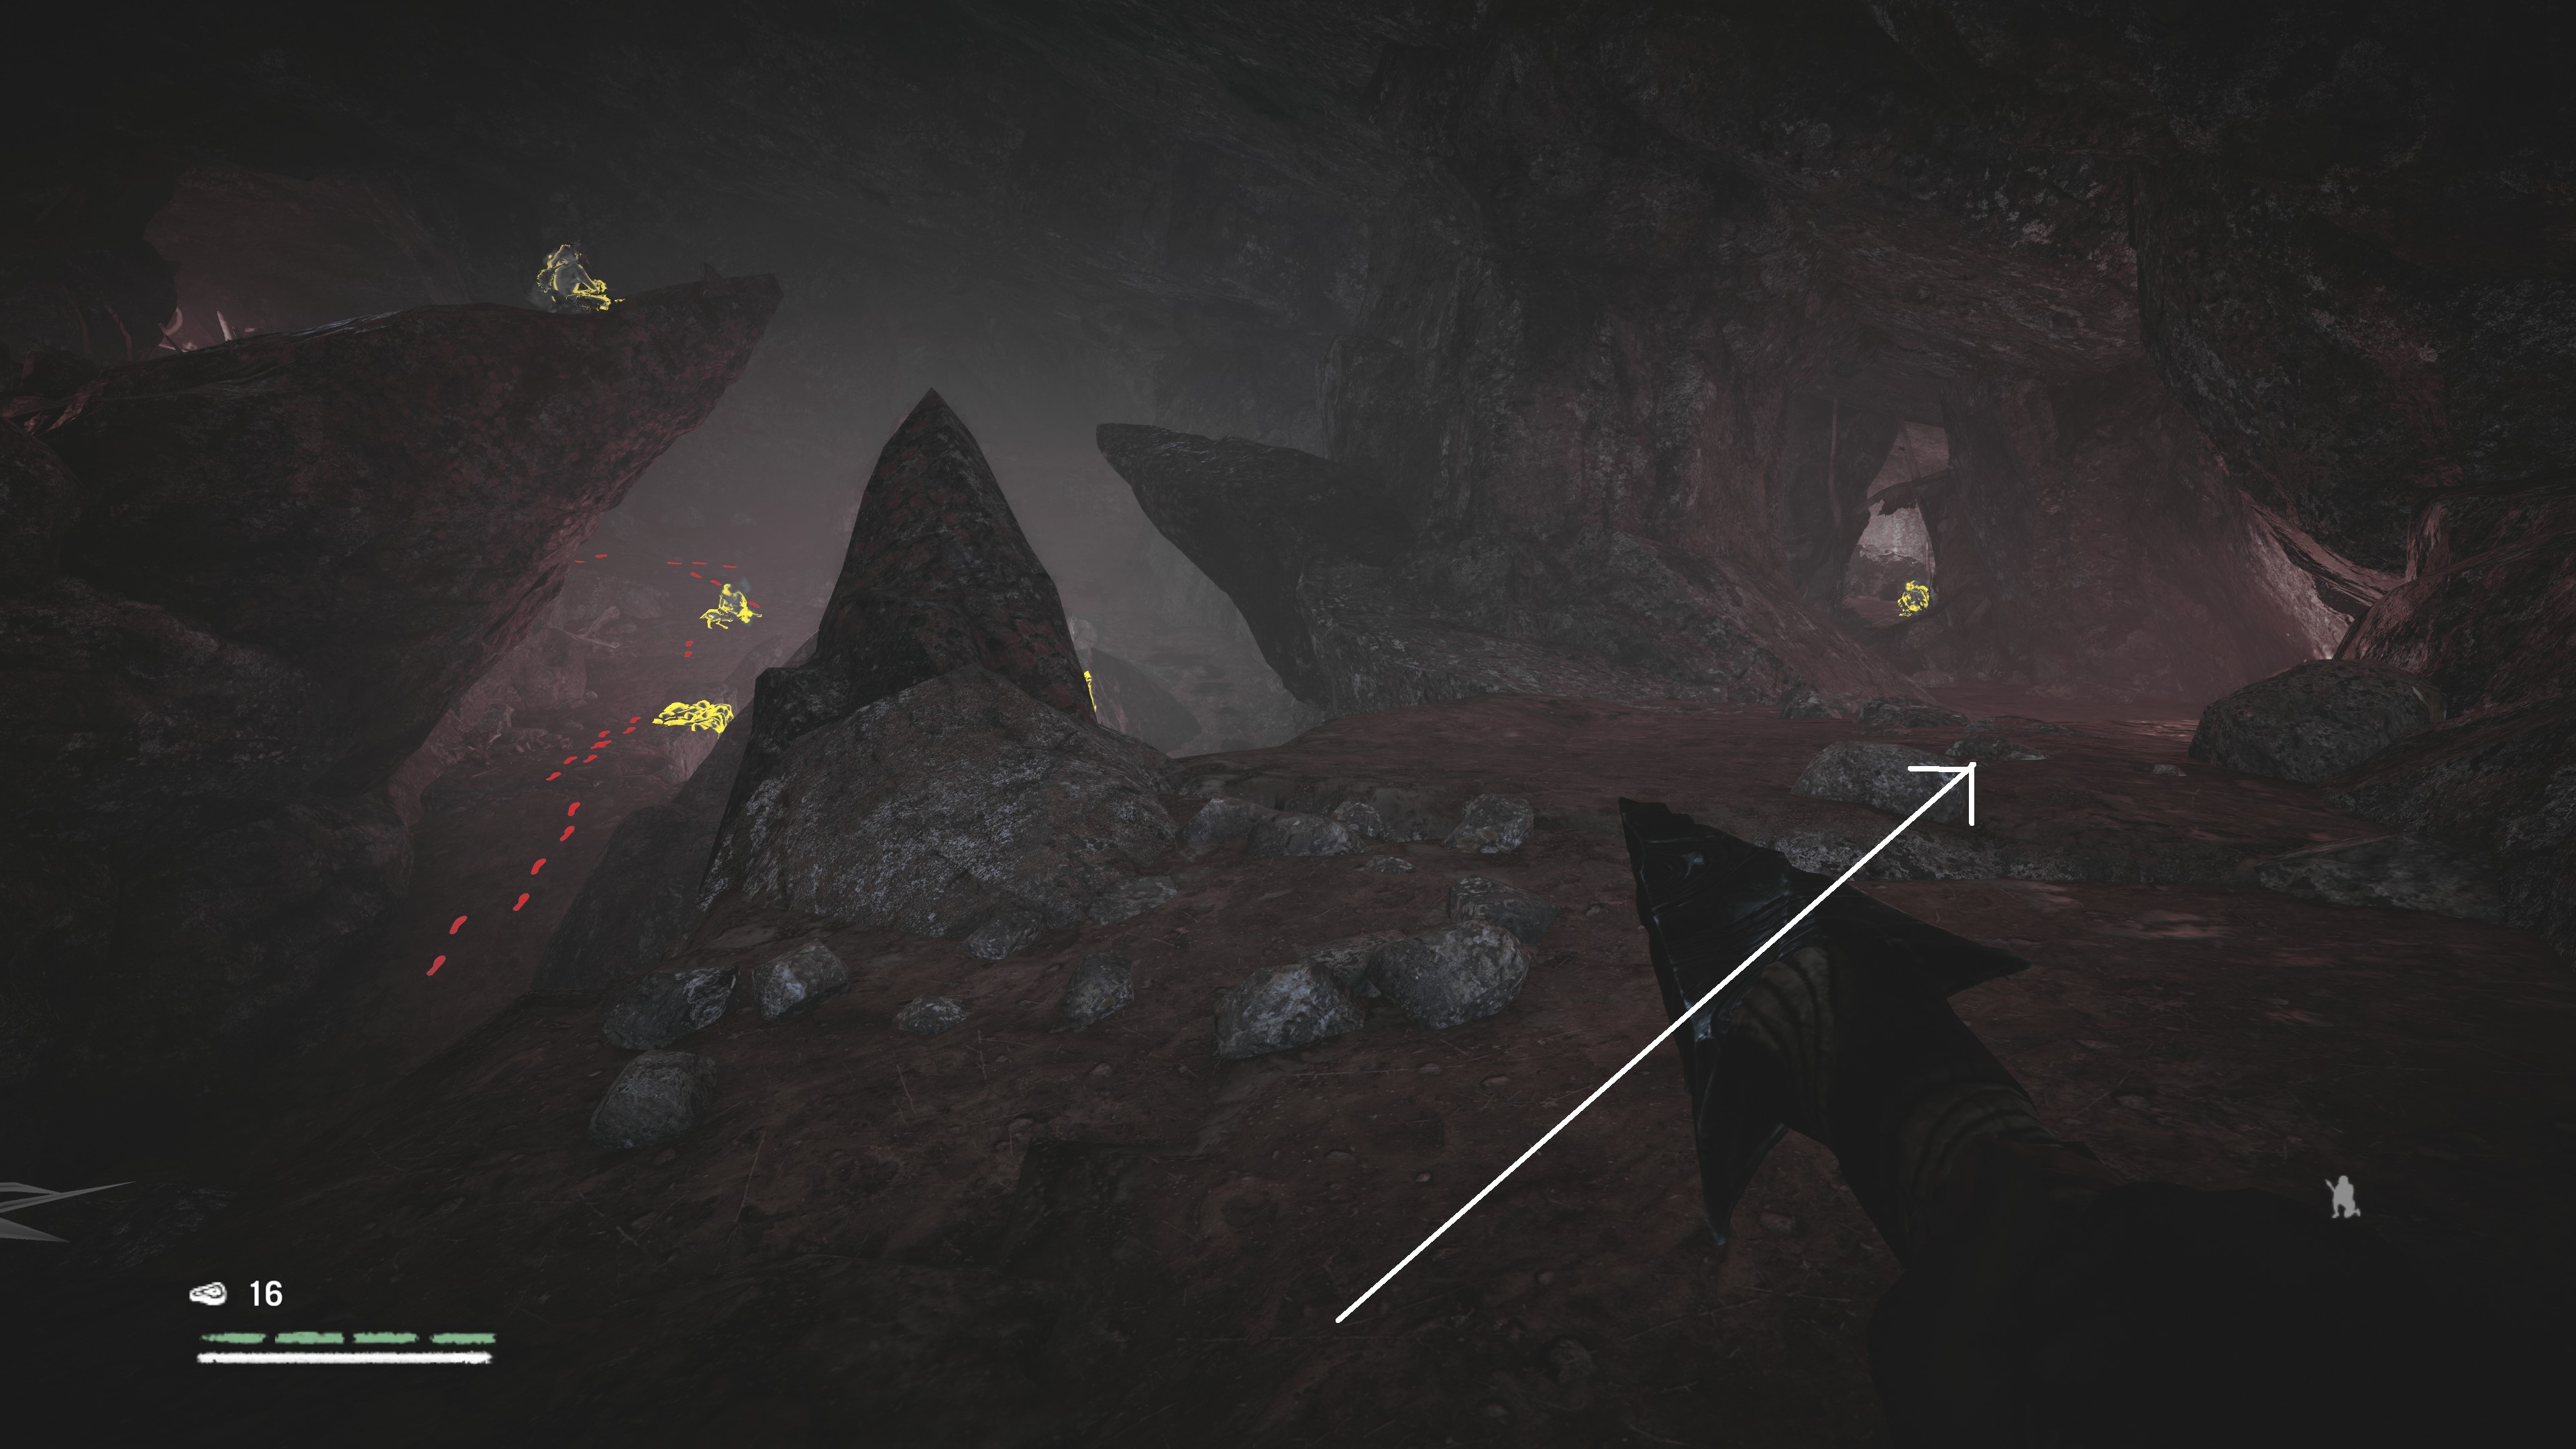
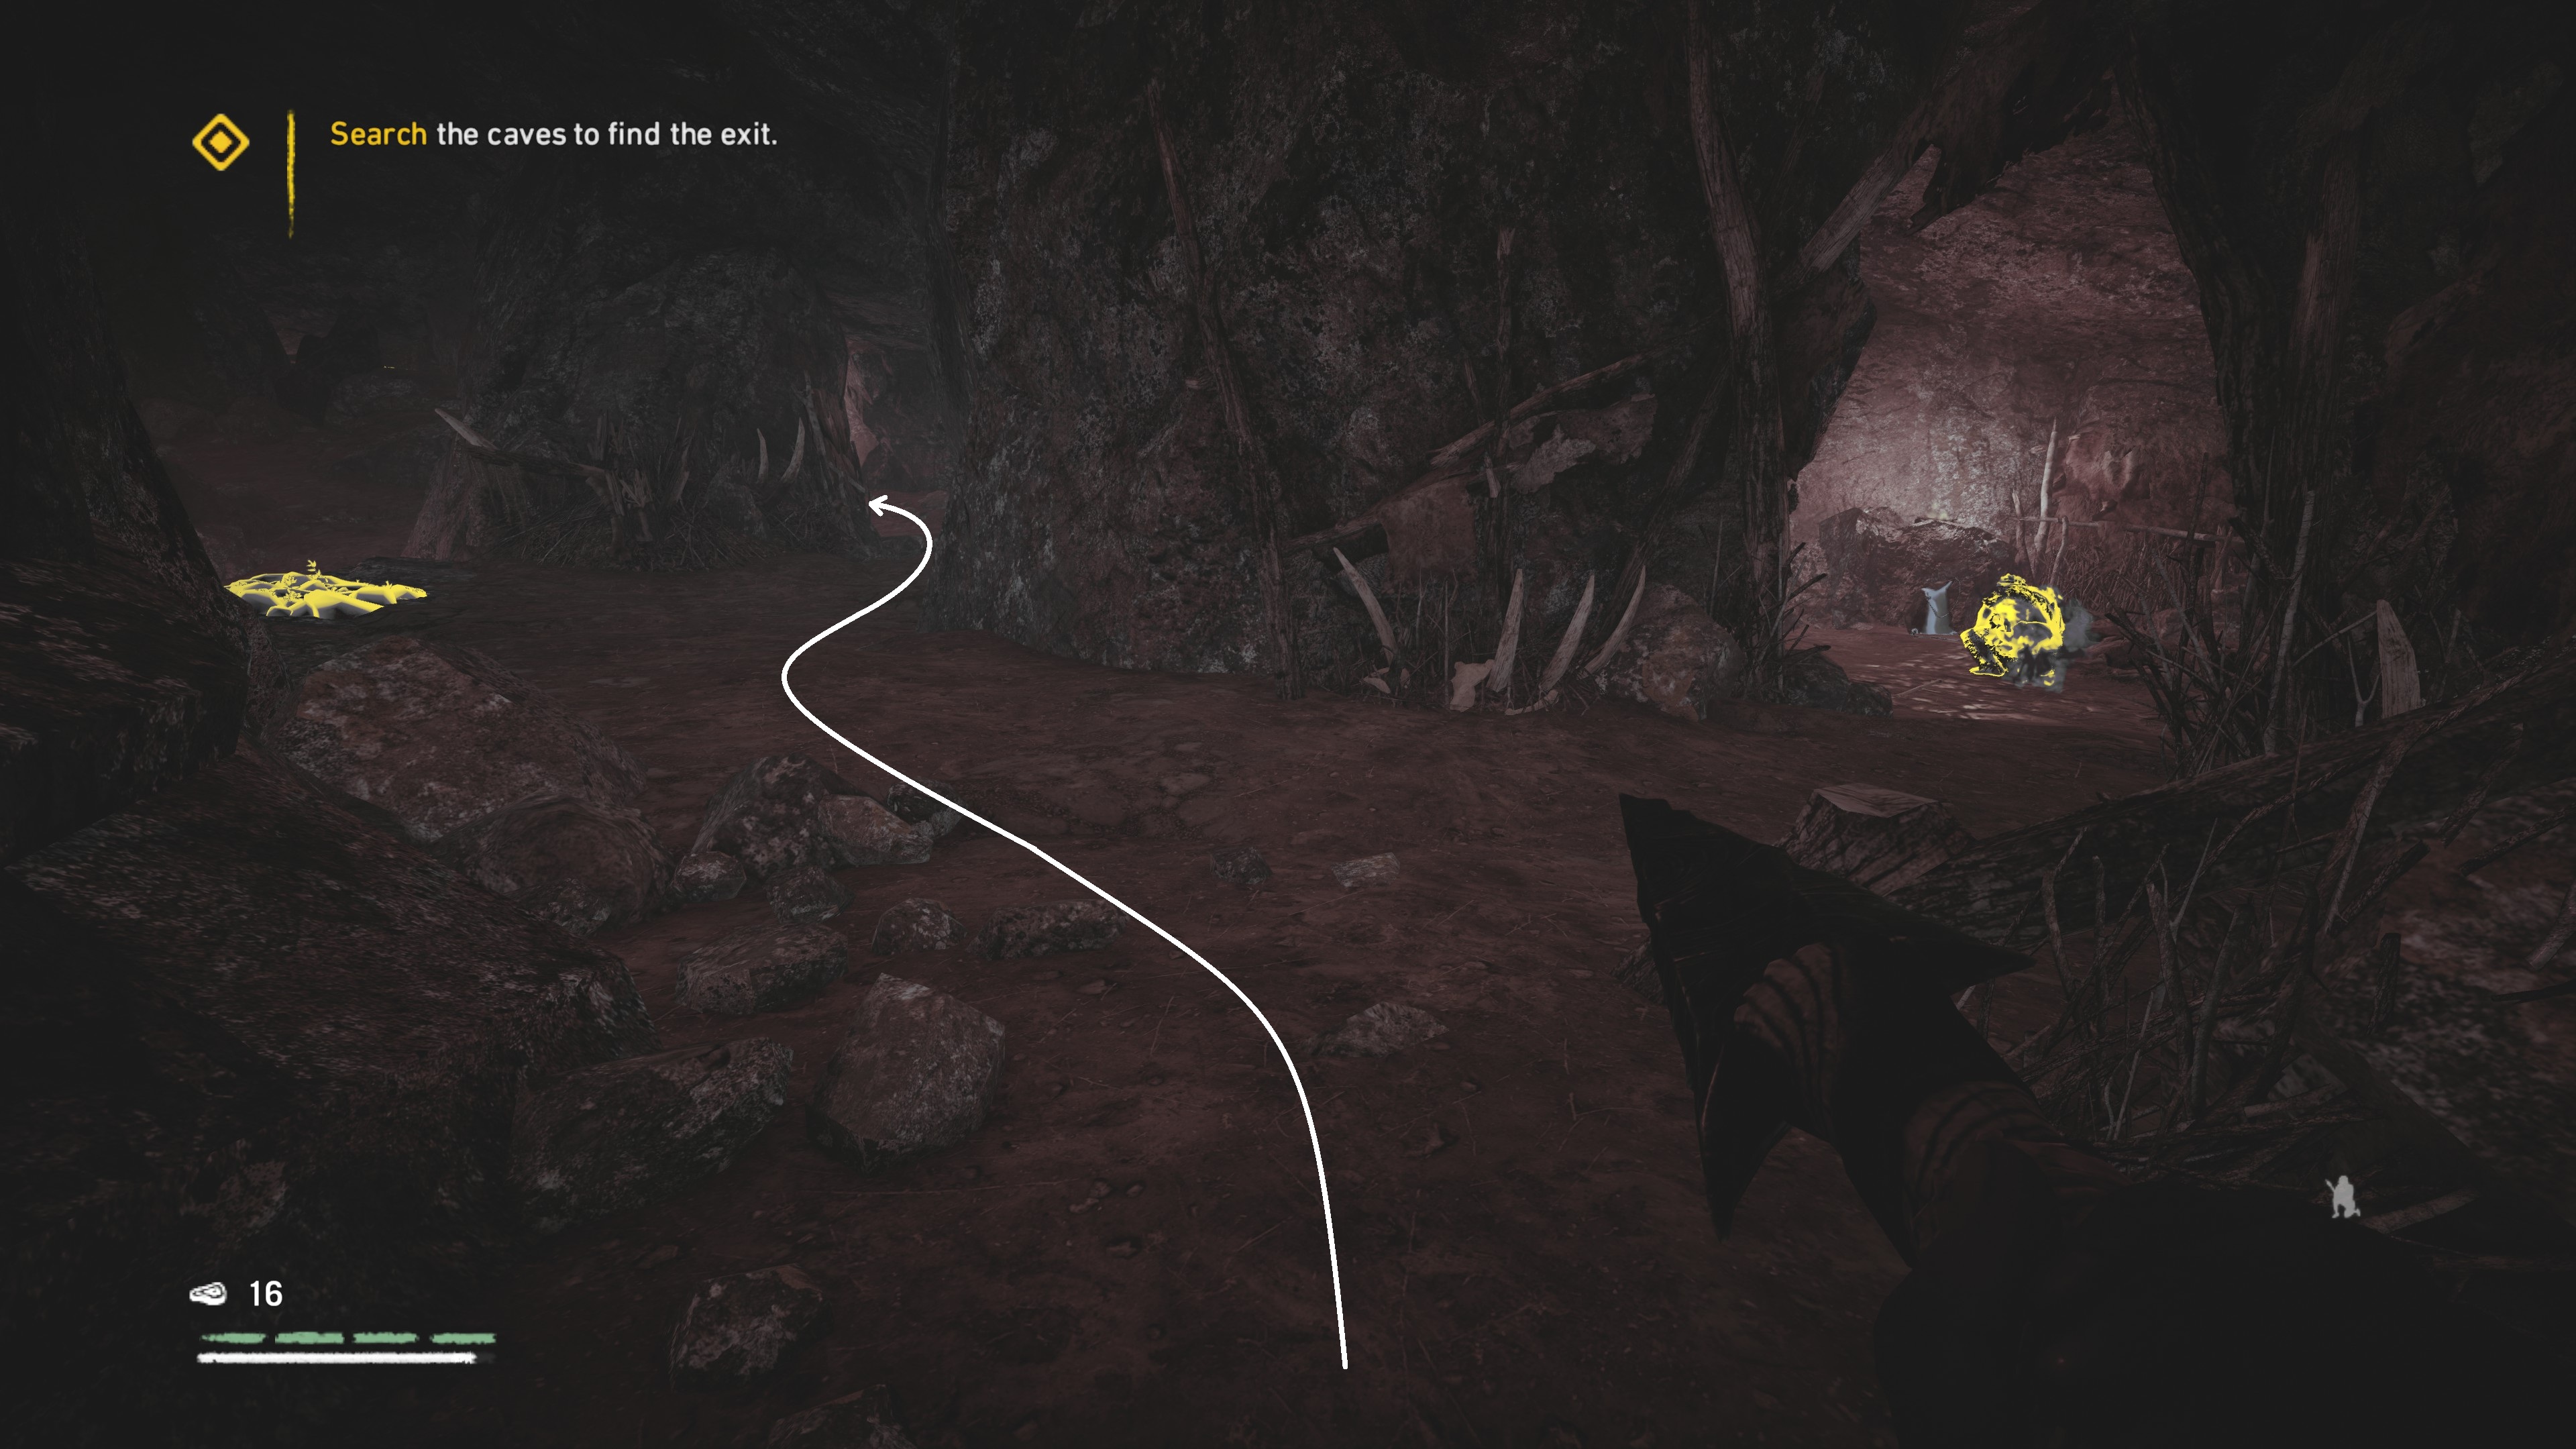
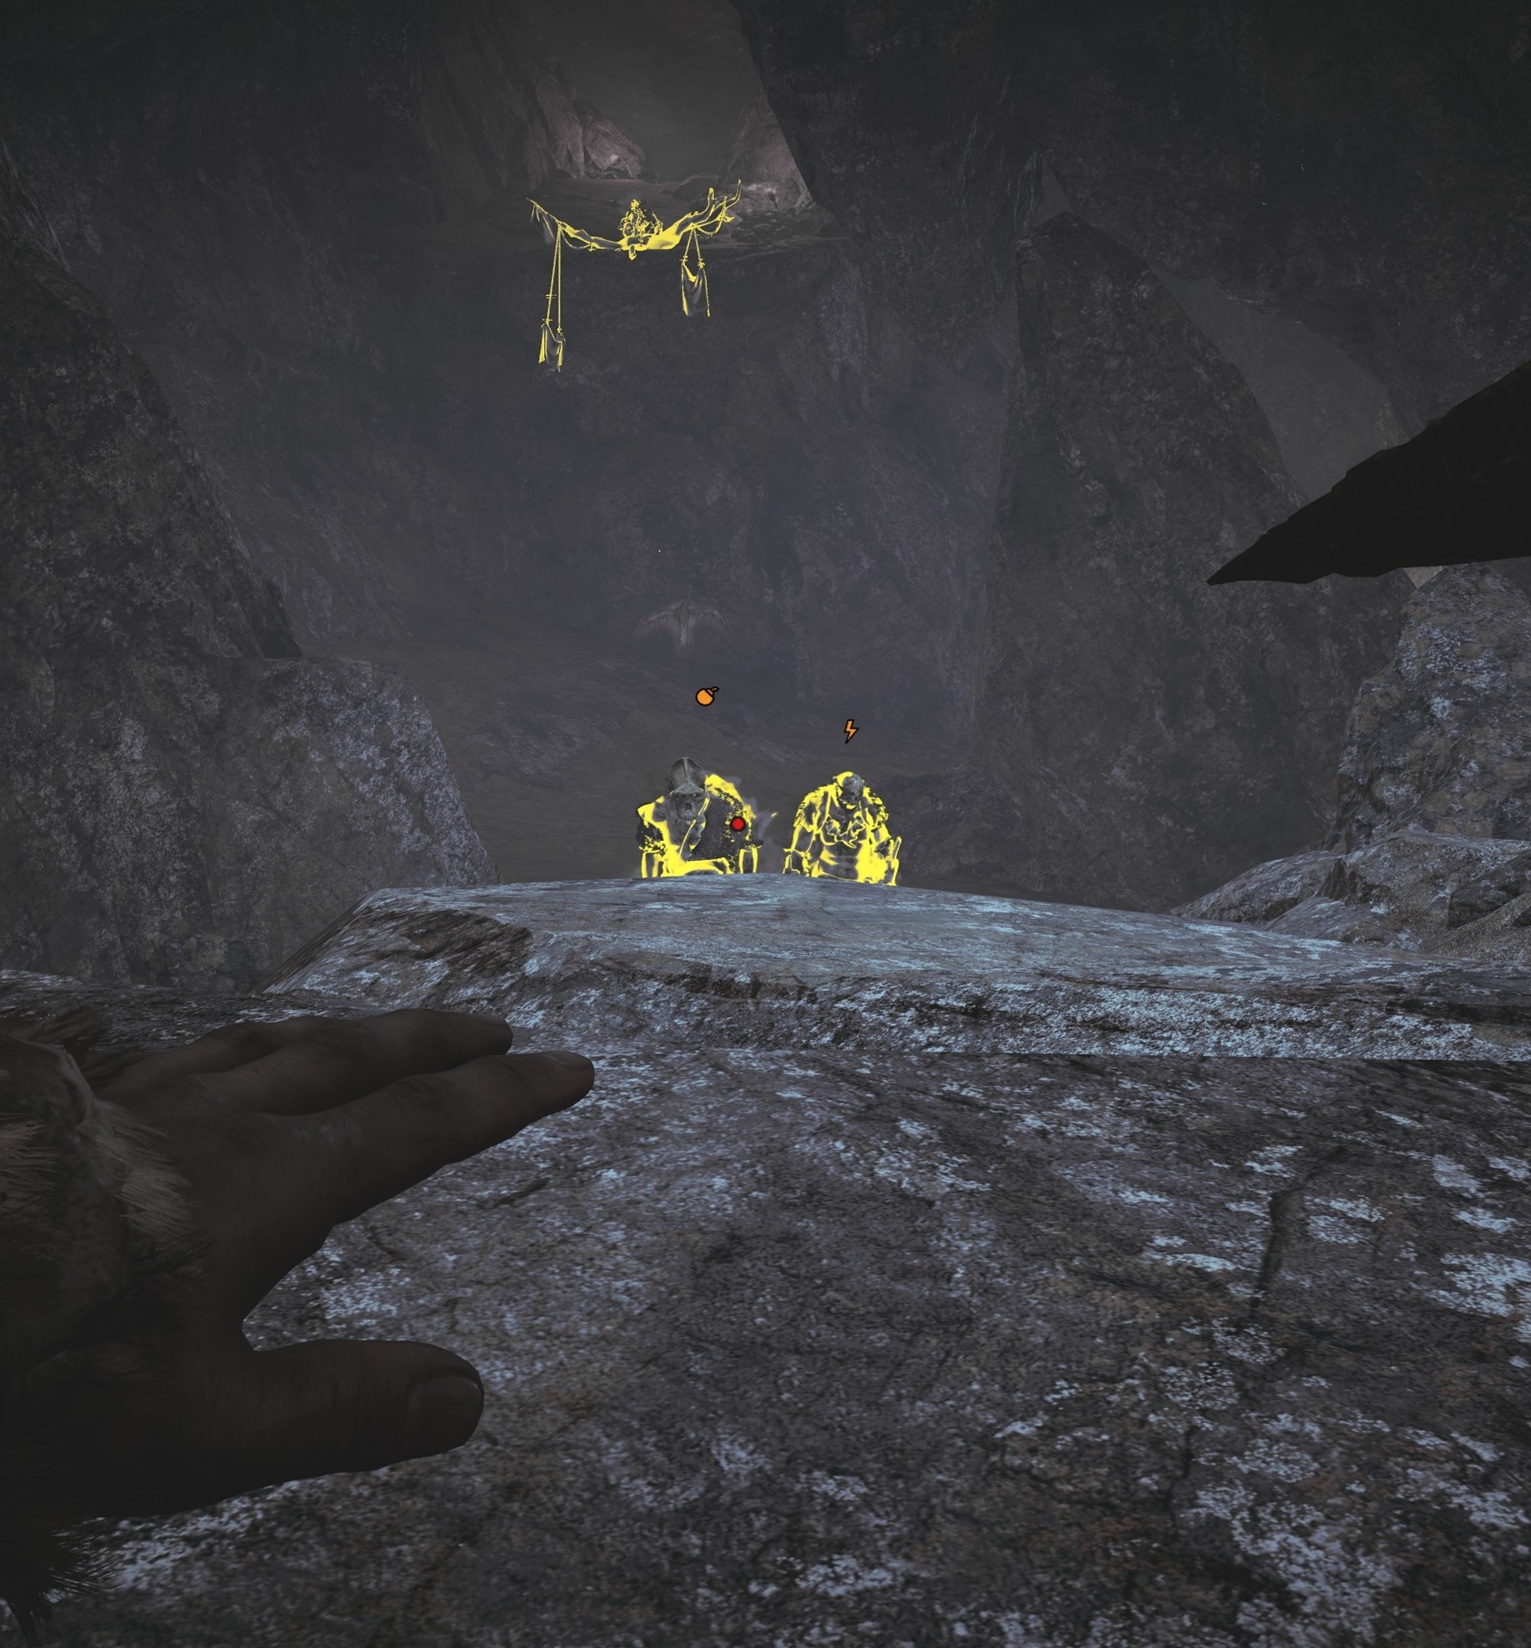
    Room one: hug the far right wall. As you enter, you'll see a Heavy in the distance. Tag him. Continue along the right way, and either Takedown the Udam in your way, or detour around to the left. Keep going until you drop down into the chamber with the Wenja cache. The Heavy will be walking toward you, but won't enter the room. When he turns away, continue to the next chamber.


    Room two: head straight in (don't take the detour to the right) and drop down out of view. Follow it all of the way around. Make sure the Heavy isn't looking your way, then sneak past him and the two practicing Warriers.
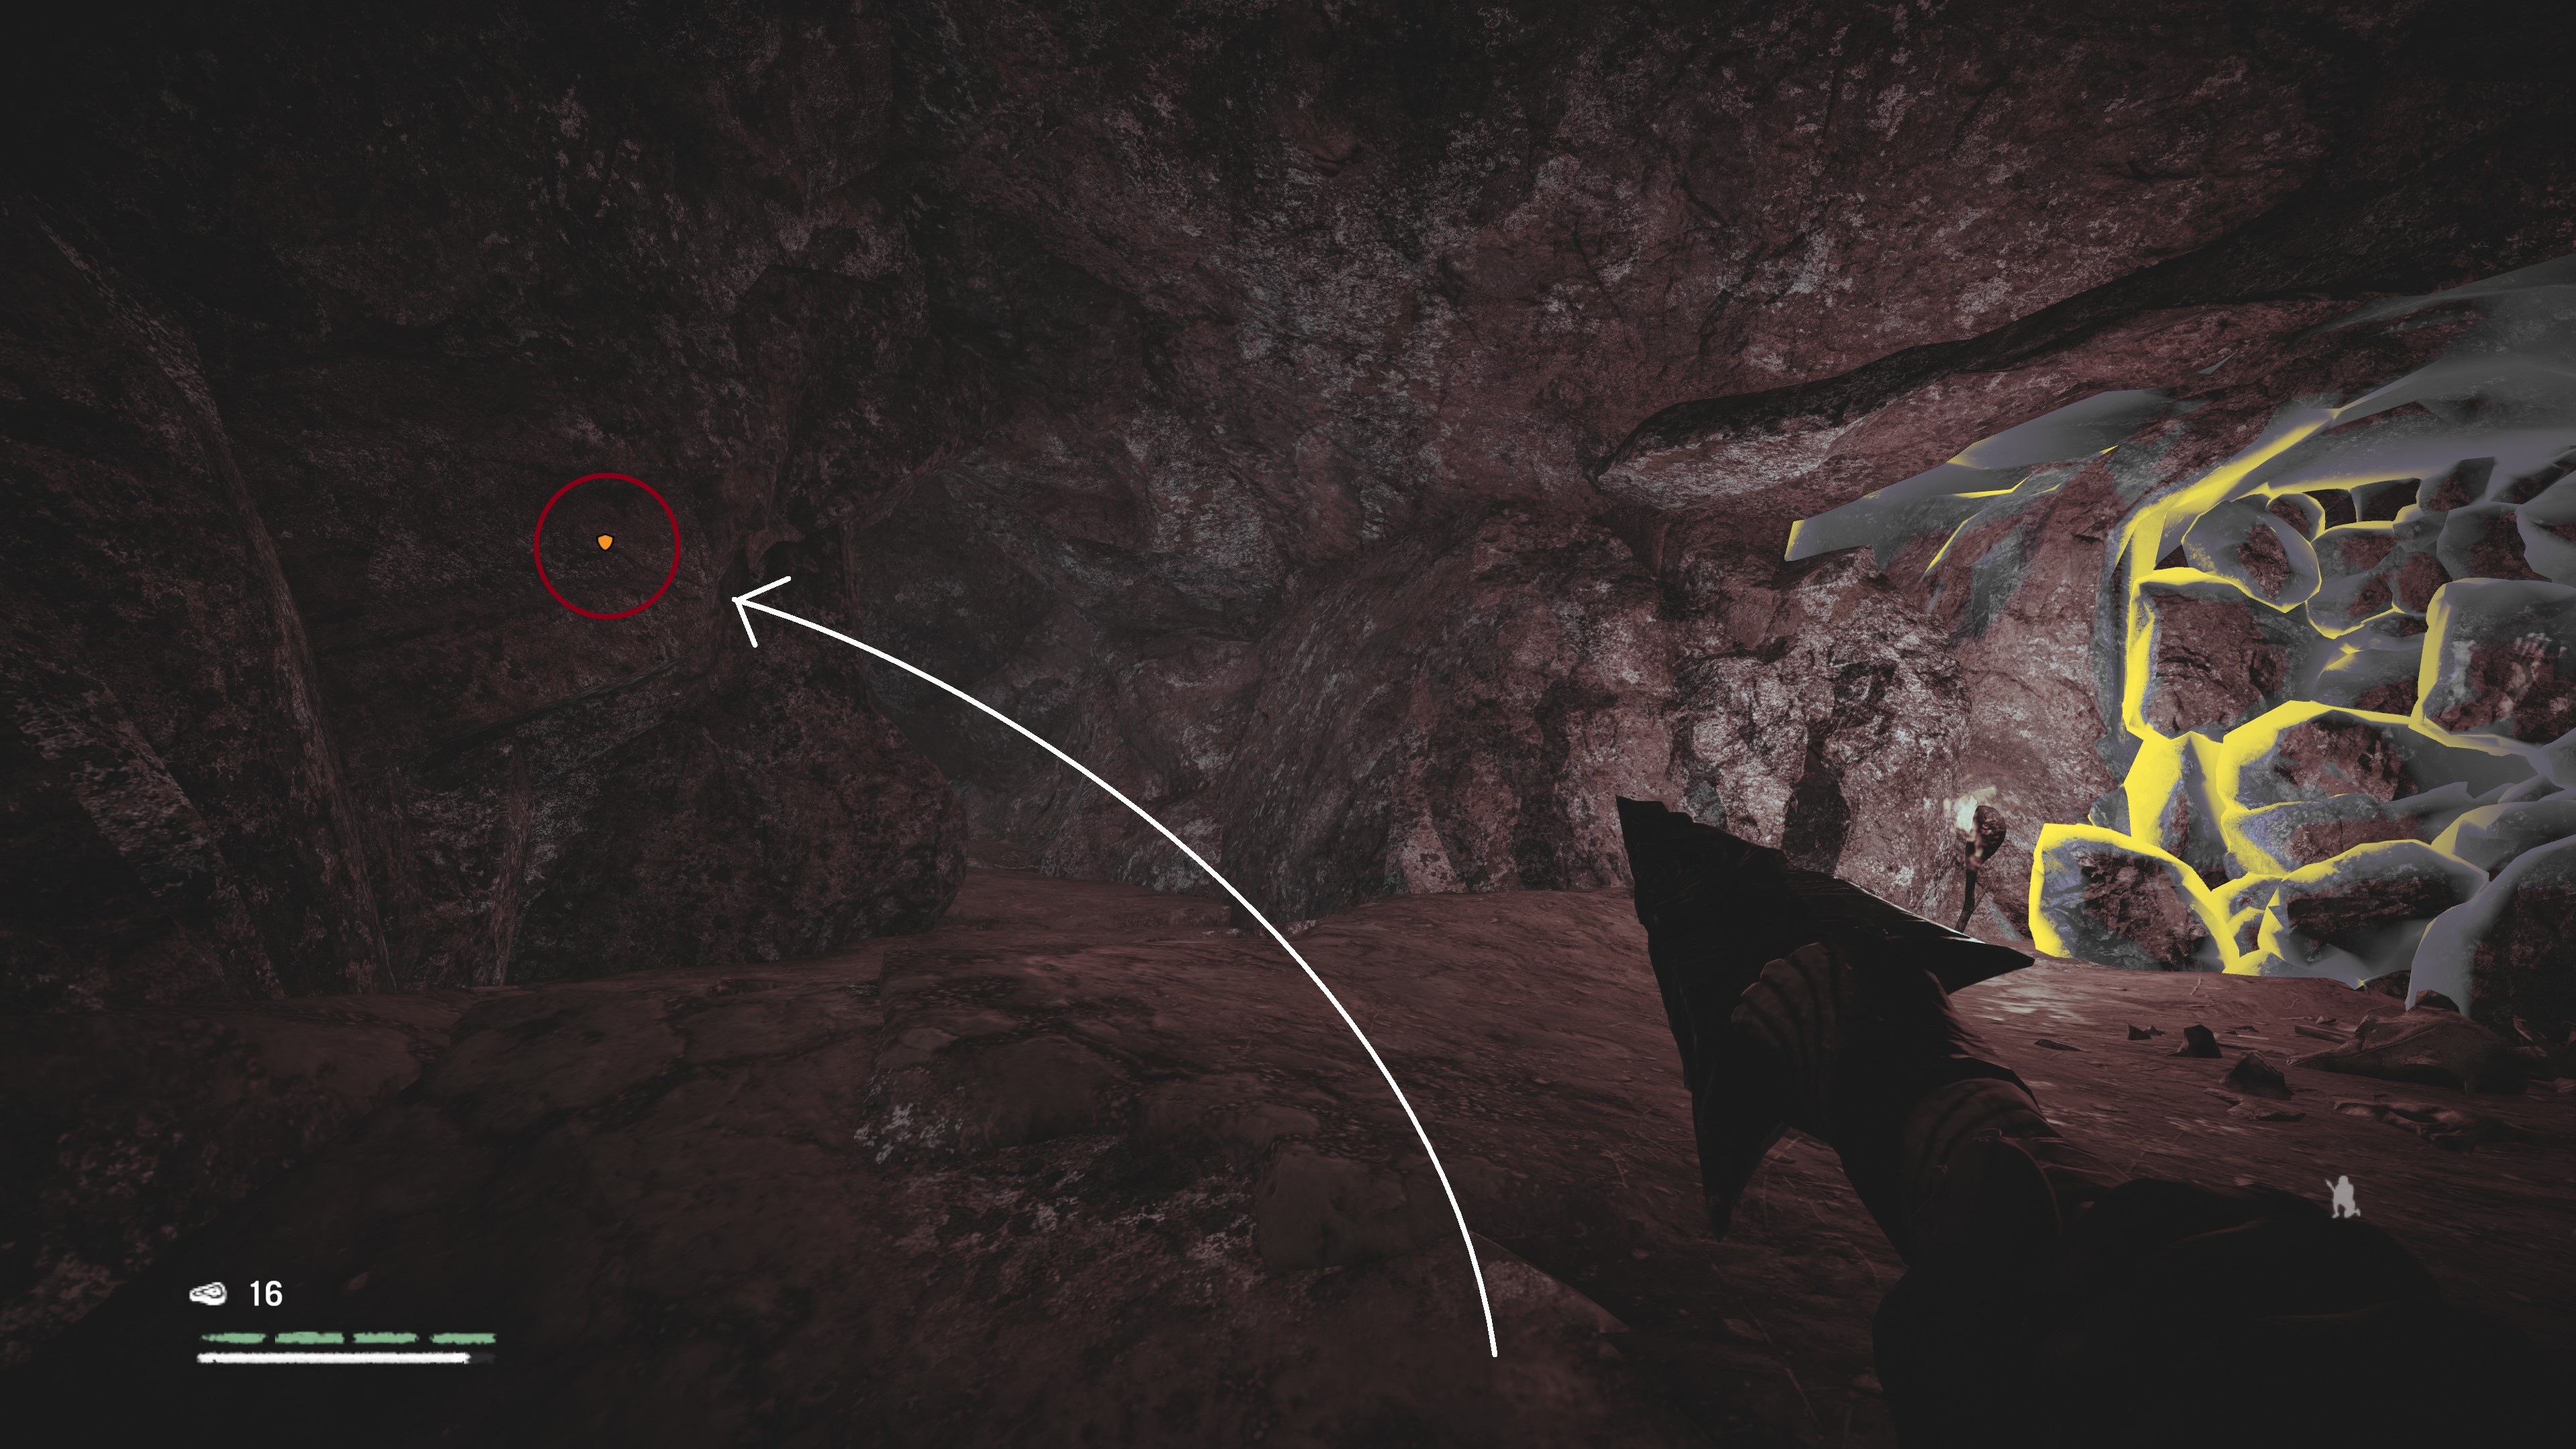
    Room three: Kill The Cave Guardian. You can try to spear the guardian and fight your way out; you could try to clear the room; but I recommend clearing your exit and making a run for it. Ignore the dancing Scourge as you enter, and make your way up to the right.
    Stop on the platform above the Heavy. Wait for him to clear the rock and Takedown. Pick him up, and hug the far right as you scale up the incline. There's a point where you have to stand up, throw the Heavy, jump up (no hurdling), and pick him up again.
    Throw the corpse behind the rock, and you've got two spearmen in your sights. Distract them with a rock then Takedown + Shard Takedown. Turn to your right and deal with the two coming across the bridge: one thrown spear to each. You're not in a hurry: the further across the bridge they are, the less likely they will alert the Scourge and Warrior behind them.
    Once they've been dealt with, you have a final archery dual, and your exit is clear.
    Make your way back and get as clear a shot as possible. It's actually a tricky shot, thanks to all of the, uh, movement. The trick is to find a place your retical stays red. Throw your spear, confirm the kill, and run.
    For me, this last room is one of the most difficult to pull off in the game. It's clearly designed to force you to escape running and fighting, which is cool if you're on a lower difficulty. On Expert Permadeath, especially this late into a run, there's just to much at stake for me: I restart from checkpoint on taking any damage at all. Hense the very specific guide walkthrough.

    The Mask of Krati
    Appendix
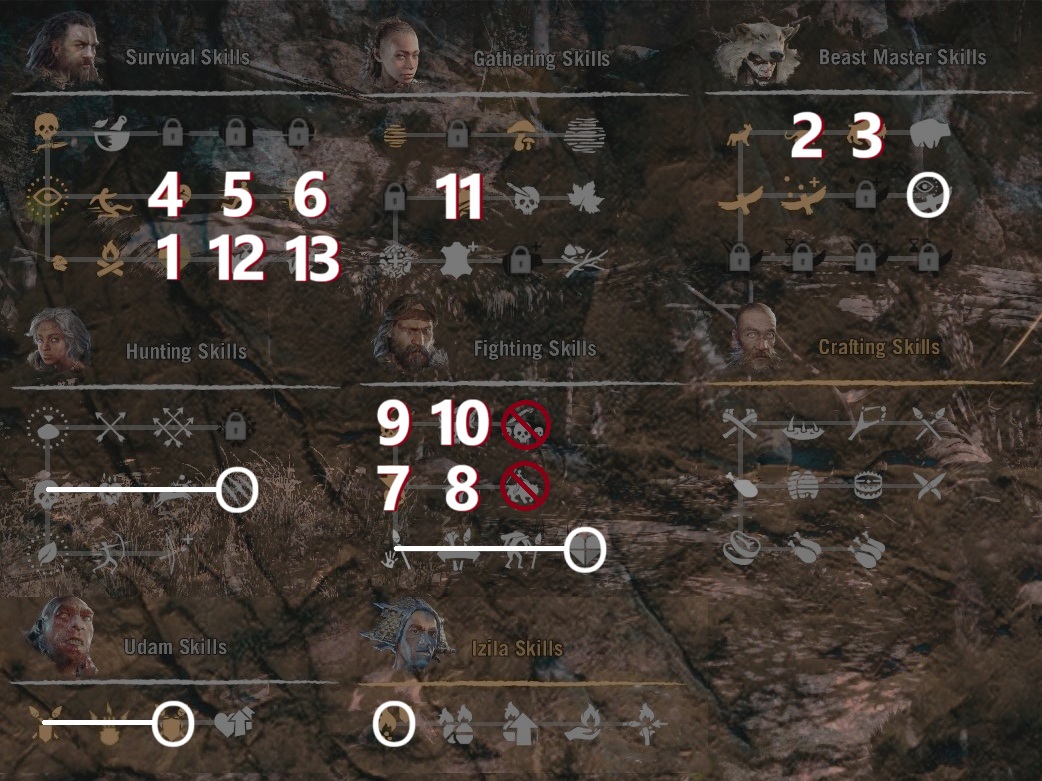
    Skill Progression

    Early Game
    1. Extra Health I (3)
    2. Tame Wildcats (2)
    3. Tame Apex Predators (3)
    4. Sprint Heal (1)
    5. Crouch Sprint (2)
    6. Sprint Forever (3)
    Mid Game
    1. Death From Above (1)
    2. Mammoth Rider (2)
    3. Shard Takedown (2)
    4. Heavy Takedown (4)
    5. Find Resources I (3)
    6. Health Regeneration (3)
    7. Quiet Sprint (4)
    Late Game (order at your preference)
    • Animal Wounds (13 w/ prereq)
    • Melee Resistance II (10 w/ prereq)
    • Extra Health III (9 w/ prereq)
    • Fire Resistance (2)
    • Owl: Tagging Range (3)


    Skill Tiers
    Top Tier
    • Tame Apex Predators (3) - To tame a Sabretooth. 'Nough said.
    • Sprint Forever (3) - This is huge. Speed ends up something like 1.5x, which makes you as faster than all humans and many predators. It's not just fleeing: the mobility in combat means you can toggle between safe positioning and Takedown opportunities. Plus, faster overland travel speed means spending less time in dangerous territory. The single best upgrade for Tekkar, no contest.
    • Heavy Takedown (4) - Stealth is impossible on many missions without this. Generally I find the stealth approach isn't nearly as helpful as just sending in Bloodfang, there are a few critical missions where stealth is required.
    • Animal Wounds (13 w/ prereqs) - Although expensive and late game, the power spike with this + Spear5 is huge: you can one-shot Brown Bears, Cave Lions, and Young Mammoths.
    Middle Tier
    • Find Resources I (3) - This quickly pays for itself with XP from building huts, and gets better weapons in your hands faster.
    • Crouch Sprint (2)
    • Quiet Sprint (4)
    • Melee Resistance I & II (10 w/ prereq)
    • Extra Health III (9 w/ prereq)
    • Fire Resistance (2) - Get this before going after Batari
    • Owl: Tagging Range (3) - Quality of life plus missing a tag on a few critical missions can get you ambushed.
    Use With Caution
    • Beast Rider (2) - It's glitchy and dangerous, and without cliffsliding, not really faster.
    • Chain Takedown (4) - It can work, but it also can lock you into animations while others kill you.
    • Sprint Forever (3) - Top tier but worth mentioning here: sooo many deaths outrunning my pet. Even at Tekkar's late-game power peak, he's no match for many, many random encounters. Can't stress enough that you need to keep your pet close.
    Cliffsliding

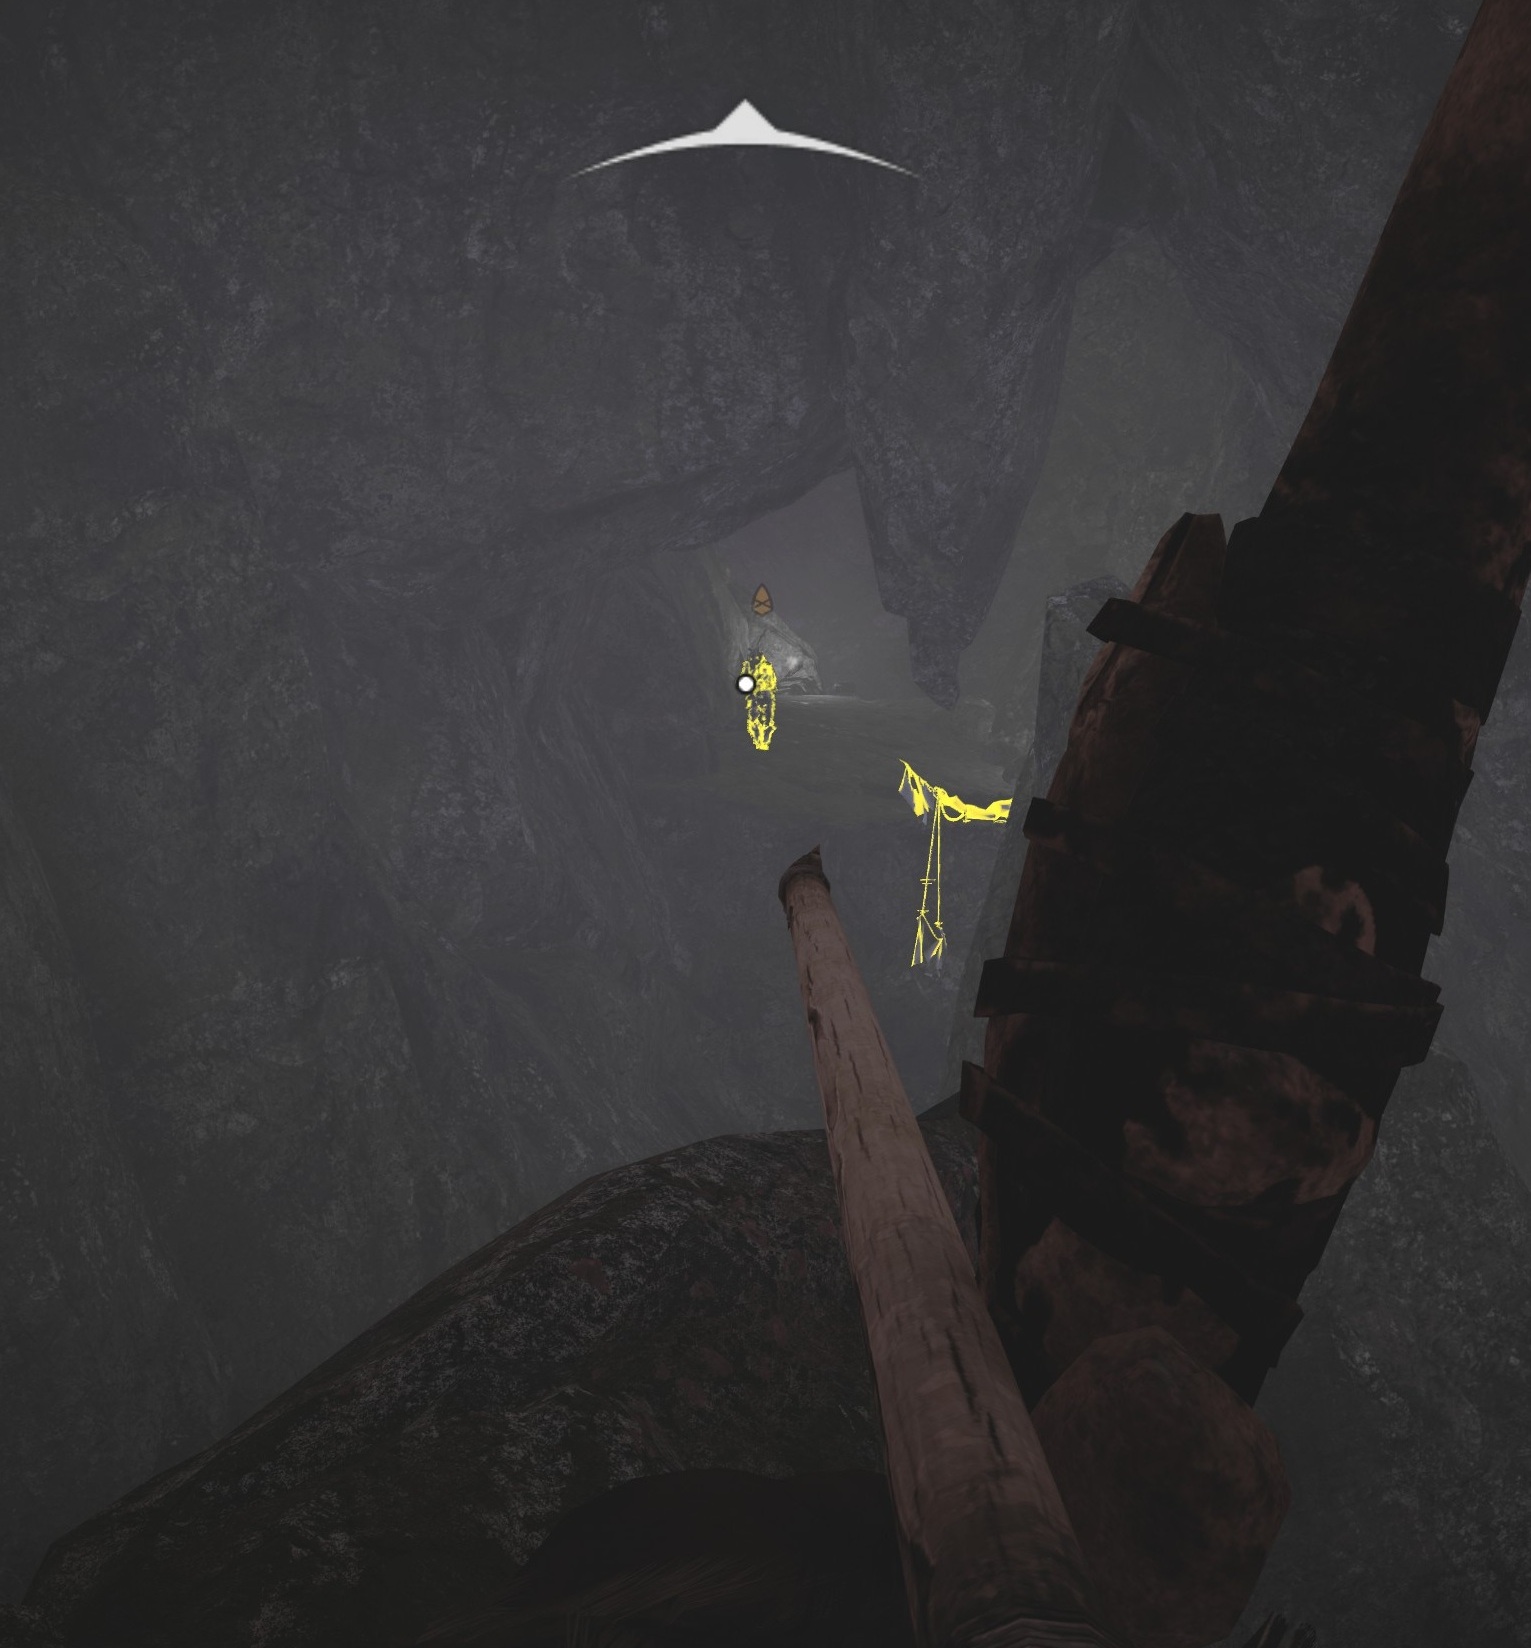
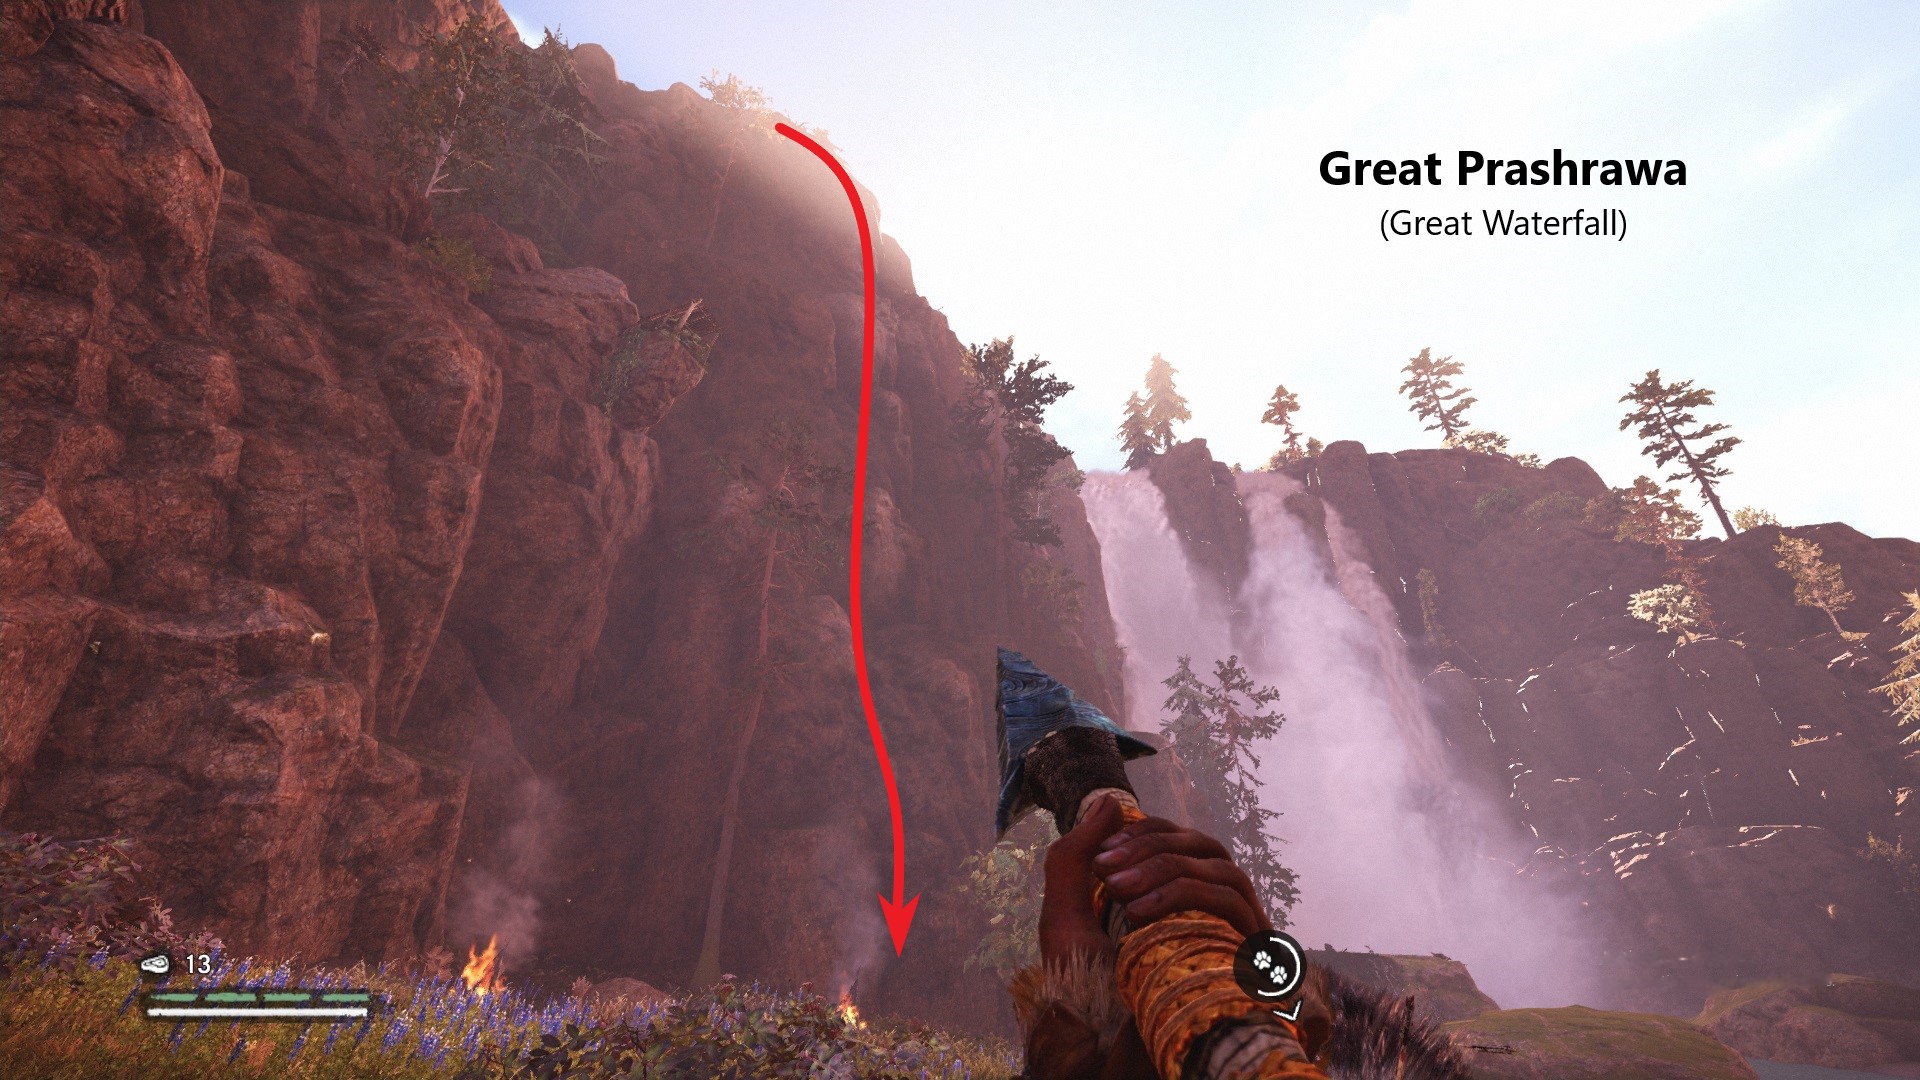
    It took me a while to realize just how important this skill is to surviving. Unless a cliff is actually concave (like a lot of cliffs in the frozen north), you can go down it. I tried going down the shear cliff at the Great Waterfall for funzies, and yeah, no damage.

    There are two tricks. For most steep inclines, all you need to do is look down at your feet while running forward. If it's actually shear, as in straight down, then walk back as you start sliding down. You can control the speed of your fall by how hard you push against the cliff wall. Crouching helps.

    Once you get the hang of this, moving across terrain gets a lot easier and a lot safer. You can skip vines and hooks, which give you forced animations. And everytime you cliffslide, you break the path of any enemy following you. It's the best way to escape a charging rhino / elephant.

    Unlimited Loot Bag
    Another tip from Akunamatata so good he considered it a cheat:
    Originally posted by Akunamatata:
    There is another secret loot sack near your village that doesn't show on the map. And there is good reason for that - it is REPLENISHABLE sack that gives you one random rare skin + one random rare resource EVERY time you save and reload the game! So it’s kind of a huge cheat, since now you can farm rare skins and resources indefinitely and don’t even bother to go out and search for them… So click on the link below only if you’re REALLY lazy. ;)
    - Link to the screenshot -
    My addition is noticing there's a faster path to find it. As you leave the village, just hug the left wall. There's a narrow bit where you have to jump, but it cuts the travel time in half.

    Weapon Damage
    In-game descriptions score weapon ""strength"" as 1-9, with no other explanation. So I tested it by beating the $h!t out of my pets. A couple observations:
    • Standard attack damage for clubs is 1/2 heavy attack damage; spear (and bows) closer to 1/3.
    • Flaming ranged attacks do less damage than normal (plus fire damage over time). Flaming standard melee attacks do double, to make up for not being able to make heavy attacks with weapons on fire.
    • Spears and bows have a chance to do double critical damage.
    • Blood Shasti Clubs suck. Barely better than 1st-lvl standard club. Use it as a torch.
    • Pet ""strength"" is not the same as health. Bears, as example, have more health than Sabretooths.
    There are a few variables I haven't worked out, so these damage ratings are best estimates. They all assume fully-drawn bows and heavy attacks:
    • Bow 1 -- 3.5
    • Bow 2 -- 4.75
    • Long Bow -- 5.25
    • Double Bow -- 8.5
    • Club 1 -- 2.25
    • Blood Shansti Club -- 2.33
    • Club 2 -- 3
    • Club 3 -- ?
    • Club 4 -- 6
    • Two Handed Club 1 -- 5
    • Two Handed Club 2 -- 9
    • Spear 1 -- 1.55
    • Spear 2 -- 1.6
    • Spear 3 -- 3.25
    • Spear 4 -- 3.25
    • Spear 5 -- 5.75
    Endnote
    Here are some links I find super helpful:

    • Rare Animals of Oros: Finding, Hunting and Taming. By Akunamatata
      As mentioned, this is an absolutely fantastic guide to finding rare animals, but has especially invaluable tips on gameplay.

    • Far Cry Primal Interactive Map[mapgenie.io]
      Best map of Oros I've found. Everything but generic named places (those "?"s).

    • Far Cry Primal Wiki (Russian)[farcry.fandom.com]
      The Far Cry Primal Wiki (English) is terrible. If your browser can translate, this wiki is actually useful.

    • Primal Lexicon[speakingprimal.blogspot.com]
      If you're really into immersion, this is a translation from the linguists who adapted Primal languages from Proto-Indo-European (PIE). Wondering what the hell a "Prashrawa" is? This will tell you.

    One last word, as a warning: for some people, the Survival Of The Fittest achievement
    sometimes doesn't unlock[forums.ubisoft.com] after completion. Not a lot of advice if you find yourself in this position. Customer support's message? Try again.
    24 Comments
    Punch 16 Jun @ 4:01am 
    this is incredibly thorough... thank you for the sheer volume of time and effort you put into this guide.
    Billy Outlaw 5 Jun @ 1:16pm 
    Thanks buddy for this guide, appreciate it. And yeah, @Akunamatata thank you for making your guide so well, its working as charm with automated save menager. Pure life saver :D
    Akunamatata 31 May @ 11:57am 
    You're very welcome, I'm really glad it was useful to someone! :lunar2019grinningpig:
    Burnt 31 May @ 8:57am 
    Dude, I really do apolgise for the late reply. I’ve been caught up with work and haven’t had much time to play lately.

    Ubisoft support basically told me to restart from scratch, so I did. I was halfway through my second permadeath run and just died to a wolf about 30 minutes ago. At that point I was done.

    While digging through old threads looking for anything that might help, I came across your guide and your reply, which I had forgotten about. I tried Save #46, and it worked.

    I really appreciate the effort you put into making that guide and sharing those save files. I wish I could gift you more than just Steam points. You genuinely saved me a lot of time and frustration.

    Thank you again. You’re a legend.
    DOOM THE PRIME EVIL 20 May @ 5:50pm 
    i did it 13hrs is all i needed but fuck those true last boss fights where so damn close the amount of times i nearly died
    Akunamatata 17 May @ 11:54pm 
    Burnt, if you want, I can give you a save game where you only need to replay the final battle with Batari. Glitches are why I wrote a chapter about how to resurrect from permadeath in this guide of mine: https://test-steamproxy.haloskins.io/sharedfiles/filedetails/?id=859358501
    The link to my permadeath saves collection is on the 3rd page of the comments (my comment from 21 Jan, 2023). Use save #46 (you can also try #47 right after the battle, it might work to get you the achievements too).
    Burnt 17 May @ 10:36pm 
    I finished Far Cry Primal a couple months ago and didn’t get the Survival of the Fittest achievement. Ubisoft Connect dropped right as the final developer video played. Everything else unlocked, just not that. Over 300 hours of gameplay across multiple saves, and it broke at the very end.

    Ubisoft support was useless. I showed them proof, and they still said there’s nothing they can do. It honestly ruined the experience for me. I’ll probably try again, but it’s ridiculous that this bug still exists after all these years with no fix or acknowledgment.
    Akunamatata 21 Apr @ 10:12pm 
    AkisN, no, you only need to complete 13 story missions ("PROGRESS: Journey Completed 13/13"). You can see the list of all missions in this video: https://youtu.be/b64OpU4OSx8?t=44
    AkisN 21 Apr @ 7:16pm 
    I see the Ubisoft add in steam and trying again the game. I'm already at the end of the game. Normal difficulty. I'm gonna try the permanent death survivor after that. I need in this version to collect everything from stones, masks or jewelry or only the missions?
    KyllingenXD 28 Mar @ 3:52pm 
    TNX an absolute banger of a guide. I dont remember if u said it, but for u to get the achievement u have to clear all 13 of the regular missions, not just kill Ull and Batari.