FINAL FANTASY VII REMAKE INTERGRADE

FINAL FANTASY VII REMAKE INTERGRADE

151 ratings
Hard Difficulty Bosses
By WhiteExperience
This guide contains in-depth information on how to defeat every single boss of the game in Hard difficulty.
2
4
7
   
Award
Favorite
Favorited
Unfavorite
Introduction
This guide was made by myself while playing the game in Hard difficulty with the help of Final Fantasy Wiki[finalfantasy.fandom.com]. All screenshots were taken by myself. Please don't copy any contents of this guide, share the link instead.

I started making this guide in Chapter 9, as Hell House was the first boss in Hard difficulty that really got me into trouble, then I've realised that a guide for Hard Difficulty Bosses would be very welcomed. The hardest bosses are Hell House and Airbuster, while Ghoul and Eligor have an intermediary difficulty. All the remaining bosses shouldn't be difficult with the right setup.

All the strategies on how to defeat each boss were made by myself and tested during playthrough.

This guide will not go in-depth in a walkthrough of the game, as anyone playing on Hard difficulty already knows how to advance through the game. However, it will go through the VR Missions and Episode INTERmission. Chapter 6 don't have any bosses, so it won't be covered.
Battle Mechanics
It is likely that you already know the basics of Battle Mechanics of this game, but some mechanics can be easily overlooked when playing in Normal difficulty. This is not possible in Hard, because you'll need to know how to use every advantage of the Battle System you can in order to defeat the hardest bosses.

Hard Difficulty Differences
Enemies
All enemies are at Level 50 in Hard difficulty. They also have stronger atributes and may have more immunites, resistances and less weaknesses. Damage received for player characters have a final modifier with a x1.4 increase. In a Cleared Save File, after you unlock Chapter Select, EXP has a x3 bonus and AP has a x2 bonus. This means that you'll reach Level 50 pretty quickly after beating the game on Normal difficulty. Use EXP Up Materia to boost this even further. All enemy stats in this guide only apply to Hard difficulty.

Items
All items are unavailable to use in Hard difficulty, both in and out of battles. You can still obtain items through Chests, Crates, Item Shops, Drops and Steal to use them in Normal or Easy difficulty. Healing should be planned between resting, spells and abilities. Most of the Manuscripts can only be obtained in Hard difficulty, either by defeating bosses or by finding them.

MP
In Hard difficulty, MP will not be restored by resting at benches and beds, only HP. However, MP is still going to be restored with these methods:
  • At the beginning of a chapter;
  • By finding Mako Shards inside crates;
  • With MP Regeneration during battles;
  • With MP Absorption Materia.
With that said, MP is hugely important in Hard difficulty. It should be used wisely and saved for boss battles.

Boss Phases
Every boss has different phases in which they will switch their attacks, moves and abilities in each one of them. In Hard difficulty, each boss has a new unique phase or move that isn't available in Normal or Easy difficulties. Bosses will go to the next phase once their HP drops to a certain percentage, like 75%, 50% or 25%. Once the boss' HP drops to that specific percentage, its HP will be locked and can't be decreased until the animation or cutscene for the next phase plays out. So it's wise not to spend your Limit Breaks and Magic Spells when the boss is near its next phase, as the full damage won't be received.

Weapon Upgrades
Your SP shoud not be spent without planning. At Weapon Level 6, all of your weapons will have 6 Materia Slots with 3 connections. With that said, you should acquire your Weapon Upgrades in this order of importance:
  • New Materia Slot;
  • Reprieve;
  • Max MP Up;
  • MP Regeneration 50% Boost;
  • MP Regeneration 10% Boost;
  • Trade-Off;
  • Buff Duration 10% Boost;
  • Attack Spells MP Cost Reduction 20%;
  • Healing Spells MP Cost Reduction 20%;
  • ATB Charge Rate Up.
Reset your SP if necessary. After that, you can get upgrades on Magic Attack, for weapons that are Magic based; Attack, for weapons that are Attack based; Luck or Speed for weapons that are Crit based and a balanced build for weapons that are more balanced. Throughout the chapters, you can use a weapon with MP Regeneration 50% Boost to help keeping your MP high, then just switch to a better weapon just before a boss battle.

Also, there are some character-specific effects that enhance Unique Abilities that are useful:
  • Cloud: Enhanced Punisher;
  • Cloud: Counter Damage Up;
  • Barret: Enhanced Overcharge;
  • Tifa: Enhanced Techniques;
  • Tifa: Concentration.
Materia
It is expected that you level up each type of Materia to their MAX Level. It is also wise to have at least 3 Magic Materia of the same type and 6 HP Up and MP Up at MAX Level for each character in the party. You can level up your Materia when you're playing through the chapters and only switch to your more powerful Materia when you reach the boss. AP Up is extremely useful for this.

It is also expected that you complete all of Chadley's Battle Reports in order to get the Bahamut Materia. You can complete it on this playthrough, it is not necessary to have it since the beginning.

I am going to give you Materia recommendations for each boss battle, but you should fill the empty Materia Slots with whatever suits you at the moment. Just keep in mind that you cannot have more than 100% bonus for HP, MP, MATK and Luck. Also, 9,999 HP is the limit.

Stagger
This is a very common Battle Machanics since it was first introduced in Final Fantasy XIII. After filling the entire Stagger Gauge of an enemy, the damage it receives will be multiplied by the percentage showed next to it. The standard multiplier is 160%. Tifa's True Strike increase the multiplier by +30%, while her Unbridled Strength's Unique Abilities also do that: Rise and Fall has 4 hits that increase +5% each; Omnistrike increases +25% and Whirling Uppercut increases +5%. Maintaining Tifa's Chi Level at Level 3 is very important during boss battles, also her Weapon Upgrade Concentration will be very useful for this. No other character has any ability that increases the Stagger multiplier, so using Tifa's abilities is the only way to increase an enemy Stagger multiplier to 300% to unlock the Staggering Feat achivement. An enemy may lose its resistances and get new weaknesses when they are with the Stagger status. They will also be stunned and won't be able to attack or move during Stagger.

Cloud's Focused Trust, Barret's Focused Shot and Aerith's Ray of Judgement significantly increases Stagger Gauge, while Tifa's Focused Strike moderately increases Stagger Gauge. Cloud's Limit Break Ascension, Barret's Limit Break Catastrophe and Tifa's Limit Break Dolphin Flurry also significantly increases Stagger Gauge. Cloud's Infinity's End is the only ability that has increased damage on staggered enemies, being able to deal 9,999 Physical Damage.

Some enemies and bosses may only fill their Stagger Gauge if a certain condition is met.

Pressure
This is a temporary state in which enemies are stunned and fill their Stagger Gauge much faster. Common enemies can be pressured by using abilities that has one of these Interrupt effects: Knockdown, Launch and Blowback. Cloud's Disorder, Barret's Charging Uppercut and Smackdown and Tifa's Overpower are the abilities that may leave an enemy with the Pressure status.

Bosses and some other types of enemies can only be pressured by different and unique means, like using certain Magic Spells or Crippling their parts. Understanding how to effectively Pressure and Stagger a boss are vital in Hard difficulty to win their battles. Once they are under Pressure, you should quickly use all the available abilities that significantly or moderately increases Stagger Gauge. Using Haste and ATB Boost prior to Pressure and Stagger is key in defeating them.
Chapter 1: Scorpion Sentinel
Scorpion Sentinel
Stats
HP: 56592
Attack: 301
Magic Attack: 301
Defense: 326
Magic Defense: 268
EXP: 4500
AP: 30
Gil: 2250

Enemy Intel
Creature type: Mechanical
Stagger duration: 8, 5 and 10 seconds
Movement: Grounded
Normal Drop: --
Rare Drop: --
Steal: --

Abilities
Mark 98 Cannons (Physical Damage)
Jumping Press (Physical Damage)
EM Field (Magic Damage)
Electrostomp (Physical Damage)
Target Scanner (Magic Damage)
Mark 99 Launchers (Physical Damage)
Death Grip (Magic Damage)
Scorpion Strikes (Physical Damage)
Tail Swipe (Physical Damage)
Tail Laser (Magic Damage)
Stinger Salvo (Magic Damage)
Overkill (Physical and Magical Damage)
Auto-Repair

Summon
Shiva

Cloud's Equipment and Materia
Limit Break: Ascension
Equipment
Mythril Saber
Chain Bangle
Fury Ring

Materia
Elemental Materia - Lightning Materia
ATB Assist Materia
ATB Stagger Materia
Skill Master Materia
HP Up Materia
Magic Up Materia

Barret's Equipment and Materia
Limit Break: Catastrophe
Equipment
Light Machine Gun
Force Bracelet
Fury Ring

Materia
Magnify Materia - Time Materia
Synergy Materia - Lightning Materia
Healing Materia
Auto-Cure Materia
Provoke Materia
Steadfast Block Materia
HP Up Materia

General
This is an easy battle, but it still gives you a notion of what to expect in Hard difficulty. Scorpion Sentinel is weak to Lightning, so we'll use Elemental Materia with Lightning Materia. Barret will also have Synergy Materia with Lightning Materia for an extra hit. With ATB Assist Materia you'll be able to spam Focused Thrust to build ATB Charges.

1st Phase
Start by casting Haste on your party and use Barret's Steelskin and Lifesaver. Then start spamming Thundaga and use Focused Thrust when Scorpion Sentinel is under Pressure. Mark 98 Cannons and Mark 99 Launchers are best to be blocked, EM Field is unblockable, so always dodge this one.

2nd Phase
This phase starts when Scorpion Sentinel's HP drops to 70%. In this phase, Scorpion Sentinel will be immune to Lightning attacks. You'll have to deal Physical Damage on its Field Generator, which is located right behind it.

3rd Phase
At 40% HP, this phase will start with Scorpion Sentinel moving to the other platform and will cast Tail Laser. In Hard difficulty, the beam will shoot in 6 seconds. Quickly hide behind the debris to evade this attack, it deals a lot of damage. After the second one, start building your ATB and spam Thundaga.

4th Phase
At 10% HP, Scorpion Sentinel will use Auto-Repair. In Hard difficulty, it heals 1,698 HP every 5 seconds. Its legs also become targetable, you'll can either cripple it or cast a couple more Thundagas to finish it off.
Chapter 2: The Huntsman
The Huntsman

Stats
HP: 18864
Attack: 283
Magic Attack: 283
Defense: 194
Magic Defense: 194
EXP: 4500
AP: 30
Gil: 1125

Enemy Intel
Creature type: Human
Stagger duration: 10 seconds
Movement: Grounded
Normal Drop: Grenade (12%)
Rare Drop: Sedative (5%)
Steal: Grenade (15%)

Abilities
Stun Baton (Physical Damage)
Shield Bash (Physical Damage)
Riot Shield (Physical Damage)

Summon
Ifrit

Cloud's Equipment and Materia
Limit Break: Ascension
Equipment
Mythril Saber
Chain Bangle
Fury Ring

Materia
Magnify Materia - Fire Materia
First Strike Materia
HP Up Materia
Magic Up Materia

General
Another easy one. Start by casting Fire on the Riot Trooper, this should be enough to take him with a few more Shinra Officers. Attack the remaining ones with normal attacks to build your ATB. On the next wave, do the same, cast Fire on the Riot Trooper and attack the remaining ones. The Huntsman should come right after that, cast Firaga on him and use Focused Thrust to Stagger, then finish it off.
Chapter 3: Hoodlums
Hoodlums
Stats
HP: A & B: 3537 C & D: 4716
Attack: 193
Magic Attack: 48
Defense: 194
Magic Defense: 45
EXP: A: 1006 B & D: 774 C: 928
AP: 3
Gil: A: 981 B & D: 446 C: 892

Enemy Intel
Creature type: Human
Stagger duration: 10 seconds
Movement: Grounded
Normal Drop: Potion (12%)
Rare Drop: Grenade (12%)
Steal: Adrenaline (15%)

Abilities
Fighting Kick (Physical Damage)
Wild Stab (Physical Damage)
Wild Slash (Physical Damage)
Full Nelson (Physical Damage)
Grenade (Physical Damage)
Spiderweb (Physical Damage)
Open Fire (Physical Damage)
Orb of Gravity (Magic Damage)
Potion
Hi-Potion

Summon
Ifrit

Cloud's Equipment and Materia
Limit Break: Ascension
Equipment
Mythril Saber
Chain Bangle
Fury Ring

Materia
Magnify Materia - Fire Materia
First Strike Materia
HP Up Materia
Magic Up Materia

General
These Hoodlums can take a lot of your HP in an instant, so the idea is to finish all of them before they even strike. Start by casting Fira with Magnify, this should take at least 3 of them. Just finish the remaining one with normal attacks until you Pressure him, then use Focused Thrust to Stagger. Pretty easy.
Chapter 4: Roche
Roche
Stats
HP: 35370
Attack: 373
Magic Attack: 373
Defense: 194
Magic Defense: 194
EXP: 4500
AP: 30
Gil: 1913

Enemy Intel
Creature type: Human
Stagger duration: 10 seconds
Movement: Grounded
Normal Drop: Elixir (100%)
Rare Drop: --
Steal: Elixir (5%)

Abilities
Relentless Assault (Physical Damage)
Plunge (Physical Damage)
Wind Slash (Magic Damage)
Vacuum Wave (Magic Damage)
Blizzard (Magic Damage)
Blizzara (Magic Damage)
Thunder (Magic Damage)
Thundara (Magic Damage)
Mow Down (Physical Damage)
Combustion Sword (Physical Damage)
Ignition Flame (Magic Damage)

Summon
Bahamut

Cloud's Equipment and Materia
Limit Break: Ascension
Equipment
Mythril Saber
Chain Bangle
Fury Ring

Materia
Elemental Materia - Fire Materia
Magnify Materia - Lightning Materia
Healing Materia
First Strike Materia
HP Up Materia
Magic Up Materia

General
Before your match with Roche, you'll fight several enemies. In the end, these enemies are harder than Roche himself. Most are weak to Fire, so we are going to use Fire Materia with Elemental Materia on Weapon.

Pre-Phase
First you'll face a few waves of Security Officers, Granadiers, Riot Troopers and Shock Troopers. They're all weak to Fire, so eliminate them with Triple Slash. Before that, cast Regen on yourself. After dealing with all of them, you'll face 3 Guard Dogs while a few more are chasing Wedge. After dealing with the 3, cast Firaga on the ones chasing Wedge while they're all packed together, so all of them receive the damage. After this, you'll deal with 2 Sweepers at the same time. Use Thundaga with Magnify on them and unleash everything you got, Limit Break and Summon.

1st Phase
Start this phase by casting Firaga on Roche and keep attacking until you see an opportunity to use Punisher Mode's counter or Counterstance on him. All of his Physical attacks can be countered. His Blizzard and Blizzara Spells can be easily dodged after the first hit.

2nd Phase
In Hard difficulty Ignition Flame fires 3 beams instead of 1. Keep casting Firaga on him until he enters his Pressure state. Use this opportunity to use Focused Thust to Stagger him and finish him off.
Chapter 5: Crab Warden
Crab Warden
Stats
HP: 89604
Attack: 463
Magic Attack: 463
Defense: 379
Magic Defense: 385
EXP: 2250
AP: 30
Gil: 4500

Enemy Intel
Creature type: Mechanical
Stagger duration: 15 and 4 seconds
Movement: Grounded
Normal Drop: Metal Knuckles (100%)
Rare Drop: --
Steal: Molotov Cocktail (12%)

Abilities
Stomp (Physical Damage)
Charge (Physical Damage)
Wildfire (Magic Damage)
Revolving Volley (Physical Damage)
Missile Assault (Physical Damage)
Missile Barrage (Physical Damage)
Reverse Cannon (Physical Damage)
Flamethrower (Magic Damage)
EM Field (Magic Damage)
Target Lock
Air Support
Surge (Magic Damage)

Summon
Ifrit

Cloud's Equipment and Materia
Limit Break: Ascension
Equipment
Mythril Saber
Chain Bangle
Fury Ring

Materia
Elemental Materia - Lightning Materia
Healing Materia
Parry Materia
Steadfast Block Materia
HP Up Materia
Magic Up Materia

Barret's Equipment and Materia
Limit Break: Catastrophe
Equipment
Light Machine Gun
Force Bracelet
Fury Ring

Materia
Synergy Materia - Lightning Materia
Healing Materia
Auto-Cure Materia
Provoke Materia
Steadfast Block Materia
HP Up Materia

Tifa's Equipment and Materia
Limit Break: Dolphin Flurry
Equipment
Metal Knuckles
Force Bracelet
Fury Ring

Materia
Magnify Materia - Time Materia
Barrier Materia
Parry Materia
ATB Assist Materia
ATB Stagger Materia
HP Up Materia
Luck Up Materia

General
This is the first boss with a very high HP, but shouldn't be trouble. You should focus on spamming Focused Strike with Tifa to have the ATB Assist effect while Cloud focus on using Thundaga and Barret will focus on Healing. The Crab Warden is also susceptible to Stop, you can use this while he is on Pressure or Stagger to freeze it in this state. Note that on the 3rd Phase, the Stagger state only lasts for 4 seconds, so you won't have enough time to cast Stop.

1st Phase
Start by casting Haste on your party, you can also cast Regen on everyone. Use Barret's Steelskin and Lifesaver. Then start spamming Focused Strike with Tifa and Thundaga with Cloud on its Legs.

2nd Phase
This phase starts with the Crab Warden summoning 3 Slug-Rays, it can summon any time with Air Support. A Summon can help you dealing with these Slug-Rays. Keep focusing on building your ATB with Tifa and Casting Thundaga with Cloud to cripple its Legs. Use Barret's unique attack to deal with the Slug-Rays.

3rd Phase
In Hard difficulty, a consecutive Surge takes 3 seconds to charge. While it charges the first one, use this opportunity to cripple him using Thundaga with both Cloud and Barret. You will be able to target its Right and Left Auxiliary Weaponry, then the Pilot. After crippling the Pilot, its Weak Point will be vulnerable. At this point, its HP should be almost over.
Chapter 7: Airbuster
Airbuster
Stats
HP: 87718 Arms: 11790
Attack: 328
Magic Attack: 328
Defense: 342
Magic Defense: 363
EXP: 4500
AP: 30
Gil: 2250

Enemy Intel
Creature type: Mechanical
Stagger duration: 10 and 4 seconds
Movement: Grounded
Normal Drop: Titanium Bangle (100%)
Rare Drop: --
Steal: AI Programming Core (12%)

Abilities
Finger Beam (Magic Damage)
Big Bomber (Physical Damage)
Rear Machine Gun (Physical Damage)
Rear Grenade (Physical Damage)
EM Field (Magic Damage)
Front Machine Gun (Physical Damage)
EM Depth Charge (Magic Damage)
Divide and Conquer & Merge
Tankbuster (Magic Damage)
Burner (Magic Damage)
Shoulder Beam (Magic Damage)
Energy Ball (Magic Damage)
Hook (Physical Damage)
Hammer Blow (Physical Damage)
Lightning Strike (Magic Damage)
Rocket Punch (Physical Damage)
Grapple (Physical Damage)

Summon
Bahamut

Cloud's Equipment and Materia
Limit Break: Ascension
Equipment
Mythril Saber
Chain Bangle
Fury Ring

Materia
Elemental Materia - Lightning Materia
Healing Materia
Parry Materia
Steadfast Block Materia
HP Up Materia
Magic Up Materia

Barret's Equipment and Materia
Limit Break: Catastrophe
Equipment
Light Machine Gun
Force Bracelet
Fury Ring

Materia
Synergy Materia - Lightning Materia
Healing Materia
Auto-Cure Materia
Provoke Materia
Steadfast Block Materia
HP Up Materia

Tifa's Equipment and Materia
Limit Break: Dolphin Flurry
Equipment
Metal Knuckles
Force Bracelet
Fury Ring

Materia
Magnify Materia - Time Materia
Parry Materia
ATB Assist Materia
ATB Stagger Materia
Steadfast Block Materia
HP Up Materia
Luck Up Materia

General
The best boss battle of the game with the best arrangement ever made of Fight On!, Those Who Fight Further, or Still More Fighting with electric guitars, double bass pedals, full orchestra and choir! This is the first big challenge of the game. The Airbuster is weak to Lightning and susceptible to Silence and Stop. Finger Beam stuns your character for 8 seconds, so always block this one. Big Bomber can also be blocked, but it also can be stopped by hitting the opened lower half with two abilities or a Limit Break.

1st Phase
In this phase don't waste your MP on attacking the Airbuster, focus on dropping its HP to 75% quickly to go to the next phase. Start by casting Haste on all your party, Regen should also help. Barret should use Steelskin and Lifesaver as well. Be careful with Rear Granade, they're pretty easy to avoid though, same with EM Field. Rear Machine Gun and Front Machine Gun are best to block. You can try to spam Focused Strike with Tifa to build your ATB, while Cloud uses Burst Blade and Barret uses Maximum Fury.

2nd Phase
In Hard difficulty, the Airbuster starts this phase using Divide and Conquer, detaching both of its Arms. Its Arms use Finger Beam — always block this one — and Rocket Punch, this one can be countered with Punisher Mode or Counterstance. They can also use Grapple, which binds your character, hit it with an ability to release. You should start this phase casting Thundaga on its Arms and destroying them as fast as you can. After that, the Airbuster will use Merge and you should focus on trying to Stagger it.

3rd Phase
This phase starts when Airbuster's HP drops to 50%, it will then fly away. This is the perfect time for summoning Bahamut, if you don't have it, summon Shiva instead. Use Barret to attack the Airbuster and also Thundaga with Cloud. When it gets close, spam Focused Strike with Shiva. Hammer Blow deals a lot of damage, but it is easy to avoid with Parry. Keep doing this until the next phase starts when Airbuster's HP drops to 10%.

4th Phase
Now it's time to unleash everything you got left on the Airbuster. Beware of Tankbuster, now it will charge at your active character. Use Parry with Tifa to avoid this one.
Chapter 8: Reno
Reno
Stats
HP: 15563
Attack: 328
Magic Attack: 328
Defense: 268
Magic Defense: 268
EXP: 4500
AP: 30
Gil: 2250

Enemy Intel
Creature type: Human
Stagger duration: 7 seconds
Movement: Grounded
Normal Drop: Ether (100%)
Rare Drop: --
Steal: Ether (10%)

Abilities
Beatdown (Physical Damage)
Rushdown (Physical Damage)
Shock Swipe (Physical Damage)
Counterattack (Physical Damage)
EM Shot (Magic Damage)
EM Flail (Magic Damage)
EM Charge
Bright Spark (Magic Damage)
EM Mine Toss (Magic Damage)

Summon
Bahamut

Cloud's Equipment and Materia
Limit Break: Ascension
Equipment
Hardedge
Chain Bangle
Fury Ring

Materia
Elemental Materia - Fire Materia
Healing Materia
Poison Materia
Time Materia
Parry Materia
ATB Stagger Materia
Steadfast Block Materia
HP Up Materia

General
This one should be pretty easy. You can counter all of Reno's Physical attacks, except his own Counterattack. In Hard difficulty, Beatdown and Rushdown cannot be stopped.

Pre-Phase
Before facing Reno, you'll need to defeat 2 waves of Shinra Officers. Use Triple Slash to defeat them.

1st Phase
Start by casting Haste on Cloud and inflict Poison on Reno. You can counter his Physical attacks or dodge them. If you successufuly dodge, he will enter a Pressure state. Use this to attack with Focused Thrust to Stagger him.

2nd Phase
At 50% of his HP, Reno will throw some EM Mines. Quickly destroy all of them with Triple Slash. After that, rinse and repeat. Stagger him and finish the battle.
Chapter 8: Rude
Rude
Stats
HP: 33012
Attack: 328
Magic Attack: 328
Defense: 268
Magic Defense: 268
EXP: 4500
AP: 30
Gil: 3600

Enemy Intel
Creature type: Human
Stagger duration: 7 seconds
Movement: Grounded
Normal Drop: Mega-Potion (100%)
Rare Drop: --
Steal: Mega-Potion (10%)

Abilities
Quick Jabs (Physical Damage)
Leg Flurry (Physical Damage)
Hammerblow (Physical Damage)
Seize (Physical Damage)
Running Tackle (Physical Damage)
Haymaker (Magic Damage)
Spinning Axe Kick (Magic Damage)
Leg Sweep (Magic Damage)
Sweet Dreams (Magic Damage)
Shockwave (Magic Damage)
Spirit Geyser (Magic Damage)

Summon
Bahamut

Cloud's Equipment and Materia
Limit Break: Ascension
Equipment
Hardedge
Chain Bangle
Fury Ring

Materia
Elemental Materia - Wind Materia
Healing Materia
Parry Materia
ATB Stagger Materia
ATB Assist Materia
Steadfast Block Materia
HP Up Materia

Aerith's Equipment and Materia
Limit Break: Healing Wind
Equipment
Silver Staff
Force Bracelet
Headband

Materia
Magnify Materia - Time Materia
Healing Materia
Revival Materia
First Strike Materia
HP Up Materia
MP Up Materia
Magic Up Materia

General
You might be without MP for this battle if you did all the other sidequests in this chapter, but that's not a problem, this guide got you covered. If you have MP, just spam Aeroga until you defeat Rude. You can also link a Wind Materia with Synergy Materia on Aerith to make it even easier.

1st Phase
Start this phase by casting Haste on your party. Rude will cast Sweet Dreams on your non-active party member, if Aerith is equipped with a Headband, he won't use this on her, he'll use Seize instead. Use Aerith's Soul Drain on Rude, this will not only give her MP but also will stun Rude for a few seconds. When he's stunned, attack with Cloud. Use Punisher Mode to attack faster. When you have 2 ATB Charges on Cloud, use Focused Thrust twice on Rude, this will activate the ATB Assist effect and will boost Aerith's ATB. Then you can use Soul Drain again to stun lock Rude.

2nd Phase
When Rude's HP drops to 50%, he will now use Shockwave and Spirit Geyser. They deal a lot of damage, but they are easy to dodge with Parry and can be blocked. Keep stunning Rude with Soul Drain and heal/revive when needed. After a few Focused Thrusts you'll Stagger him, then finish him off.
Chapter 9: Hell House - Part 1
Hell House
Stats
HP: 84888
Attack: 328
Magic Attack: 328
Defense: 342
Magic Defense: 268
EXP: 4500
AP: 30
Gil: 2250

Enemy Intel
Creature type: Artificial Life
Stagger duration: 10 seconds
Movement: Grounded
Normal Drop: Fuzzy Wuzzy (50%)
Rare Drop: Mr. Cuddlesworth (25%)
Steal: Mr. Cuddlesworth (25%)

Abilities
House Call (Physical Damage)
Chair Salvo (Physical Damage)
Chair Salvo Deluxe (Magic Damage)
Firecrackers (Physical Damage)
Ram (Physical Damage)
Barrier Shift
Jetstream (Magic Damage)
Rocket Charge (Physical Damage)
Double Rocket Charge (Physical Damage)
Housing Rush (Physical Damage)
Housing Shock (Physical Damage)
Hospitality (Physical Damage)
Renewed Hospitality (Physical Damage)
God House Mode
Heavensward (Physical Damage)

Summon
Bahamut

Cloud's Equipment and Materia
Limit Break: Ascension
Equipment
Mythril Saber
Force Bracelet
Fury Ring

Materia
Elemental Materia - Lightning Materia
Ice Materia
Poison Materia
Healing Materia
ATB Boost Materia
HP Up Materia
MP Up Up Materia

Aerith's Equipment and Materia
Limit Break: Healing Wind
Equipment
Arcane Scepter
Chain Bangle
Fury Ring

Materia
Magnify Materia - Time Materia
MP Absorption Materia - Fire Materia
Healing Materia
Revival Materia
Wind Materia
MP Up Materia
Magic Up Materia

General
Aerith's Arcane Scepter has Buff Duration 10% Boost, Attack Spell MP Cost Reduction 20% and Reprieve. Cloud's Mythril Saber has Trade-Off, MP Regeneration 50% Boost and Attack Spell MP Cost Reduction 20%. Their Fury Rings will grant them the Berserk status throughout the battle, which doubles all damage dealt and received. If Aerith is dying too easily for you, you can switch her Fury Ring for a Circlet, Champion Belt or Talisman Earring.

During the 1st Phase, Hell Hound will use Barrier Shift to change its elemental affinity to a new random element. In the other phases, Hell Hound won't use Barrier Shift anymore, but its attacks are going to change its elemental affinity with their respective element. Make Aerith use Haste with Magnify and also cast Regen on both characters, keep these buffs active all the time. Also, it is good to have an ATB Ward and Arcane Ward cast on the same location to get extra ATB Charge and casting Spells twice — next to a gate or in the middle of the arena would be the best places to cast them. For debuffs, Hell House is susceptible to Poison and it deals fixed damage, being extremely useful in God House Mode. Make Poison active all the time, when a new phase starts, the Hell House might lose its debuffs, keep your attention on that.

Every time the Hell House summons 3x Tonberry, switch to Cloud and attack them with Triple Slash until they're all dead. Tonberries can inflict Instant Death with Chef's Knife, Tantrum and Doom and Gloom. When they are summoned, they will be in a Pressure state, use this time to finish them off immediately. Hell House's attacks also knocks the Tonberries back and leave them in a Pressure state.

If needed, you should use Cloud's ATB Boost Materia before staggering Hell House, before using a summon or when healing is needed. When the Hell House is in a Pressure state, make Cloud use Focused Thrust and Aerith use Ray of Judgement — if 2 ATB Charges are available — to quickly Stagger the boss. Haste is going to be extremely useful for these situations.

Cloud's Limit Break will do very little damage against Hell House, it is best to use it against Cutter or Sweeper at the 4th Phase. You can use use Aerith's Limit Break Healing Wind to make her immune while casting it when Hell Hound uses House Call or Heavensward, which are unblockable and does a lot of damage.

When Cloud got 2 ATB Charges to spare and Hell House already has the Poison status, attack the boss with Blade Burst when God House Mode isn't active, as it has Greater Resistance to Physical Damage. When Aerith got 2 ATB Charges to spare and the party is already buffed, use Ray of Judgement. If you want some free time to buff the party, you can make Aerith use Stop on Hell House. You can also use Stop on Hell House during its Pressure state to freeze it in this state, but it's not really needed. It is wise to always have an ATB Charge available throuout the battle for healing, buffing, debuffing and staggering.

The best summons for this boss are Bahamut or Fat Chocobo, as their attacks don't have an elemental affinity. It's best to use them at the 4th Phase to help you deal with Hell House, Cutter and Sweeper at the same time. Bahamut can also damage the boss while it's flying.
Chapter 9: Hell House - Part 2
Hell House's Phases
1st Phase
The boss is going to start the battle casting a Chair Salvo, use Cloud to make a combo to fill an ATB Charge, then quickly switch to Aerith and move her away from this attack, then start buffing the party. Hell House is going to summon 3x Tonberry after that, use that ATB Charge you got for Cloud to quickly finish them off with Triple Slash. Use Cloud's Poison Materia to debuff the house. House Call is unblockable, just run away from it and dodge at last second. Chair Salvo is pretty easy to block, but running away will not work every time, as the chairs will track your active character. Firecrackers are just plush toy explosives, they are easy to spot and to avoid. When Hell Hound uses Hospitality, the easiest way to avoid it is to move to the sides or the back to the house. If it swallows a character, use a unique ability on it to make it spit it out.

For the 1st Phase, only use elemental attacks after Hell House uses Barrier Shift, as attacking it with its elemental weakness builds its Stagger. When Hell House uses Barrier Shift, get ready to go to the Arcane Ward and cast the respective Spell.

The house can be pressured in this phase for 2 seconds after it sustains 848 Physical Damage, use Focused Thrust in this opportunity.

2nd Phase
The 2nd Phase begins when Hell House's HP drops to 75%, a small cutscene will play. The boss will begin the 2nd Phase using Housing Rush, when it gets close, Cloud's Punisher Mode to counter it or Counterstance. Hell House still delivers a final blow after Housing Rush is blocked/countered, so don't forget to dodge it.

Rocket Charge is pretty easy to avoid, just run away from it and move to one of the sides. When attacked from behind, Hell House will use Jetstream, which deals fire damage to every character near it.

The boss can be pressured in this phase for 4 seconds after it sustains 1,698 Physical Damage.

3rd Phase
When Hell House's HP drops near 50%, as soon as the 3rd Phase begins, it will start using God House Mode, which creates a barrier that decreases all damage taken and bounces physical attacks back.

When it is in God House Mode, all of its attacks will get a stronger version. Double Rocket Charge will charge at you 3 times until it stops, but it still is pretty easy to avoid. If Hell House jumps outside of the arena to use Chair Salvo Deluxe, it is going to use House Call next on your active character. To avoid it, block the Chair Salvo Deluxe and right after the Hell House jumps, use dodge at the very last second to escape this attack. If it uses Chair Salvo Deluxe on the ground, it surrounds itself in ice and inflicts Slow on anyone near it. Housing Shock can be blocked/countered, but it now gives lightning damage to any character near it. Renewed Hospitality sucks the character faster, use the same tactics as before.

The boss' elemental affinity will change accordingly when he uses one of the following attacks:
  • Double Rocket Charge: Fire (weak to ice)
  • Chair Salvo Deluxe: Ice (weak to fire)
  • Housing Shock: Lightning (weak to wind)
  • Renewed Hospitality: Wind (weak to lightning)

God House Mode will end everytime the Hell House uses one of those special abilities, leaving you with a very tiny time window to cast a Spell with its Weakness. The Hell House will enter God House Mode again right after it finishes its attack, so it's best to cast your Spell right after dodging, but just before it finishes its moves. Forget about going to the Arcane Ward at this point, as it is useless and you won't have time for that.

After the house enters God House Mode, its arms will become targetable. Attack them in between Hell House's abilities to build your ATB Charges. The arms take 2x Physical Damage, but only 0,1x Magic Damage. If the arms are destroyed, the Hell House will be pressured 3 seconds.

4th Phase
The 4th Phase starts when Hell House's HP drops to 25%. It will start flying and a countdown from 3 starts, when it ends it unleashes Heavensward. It is unblockable, so use dodge to avoid it. When it is flying, it will throw Chair Salvos and Firecrackers at you. Just run around the Colosseum to avoid them. The most common mistake you can make at this point is running into a Firecrackers just before Hell House charges at you.

After some time, a Cutter and a Sweeper will appear on the Colosseum. This is where the Elemental Materia with Lightning Materia will come into place. Right after they show up, unleash everything you got against them, ATB Boost, Cloud's Limit Break, Summon, Lightning and Focused Thrust. Aerith needs to be alive until both of them are defeated, otherwise it is going to be very difficult to win this battle. If she dies before that, just go to retry — unless you got another Revival Materia for Cloud. After you kill both of them, the battle is already won, just don't mess this up. At this point, just make sure the Hell House got Poison status active and keep healing Cloud. To finish it off, the best opportunities are after the Hell House uses Double Rocket Charge or Renewed Hospitality, then kill it with Blizzaga or Thundaga, respectively.
Chapter 10: Abzu
Abzu
Stats
HP: 93420
Attack: 382
Magic Attack: 382
Defense: 268
Magic Defense: 342
EXP: 5400
AP: 30
Gil: 1125

Enemy Intel
Creature type: Organic
Stagger duration: 10 seconds
Movement: Grounded
Normal Drop: Phoenix Down (100%)
Rare Drop: --
Steal: Turbo Ether (10%)

Abilities
Smash (Physical Damage)
Ground Pound (Physical Damage)
Bash and Smash (Magic Damage)
Charge (Physical Damage)
Pounce (Aerith) (Physical Damage)
Pounce (Physical Damage)
Backwash (Magic Damage)
Provoke (Magic Damage)
Enrage
Triple Charge (Physical Damage)
Blackwater Blast (Magic Damage)

Summon
Ifrit

Cloud's Equipment and Materia
Limit Break: Ascension
Equipment
Mythril Saber
Force Bracelet
Fury Ring

Materia
Elemental Materia - Fire Materia
Healing Materia
Parry Materia
Steadfast Block Materia
Skill Master Materia
HP Up Materia
MP Up Materia

Tifa's Equipment and Materia
Limit Break: Dolphin Flurry
Equipment
Metal Knuckles
Force Bracelet
Fury Ring

Materia
Elemental Materia - Fire Materia
Healing Materia
ATB Stagger Materia
ATB Assist Materia
Steadfast Block Materia
HP Up Materia
Luck Up Materia

Aerith's Equipment and Materia
Limit Break: Refocus
Equipment
Arcane Scepter
Chain Bangle
Fury Ring

Materia
Magnify Materia - Time Materia
HP Absorption Materia - Fire Materia
Healing Materia
Revival Materia
MP Up Materia
Magic Up Materia

General
This battle is very easy compared to the last one. Cloud is going to be focusing on dealing Magic Damage, Tifa will be dealing Physical Damage and Aerith will first focus on buffs and then on Magic Damage. If you want, you can equip a Star Pendant on everyone to make them immune to Poison, but the Fury Ring is better. Aerith's Arcane Scepter has Buff Duration 10% Boost, Elemental Materia Damage 10% Boost, Attack Spells MP Cost Reduction 20% and Reprieve, which are all useful for this fight. Abzu is weak to Fire, so we'll be using that as an advantage.

Start with Aerith casting Haste on everyone, then make each one of them cast Regen on themselves. When you are still buffing, you can spend Cloud's ATB Charges with Blade Burst. After everyone is buffed, go to the center of the area and cast an ATB Ward and Arcane Ward with Aerith at the same place. Now you can take Cloud into those wards and start using Firaga on Abzu. Abzu is going to be pressured if he sustains 11,210 damage, 2,803 Fire Damage, after an unsuccessful Pounce or if you break his horns. Unless Abzu is staggered, his horns are only vulnerable to Magic Damage. Everytime he enters the Pressure state, quickly use all the Focused Thrusts and Focused Strikes you can to Stagger him, then use Firaga.

Pounce is easy to dodge with Parry using Tifa, so every time he goes atop the wall to make a jump, switch to Tifa and start using Parry until it jumps. This is an easy Pressure. Backwash and Blackwater Blast inflict Poison and are unblockable, if you don't have Star Pendant equipped, you can heal Poison with Regen. When Abzu is about to use Blackwater Blast, remove the Target Lock — if it's active — and watch closely from what drain the flood will come. Then move away to the other side to make sure no one takes the hit, as the damage is huge.

After Abzu loses 75% of his HP, he is going to use Enrage, which makes him stronger and he uses deadlier attacks more often. Besides this, nothing about your strategy is going to change. Just keep buffing, healing and using Firaga as usual. When Abzu's HP is nearly 30% or so, you can save Cloud's MP and make Aerith use Firaga instead to quickly finish him. You don't really need to care about saving anyone's MP, as this is the only boss in this chapter, but it is still good to have some MP left at least for Aerith, as the Sagahins you'll face next can be quite strong.
Chapter 11: Ghoul
Ghoul
Stats
HP: 40086
Attack: 328
Magic Attack: 328
Defense: 342
Magic Defense: 312
EXP: 3600
AP: 30
Gil: 1800

Enemy Intel
Creature type: Unreadable
Stagger duration: 12 seconds
Movement: Grounded
Normal Drop: Subversion Materia (100%)
Rare Drop: --
Steal: Turbo Ether (5%)

Abilities
Orb (Physical Damage)
Shock Wave (Magic Damage)
Telekinesis (Physical Damage)
Claw Swipe (Magic Damage)
Piercing Scream (Magic Damage)
Phantasmic Flurry
Incorporeality
Balefire (Magic Damage)
Etheric Drain (Magic Damage)
Etheric Burst (Magic Damage)

Summon
Ifrit

Cloud's Equipment and Materia
Limit Break: Ascension
Equipment
Mythril Saber
Force Bracelet
Fury Ring

Materia
Elemental Materia - Fire Materia
ATB Boost Materia
Parry Materia
ATB Stagger Materia
Steadfast Block Materia
HP Up Materia
MP Up Materia

Tifa's Equipment and Materia
Limit Break: Dolphin Flurry
Equipment
Metal Knuckles
Force Bracelet
Fury Ring

Materia
Elemental Materia - Fire Materia
Poison Materia
ATB Stagger Materia
ATB Assist Materia
HP Up Materia
Luck Up Materia

Aerith's Equipment and Materia
Limit Break: Healing Wind
Equipment
Arcane Scepter
Chain Bangle
Healing Carcanet

Materia
Magnify Materia - Time Materia
MP Absorption Materia - Fire Materia
Healing Materia
Revival Materia
MP Up Materia
Magic Up Materia

General
This battle is a bit hard, as a bit of luck may be required. Ghoul has 2 modes, physical (blue) and ghostly (red) forms. In the physical form, it is immune to Magic Damage. In the ghostly form, it is immune to Physical Damage. It switches between the two all the time and you must play accordingly. Cloud and Tifa are going to be attacking it in its physical form, Aerith and Cloud will then attack in its ghostly form. In Hard difficulty, it needs to lose more HP to become pressured and it attacks more frequently.

1st Phase
It begins the battle in its physical form, so take Aerith and cast Haste with Magnify and an Arcane Ward, also cast Regen on every party member. After that you need to use Tifa to attack it. When it uses Incorporeality and changes to ghostly form, inflict Poison on it. Use your characters with available ATB Charges to go to the Arcane Ward and cast Firaga on the ghostly form.

Piercing Scream is unblockable and stuns all characters near it, so when it starts to cast, go as far away as possible to avoid it. Shock Wave is a glowing blue trail of magic that explodes right after being cast, so run away from it as the damage is extremely severe. In its ghostly form, its basic attack — Claw Swipe — inflicts 15 seconds of Silence, which makes everything just harder, but this one is blockable. Also in its ghostly form, Phantasmic Flurry creates arms that binds a character for 20 seconds, switch to some other character and use the opportunity to cast Firaga and Pressure it.

2st Phase
This phase starts when Ghoul loses 50% of its HP and is much harder, it now has stronger attacks and it doesn't stop for a second. The idea here is that you keep it with Poison inflicted, keep healing and reviving your characters and keep using the opportunities to cast Firaga within the Arcane Ward. Most of its HP will be gone before you know it. If you attack using a Spell while it is casting Etheric Burst, it will cancel the attack and Ghoul will become pressured. Wait for the right opportunity to attack it with a Limit Break in its physical form.
Chapter 11: Eligor
Eligor
Stats
HP: 66024
Attack: 328
Magic Attack: 328
Defense: 363
Magic Defense: 342
EXP: 5850
AP: 30
Gil: 3375

Enemy Intel
Creature type: Unreadable
Stagger duration: 10 seconds
Movement: Flying
Normal Drop: Echo Mist (100%)
Rare Drop: --
Steal: Bladed Staff (25%)

Abilities
Stomp (Physical Damage)
Stab (Physical Damage)
Swipe (Physical Damage)
Trample (Physical Damage)
Reaper (Physical Damage)
Sweeping Gaze (Magic Damage)
Gallop (Physical Damage)
Scorpion Strikes (Physical Damage)
Reflect (Magic Damage)
Javelin Bolts (Magic Damage)
Piercing Gaze (Physical Damage)
Dash 'n' Slash (Physical Damage)
Javelin Gallop (Physical Damage)
Winds of Gehanna (Magic Damage)

Summon
Shiva

Cloud's Equipment and Materia
Limit Break: Ascension
Equipment
Mythril Saber
Chain Bangle
Otherworldy Crystal

Materia
Elemental Materia - Ice Materia
Healing Materia
Subversion Materia
Chakra Materia
Steadfast Block Materia
HP Up Materia

Tifa's Equipment and Materia
Limit Break: Dolphin Flurry
Equipment
Metal Knuckles
Force Bracelet
Otherworldy Crystal

Materia
Elemental Materia - Ice Materia
Healing Materia
Poison Materia
Chakra Materia
Prayer Materia
ATB Assist Materia
Steadfast Block Materia
HP Up Materia
Luck Up Materia

Aerith's Equipment and Materia
Limit Break: Healing Wind
Equipment
Arcane Scepter
Force Bracelet
Healing Carcanet

Materia
Magnify Materia - Time Materia
HP Absorption Materia - Lightning Materia
Healing Materia
Cleansing Materia
Revival Materia
Prayer Materia
MP Up Materia
Steadfast Block Materia

General
This battle is extremely tricky in Hard difficulty, now Eligor's Stab, Swipe, Dash 'n' Slash and Javelin Gallop inflicts Silence for 40 seconds. He also uses Reflect on all your party members, which makes you unable to use healing and buffs for the rest of the battle. You can still use Chakra and Prayer to heal. Eligor has Weakness to Ice, but with Aerith you are going to use Lightning Materia, as it is sure to hit and Eligor will be moving fast for most of the time. He also has Lesser Resistance to Physical Damage, so use Blade Burst as Cloud's ATB move.

1st Phase
Quickly start with Aerith castin Haste, Resist and Regen on all party members. When he uses Trample, either run far away or block if you can't, the damage is quite severe. As soon as you can, use Tifa to inflict Poison with Bio, don't waste your MP in stronger Spells. In this phase, it's pretty easy to Pressure Eligor, after that, use Focused Thrust and Strike to Stagger him. Once he's staggered, use Cloud's Infinity's End or Blade Burst and Tifa's True Strike to increase the Stagger multiplier. Before the end of this phase, try to have as many buffs as you can in your party, as you won't be able to do this on the next ones.

2nd Phase
This phase starts when Eligor's HP drops to 70%. He will start flying and cut the chains from the container, making it fall down on the middle of the area. He will then cast Reflect on himself and on your entire party. He will temporary become immune to Magic and your party is going to be permanently be immune to buffs and healing throughout the battle. Piercing Gaze inflicts Sleep and Silence and it is hard to dodge, start running as soon as he starts casting.

The idea for this phase is to keep using Chakra and Pray for healing while you hide behind the container from Eligor's Javelin Bolts, use Aerith as your active character. Eligor's Gallop drops javelins that deal a huge amount of damage while he is in the air, so don't be still during this phase, keep running away from the javelins behind the container. You can make Cloud use Breach on Eligor to remove his Reflect. When you have the opportunity, inflict Poison with Bio again and use Thundaga with Aerith or Blizzaga with Cloud.

3rd Phase
The final phase will begin when Eligor's HP reaches 35%. His main move is Javelin Gallop that inflicts Silence and deals lots of damage, you can block this one but it's quite easy to avoid it. He also uses Winds of Gehanna, it sucks the party and then shoots a powerful beam. Keep rolling while he is casting it to dodge it, as it is extremely fast. He still has his other moves from the previous phase, except for Reflect. When he is still, use Cloud and Tifa to cripple his wheels, Cloud's Blade Burst can be extremely effective in doing this. After staggering, use Thundaga, Blizzaga or anything you got to finish him. Just make sure you manage to heal yourself with Chakra and Pray, because the hardest part was already over.
Chapter 12: Reno and Rude
Reno
Stats
HP: 33012
Attack: 328
Magic Attack: 328
Defense: 342
Magic Defense: 342
EXP: 2700
AP: 30
Gil: 2250

Enemy Intel
Creature type: Human
Stagger duration: 8 seconds
Movement: Grounded
Normal Drop: Turbo Ether (100%)
Rare Drop: --
Steal: Magician's Bracelet (10%)

Abilities
Beatdown (Physical Damage)
Shock Swipe (Physical Damage)
Wild Swings (Physical Damage)
Flashstrike (Physical Damage)
Electroburst (Magic Damage)
Flashfoot (Magic Damage)
Triple EM Shot (Magic Damage)
Pyramid (Magic Damage)
Binding Current (Magic Damage)
Turks' Combo (Magic Damage)

Rude
Stats
HP: 33012
Attack: 328
Magic Attack: 328
Defense: 342
Magic Defense: 342
EXP: 1800
AP: 30
Gil: 6750

Enemy Intel
Creature type: Human
Stagger duration: 7 seconds
Movement: Grounded
Normal Drop: Mega-Potion (100%)
Rare Drop: --
Steal: Heavy-Duty Bracer (10%)

Abilities
Quick Jabs (Physical Damage)
Leg Flurry (Physical Damage)
Hammerblow (Physical Damage)
Seize (Physical Damage)
Haymaker (Magic Damage)
Spinning Axe Kick (Magic Damage)
Leg Sweep (Magic Damage)
Sweet Dreams (Magic Damage)
Shockwave (Magic Damage)
Triple Shockwave (Magic Damage)
Whirlwind (Magic Damage)
Turks' Combo (Magic Damage)

Summon
Bahamut

Cloud's Equipment and Materia
Limit Break: Ascension
Equipment
Iron Blade
Chain Bangle
Healing Carcanet

Materia
Magnify Materia - Time Materia
HP Absorption Materia - Wind Materia
Healing Materia
Steadfast Block Materia
HP Up Materia
Magic Up Materia

Barret's Equipment and Materia
Limit Break: Catastrophe
Equipment
EKG Cannon
Force Bracelet
Tarot Cards

Materia
Elemental Materia - Wind Materia
Healing Materia
Poison Materia
Steadfast Block Materia
HP Up Materia

Tifa's Equipment and Materia
Limit Break: Dolphin Flurry
Equipment
Metal Knuckles
Force Bracelet
Superstar Belt

Materia
Elemental Materia - Wind Materia
Healing Materia
Binding Materia
Steal Materia
Steadfast Block Materia
HP Up Materia
Luck Up Materia

General
This boss battle is pretty easy compared to the ones you faced before, it shouldn't give you any trouble at all. Now both Reno and Rude will be faced at the same time, they both have most of their previous moves plus Turks' Combo, in which both of them make an attack. All your characters have Reprieve, just in case anyone of them dies. Rude has Weakness to Wind and both of them are susceptible to Poison, Sleep and Stop, so you can use that advantage to only face one of them at the same time or to have some time to buff your party. When Reno binds one of your characters in a Pyramid, quickly destroy it to release your character. Use can use Steal against Reno and Rude to get a Magician's Bracelet and a Heavy-Duty Bracer, respectively.

1st Phase
This phase starts with Rude in the Helicopter and Reno on the ground. Cast Haste on your party and use Regen on every single one of them, after that you can inflict Poison on him. Use Barret's Lifesaver and Steelskin to help your party. Cloud should be able to counter most attacks from Reno, so it should be pretty easy.

2nd Phase
When Reno loses a third of his HP, this phase will start. Reno will hide while Rude will attack you with bombs from his helicopter.. You can use Barret's Overcharge and Spells to quickly shoot the helicopter down.

3rd Phase
This phase starts after you destroy the helicopter, when Rude's HP drops to 50%. After that, you will face both on the ground. Quickly inflict Poison and Sleep on Rude and go on with the same strategy, using counter and Aeroga you'll defeat them quite soon.
Chapter 13: Failed Experiment
Failed Experiment
Stats
HP: 40086
Attack: 391
Magic Attack: 328
Defense: 312
Magic Defense: 268
EXP: 4500
AP: 30
Gil: 2250

Enemy Intel
Creature type: Artificial Life
Stagger duration: 13 seconds
Movement: Grounded
Normal Drop: Mythril Claws (100%)
Rare Drop: --
Steal: Poison Materia (12%)

Abilities
Fury (Physical Damage)
Hammer Punch (Physical Damage)
Leap (Physical Damage)
Catch and Release (Physical Damage)
Toxic Volley (Physical Damage)
Rally
Demolish (Physical Damage)
Ground Smash (Physical Damage)
Intimidate (Physical Damage)
Torment (Physical Damage)
Defensive Action
Reflective Action
Voltaic Action
Energize (Magic Damage)
Livewire (Magic Damage)
Plasma Discharge (Magic Damage)
Claim (Physical Damage)
Fling (Physical Damage)

Summon
Shiva

Barret's Equipment and Materia
Limit Break: Catastrophe
Equipment
Light Machine Gun
Chain Bangle
Enchanted Ring

Materia
Elemental Materia - Ice Materia
Magnify Materia - Time Materia
Healing Materia
Steadfast Block Materia
HP Up Materia
MP Up Materia

Tifa's Equipment and Materia
Limit Break: Dolphin Flurry
Equipment
Mythril Claws
Force Bracelet
Tarot Cards

Materia
Elemental Materia - Ice Materia
Warding Materia - Binding Materia
Healing Materia
HP Up Materia
MP Up Materia
Luck Up Materia

General
This battle shouldn't be too hard. You'll face not only Failed Experiment, but also packs of Unknow Entities, acting fast is very important. The Failed Experiment is weak to Ice and is susceptible to Sleep, this can be useful when trying to deal with too many Unknown Entities at the same time.

Pre-Phase
At first, you'll only face swarms of Unknown Entities. Start by buffing the party with Haste and Regen, then use Tifa's area of effect attacks, like Divekick or Unbridled Strength's combos. Activate Barret's Lifesaver and Steelskin. You shouldn't waste your MP on Attack Spells in this phase, they're easy to deal with and shouldn't make you a lot of damage. They will come in 2 waves, after that Barret tells Tifa to go up the stairs then the 1st Phase will start.

1st Phase
In this phase, Tifa will be up the platform and Barret will be on the ground. This is where the Failed Experiment finally appears, you still are going to face a few Unknown Entities at the same time. Focus on attacking the Failed Experiment with Tifa while using Barret as a support. Keep your party buffed, healed and attack the Failed Experiment's Appendage with Blizzaga. You should be careful with Failed Experiment's Toxic Volley, which inflicts Poison for 240 seconds, it's easy to dodge and can be blocked. Also, Demolish will make it destroy a part of the platform and deal a lot of damage to Tifa, so just move her away from it.

2nd Phase
This phase will start when the Failed Experiment's HP drops to 70%. It will destroy the platform Tifa is on and everyone will be on the ground. Try to finish it as quickly as possible by casting Blizzaga on its Appendage, as its attacks will deal a huge ammount of damage. If its Appendage is crippled, it will be staggered. When staggered, use Unbridled Strength's combos and True Strike with Tifa and Blizzaga with Barret. You can use Sleep against it to help you deal with the Unknown Entities alone. Summon Shiva in this phase and cast as many Heavenly Strikes — with Tifa — and Icicle Impacts — with Barret — as you can at the Failed Experiment. Shiva's Diamond Dust will deal 9,999 damage on the Failed Experiment and defeat all the Unknown Entities in the area.

Pay attention that the Failed Experiment can now use Defensive Action and Reflective Action, which casts Shield and Reflect on it, respectively. I don't think equipping a Subversion Materia is necessary for that, just play accordingly and you'll finish it pretty quickly.
Chapter 14: Type-0 Behemoth
Type-0 Behemoth

Subterranean Menace
This is an optional boss that is found at the Underground Test Site as part of the sidequest Subterranean Menace.

Stats
HP: 70740
Attack: 328
Magic Attack: 328
Defense: 342
Magic Defense: 342
EXP: 1584
AP: 45
Gil: 656

Enemy Intel
Creature type: Artificial Life
Stagger duration: 10 seconds
Movement: Grounded
Normal Drop: Behemoth Horn (100%)
Rare Drop: --
Steal: Enchanted Ring (5%)

Abilities
Heave (Physical Damage)
Pin (Physical Damage)
Spin (Physical Damage)
Leap (Physical Damage)
Counter Flare (Magic Damage)
Rampage (Physical Damage)
Tackle (Physical Damage)
Tail Swipe (Physical Damage)
Head Shake (Physical Damage)
Back Kick (Physical Damage)
Claw Swipe (Physical Damage)
Body Spin (Physical Damage)
Body Slam (Physical Damage)
Revitalize (Physical Damage)
??? (Physical and Magic Damage)

Summon
Bahamut

Cloud's Equipment and Materia
Limit Break: Ascension
Equipment
Hardedge
Chain Bangle
Enchanted Ring

Materia
Magnify Materia - Time Materia
Healing Materia
Revival Materia
Deady Dodge Materia
Steadfast Block Materia
HP Up Materia

Barret's Equipment and Materia
Limit Break: Catastrophe
Equipment
Big Bertha
Force Bracelet
Enchanted Ring

Materia
HP Absorption Materia - Poison Materia
Healing Materia
Auto-Cure Materia
Steadfast Block Materia
HP Up Materia

Tifa's Equipment and Materia
Limit Break: Dolphin Flurry
Equipment
Metal Knuckles
Force Bracelet
Enchanted Ring

Materia
Healing Materia
Barrier Materia
Steal Materia
ATB Assist Materia
HP Up Materia
MP Up Materia
Luck Up Materia

General
This boss doesn't have several battle phases and resists all elements and Magic Damage. You can steal an Enchanted Ring from it. This should be an easy fight, you'll be focusing on dealing Physical Damage. Start the battle by casting Haste and Regen on all party member. Barret should start by inflicting the Type-0 Behemoth with Poison and use Steelskin and then Lifesaver. First you should focus on attacking Type-0 Behemoth's Lower Body and then the Upper Body. Only after crippling both, it will become staggered and you'll be able to do damage to its Horn. After crippling its Horn, it will not be immune to Magic Damage anymore. After the Stagger ends, it will use Revitalize to recover its Lower Body and Upper Body. All of its attacks are quite easy to avoid. Keep your party alive and buffed and you'll be able to finish it quite soon.
Chapter 14: Abzu
Abzu
Stats
HP: 93420
Attack: 382
Magic Attack: 382
Defense: 268
Magic Defense: 342
EXP: 5400
AP: 30
Gil: 1125

Enemy Intel
Creature type: Organic
Stagger duration: 10 seconds
Movement: Grounded
Normal Drop: Phoenix Down (100%)
Rare Drop: --
Steal: Turbo Ether (10%)

Abilities
Smash (Physical Damage)
Ground Pound (Physical Damage)
Bash and Smash (Magic Damage
Pounce (Physical Damage)
Playtime
Charge (Physical Damage)
Tailspin (Physical Damage)
Backwash (Magic Damage)
Provoke (Magic Damage)
Enrage
Reversal (Physical Damage)
Triple Charge (Physical Damage)
Blackwater Blast (Magic Damage)
Blackwater Deluge (Magic Damage)

Summon
Ifrit

Cloud's Equipment and Materia
Limit Break: Ascension
Equipment
Mythril Saber
Chain Bangle
Sepharic Earrings

Materia
Magnify Materia - Fire Materia
Healing Materia
Revival Materia
Time Materia
HP Up Materia
MP Up Materia
Magic Up Materia

Barret's Equipment and Materia
Limit Break: Catastrophe
Equipment
Light Machine Gun
Force Bracelet
Survival Vest

Materia
Elemental Materia - Fire Materia
Healing Materia
Steadfast Block Materia
HP Up Materia
MP Up Materia

Tifa's Equipment and Materia
Limit Break: Dolphin Flurry
Equipment
Mythril Claws
Force Bracelet
Champion Belt

Materia
Elemental Materia - Fire Materia
Healing Materia
Binding Materia
HP Up Materia
MP Up Materia
Luck Up Materia

General
You'll face Abzu once again, but this time there will numerous Abzu Shoats joining the battle. Abzu is susceptible to Silence, Sleep and Stop and weak to Fire. Magnify Materia can be used with Fire Materia to deal with all the Abzu Shoats at the same time. If its Tail is crippled, it won't be able to use Tailspin. If you cripple its Horn, it will be pressured for 8 seconds.

1st Phase
Start with Cloud casting Haste on himself, after that make every character cast Regen on themslves as well. Also, make Barret use Lifesaver and Steelskin. In this phase, most of the Abzu Shoats will stay behind the boxes, so it's better not to waste Cloud's MP with Magnify. Attack Abzu with Barret's and Tifa's Firaga on its Tail.

2nd Phase
When Abzu's HP drops to 50%, Abzu will starts this phase by summoning more Abzu Shoats, quickly use Cloud's Firaga with Magnify targeted at Abzu's Tail. You can spend all of Cloud's MP on Firaga now.

3rd Phase
Abzu will use Enrage and this phase will start when its HP is at 30%. Just cast multiple Firagas on it and it should be pretty easy to finish it off.
Chapter 15: The Valkyrie
The Valkyrie
Stats
HP: 84888
Attack: 328
Magic Attack: 328
Defense: 342
Magic Defense: 194
EXP: 4500
AP: 30
Gil: 2250

Enemy Intel
Creature type: Mechanical
Stagger duration: 10 seconds
Movement: Flying
Normal Drop: Cog Bangle (100%)
Rare Drop: --
Steal: --

Abilities
Mark 98 Rotary Cannons (Physical Damage)
Mark 99 Anti-fiend Artillery
Napalm Drop (Magic Damage)
Antipersonnel Gas (Magic Damage)
Drill Dive (Physical Damage)
Firewheel (Physical Damage)
Bombardment (Physical and Magic Damage)
Limiter Override
Particle Cannon (Magic Damage)

Summon
Bahamut

Cloud's Equipment and Materia
Limit Break: Ascension
Equipment
Iron Blade
Chain Bangle
Platinum Earrings

Materia
Magnify Materia - Time Materia
Elemental Materia - Fire Materia
Healing Materia
Revival Materia
Wind Materia
HP Up Materia
MP Up Materia
Magic Up Materia

Barret's Equipment and Materia
Limit Break: Catastrophe
Equipment
Light Machine Gun
Force Bracelet
Circlet

Materia
HP Absorption Materia - Wind Materia
Healing Materia
Steadfast Block Materia
HP Up Materia
MP Up Materia

Tifa's Equipment and Materia
Limit Break: Dolphin Flurry
Equipment
Mythril Claws
Force Bracelet
Circlet

Materia
Elemental Materia - Fire Materia
Warding Materia - Binding Materia
Healing Materia
Wind Materia
HP Up Materia
MP Up Materia
Luck Up Materia

General
This boss battle should be pretty easy. Equip Elemental Materia with Fire Materia on your armour to get healed/immune to Mark 99 Anti-fiend Artillery and Napalm Drop. The Valkyrie is weak to Wind and you're going to defeat it with Spells.

1st Phase
The phase will start with a pursuit with The Valkyrie shooting at you. It's pretty easy to avoid, just befor it starts shooting, go to the other side and you'll be fine. When the pursuit ends, start by casting Haste and use Barret's Steelskin. Mark 98 Rotary Cannons is best to avoid, while the other attacks have the Fire element.

2nd Phase
The battle will then go to a wider platform, which makes it easier to attack The Valkyrie to build your ATB Charges. Be careful to not touch the Antipersonnel Gas, it inflicts Poison for 120 seconds and Sleep for 15 seconds. The gas lingers for 24 seconds. You can cure Poison with Regen.

3rd Phase
When The Valkyrie's HP drops to 30%, it will use Limiter Override and the 3rd Phase will begin. The Particle Cannon's ray beam will shoot in only a second in Hard difficulty. Keep using Aerora until you defeat it.
Chapter 16: Specimen H0512
Specimen H051
Stats
HP: 61308
Attack: 391
Magic Attack: 301
Defense: 268
Magic Defense: 342
EXP: 4500
AP: 30
Gil: 2250

Enemy Intel
Creature type: Artificial Life
Stagger duration: 10 seconds
Movement: Grounded
Normal Drop: Talisman (100%)
Rare Drop: --
Steal: Timeworn Talisman (12%)

Abilities
Sweep (Physical Damage)
Rake (Physical Damage)
Seize (Physical Damage)
Regrowth
Noxious Expulsion (Magic Damage)
Mako Expulsion (Magic Damage)
Regurgitate

Summon
Fat Chocobo

Cloud's Equipment and Materia
Limit Break: Ascension
Equipment
Hardedge
Chain Bangle
Sepharic Earrings

Materia
Magnify Materia - Time Materia
Elemental Materia - Fire Materia
Healing Materia
Revival Materia
HP Up Materia
MP Up Materia

Barret's Equipment and Materia
Limit Break: Catastrophe
Equipment
EKG Cannon
Force Bracelet
Survival Vest

Materia
Warding Materia - Poison Materia
Healing Materia
Binding Materia
Steadfast Block Materia
HP Up Materia
MP Up Materia

Tifa's Equipment and Materia
Limit Break: Dolphin Flurry
Equipment
Metal Knuckles
Force Bracelet
Superstar Belt

Materia
Elemental Materia - Fire Materia
Warding Materia - Poison Materia
HP Absorption Materia - Deadly Dodge Materia
Healing Materia
HP Up Materia
Luck Up Materia

General
Another easy battle. Specimen H051 doesn't have any weaknesses, so you'll focus in dealing Physical Damage. All your characters have the Reprieve ability, just in case. The boss also summons several H0512-OPTs into battle. Use Elemental Materia with Fire Materia on armour to be immune/healed by H0512-OPT minions' Fire. If you cripple Specimen H051's Left Claw, it will be pressured. It can use Regrowth at any moment to revive its Left Claw.

1st Phase
Start by casting Haste and Regen on your party and use Barret's Steelskin and Lifesaver. You can inflict Sleep and Stop on Specimen H051 to deal with the H0512-OPTs. Be cautious with the Noxious Expulsion, it inflicts 120 seconds of Poison and the gas spreads further in Hard difficulty. Use Regen to cure your characters from Poison status. If any of your characters is caught by Seize, quickly switch characters and use any ability on Specimen H051 to free yourself, if not you will take a huge amount of damage.

2nd Phase
When Specimen H051's HP drops to 70%, this phase will start. It will now use Regurgitate to summon H0512-OPTα. Use the same strategy as before.

3rd Phase
The last phase starts when Specimen H051's HP drops to 25%. Now his Regurgitate will summon H0512-OPTβ, which are even stronger. After Specimen H051 uses Mako Expulsion, all H0512-OPTα will turn into H0512-OPTβ and they can self-destruct. Stay away to avoid damage. After this, it should be quite easy to finish it off.
Chapter 17: Swordipede
Swordipede

Stats
HP: 28296
Attack: 508
Magic Attack: 373
Defense: 194
Magic Defense: 194
EXP: 4752
AP: 36
Gil: 3280

Enemy Intel
Creature type: Artificial Life
Stagger duration: 10 seconds
Movement: Flying
Normal Drop: Force Bracelet (100%)
Rare Drop: --
Steal: --

Abilities
Space-Time Vortex (Magic Damage)
Tail Swipe (Physical Damage)
Cutter (Physical Damage)
Saw Blade (Physical Damage)
Live Wire (Magic Damage)
Energy Volley (Magic Damage)
Saw-Toothed Spin (Physical Damage)

Summon
Any

Cloud's Equipment and Materia
Limit Break: Ascension
Equipment
Buster Sword
Force Bracelet
Champion Belt

Materia
Elemental Materia - Lightning Materia
Healing Materia
HP Up Materia
MP Up Materia

Barret's Equipment and Materia
Limit Break: Catastrophe
Equipment
Big Bertha
Force Bracelet
Survival Vest

Materia
Poison Materia
HP Up Materia
MP Up Materia

Tifa's Equipment and Materia
Limit Break: Dolphin Flurry
Equipment
Sonic Strikers
Force Bracelet
Supernatural Wristguards

Materia
ATB Assist Materia
HP Up Materia
MP Up Materia
Luck Up Materia

Aerith's Equipment and Materia
Limit Break: Healing Wind
Equipment
Silver Staff
Chain Bangle
Circlet

Materia
Elemental Materia - Lightning Materia
HP Up Materia
MP Up Materia
Magic Up Materia

General
This battle is extremely easy. You can use Elemental Materia with Lightning Materia on armour to be immune/healed to Swordipede's Live Wire. In the 1st Phase, you'll fight with Cloud and Barret. In the 2nd Phase, you'll fight with Tifa and Aerith.

1st Phase
Start with Barret casting Bioga to inflict Poison on Swordipede. When it is flying, attack with Barret. When it is on the ground, attack with Cloud.

2nd Phase
Cast an Arcane Ward with Aerith, then cast Thundara to save MP within the Arcane Ward. Saw-Toothed Spin is very easy to avoid, just stay out of its way and you'll be fine. When it is staggered, use True Strike to increase its Stagger multiplier and finish it off.
Chapter 17: Jenova Dreamweaver
Jenova Dreamweaver
Stats
HP: 113184
Attack: 328
Magic Attack: 328
Defense: 342
Magic Defense: 342
EXP: 4500
AP: 30
Gil: 2250

Enemy Intel
Creature type: Unreadable
Stagger duration: 10 seconds
Movement: Grounded
Normal Drop: Astral Cuff (100%)
Rare Drop: --
Steal: --

Abilities
Space-Time Vortex (Magic Damage)
Fira (Magic Damage)
Aero (Magic Damage)
Bio (Magic Damage)
Tail Swipe (Physical Damage)
Tentacle Flail (Physical Damage)
Bind (Physical Damage)
Homing Missile (Magic Damage)
Cast Aside (Physical Damage)
Mourning Wail (Magic Damage)
Reconstitution
Rejection
Resolution
Light Beam (Physical Damage)
Invulnerability
Dreams of Quietude
Dreams of Flame
Dreams of Vengeance
Firaga (Magic Damage)
Aeroga (Magic Damage)
Bioga (Magic Damage)
Dreams of Sanctuary (Magic Damage)
Dreams of Spirituality (Magic Damage)
Vengeance (Magic Damage)
Quietude (Magic Damage)
Black Rain (Magic Damage)

Summon
Fat Chocobo

Cloud's Equipment and Materia
Limit Break: Ascension
Equipment
Hardedge
Force Bracelet
Champion Belt

Materia
Elemental Materia - Fire Materia
Healing Materia
ATB Stagger Materia
Steadfast Black Materia
Skill Master Materia
HP Up Materia
MP Up Materia

Tifa's Equipment and Materia
Limit Break: Dolphin Flurry
Equipment
Metal Knuckles
Force Bracelet
Supernatural Wristguards

Materia
Healing Materia
Binding Materia
Parry Materia
ATB Stagger Materia
ATB Assist Materia
Steadfast Black Materia
Hp Up Materia
Luck Up Materia

Aerith's Equipment and Materia
Limit Break: Healing Wind
Equipment
Mythril Rod
Chain Bangle
Circlet

Materia
Elemental Materia - Fire Materia
Magnify Materia - Time Materia
HP Absorption Materia - Lightning Materia
Healing Materia
MP Up Materia
Magic Up Materia

General
Another easy battle. Equip Elemental Materia with Fire Materia on armour to be immune/healed by Jenova Dreamweaver's Fire Spells. Jenova Dreamweaver is also susceptible to Silence.

1st Phase
Start with Aerith casting Time and an Arcane Ward, also cast Regen on every party member. After that, keep using ATB Assist with Tifa's Focused Strike to build your party's ATB Charges. Cast Aerith's Thundaga within the Arcane Ward. Focus on destroying Jenova Dreamweaver's Tentacles, she can grow it back with Reconstitution.

2nd Phase
When Jenova Dreamweaver's HP drops to 85%, this phase wil start. In this phase, use the same strategy as before. Jenova Dreamweaver can now cast Rejection and Resolution, which gives her Reflect and Shield, respectively. Use Physical or Magic Damage when one of her buffs are active. Only cast Spells within the Arcane Ward for double casting.

3rd Phase
This phase starts when Jenova Dreamweaver's HP drops to 50%. She will start by casting Thanatos Denied, which will render her invulnerable and she will summon several Tentacles into the battlefield. Taking them out builds Jenova Dreamweaver's Stagger Gauge. Dreams of Quietude, Dreams of Flame and Dreams of Vengeance will make every single Tentacle use Quietude, Fira and Vengeance, respectively. After taking around 20 Tentacles, Jenova Dreamweaver's invincibility will fade and she will use Rejection. Use Tifa's ATB Assist to build your ATB and attack with Spells when she has the Shield buff active.

4th Phase
J-E-N-O-V-A Theme will play when this phase starts at 25% of Jenova Dreamweaver's HP. She can now attack with Firaga, Aeroga and Bioga. Casting Silence on her is now useful. With Dreams of Sanctuary and Dreams of Spirituality she bestows herself with Barrier and Manaward, respectively, but they only last for 20 seconds. Black Rain drains the party's MP, try to make Aerith avoid it, as it will make her next fight a lot tougher. Now just unleash everything you got against Jenova to defeat her.
Chapter 17: Rufus
Rufus
Stats
HP: 21222
Attack: 220
Magic Attack: 220
Defense: 312
Magic Defense: 312
EXP: 4500
AP: 30
Gil: 2250

Enemy Intel
Creature type: Human
Stagger duration: 6 seconds
Movement: Grounded
Normal Drop: --
Rare Drop: --
Steal: --

Abilities
Shotgun (Physical Damage)
Reload & Combat Load
Follow Up (Physical Damage)
Assist (Physical Damage)
Thunderclap (Magic Damage)
Heel
Guns Akimbo (Physical Damage)
Up in Smoke (Magic Damage)
Bright Lights (Magic Damage)
Tread Softly (Magic Damage)
Think Fast (Magic Damage)

Darkstar
Stats
HP: 18864
Attack: 265
Magic Attack: 265
Defense: 229
Magic Defense: 312
EXP: 4500
AP: 30
Gil: 2250

Enemy Intel
Creature type: Biological
Stagger duration: 15 seconds
Movement: Grounded
Normal Drop: --
Rare Drop: --
Steal: --

Abilities
Bite (Physical Damage)
Spear Whip (Physical Damage)
Follow-Up (Physical Damage)
Whirlwhip (Physical Damage)
Subdue (Physical Damage)
Corkscrew (Physical Damage)
Thunder (Magic Damage)
Curaga (Magic Damage)

Summon
Fat Chocobo

Cloud's Equipment and Materia
Limit Break: Ascension
Equipment
Hardedge
Chain Bangle
Champion Belt

Materia
Binding Materia
Enemy Skill Materia
Chakra Materia
Parry Materia
Steadfast Black Materia
HP Up Materia
Luck Up Materia

General
This battle can be hard if you've wasted all of Cloud's MP or if Jenova Dreamweaver depleted all of it with Black Rain. First you'll have to deal with Darkstar. We'll use Chakra for Healing and if you got Enemy Skill Bad Breath from Malboro, use that, otherwise, use Binding Materia to inflict Sleep.

1st Phase
Start the battle by using Triple Slash on them. This will sever Darkstar and Rufus link, making Darkstar enter a Pressure state. Use this opportunity to Stagger him and deplete 50% of its HP to start the next phase. Have at least a full ATB Charge before reaching the 50% mark of Darkstar's HP.

2nd Phase
Now you can use either Triple Slash, Bad Breath or Sleep on Rufus. In any case, their link will be severed. If you've inflicted Sleep on RUfus, be careful not to hit him anymore. Finish Darkstar as soon as possible to start the next phase.

3rd Phase
Now there will be only Rufus. If you got no MP left, the best way I've found to deal with him is by evading all of his attacks using Parry and by running through the battlefield. Use Chakra to heal yourself and wait for the best opportunity to use Cloud's Limit Break against him. You can also inflict Poison on Rufus, with either Poison Materia or Enemy Skill Materia's Bad Breath, but after the third time it is inflicted, Rufus will Resist it.
Chapter 17: The Arsenal
The Arsenal

Stats
HP: 124974
Attack: 508
Magic Attack: 508
Defense: 212
Magic Defense: 288
EXP: 1500
AP: 30
Gil: 2250

Enemy Intel
Creature type: Mechanical
Stagger duration: 11 seconds
Movement: Grounded
Normal Drop: --
Rare Drop: --
Steal: --

Abilities
Saturation Fire (Physical Damage)
Secondary Fire (Physical Damage)
Primary Fire (Physical Damage)
Homing Laser (Magic Damage)
Voltaic Discharge (Magic Damage)
EM Field (Magic Damage)
Charge (Physical Damage)
Focus Fire (Magic Damage)
Obliterating Laser (Magic Damage)
Firewall (Magic Damage)
Pulse Cannon (Magic Damage)
Cry Havoc (Magic Damage)
Physical Defense Protocol
Lightning Defense Protocol
Fire Defense Protocol
Wind Defense Protocol
Ice Defense Protocol

Summon
Shiva

Barret's Equipment and Materia
Limit Break: Catastrophe
Equipment
Big Bertha
Force Bracelet
Survival Vest

Materia

Aerith's Equipment and Materia
Limit Break: Healing Wind
Equipment
Mythril Rod
Chain Bangle
Circlet

Materia
Elemental Materia - Fire Materia
Magnify Materia - Time Materia
MP Absorption Materia - Lightning Materia
Healing Materia
MP Up Materia
Magic Up Materia

General
This battle shouldn't be as hard, as Aerith can use Soul Drain.

1st Phase
You need to start by destroying the 3 Barrier Drones, when The Arsenal starts targeting a character, switch to the other one to build their ATB. Use the debris or the pillars to hide from The Arsenal's attacks, just be aware that it can cast EM Field even if your hiding behind something. Cast Haste and Regen on your party, also use Barret's Lifesaver and Steelskin. Keep using Soul Drain with Aerith and cast an Arcane Ward, use Thundaga or Thundara within the ward.

2nd Phase
After you destroy all Barrier Drones, you can now attack the Arsenal. Its Wheels are immune until you Pressure The Arsenal. When you do Pressure it, use this opportunity to destroy its Wheels. If you make 1,500 Damage to its Weak Point when The Arsenal is casting Focus Fire or Obliterating Laser, you'll stop the attack. You can also use Focused Shot, Maximum Fury or Overcharge twice with Barret to stop the attack.

3rd Phase
After the Arsenal loses 50% of its HP, this phase will start with Pulse Cannon. If you deal 3,000 Damage when it is charging the Pulse Cannon, it will stop the attack. Use the same tactics as before.

4th Phase
When The Arsenal's HP drops to 25%, this phase will start with it casting Firewall. After that, it will charge Cry Havoc fro 45 seconds, it will wipe your entire party. You can hide behind the pillar to protect yourself from the first one. Unleash everything you got before The Arsenal finishes charging its second Cry Havoc.
Chapter 18: Whisper Harbinger
Whisper Harbinger
Stats
HP: 188640
Attack: 621
Magic Attack: 558
Defense: 401
Magic Defense: 406
EXP: 13500
AP: 30
Gil: 2250

Enemy Intel
Creature type: Unreadable
Stagger duration: 15 seconds
Movement: Grounded
Normal Drop: --
Rare Drop: --
Steal: --

Abilities
Reformation (Physical Damage)
Inviolate (Magic Damage)
Indomitable (Magic Damage)
Correction (Magic Damage)
Intercession (Physical Damage)

Whisper Rubrum

Stats
HP: 17685
Attack: 342
Magic Attack: 315
Defense: 329
Magic Defense: 329
EXP: 1800
AP: 30
Gil: 2250

Enemy Intel
Creature type: Unreadable
Stagger duration: 15 seconds
Movement: Grounded
Normal Drop: --
Rare Drop: --
Steal: --

Abilities
Crimson Arc (Physical and Magic Damage)
Flurry (Physical Damage)
Firaga (Magic Damage)
Temper
Crimson Twist (Physical Damage)
Crimson Fury (Physical Damage)
Impale (Physical Damage)

Whisper Croceo

Stats
HP: 17685
Attack: 315
Magic Attack: 342
Defense: 312
Magic Defense: 337
EXP: 1800
AP: 30
Gil: 2250

Enemy Intel
Creature type: Unreadable
Stagger duration: 15 seconds
Movement: Grounded
Normal Drop: --
Rare Drop: --
Steal: --

Abilities
Scatter (Magic Damage)
Amber Whirl (frontal) (Magic Damage)
Amber Whirl (spinning) (Magic Damage)
Amber Seeker (Magic Damage)
Amber Judgment (Physical Damage)
Aeroga (Magic Damage)
Temper

Whisper Viridi

Stats
HP: 17685
Attack: 328
Magic Attack: 328
Defense: 337
Magic Defense: 312
EXP: 1800
AP: 30
Gil: 2250

Enemy Intel
Creature type: Unreadable
Stagger duration: 15 seconds
Movement: Grounded
Normal Drop: --
Rare Drop: --
Steal: --

Abilities
Punch Combo (Physical Damage)
Azure Wave (Magic Damage)
Azure Plume (Magic Damage)
Azure Burst (Physical Damage)
Offering (Physical Damage)
Elude (Physical Damage)
Thundaga (Magic Damage)
Temper

Summon
Bahamut

Cloud's Equipment and Materia
Limit Break: Ascension
Equipment
Buster Sword
Chain Bangle
Champion Belt

Materia
Magnify Materia - Time Materia
HP Absorption Materia - Ice Materia
Healing Materia
Parry Materia
HP Up Materia
MP Up Materia

Barret's Equipment and Materia
Limit Break: Catastrophe
Equipment
Big Bertha
Force Bracelet
Survival Vest

Materia
Healing Materia
Ice Materia
Auto-Cure Materia
Provoke Materia
Steadfast Block Materia
HP Up Materia
MP Up Materia

Tifa's Equipment and Materia
Limit Break: Dolphin Flurry
Equipment
Sonic Strikers
Force Bracelet
Supernatural Wristguards

Materia
Healing Materia
Ice Materia
Parry Materia
ATB Stagger Materia
ATB Assist Materia
Steadfast Block Materia
HP Up Materia
Luck Up Materia

Aerith's Equipment and Materia
Limit Break: Healing Wind
Equipment
Silver Staff
Force Bracelet
Circlet

Materia
MP Absorption Materia - Ice Materia
Healing Materia
Revival Materia
HP Up Materia
MP Up Materia
Magic Up Materia

General
After all you've faced before, this is going to be an easy one to defeat. All of the Whispers absorbs some element, but none of them absorb Ice, so we are going to use Blizzaga against them.

1st Phase
You start this phase with Cloud, Barret and Tifa. You don't need to attack any of them, the phase will end automatically after some time. Most of Whisper Rubrum's attacks are Physical, so you can easily counter them with either Punisher Mode or Counterstance. Start the phase by casting Haste and use Barret's Steelskin and Lifesaver. Also, cast Regen on every party member, make sure all of these buffs are active on all phases. You can either spam Focused Strike with Tifa to activate the ATB Assist effect or keep using counter with Cloud. After having full ATB, focus on dodging, countering and blocking. Either way, after some time, this phase will end with Whisper Harbinger using Correction.

2nd Phase
Same as the 1st Phase. After some time, the Whisper Harbinger will end this phase with Intercession.

3rd Phase
Now you will face Whisper Rubrum on its own. Same as before, use either Tifa or Cloud. When its HP reaches 0, it will Stagger. When its staggered, all of the damage it receives will go to Whisper Harbinger. Make sure you end this phase before the Stagger ends, or you'll need to defeat Whisper Rubrum once again.

4th Phase
In this phase, you will fight with Cloud, Barret and Red XIII as a guest. You'll face Whisper Croceo and Whisper Viridi. Focus on anyone you want, switching between your characters may also help when they start attacking you. Just like before, when their HP reaches 0, it will Stagger. Use everything you got to destroy the Whisper Harbinger to not face them again.

5th Phase
In this last phase, you will have Cloud, Tifa and Aerith on your party. All three Whispers will merge into Whisper Bahamut. This is also the best time to summon Bahamut. Blizzaga can stun it for a short period, if you don't have MP, use Bahamut's Umbral Strikes. A Limit Break can also Pressure it, use this to Stagger. After you defeat Whisper Bahamut, you'll face all the three Whispers for the last time. Use the same tactics as before, pretty easy.
Chapter 18: Sephiroth
Sephiroth
Stats
HP: 87246
Attack: 301
Magic Attack: 301
Defense: 342
Magic Defense: 342
EXP: 0
AP: 0
Gil: 0

Enemy Intel
Creature type: Unreadable
Stagger duration: 5 seconds
Movement: Grounded
Normal Drop: --
Rare Drop: --
Steal: --

Abilities
Reformation (Physical Damage)
Inviolate (Magic Damage)

Slash (Physical Damage)
Aeolian Onslaught (Side) (Physical Damage)
Aeolian Onslaught (Down) (Physical Damage)
Telluric Fury (Physical Damage)
Scintilla (Physical Damage)
Firaga (Magic Damage)
Blizzaga (Magic Damage)
Thundaga (Magic Damage)
Aeroga (Magic Damage)
Block (Hard) (Physical Damage)
Moon Slash (Physical Damage)
Boundless Void (Physical Damage)
Zanshin (Magic Damage)
Hell's Gate (Magic Damage)
Elemental Infusion
Octaslash (Physical Damage)
Flamewall (Magic Damage)
Frostspike (Magic Damage)
Thunderstorm (Magic Damage)
Windwail (Magic Damage)
Shadowflare (Magic Damage)
Blade of Ruin (Physical and Magical Damage)
Shadow Slice (Magic Damage)
Wave of Nihility (Magic Damage)
Heartless Angel (Magic Damage)
Divine Proclamation

Summon
Bahamut

Cloud's Equipment and Materia
Limit Break: Ascension
Equipment
Buster Sword
Chain Bangle
Champion Belt

Materia
Magnify Materia - Time Materia
HP Absorption Materia - Ice Materia
Healing Materia
Parry Materia
HP Up Materia
MP Up Materia

Barret's Equipment and Materia
Limit Break: Catastrophe
Equipment
Big Bertha
Force Bracelet
Survival Vest

Materia
Healing Materia
Ice Materia
Auto-Cure Materia
Provoke Materia
Steadfast Block Materia
HP Up Materia
MP Up Materia

Tifa's Equipment and Materia
Limit Break: Dolphin Flurry
Equipment
Sonic Strikers
Force Bracelet
Supernatural Wristguards

Materia
Healing Materia
Ice Materia
Parry Materia
ATB Stagger Materia
ATB Assist Materia
Steadfast Block Materia
HP Up Materia
Luck Up Materia

Aerith's Equipment and Materia
Limit Break: Healing Wind
Equipment
Silver Staff
Force Bracelet
Circlet

Materia
MP Absorption Materia - Ice Materia
Healing Materia
Revival Materia
HP Up Materia
MP Up Materia
Magic Up Materia

General
The order of party members in the final boss battle will be determined by commands given during the fight against the Whisper Harbinger. Each action adds hidden points and the characters with the most points will join Cloud in his fight against Sephiroth. If you want more in-depth information about these hidden points, check the Chapter 18 section of the Decisions, Affection and Dress Mechanics guide. You will face Sephiroth with the same equipment you had in the fight against the Whisper Harbinger.

1st Phase
Start with the buffs, as always. Telluric Fury, Scintilla and Sephiroth's combos are easy to counter. He may also cast Firaga and Blizzaga on you, the latter one can be easily dodged, both can be blocked. Aeolian Onslaught can't be countered, quickly use Parry to evade this attack. When you Stagger him, Cloud will fling him to another platform. The next phase should start soon after that, when Sephiroth's HP drops to 75%.

2nd Phase
In this phase, Tifa or Aerith will join Cloud. Sephiroth may cast Thundaga or Aeroga. Moonslash and Zanshin can be countered or blocked. Boundless Void paralize your character and Hell's Gate cannot be blocked and deal a huge amount of damage. Quickly Parry your character away when you see Sephiroth casting it. In Hard difficulty, Sephiroth can also use Block in this phase to stop any damage. When any of your characters Stagger him, they'll launch Sephiroth to another platform. When his HP reaches 50%, the next phase will start.

3rd Phase
The third party member will join Cloud in this phase. Sephiroth can now cast all elemental Spells, he can also use Elemental Infusion, changing his elemental affinity. If he changes to Ice, don't use Blizzaga against him. He will also have a new powerful Spell for each of the elements he changes to. He will also use Octaslash and Shadowflare. If you have Aerith in your party, start by casting an Arcane Ward. Either way, you should change your playstyle to be more Magic oriented, attacking Sephiroth with Blizzaga or other available Magic, as you won't be able to counter him anymore. Tifa can still try to spam Focused Strike to build ATB to other party members. If he changes his elemental affinity to Fire, quickly use this opportunity to cast Blizzaga and Stagger him.

4th Phase
This phase will start when Sephiroth's HP reaches 25%. You don't even have time to see what new moves Sephiroth has, they are all deadly. He will start a countdown from 9 to cast Divine Proclamation, when it reaches 1, you will lose the battle. If he jumps and dives, he will attack with Heartless Angel, which reduces all the affected characters HP to 1, so run as far away as possible before it hits. Unleash everything you got before he starts making new moves to finish him off as soon as possible. Still a fairly easy final boss compared to what you have faced in early chapters.

Congratulations, you got the Hardened Veteran achievement.
VR Mission: Shiva
Shiva
Stats
HP: 47160
Attack: 328
Magic Attack: 355
Defense: 305
Magic Defense: 367
EXP: 0
AP: 30
Gil: 0

Enemy Intel
Creature type: Unreadable
Stagger duration: 10 seconds
Movement: Grounded
Normal Drop: --
Rare Drop: --
Steal: --

Abilities
Icicle Shot (Magic Damage)
Wild Icicle Shot (Magic Damage)
Ice Missile (Magic Damage)
Ice Skate (Magic Damage)
Whiteout (Magic Damage)
Heavenly Strike (Magic Damage)
Icicle Impact (Magic Damage)
Blizzara (Magic Damage)
Frost Familiars
Diamond Dust (Magic Damage)

Summon
Ifrit

Cloud's Equipment and Materia
Limit Break: Ascension
Equipment
Mythril Saber
Chain Bangle
Platinum Earrings

Materia
Elemental Materia - Fire Materia
Elemental Materia - Ice Materia
Warding Materia - Time Materia
Healing Materia
Poison Materia
HP Up Materia
Magic Up Materia

General
This battle should be pretty easy and straight forward. We are looking for a high Magic Damage output, as Shiva has Lesser Resistance to Physical Damage, so use Blade Burst as Cloud's ATB Ability. Fire Materia should go on the weapon and Ice Materia on the armour. Start the battle by casting Haste and Regen. Ice Skate inflicts Slow, Whiteout inflicts Sleep and cannot be blocked, Frost Familiars summons 3 familiars that shieds Shiva from Magic, you can use Fire to get rid of them. Mythril Saber has Debuff Resistance +5, which is useful. Shiva can be inflicted with Poison, Silence and Stop, but that is not really necessary. When Shiva is staggered, use Firaga. Throughout the battle, just keep Haste active and build your ATB Charge to use Firaga and Fire to deal with Frost Familiars until you defeat her. Even Diamond Dust shouldn't do much damage on you — even if your Elemental Materia is at Level 1.
VR Mission: Fat Chocobo
Fat Chocobo
Stats
HP: 117900
Attack: 328
Magic Attack: 328
Defense: 148
Magic Defense: 148
EXP: 0
AP: 30
Gil: 0

Enemy Intel
Creature type: Unreadable
Stagger duration: 20 seconds
Movement: Grounded
Normal Drop: --
Rare Drop: --
Steal: --

Abilities
Wark (Physical Damage)
Boom (Physical Damage)
Kaboom (Physical Damage)
Whack (Physical Damage)
Thwack (Physical Damage)
Roly-Poly (Physical Damage)
Kweh kweh! (Physical Damage)
Bombs Away (Physical Damage)
Kerplunk

Summon
Shiva

Cloud's Equipment and Materia
Limit Break: Ascension
Equipment
Mythril Saber
Chain Bangle
Platinum Earrings

Materia
Healing Materia
Lightning Materia
Time Materia
HP Up Materia
Magic Up Materia

General
Another easy one. Start by casting Haste and Regen, after that hit the Fat Chocobo with Thundaga or Blade Burst, as it has Lesser Resistance to Physical Damage. When you Stagger the Fat Chocobo, use Thundaga or Shiva's Heavenly Strike. When the Moogle summons other enemies, use Triple Slash to deal with them. When the Fat Chocobo starts rolling and jumping, block all of his attacks, as all of them has the Knockback Interrupt effect.
VR Mission: Leviathan
Leviathan
Stats
HP: 47160
Attack: 328
Magic Attack: 328
Defense: 342
Magic Defense: 379
EXP: 0
AP: 30
Gil: 0

Enemy Intel
Creature type: Unreadable
Stagger duration: 10 seconds
Movement: Flying
Normal Drop: --
Rare Drop: --
Steal: --

Abilities
Charge (Physical Damage)
Bite (Physical Damage)
Tail Whip (Physical Damage)
Spin Rush (Physical Damage)
Fly Up (Physical Damage)
Briny Barrage (Magic Damage)
Briny Bellow (Magic Damage)
Gyro Spume (Magic Damage)
Spinning Dive (Magic Damage)
Tidal Roar (Magic Damage)
Aquatic Focus
Tidal Wave (Magic Damage)

Summon
Fat Chocobo

Cloud's Equipment and Materia
Limit Break: Ascension
Equipment
Mythril Saber
Chain Bangle
Circlet

Materia
Elemental Materia - Lightning Materia
Healing Materia
Time Materia
MP Up Materia
Magic Up Materia
HP Up Materia

General
This is a bit harder than the ones you've faced before, but still quite manageble to defeat only with Cloud. Make sure you have the most MP you can with Materia and Circlet. Leviathan has Lesser Resistance to Magic Damage, but Weakness to Lightning, so use the Elemental Materia in your favour. Cast Haste and Regen when the battle starts. Most of Leviathan's attacks have the Knockback Interrupt effect, so make sure to not cast a Spell right before Leviathan attacks. When Leviathan starts flying high, you'll only be able to hit him with Thundaga or when he dives down. When he uses Aquatic Focus, he will become still, this is your chance to Stagger him and finish him off with Thundaga. If he is not staggered during Aquatic Focus, he is going to use Tidal Wave against all your party members.
VR Mission: Bahamut
Bahamut
Stats
HP: 84976
Attack: 328
Magic Attack: 328
Defense: 342
Magic Defense: 342
EXP: 0
AP: 30
Gil: 0

Enemy Intel
Creature type: Unreadable
Stagger duration: 10 seconds
Movement: Grounded
Normal Drop: --
Rare Drop: --
Steal: --

Abilities
Cross Impact (Physical Damage)
Spin Rush (Physical Damage)
Claw Swipe (Magic Damage)
Umbral Skies (Magic Damage)
Bind Impulse (Magic Damage)
Umbral Aura (Magic Damage)
Umbral Frenzy (Physical Damage)
Divebomb (Magic Damage)
Flare Breath (Magic Damage)
Umbral Inferno (Magic Damage)
Megaflare (Magic Damage)

Summon
Leviathan

Cloud's Equipment and Materia
Limit Break: Ascension
Equipment
Hardedge
Chain Bangle
Superstar Belt

Materia
Healing Materia
HP Up Materia
MP Up Materia
Magic Up Materia
Deadly Dodge Materia

Aerith's Equipment and Materia
Limit Break: Healing Wind
Equipment
Silver Staff
Force Bracelet
Enchanted Ring

Materia
Magnify Materia - Healing Materia
Revival Materia
Barrier Materia
Time Materia
Auto-Cure Materia
HP Up Materia
MP Up Materia

General
While this fight might seem very hard, it is actually very simple. You can beat Bahamut as soon as you get Aerith into your party, a third character is not needed. Cloud will be focusing on dealing Physical Damage with Hardedge, while Aerith will keep buffing the party. Cloud should also have a Healing Materia in case of emergency and you can also equip a Materia for buffs as well, as the Hardedge has Buff Duration 10% Boost. Aerith's Silver Staff has Reprieve, Healing Spells MP Cost Reduction 20% and MP Regeneration 50% Boost, while her Enchanted Ring also extends buffs. Cloud's going to have Reprieve as well with Superstar Belt.

Bahamut has no Battle Phases, but it starts with a countdown from 5 to cast Megaflare. As soon as the battle starts, switch to Aerith and start buffing with Regen, Haste and Manawall. When Bahamut starts to target Aerith, switch to Cloud until he starts hitting Cloud. After that, go back to Aerith and keep buffing until both have all the 4 buffs. This is how the battle should proceed until its end. Dealing 15,000 damage within 30 seconds sends Bahamut into an extended Pressured state. At this point, make sure both characters have Haste and unleash all the Focused Thrusts and Rays of Judgement you can to build Bahamut's Stagger Gauge.

To deal with most of Bahamut's attacks, you will use Cloud's Counterstance and Punisher Mode counter. Just note that Punisher Mode counter will only be effective on the Bahamut's first hit, as some of his attacks deals several hits. This won't be a problem however, since Aerith will be focusing on healing. Umbral Frenzy and Umbral Inferno are best to be blocked, as they hit too many times. Flare Breath is also hard to dodge, the only way is to go behind Bahamut if you got time for that. It also inflicts Silence and Stop, so it's better to block this one. Umbral Skies' orbs can be dodged, the first one by dodging to the right and the second one by dodging to the left. When Bahamut starts flying, it will use Divebomb. It is unblockable and undodgeble, so move far away from Aerith to make sure only Cloud takes the hit. When Megaflare's countdown reaches 1, make sure to recast Manawall on both characters. After the Megaflare animation start, you won't be able to cast it. Megaflare is sure to hit and will kill your entire party — even if your character has 9,999 HP — if at least Manaward isn't active. Aerith might die, but this is where Reprieve will be useful.

At this point, nearly half of Bahamut's HP should be gone. Quickly heal all your party and prepare for the next one. When you Stagger Bahamut, use Cloud's Infinity's End and Braver and Aerith's Ray of Judgement — if she is still alive. You should be able to kill Bahamut a bit before or after the second Megaflare. If Cloud dies with the second Megaflare, it's okay since he still has his Reprieve. Just heal him and finish Bahamut off.
8 Comments
The Librarian 30 Jul, 2024 @ 1:55am 
Ye i pretty much just winged it. thanks though, great guide. just 2 more bosses left! Then weiss.....
WhiteExperience  [author] 30 Jul, 2024 @ 1:25am 
@The Librarian
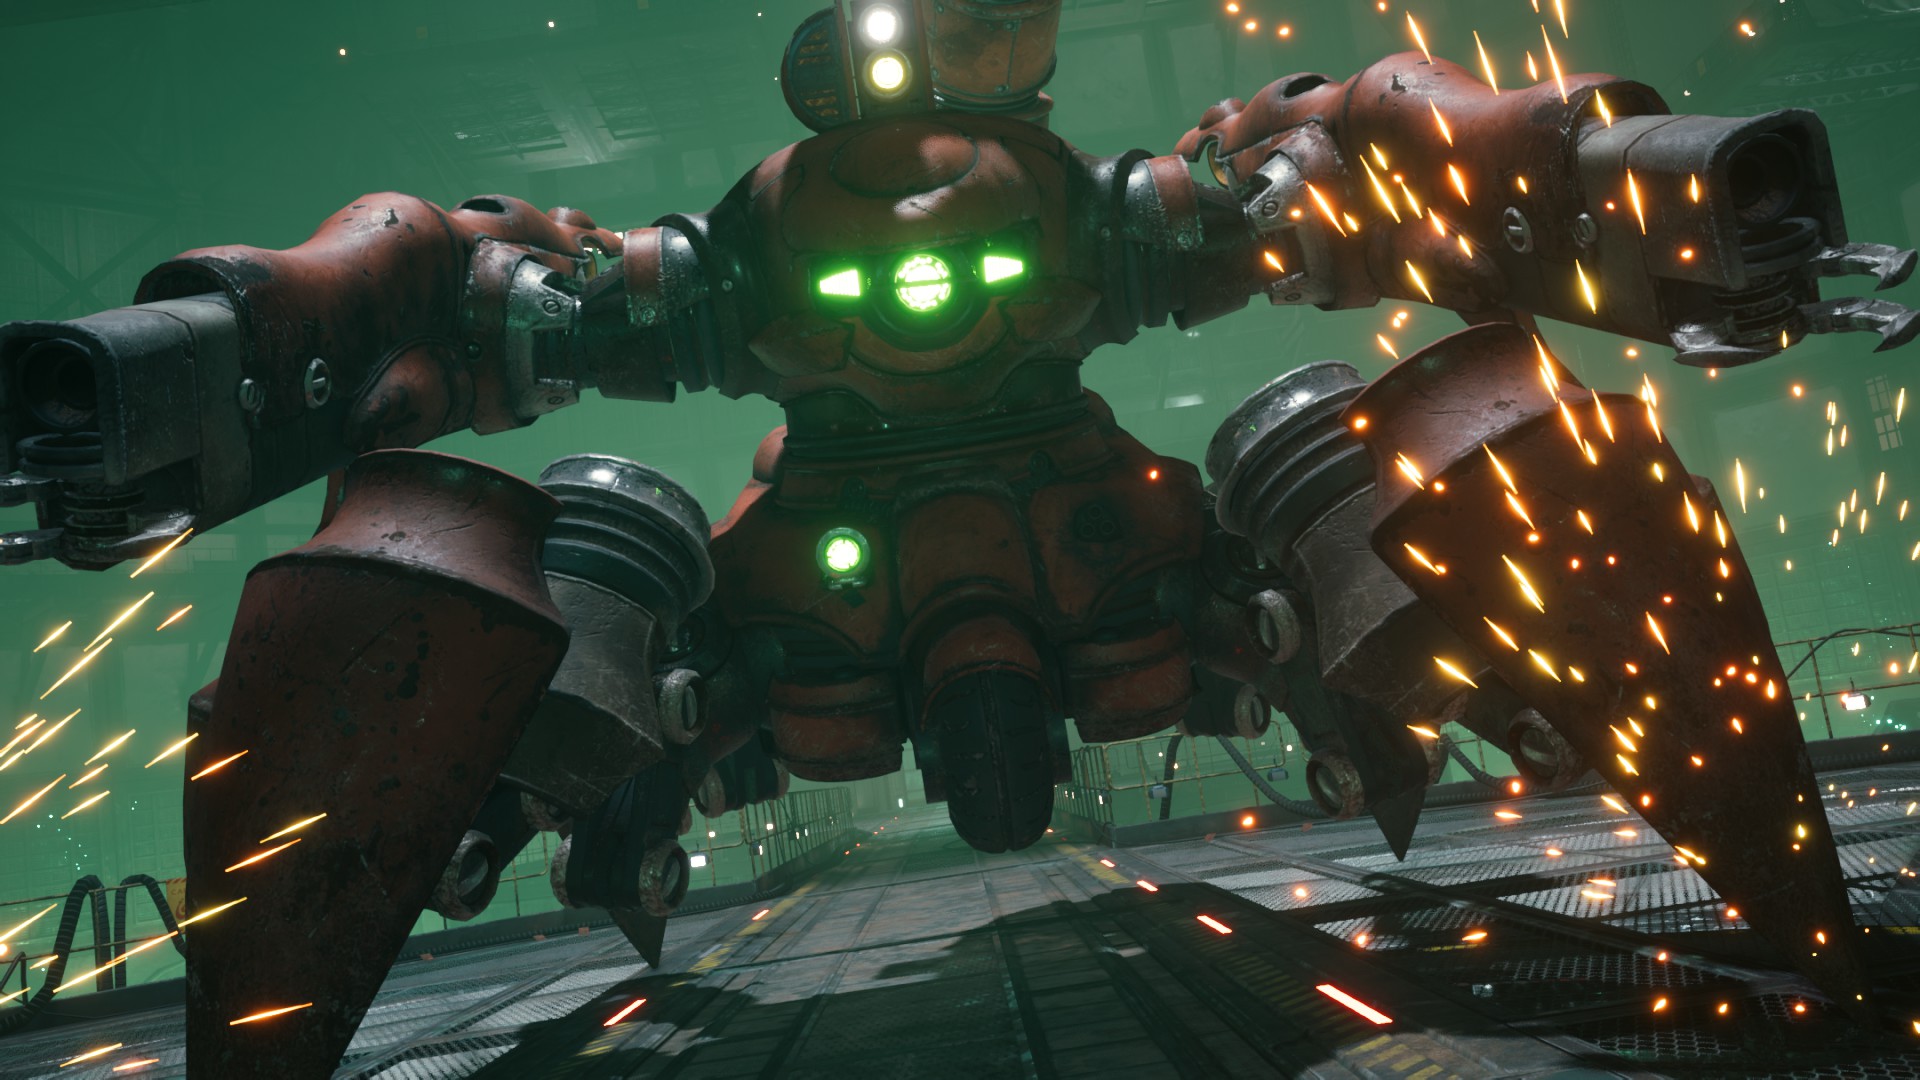
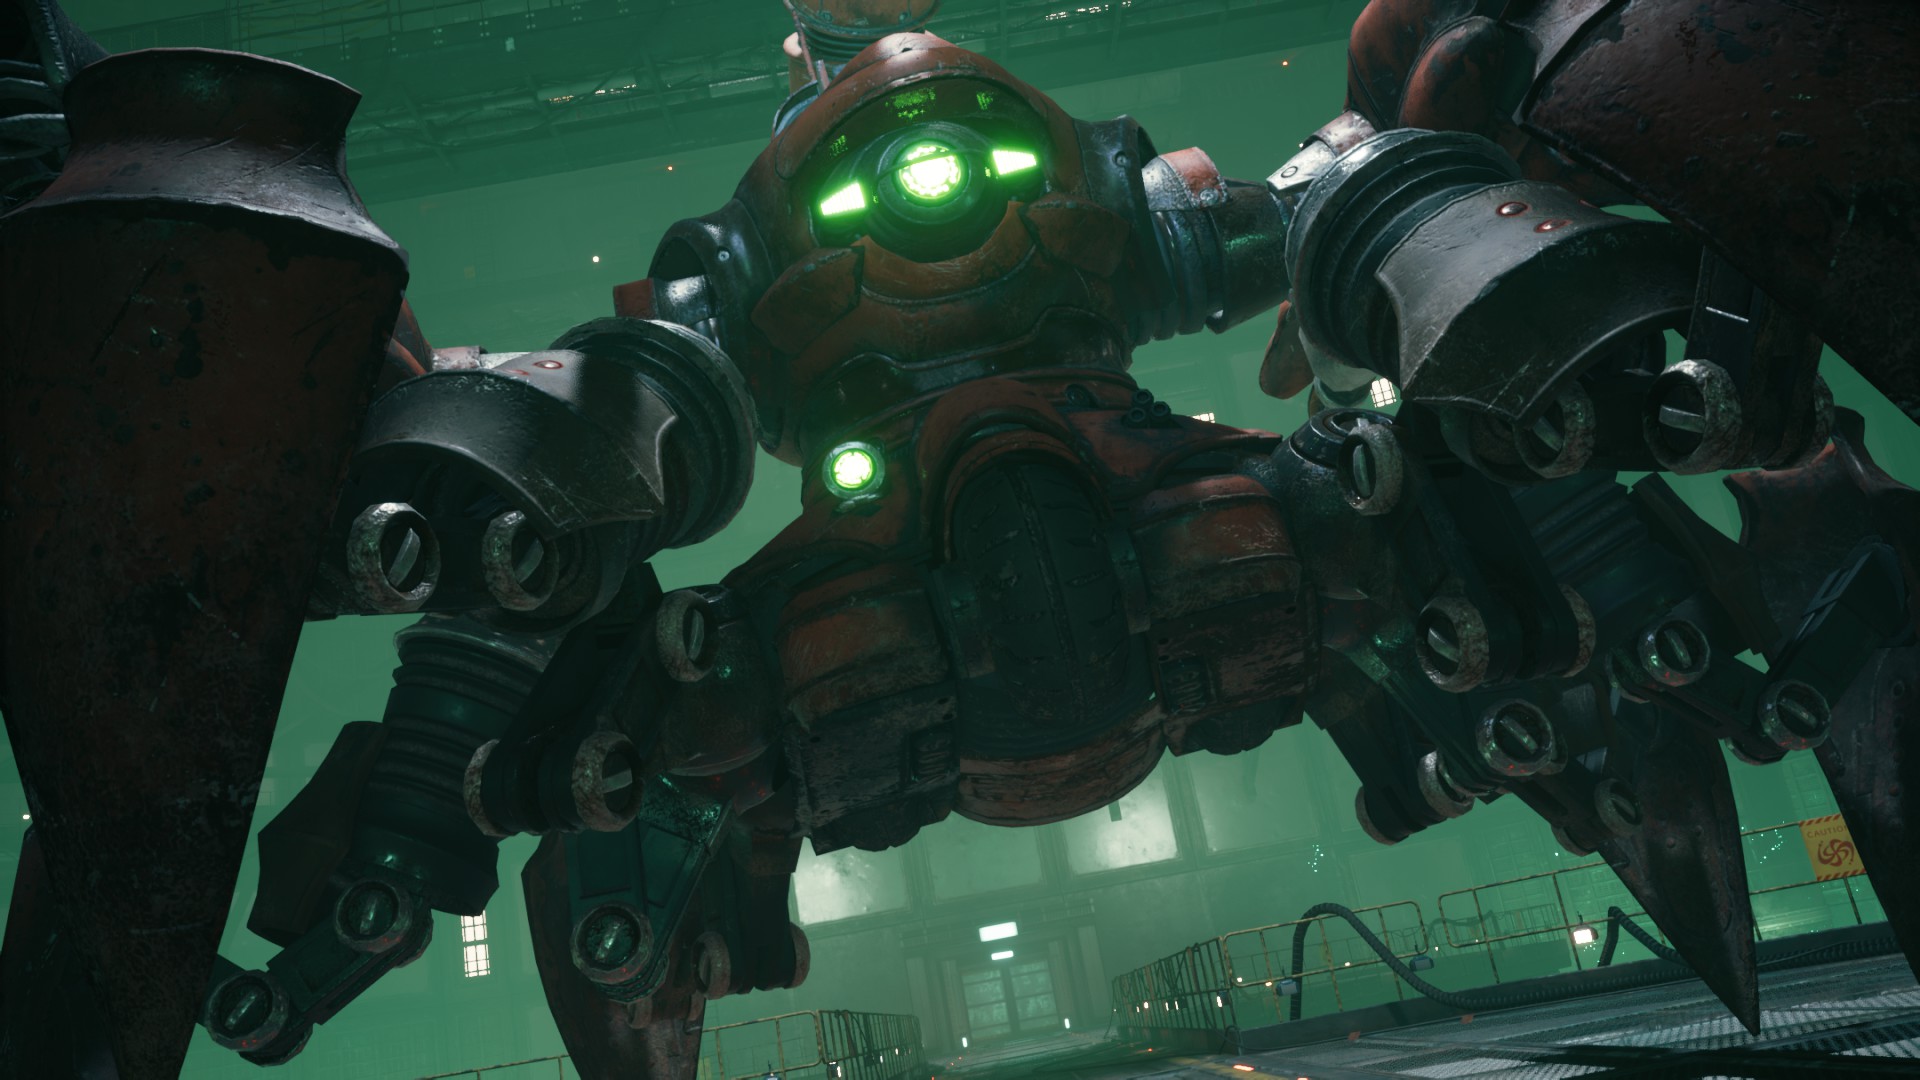
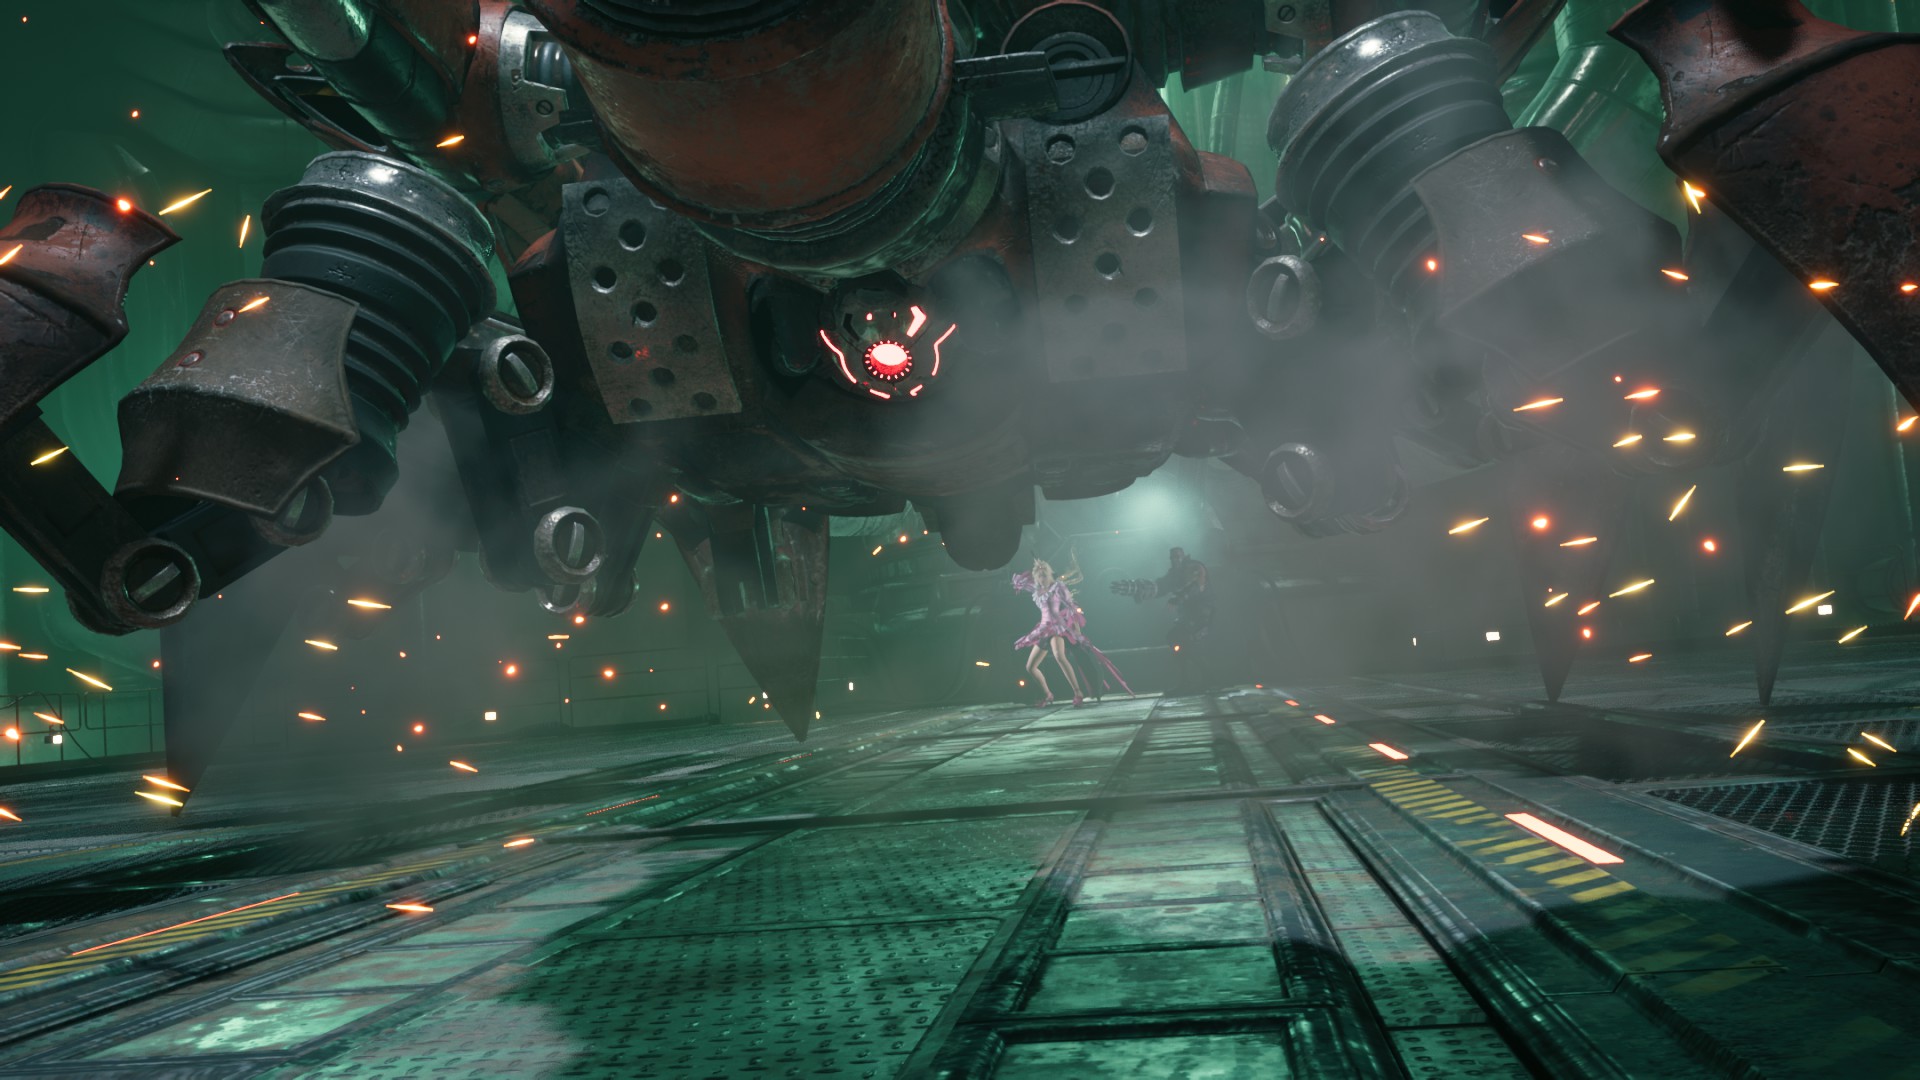
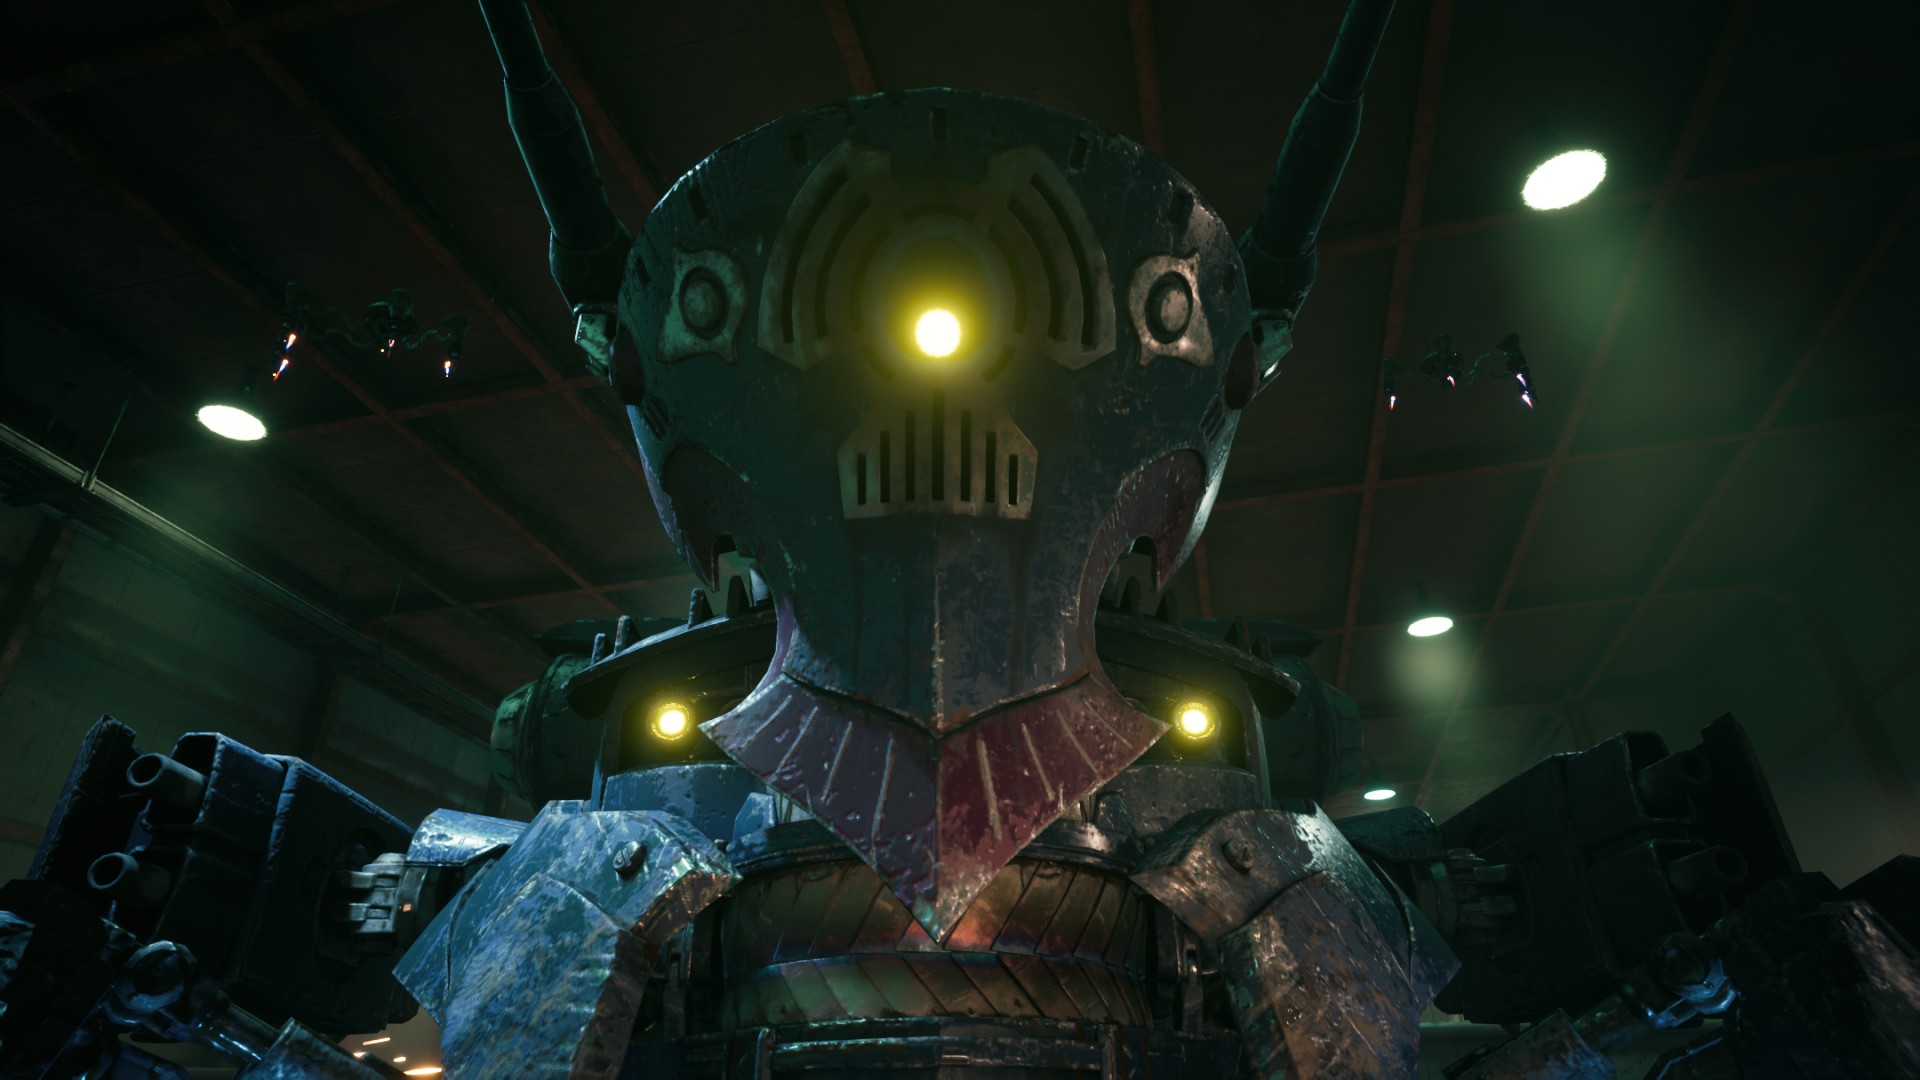
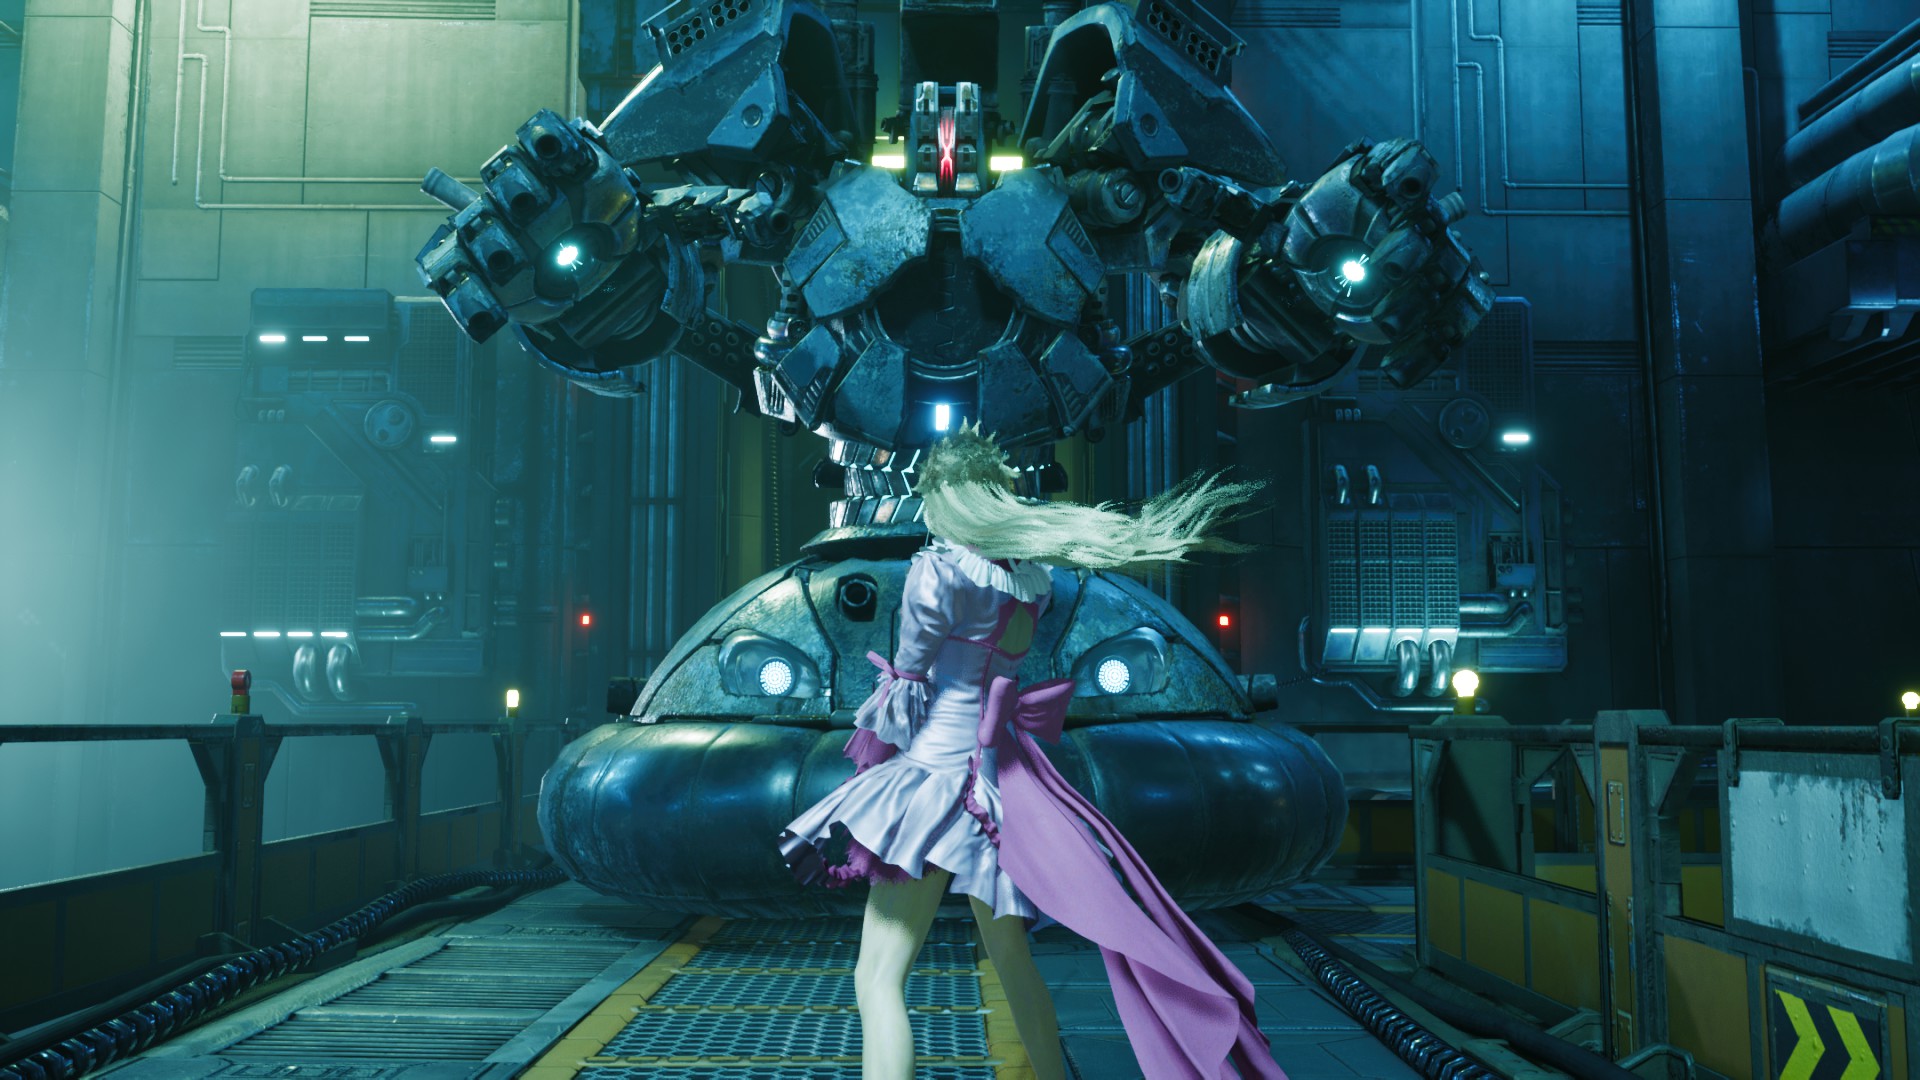
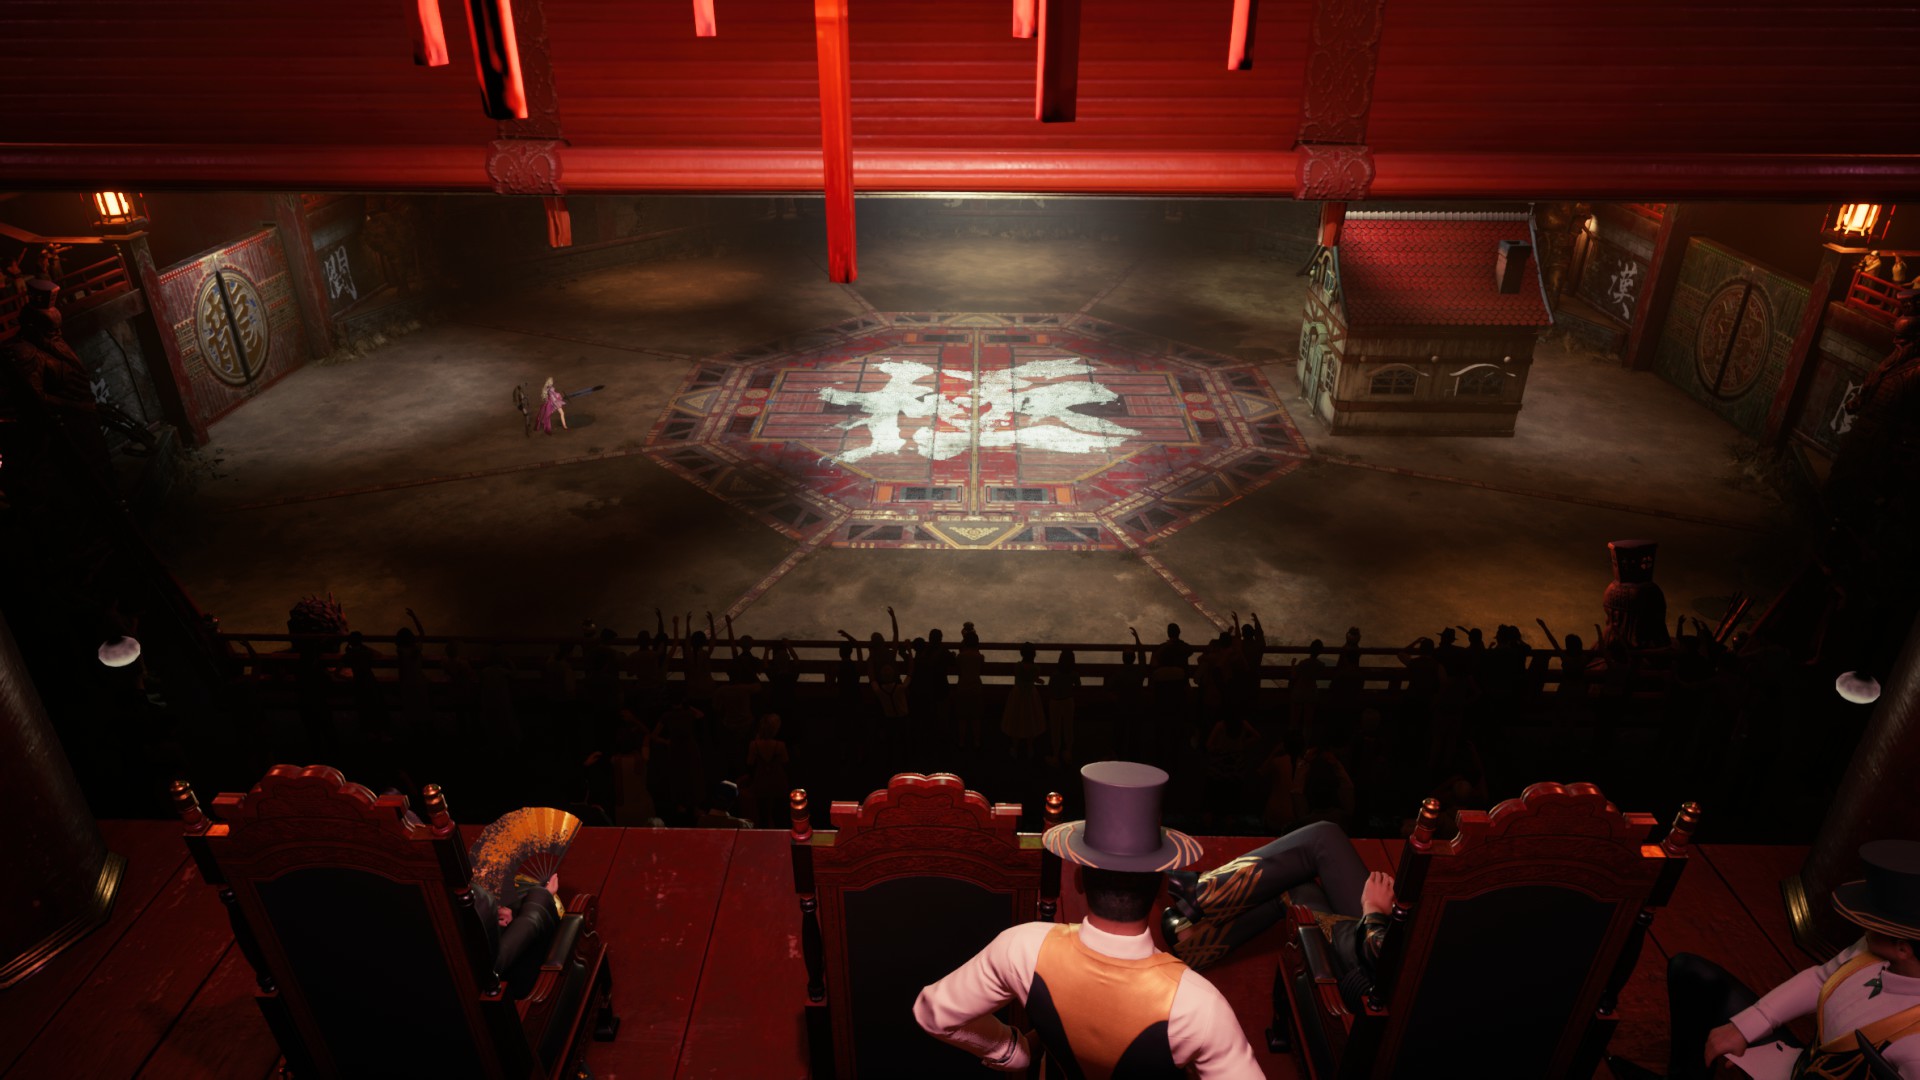
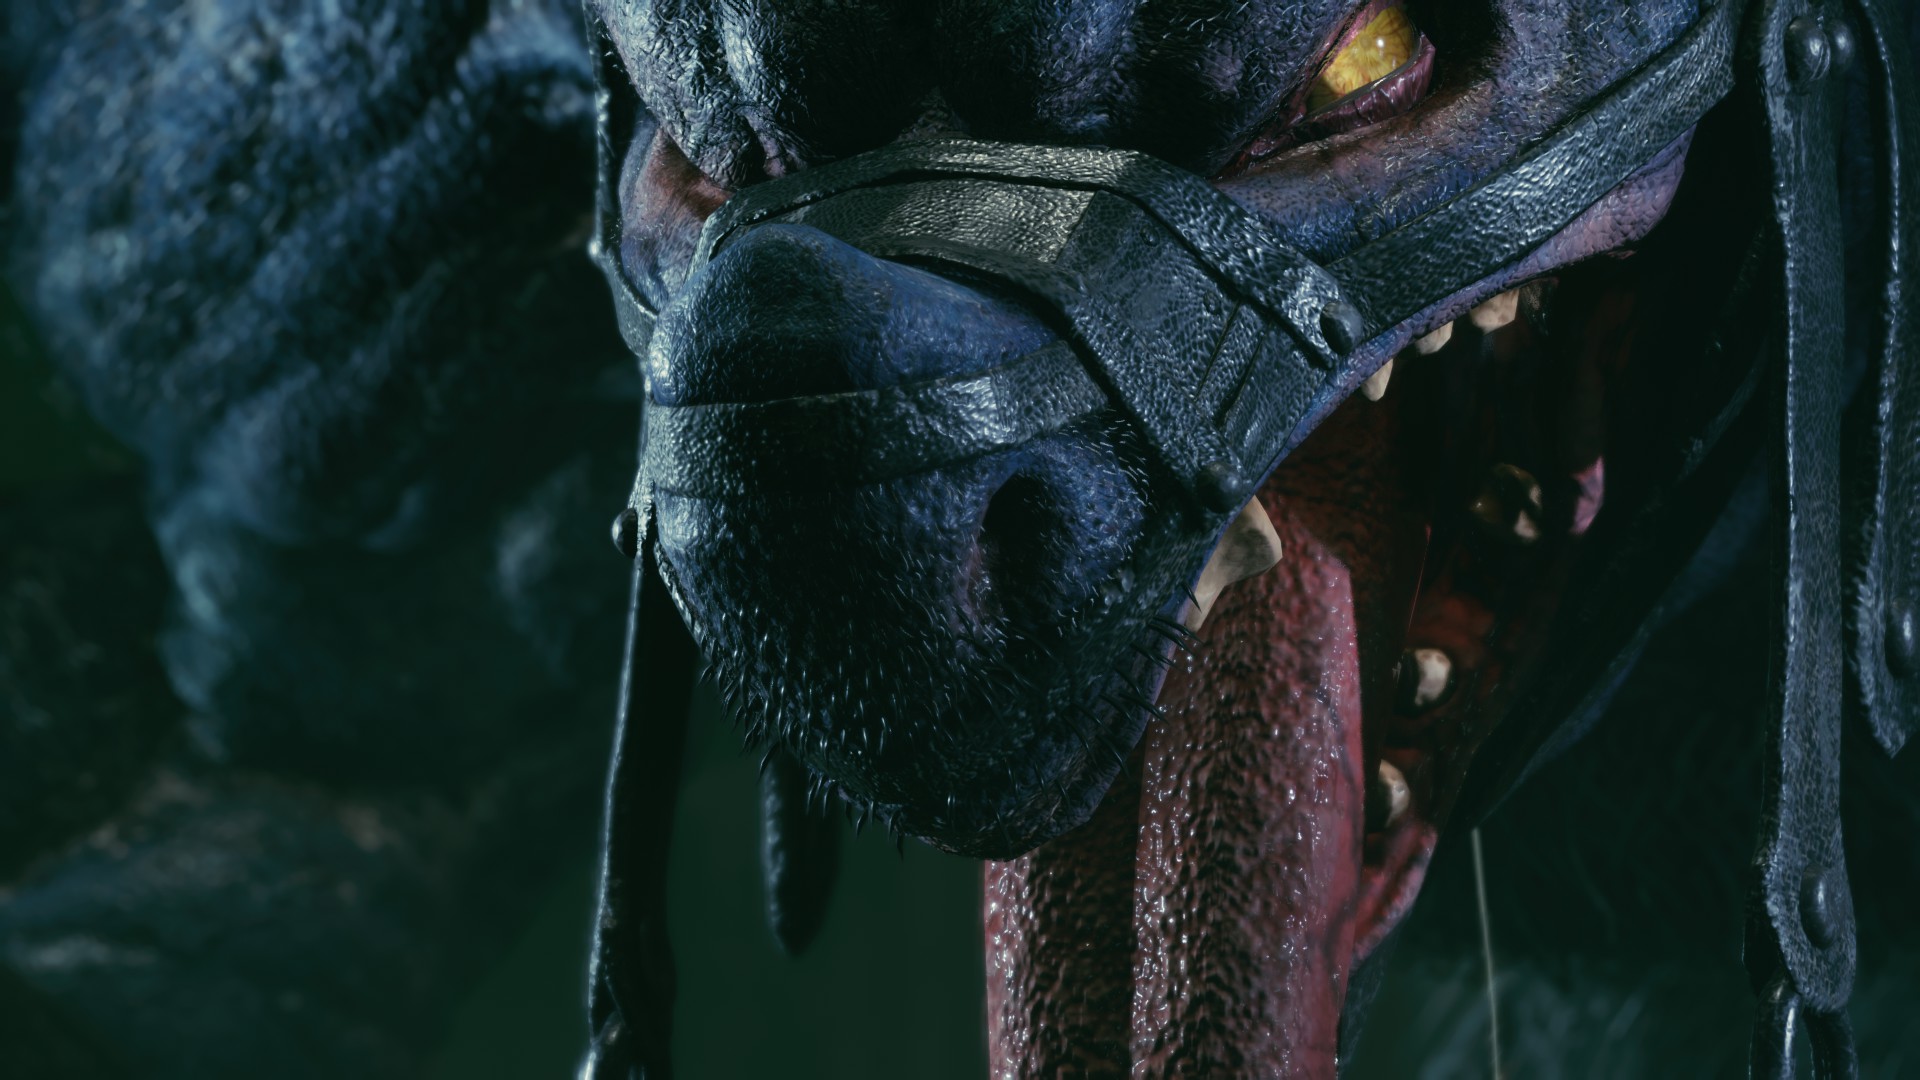
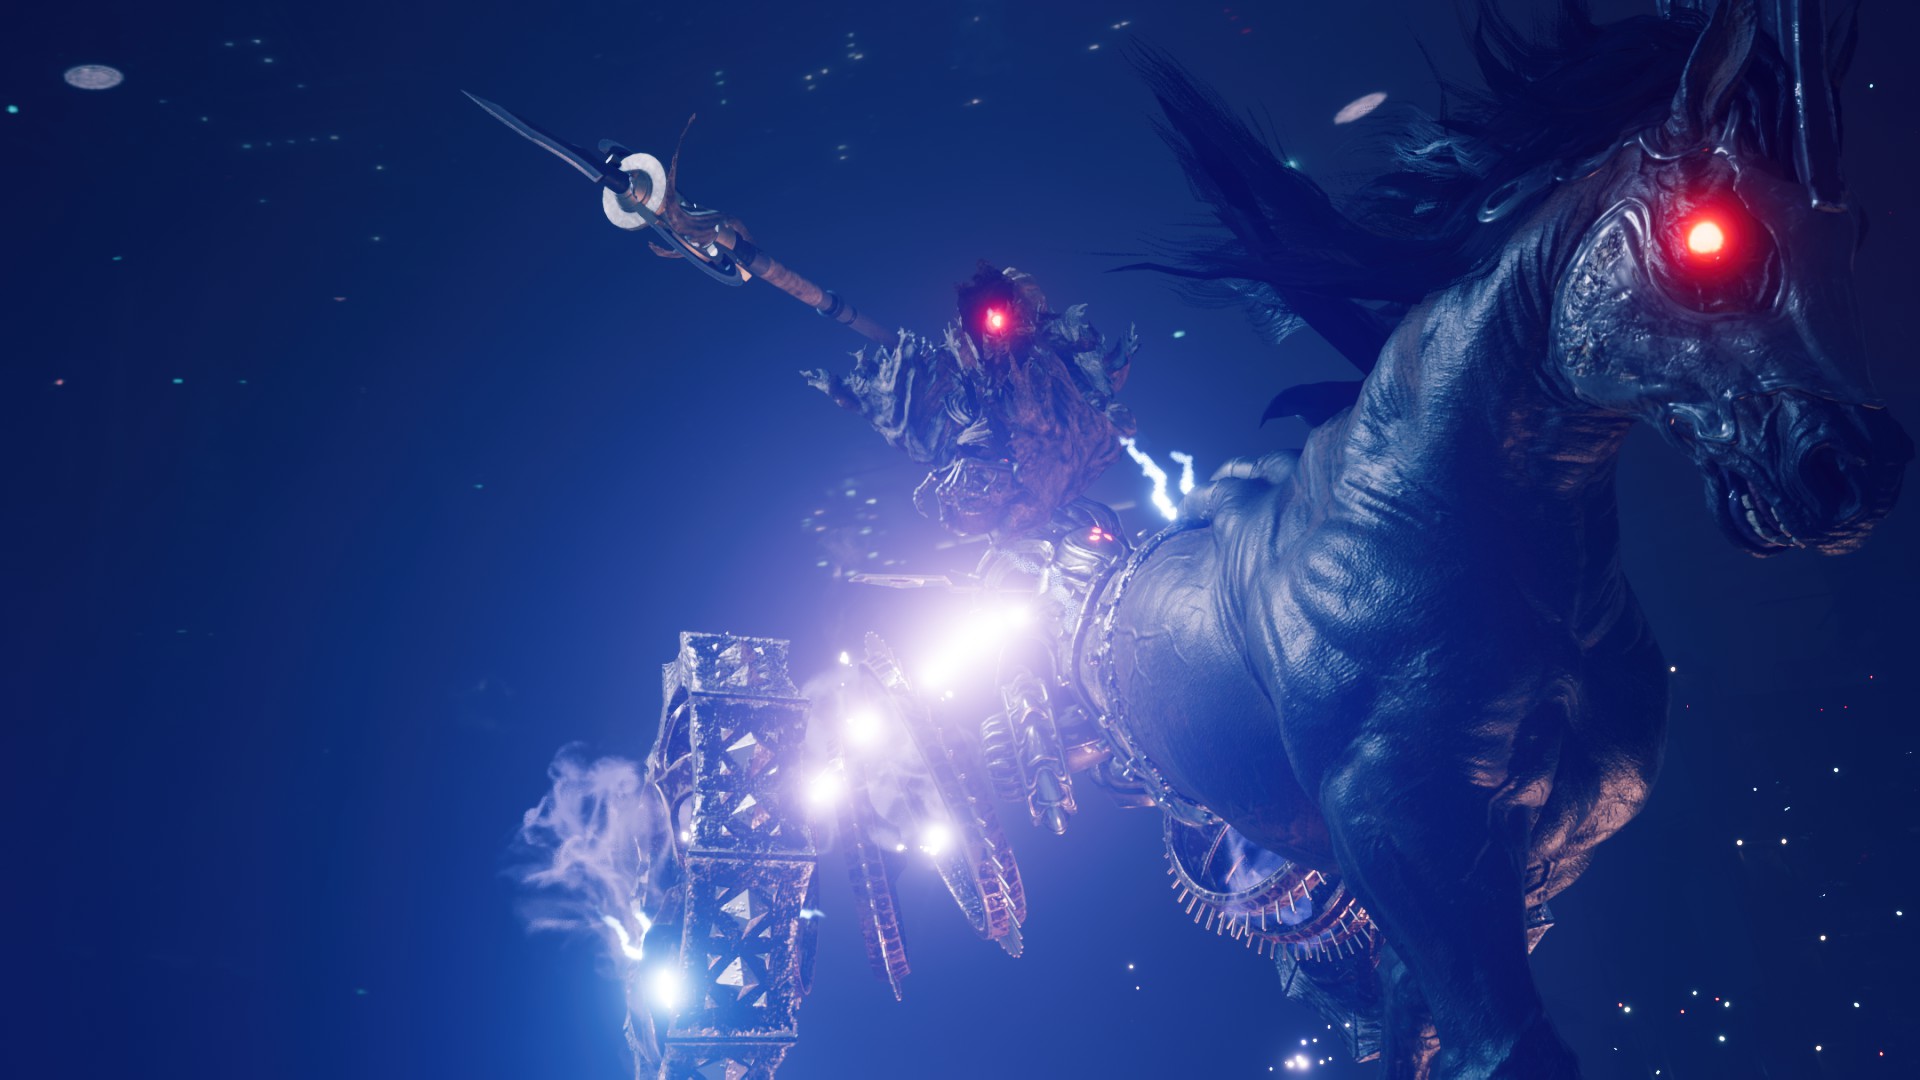
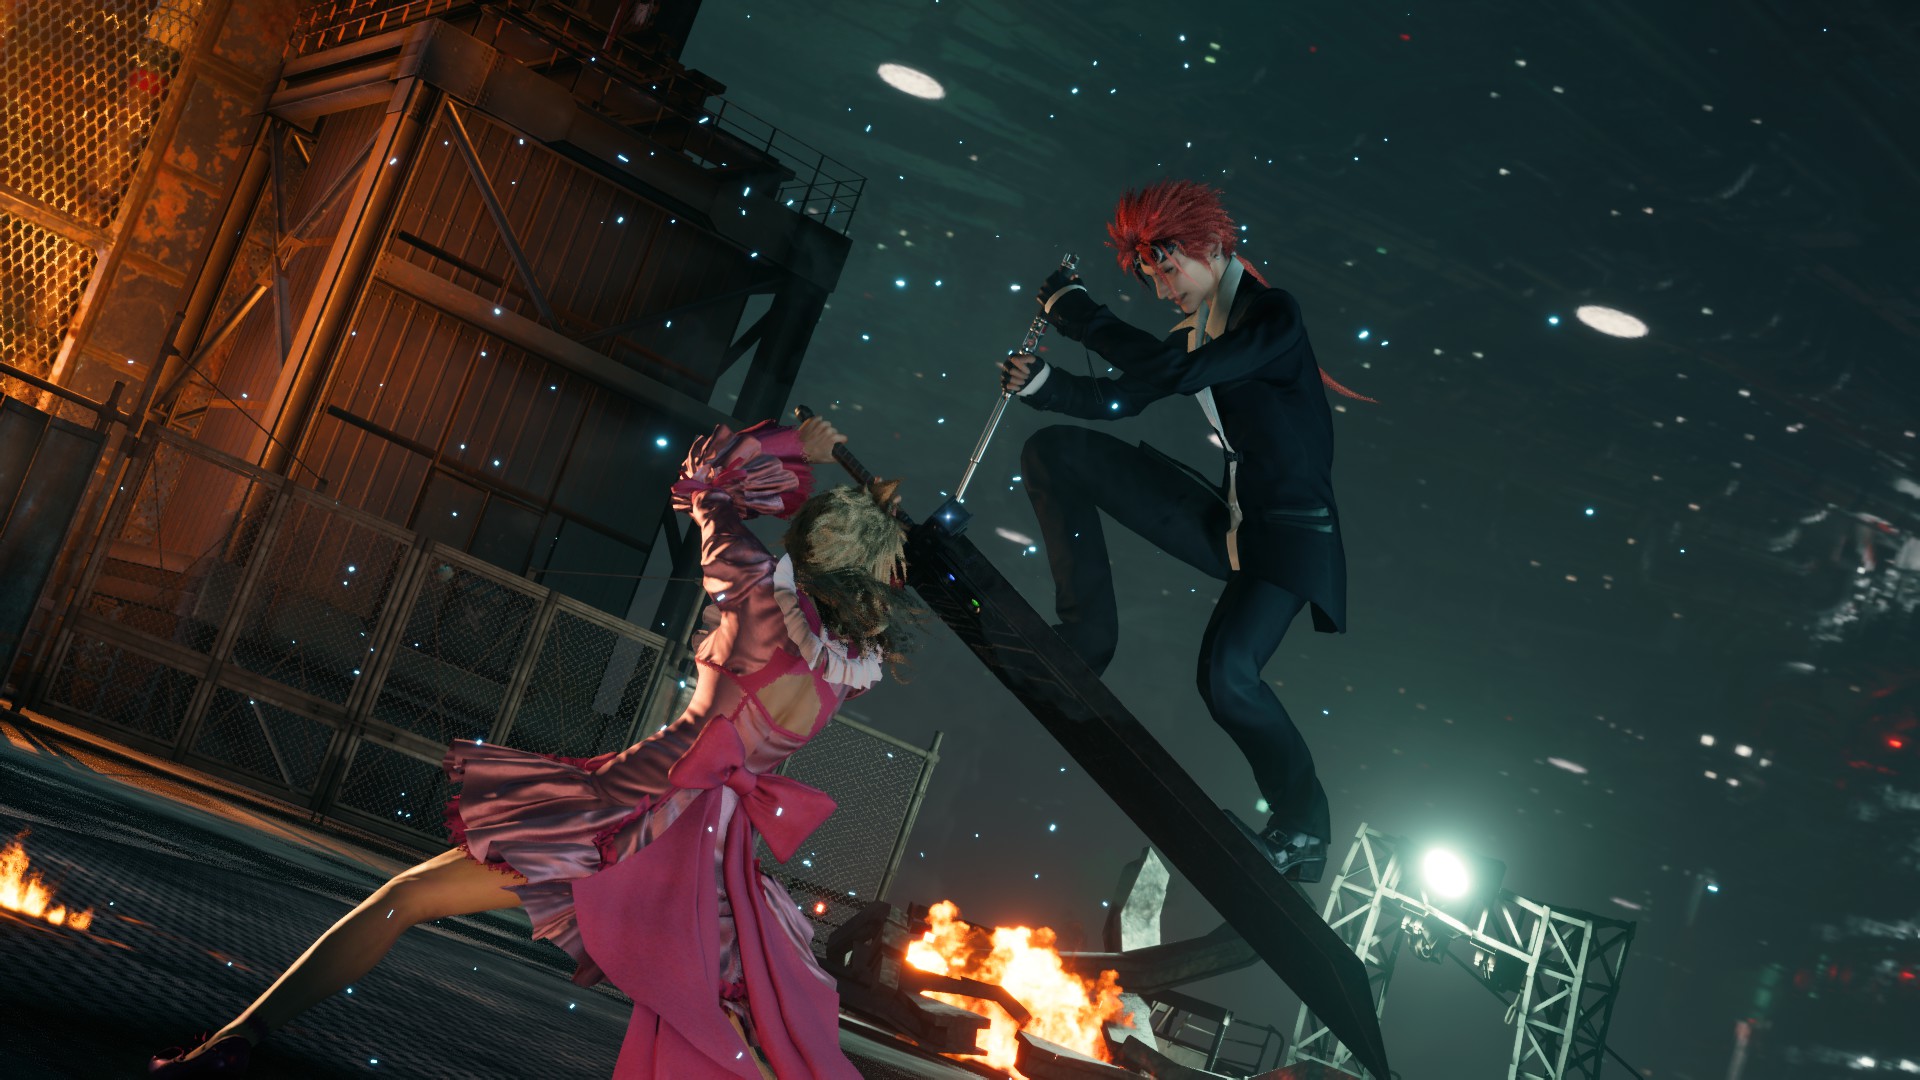
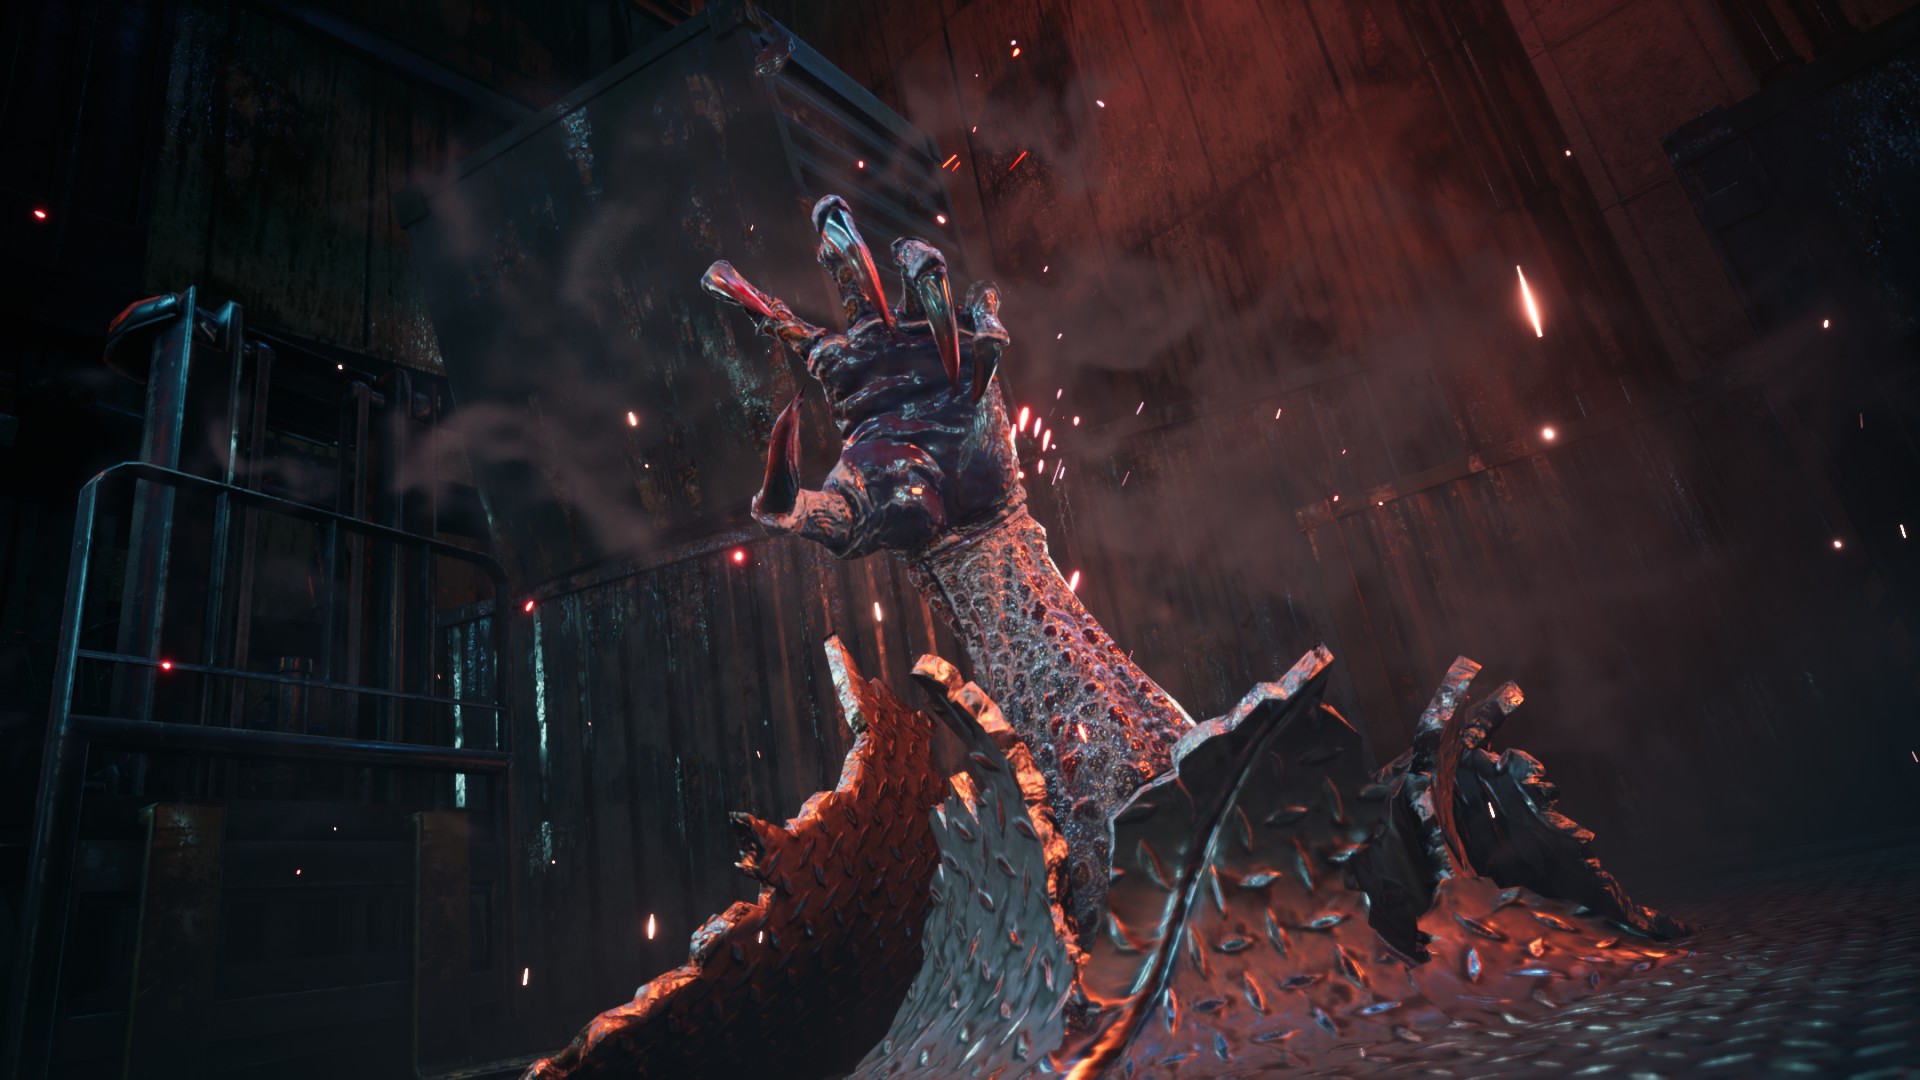
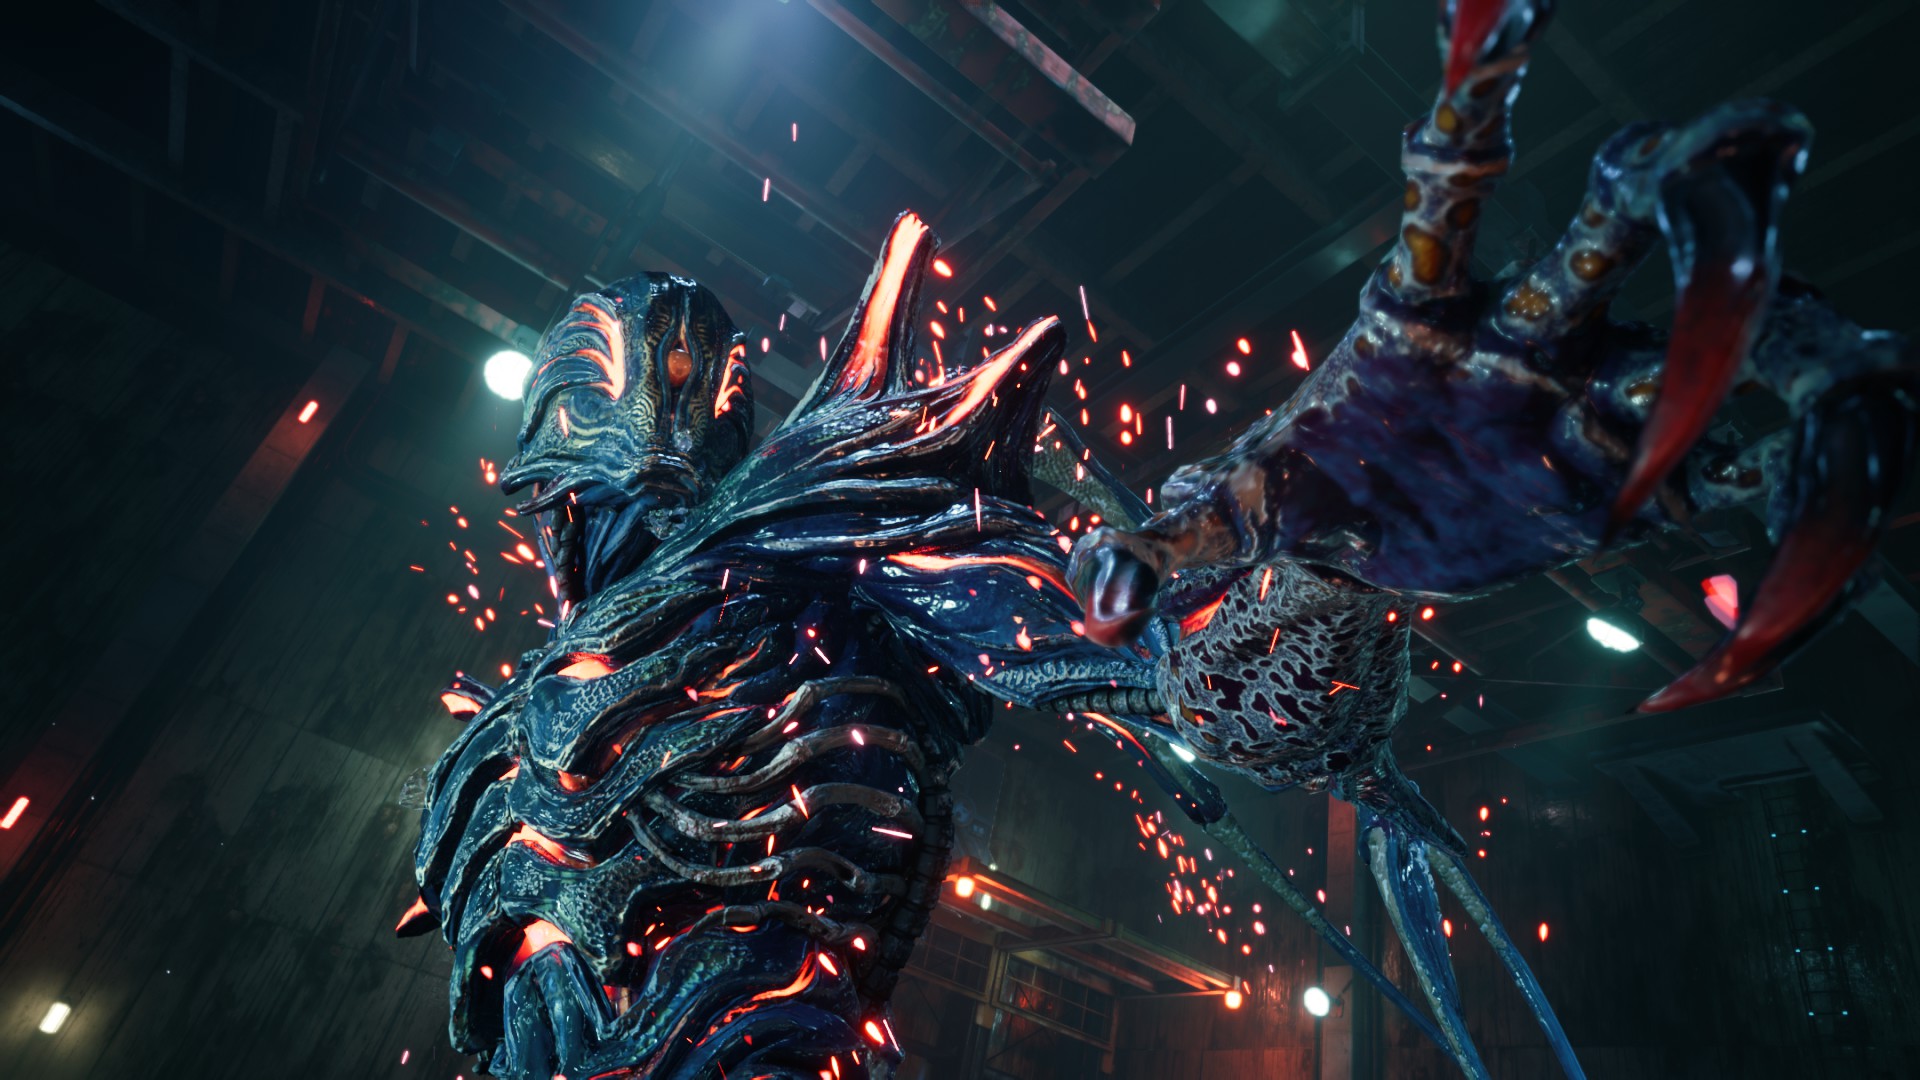
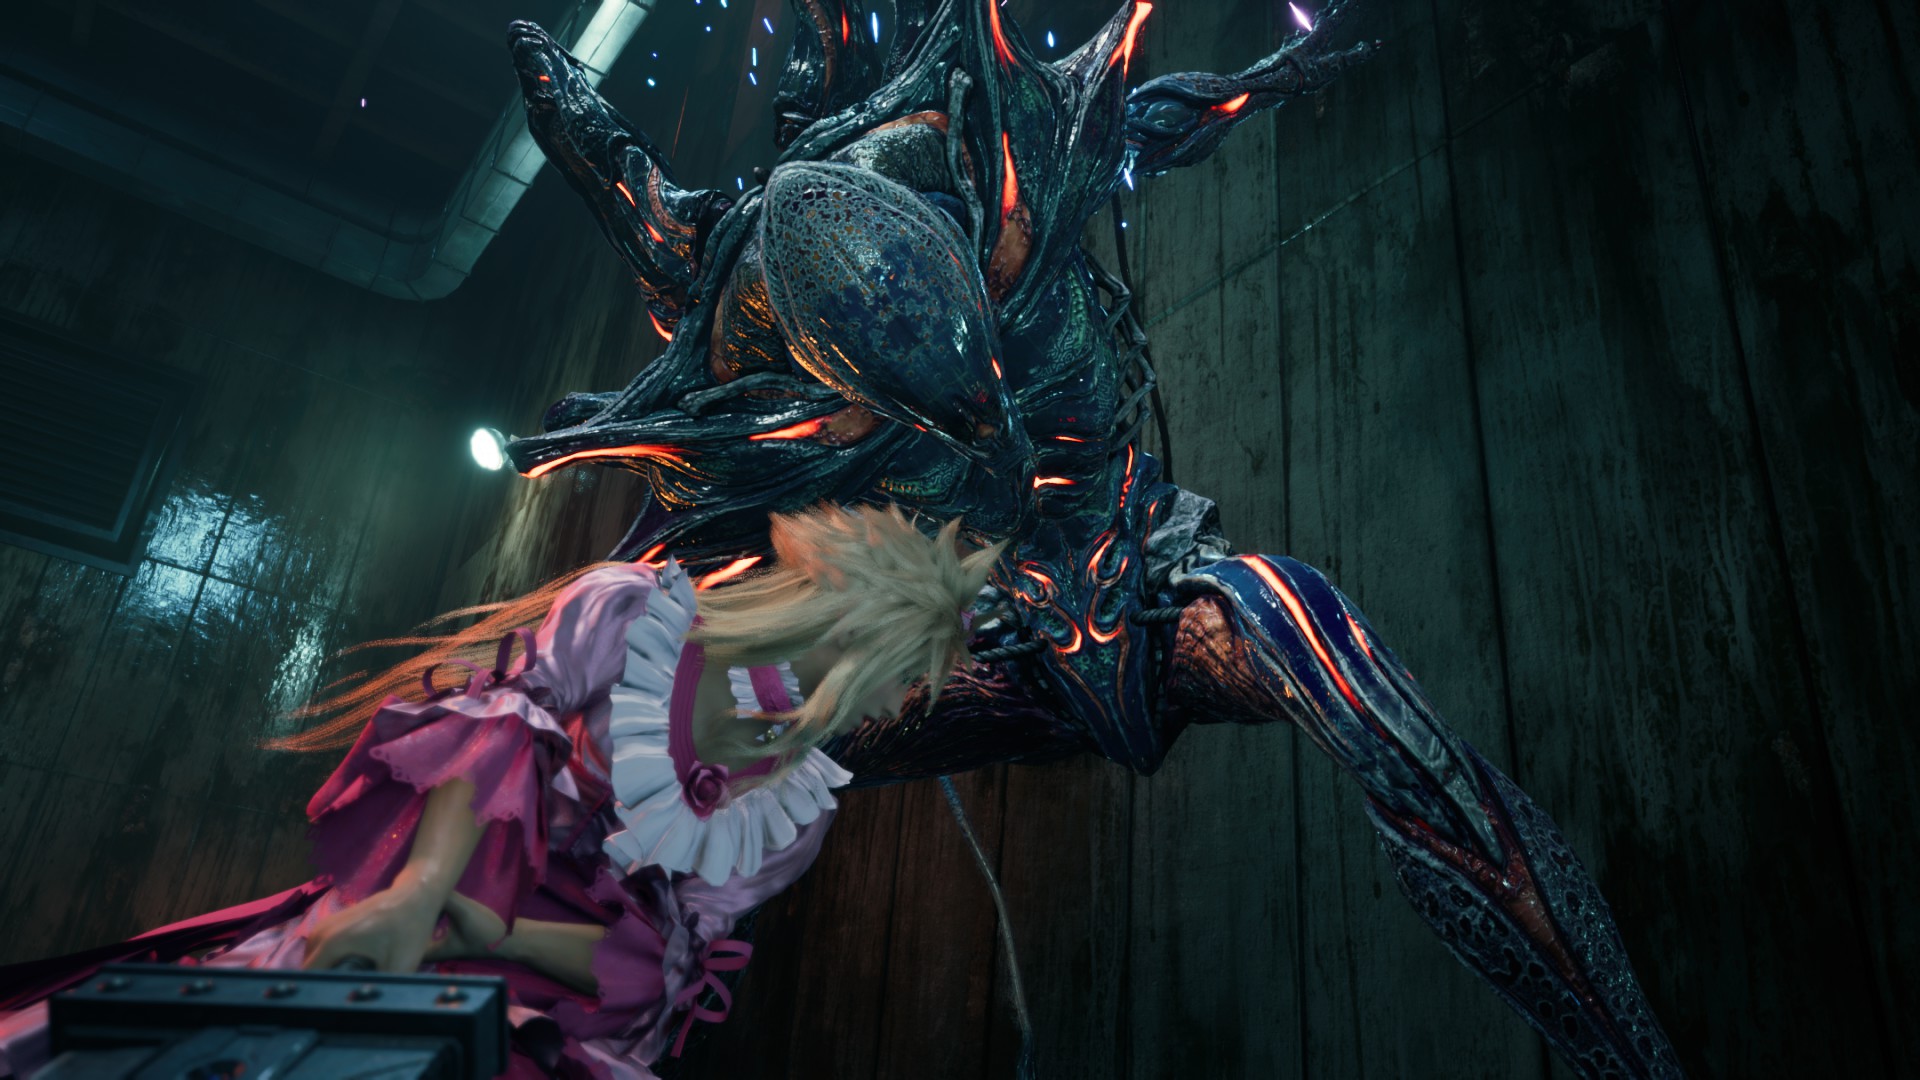
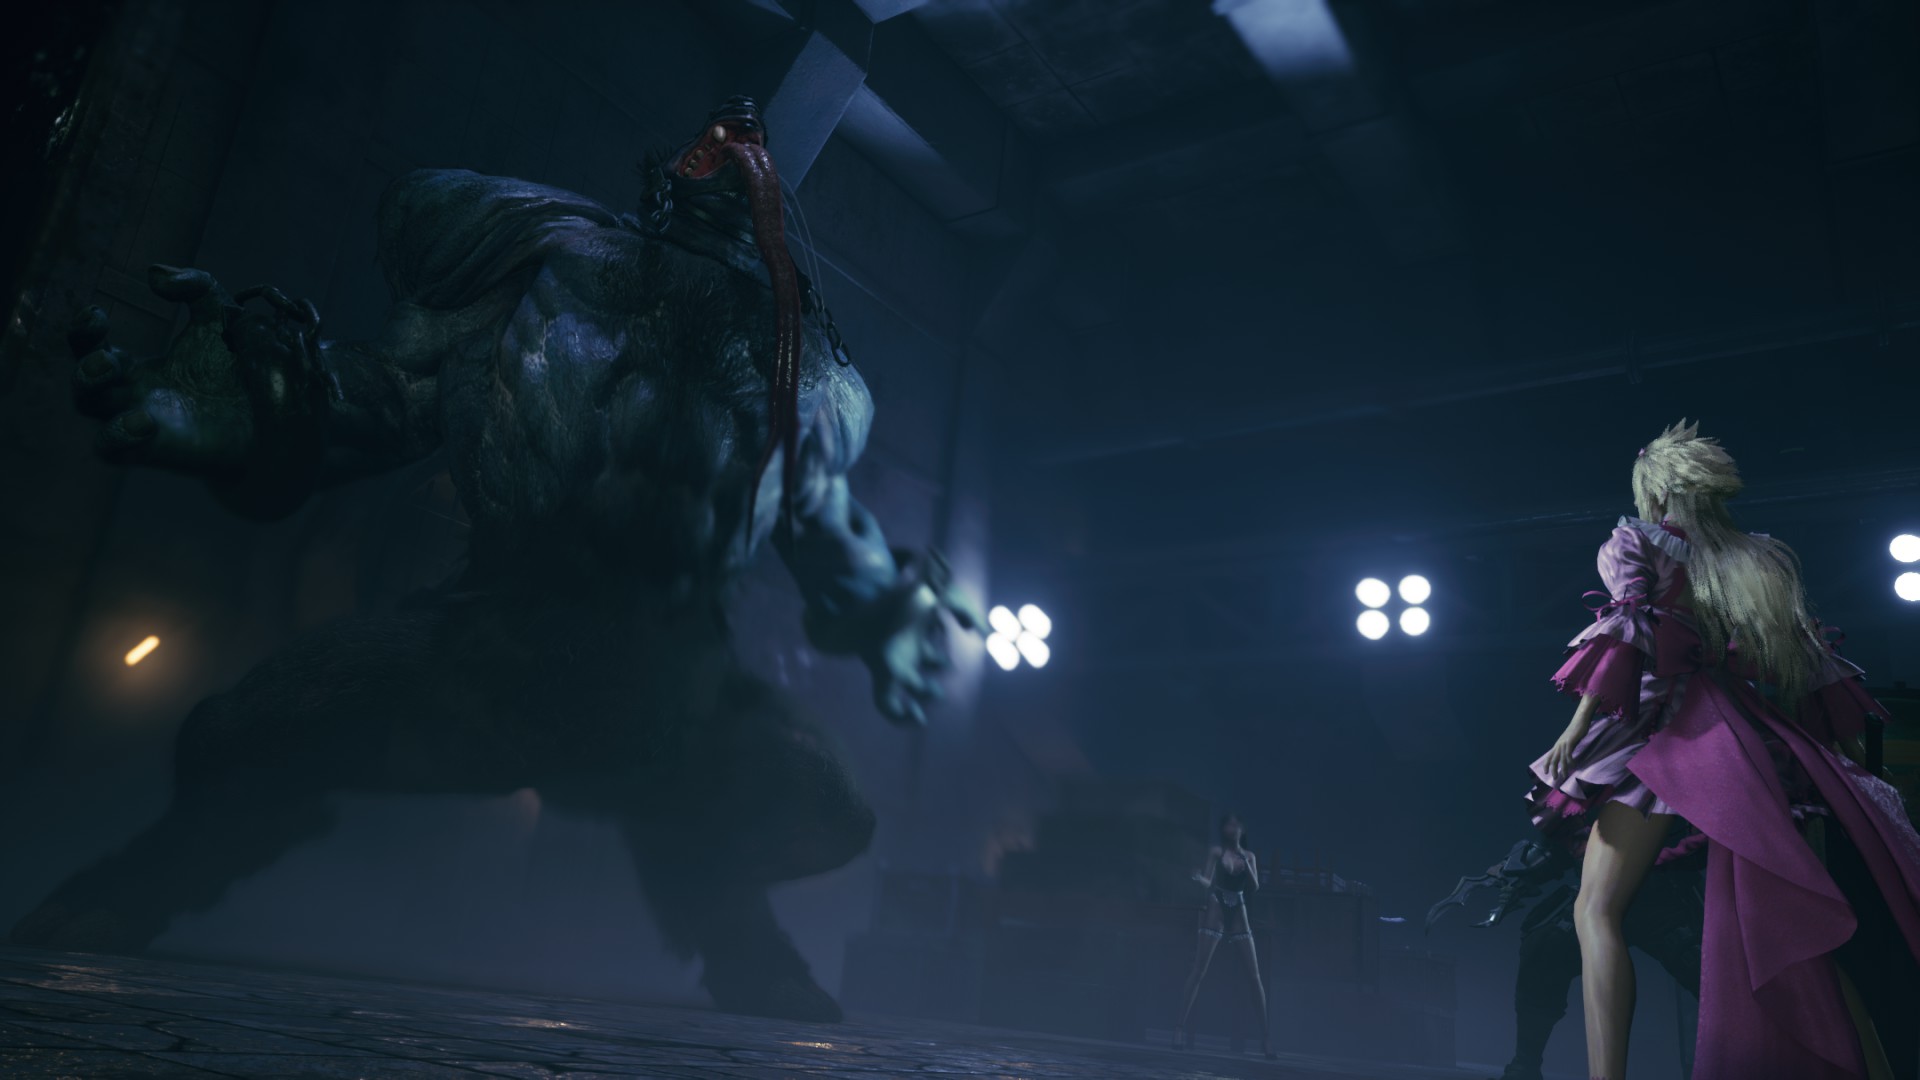
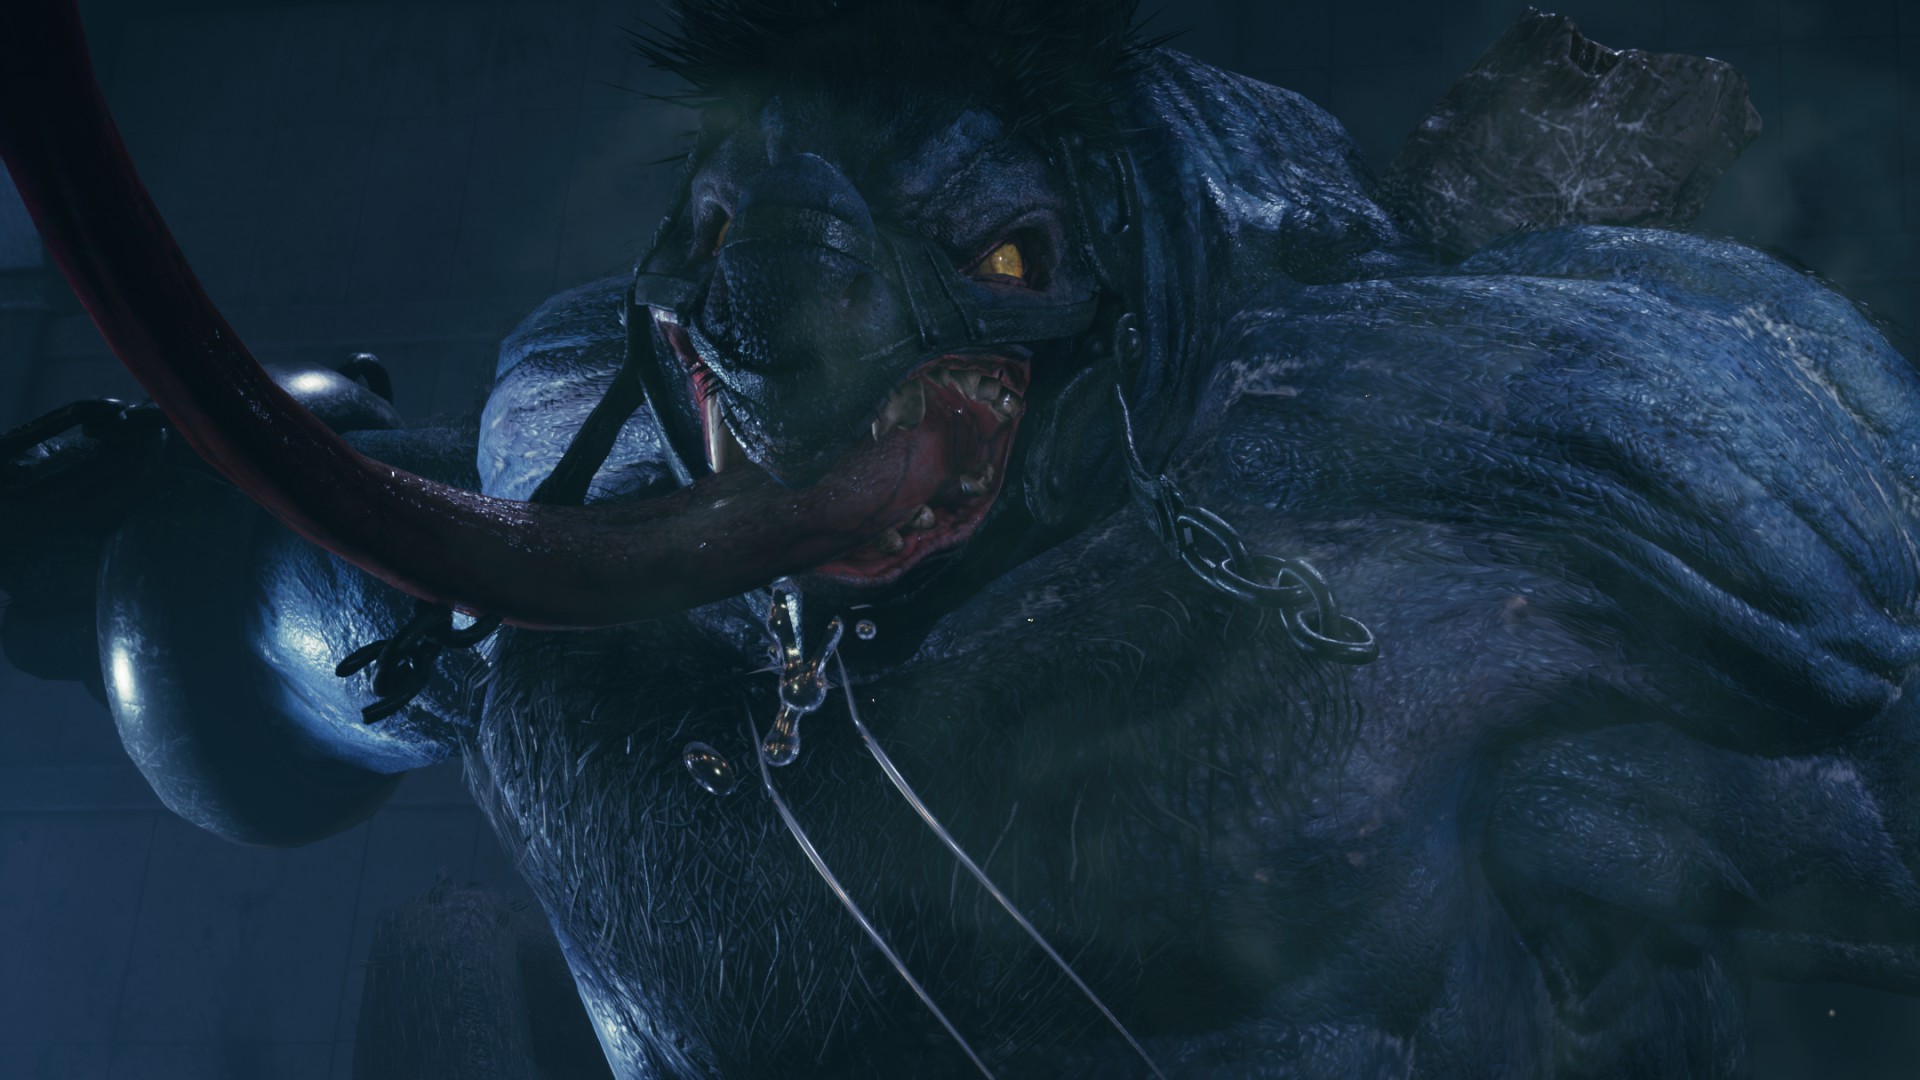
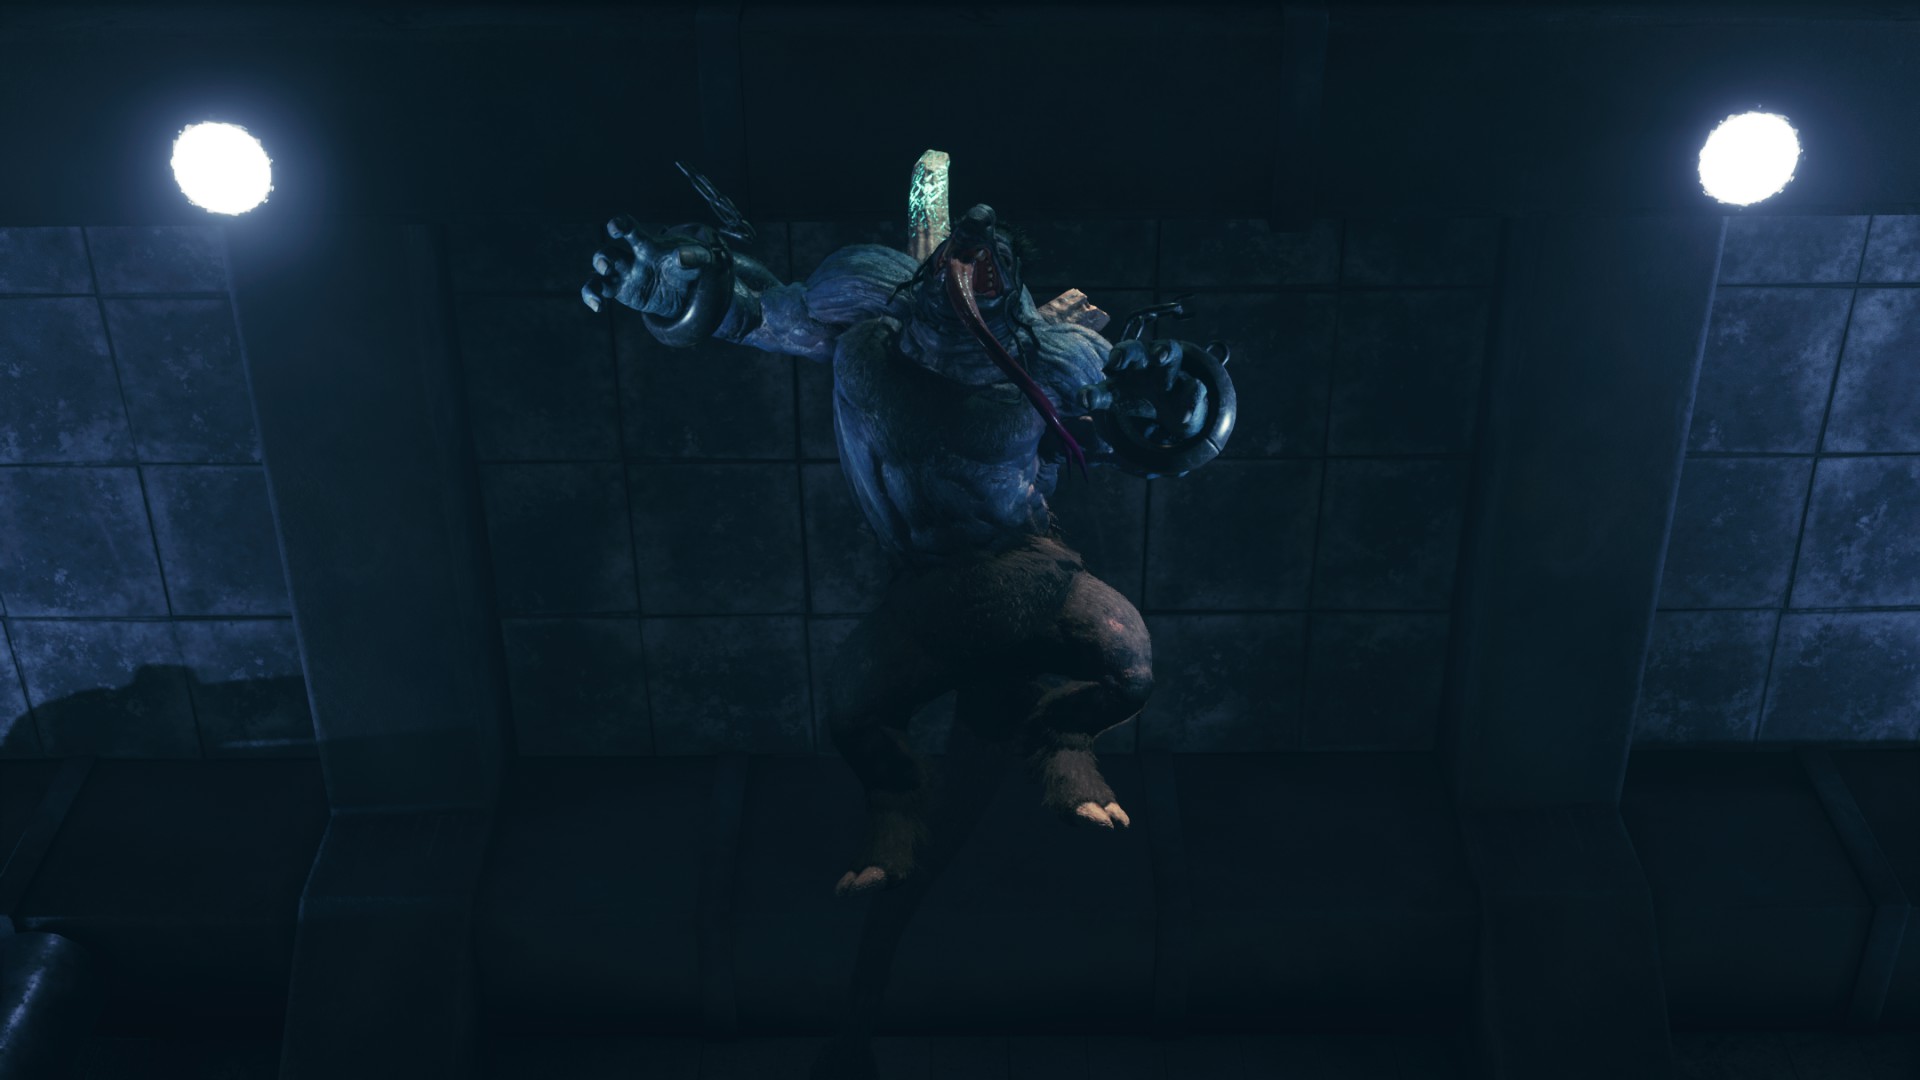
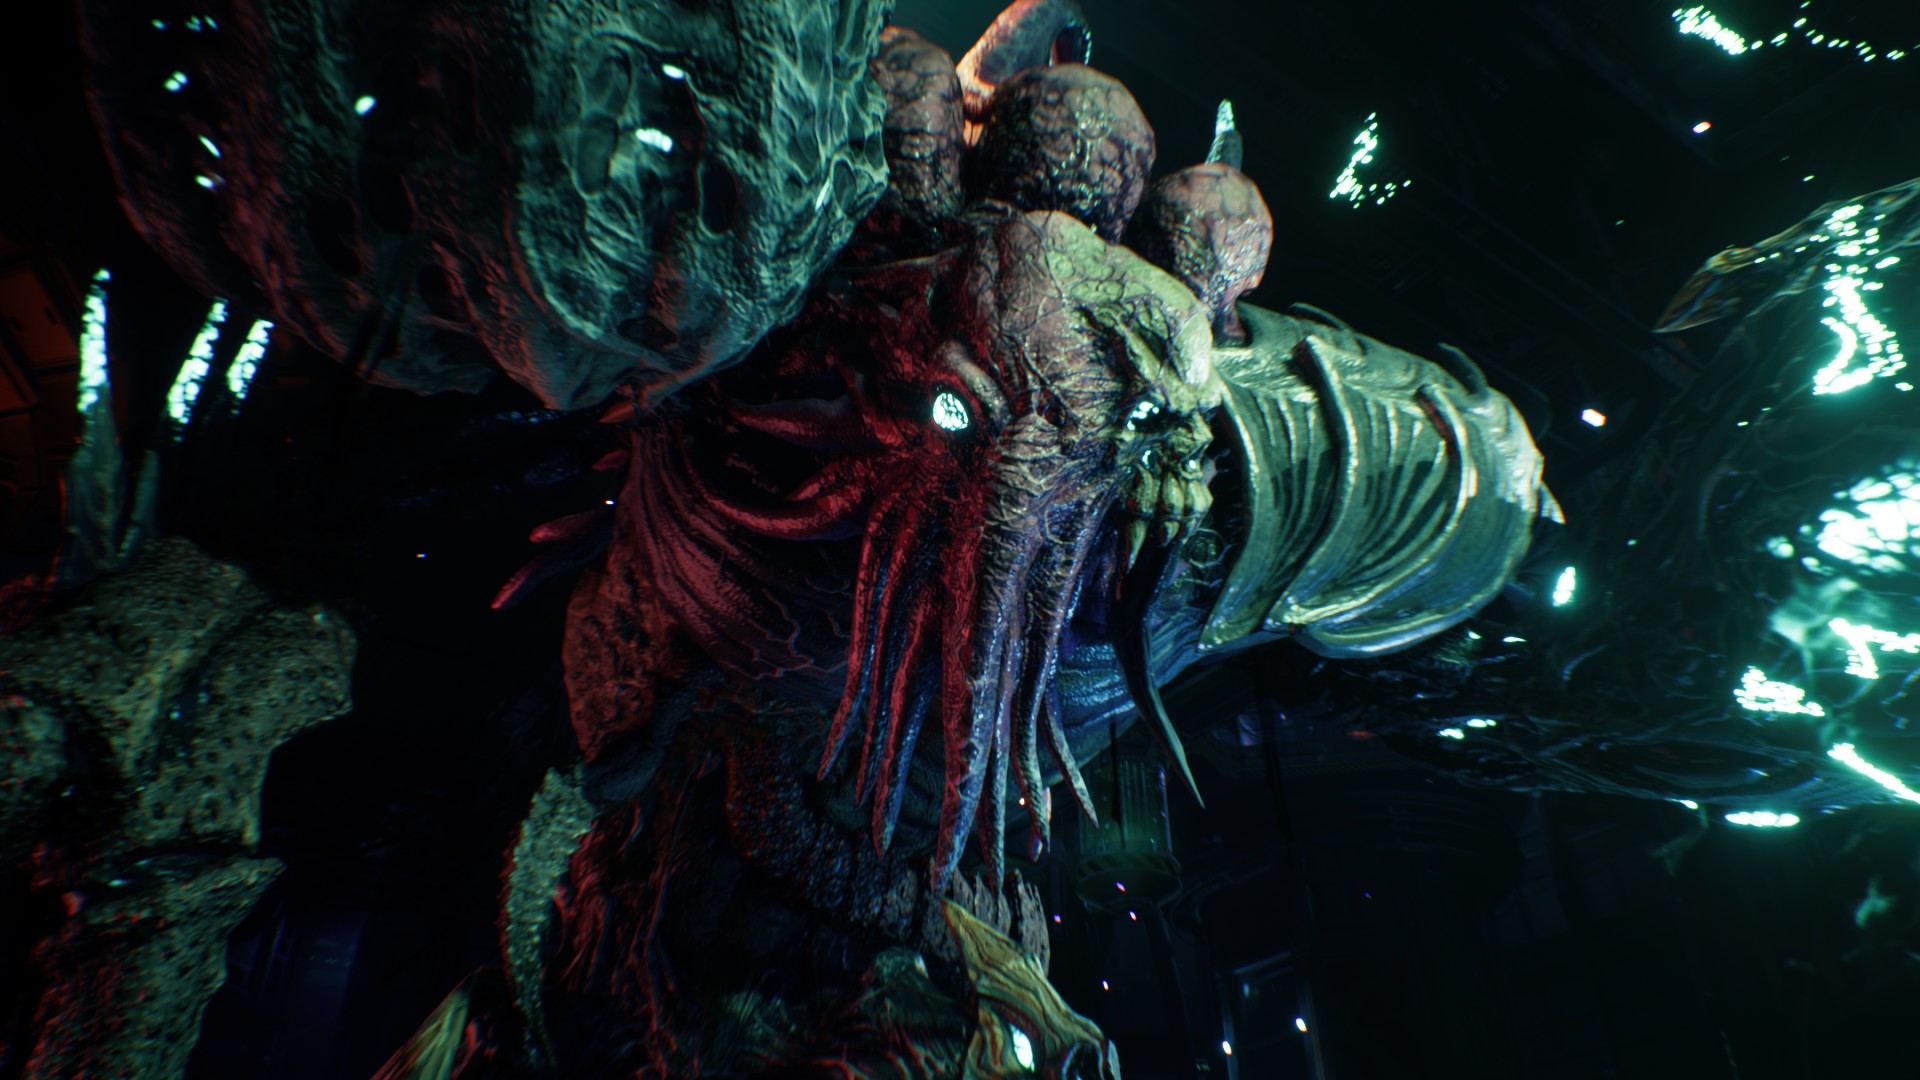
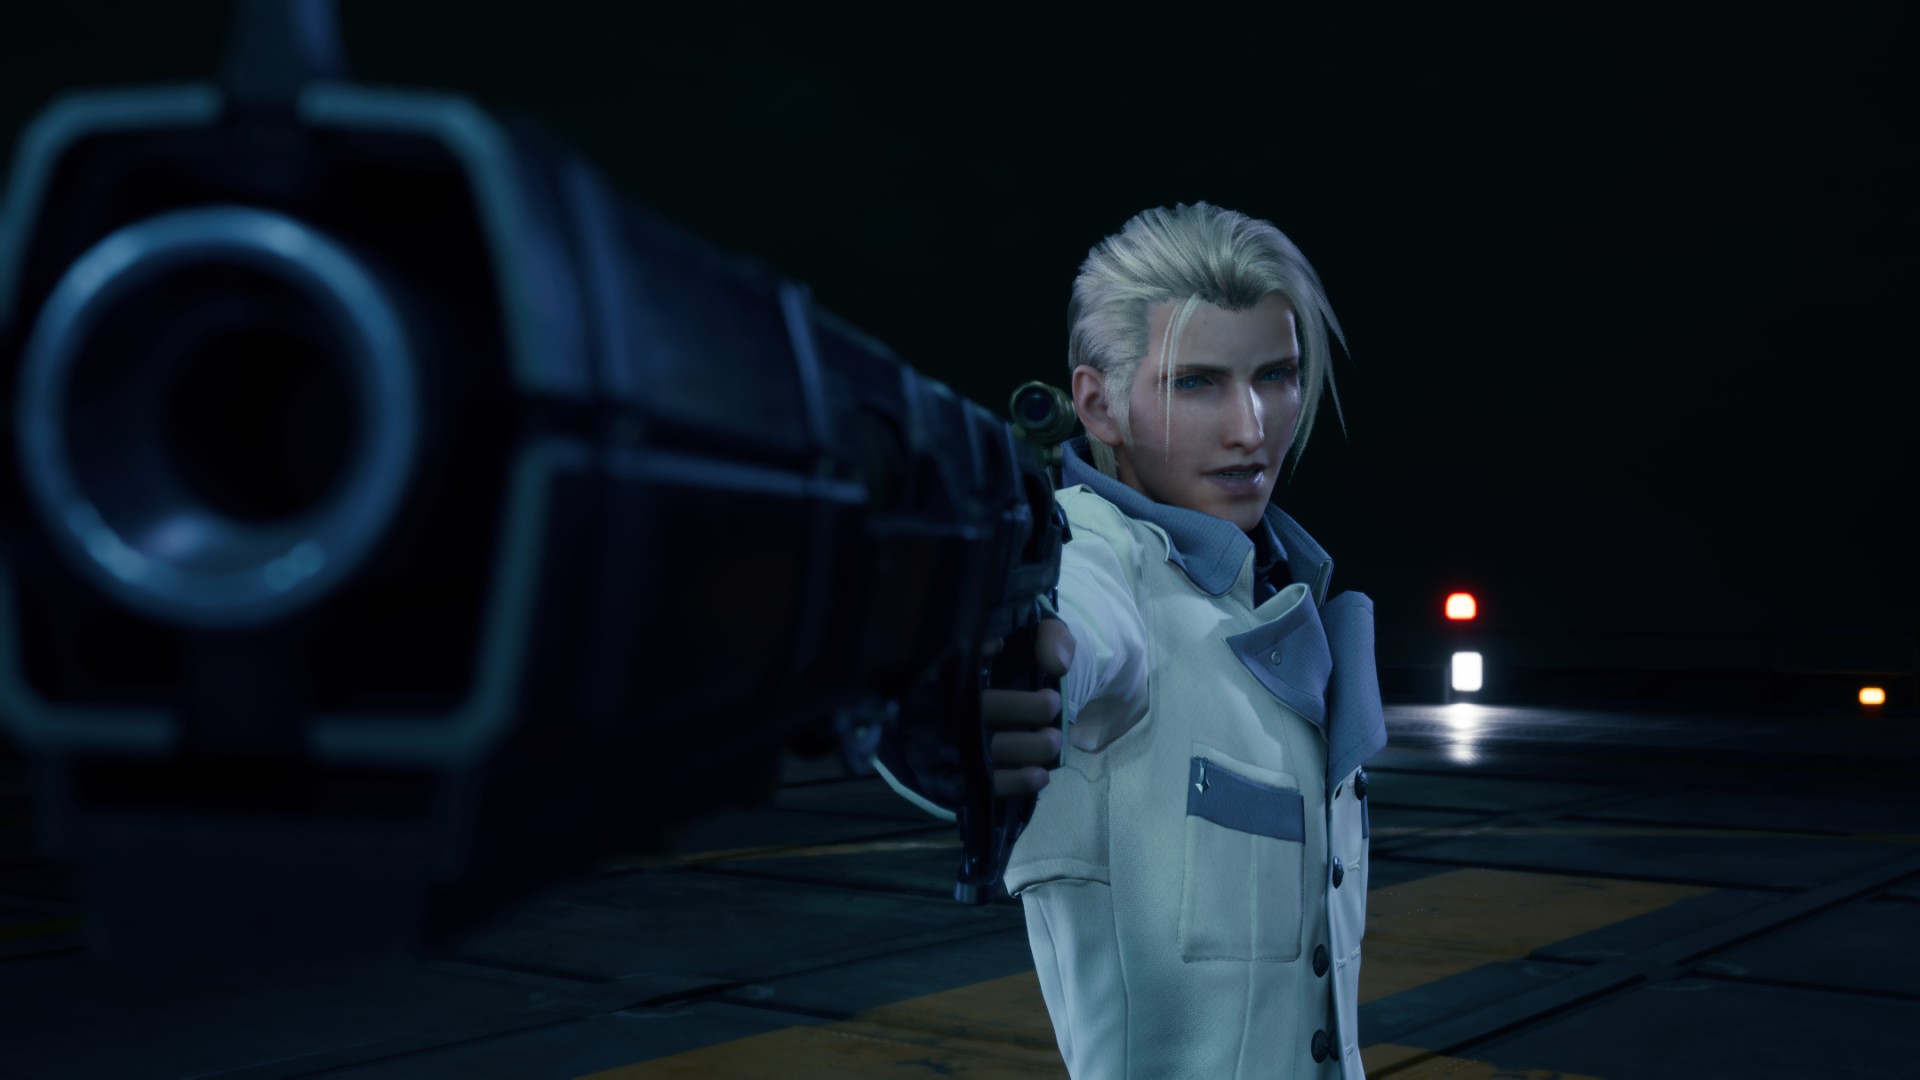
Sorry, I couldn't write everything in the guide because of lack of time. Barret's Materia are not really important for this fight, so you can use any Complete Materia (purple) that you seem fit, like HP Up.
The Librarian 30 Jul, 2024 @ 12:18am 
i know this is over a year old, but what materia do you recommend for barret during the arsenal fight?
WhiteExperience  [author] 30 Jan, 2023 @ 4:43pm 
@Mako
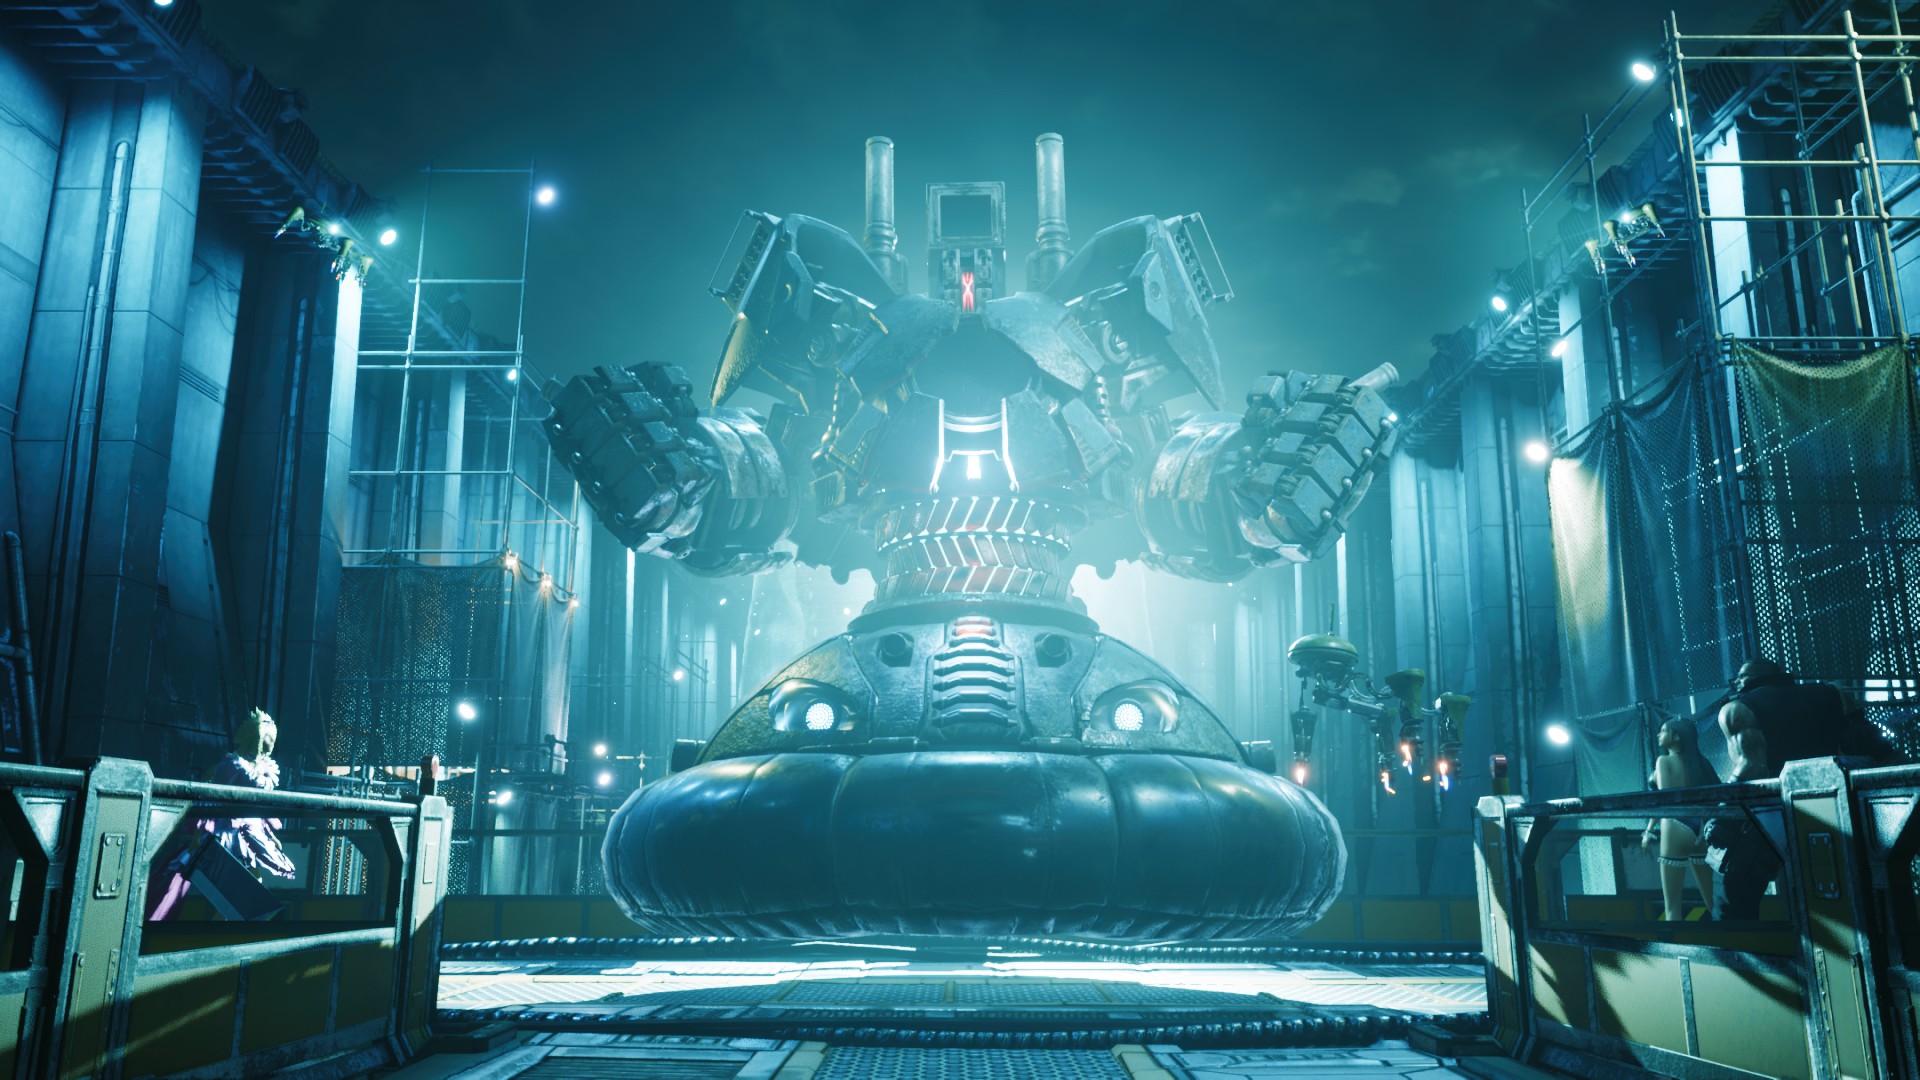
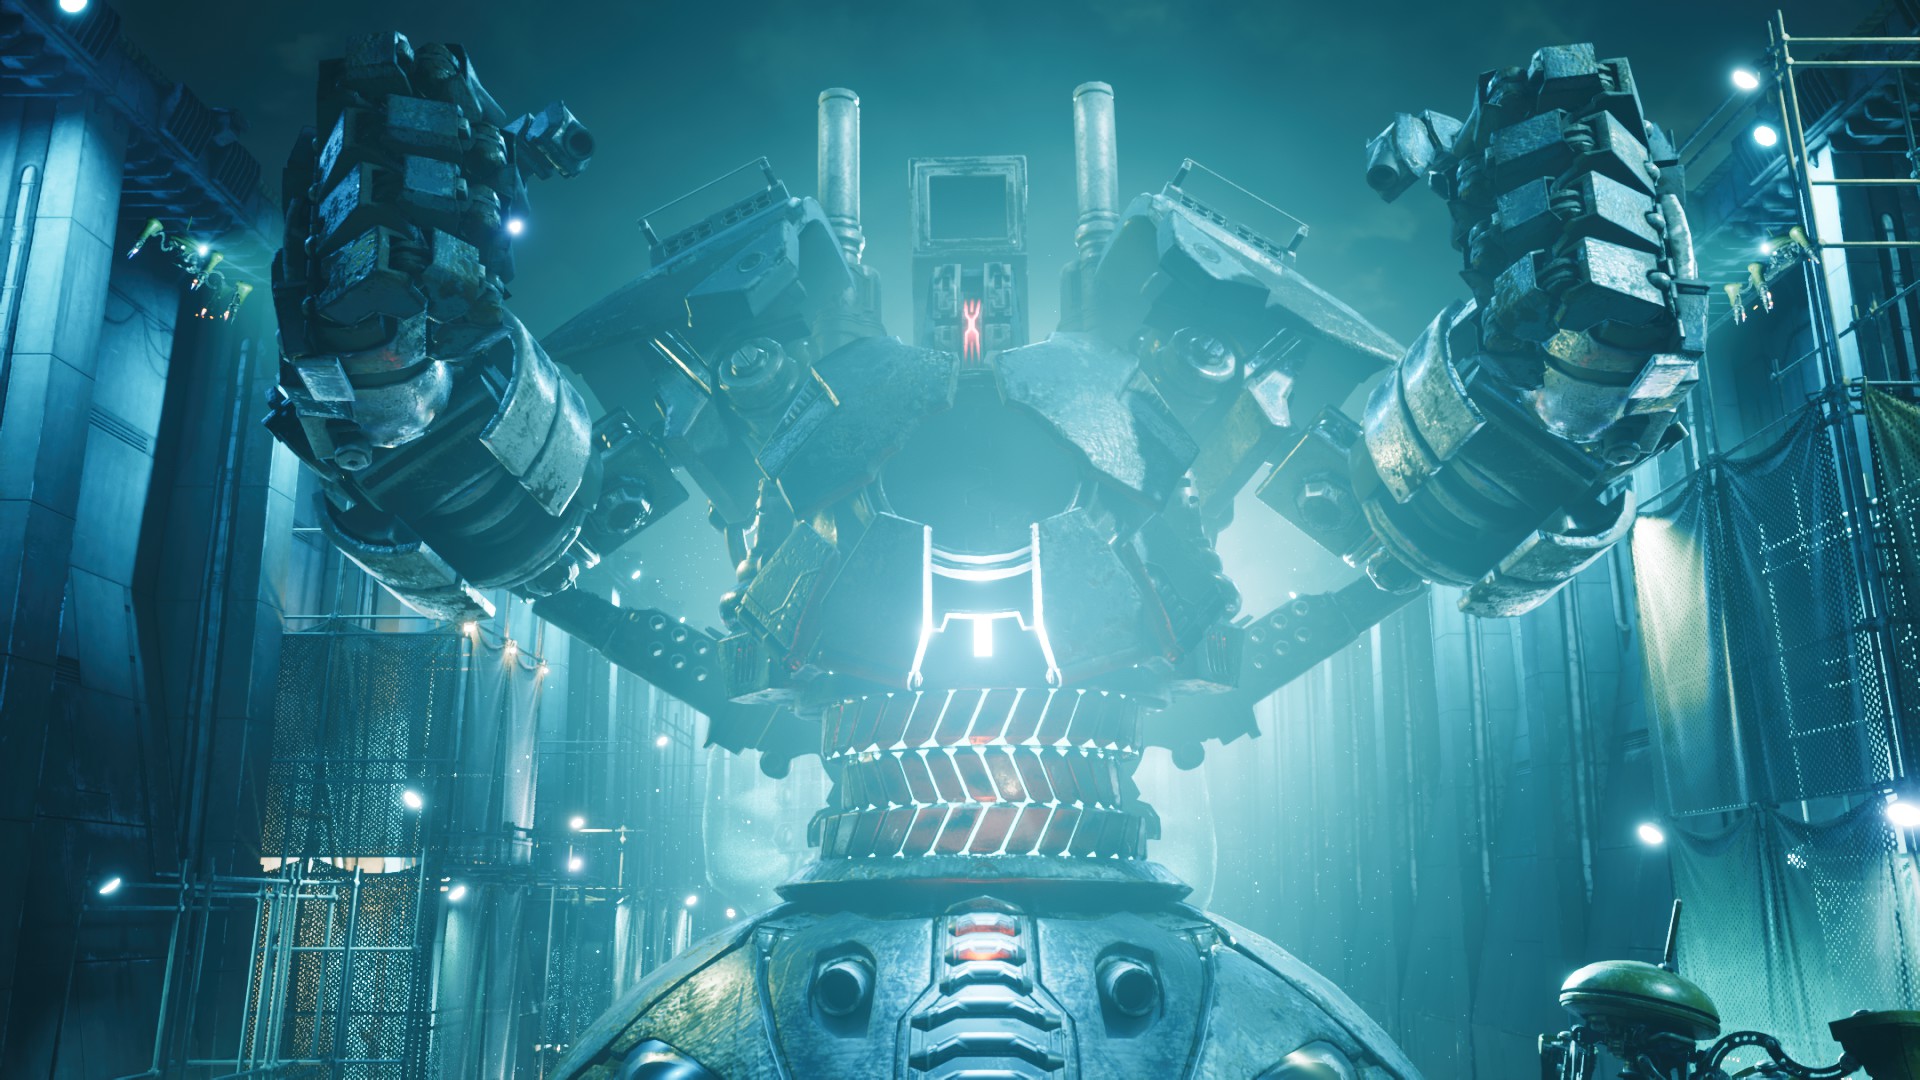
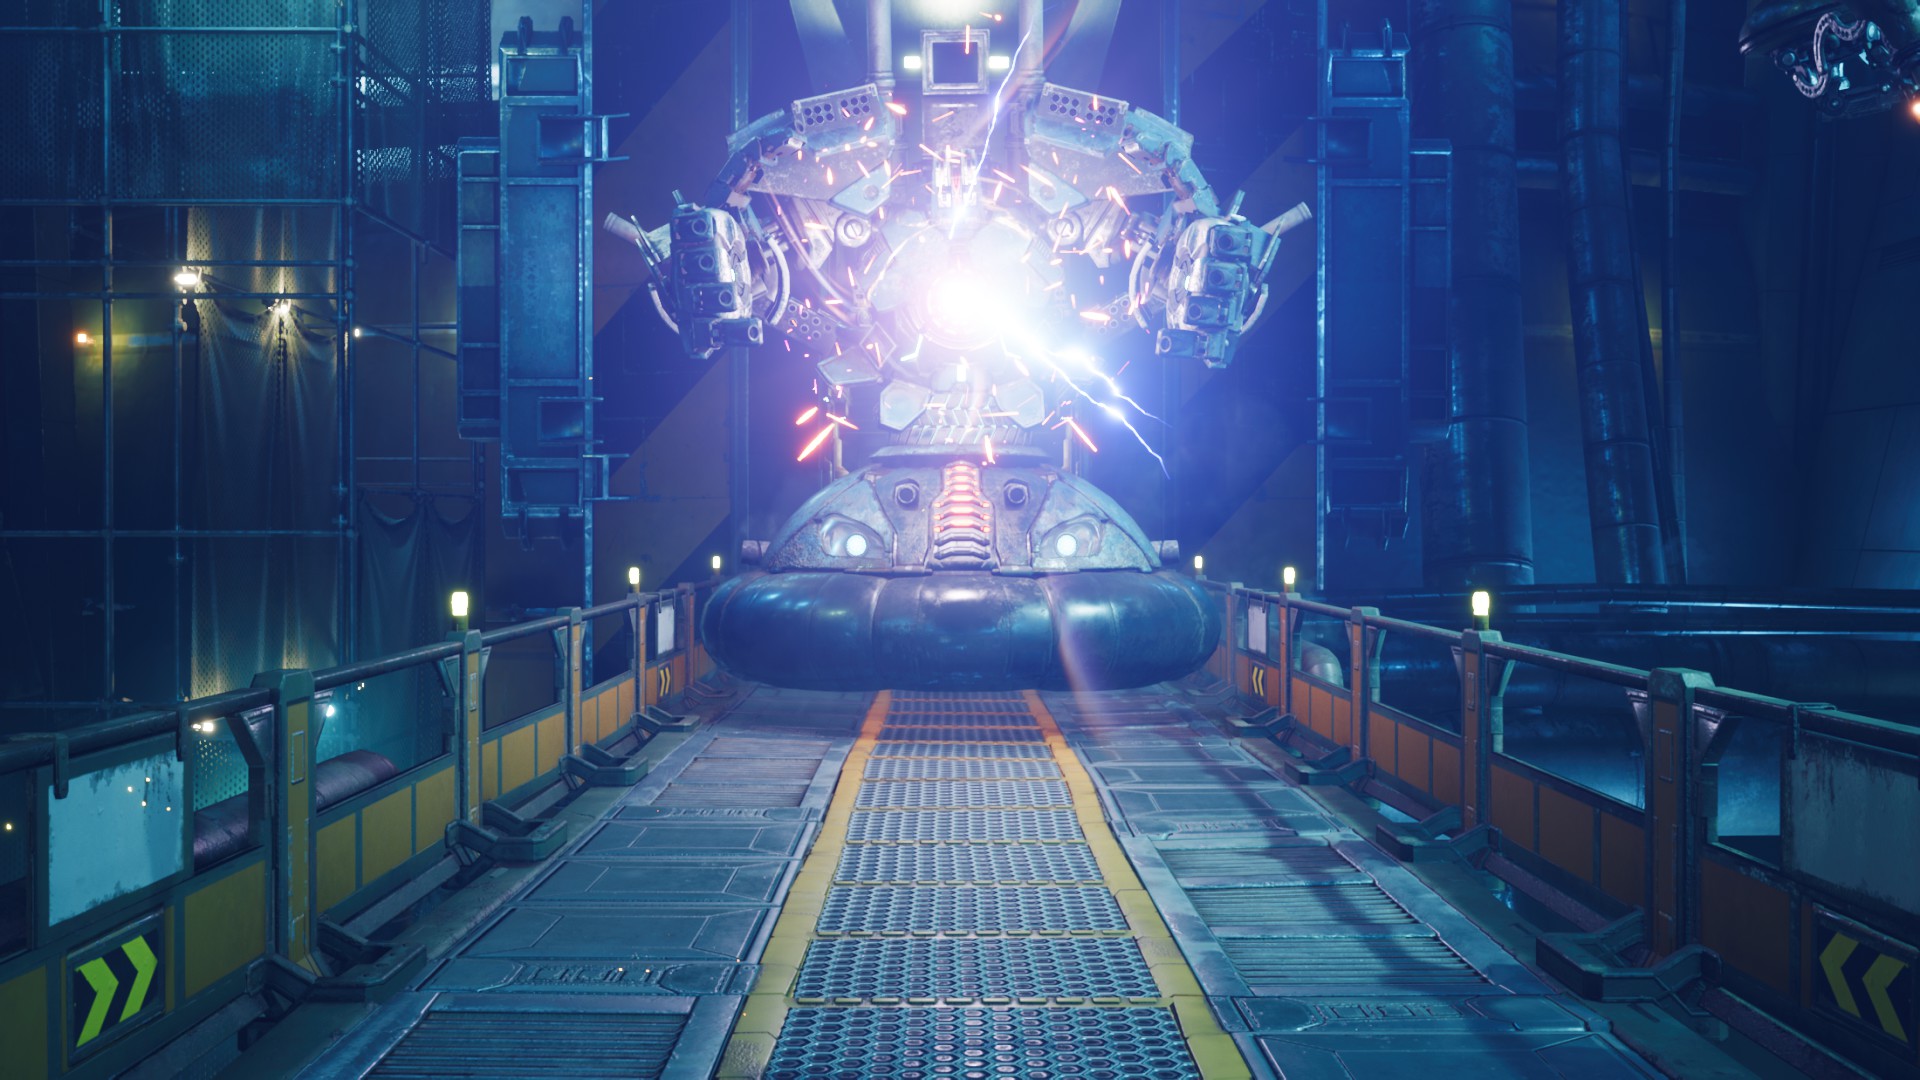
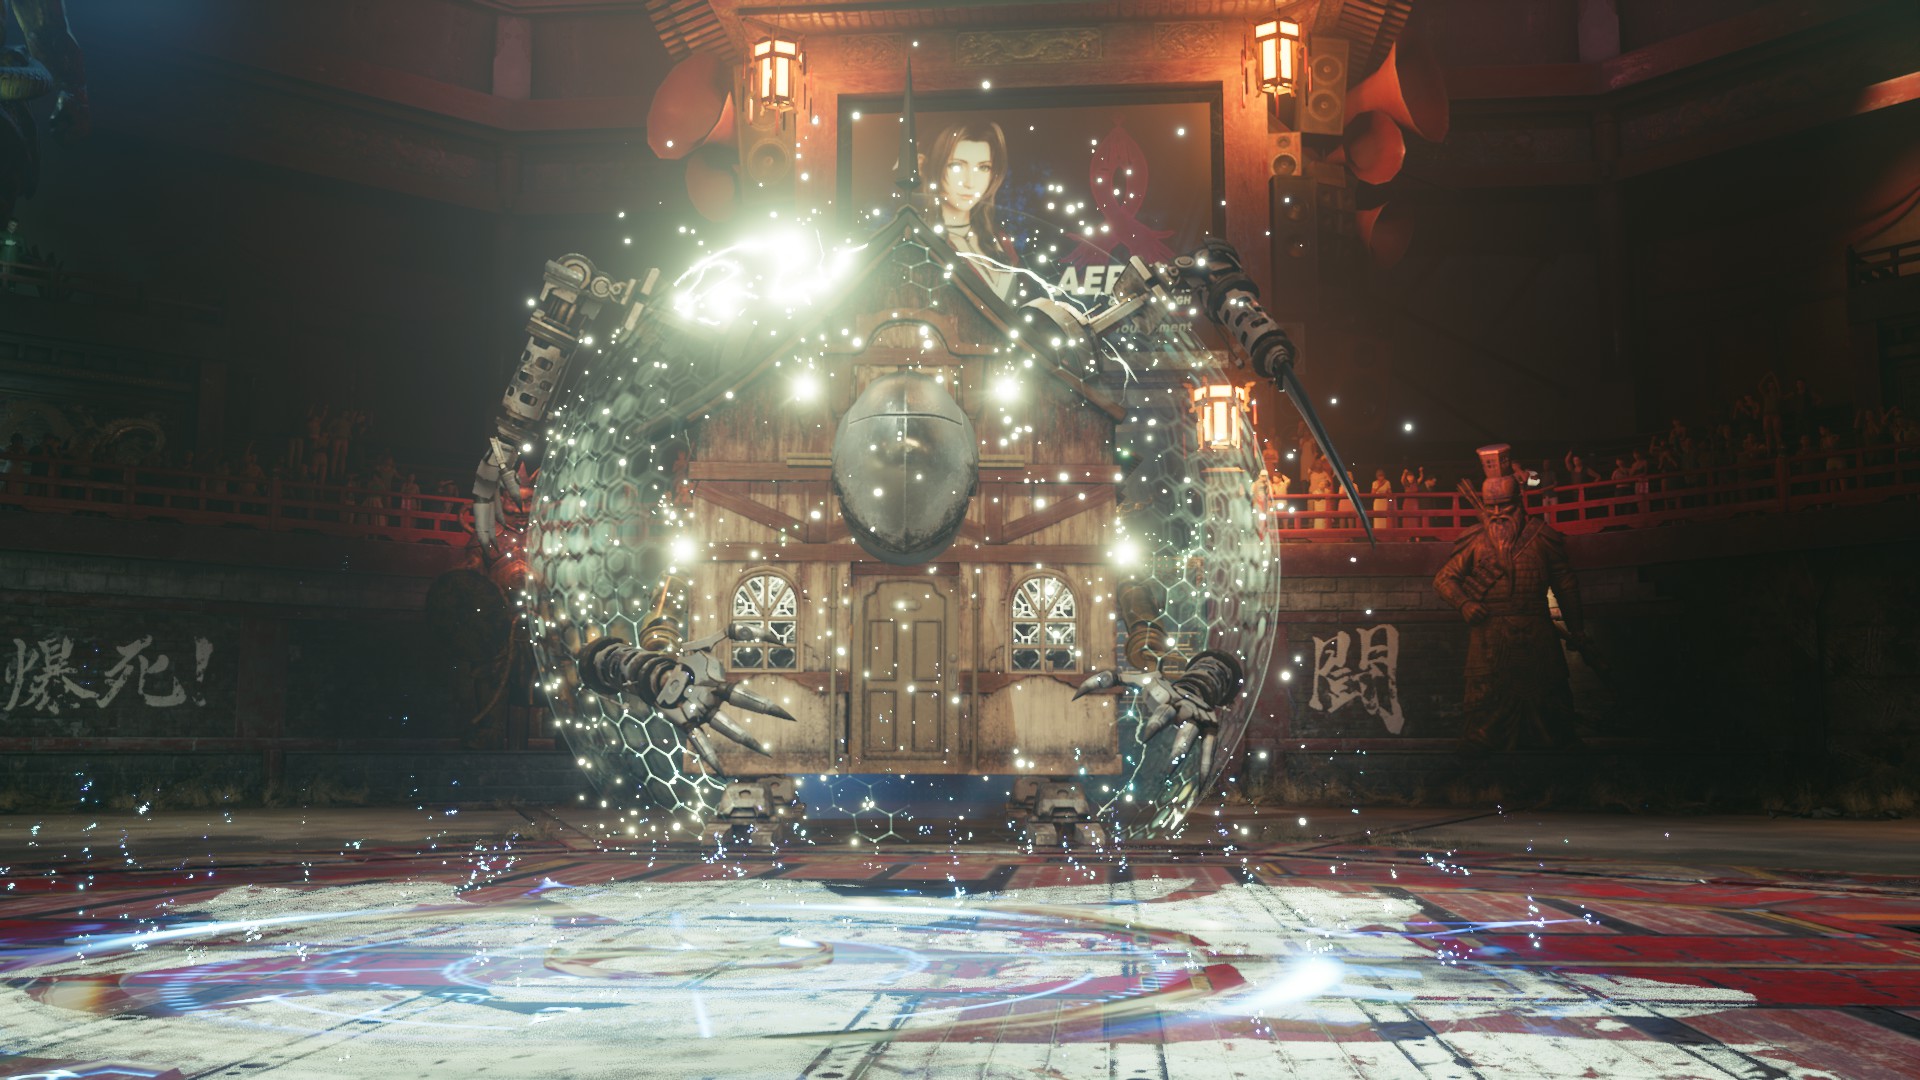
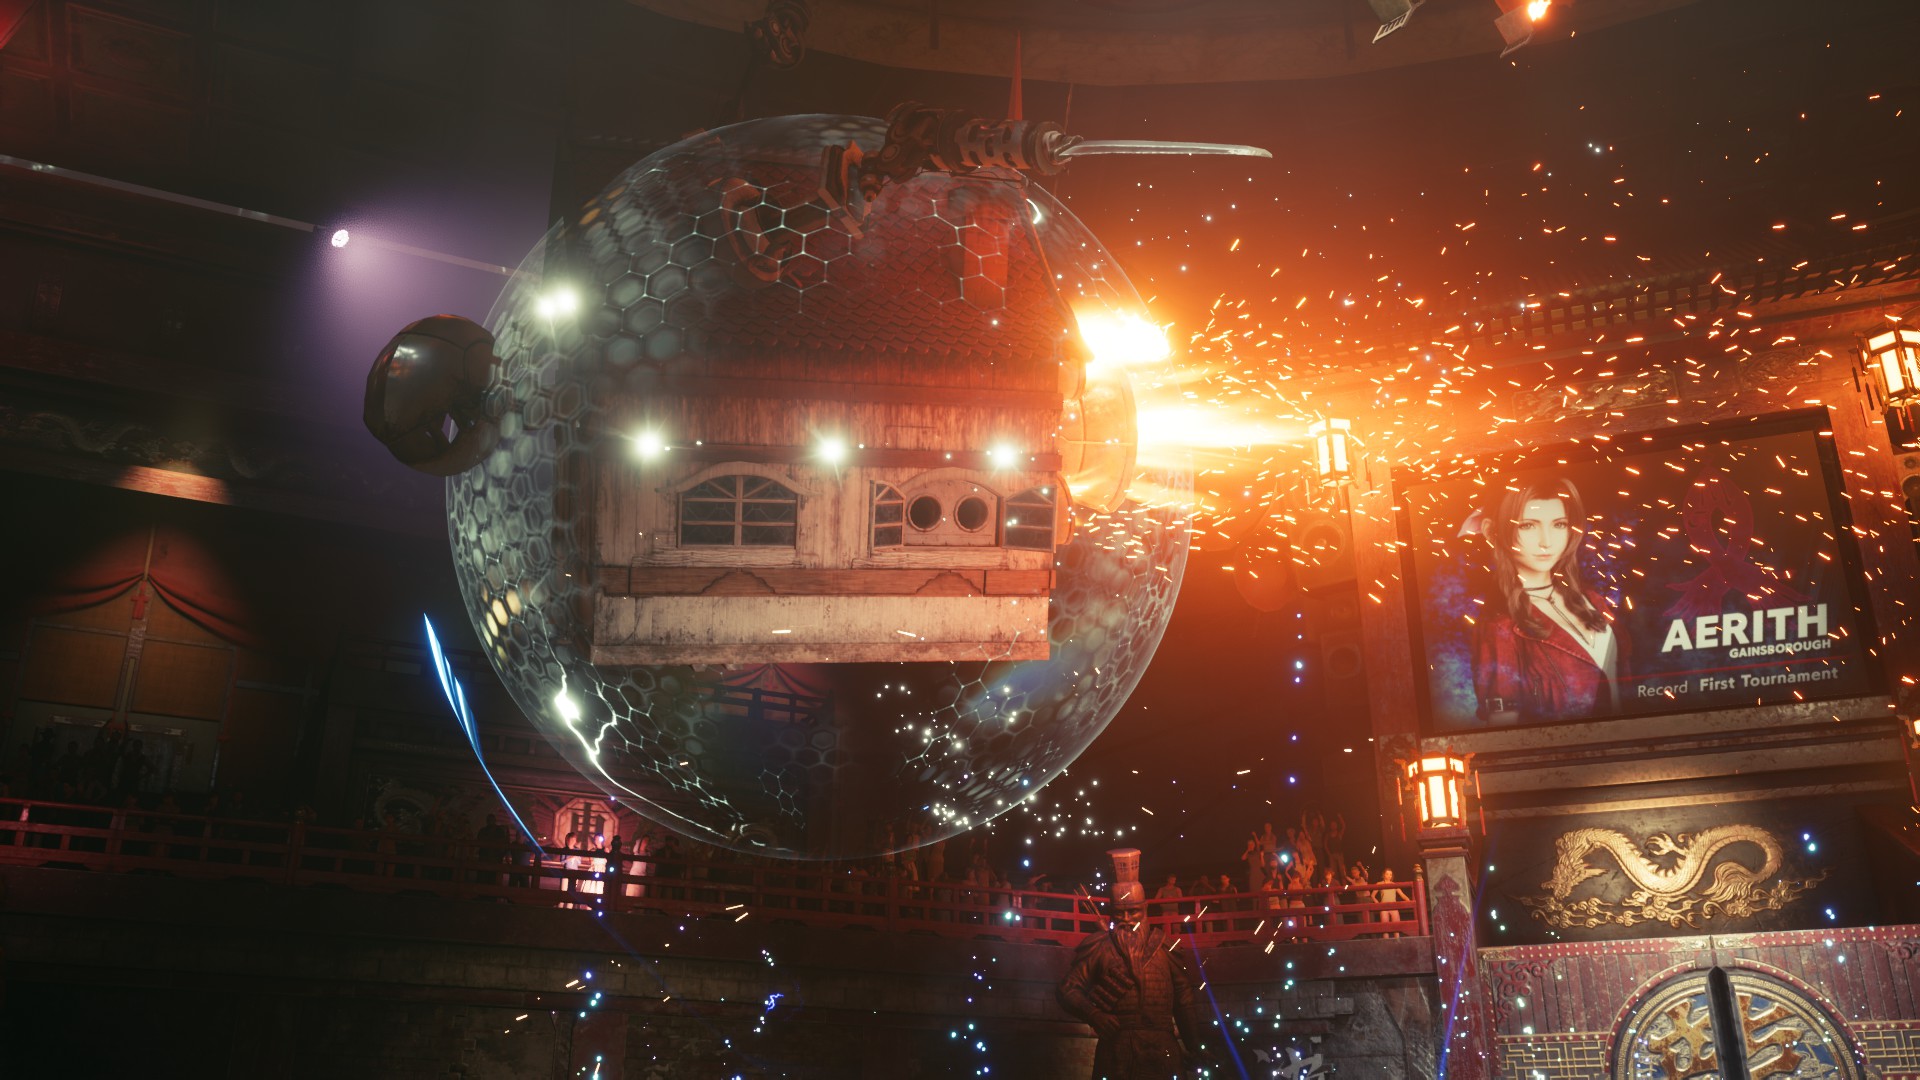
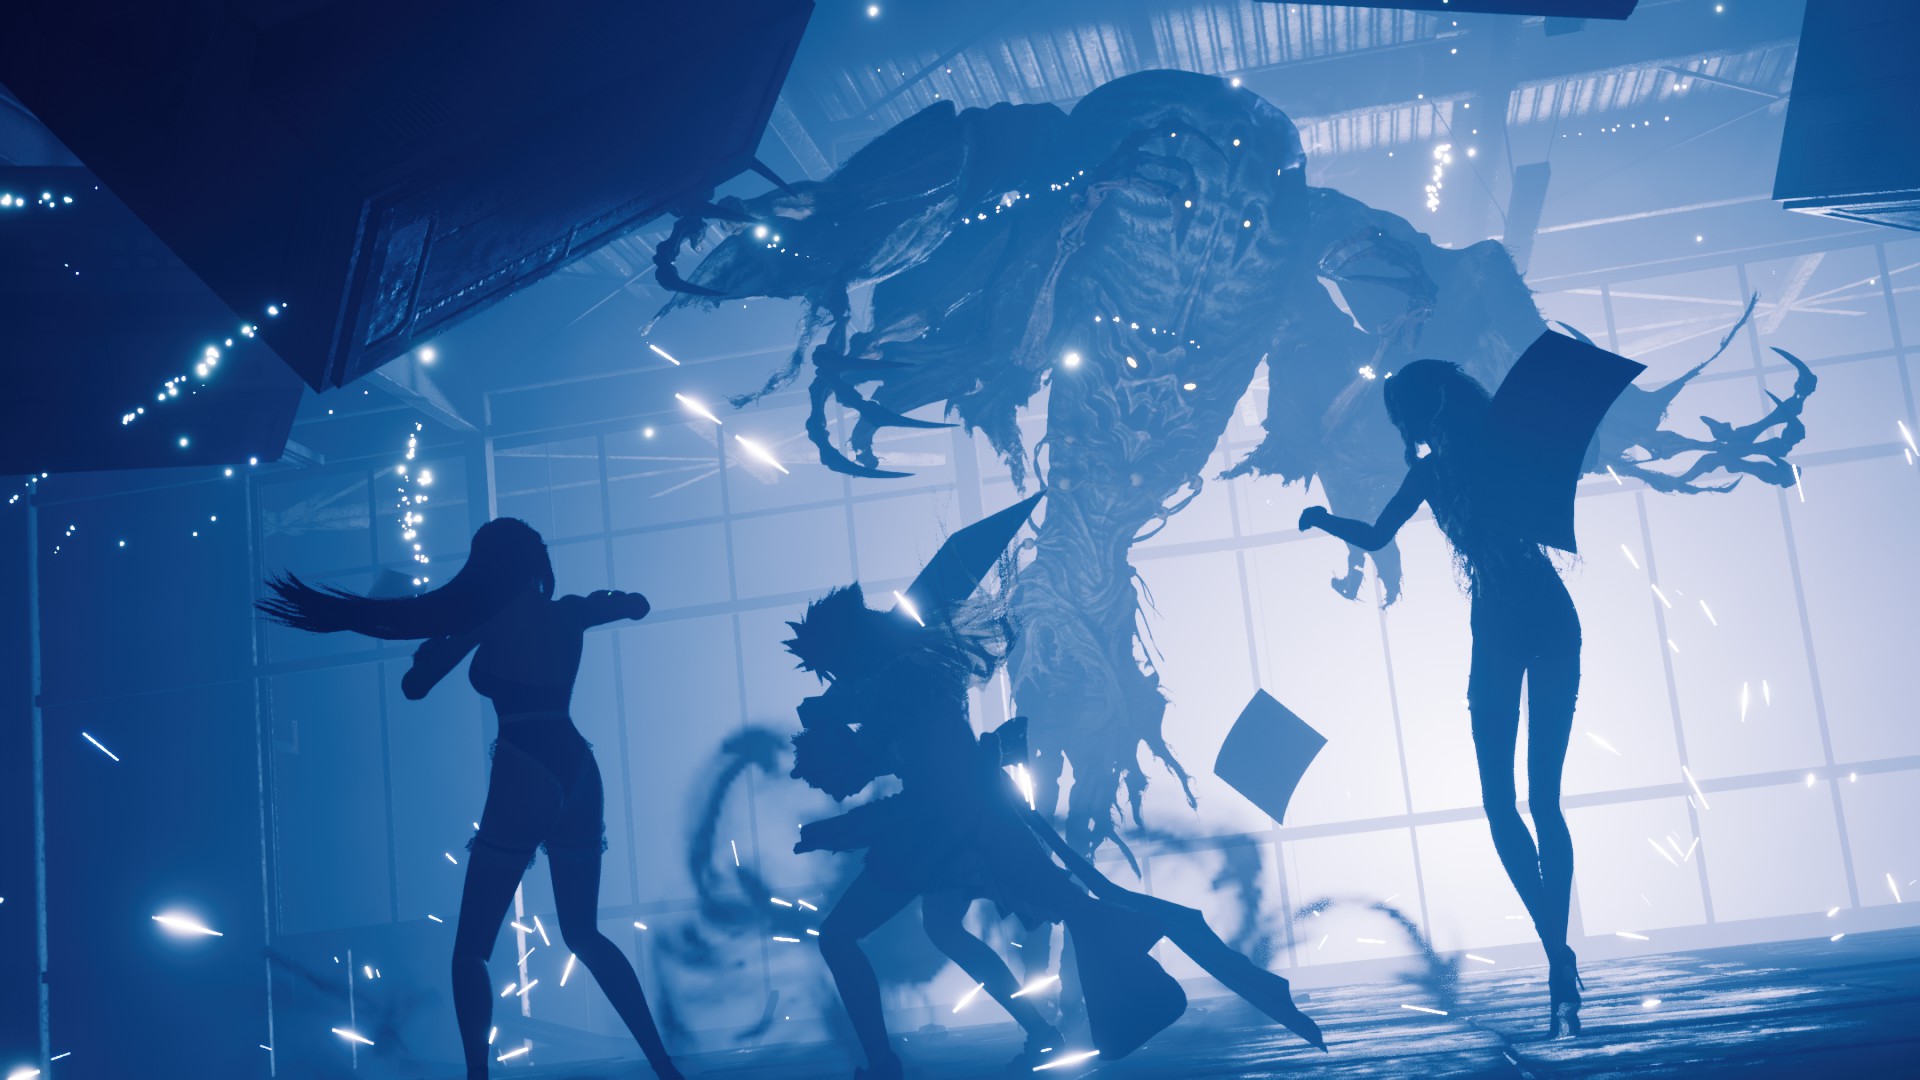
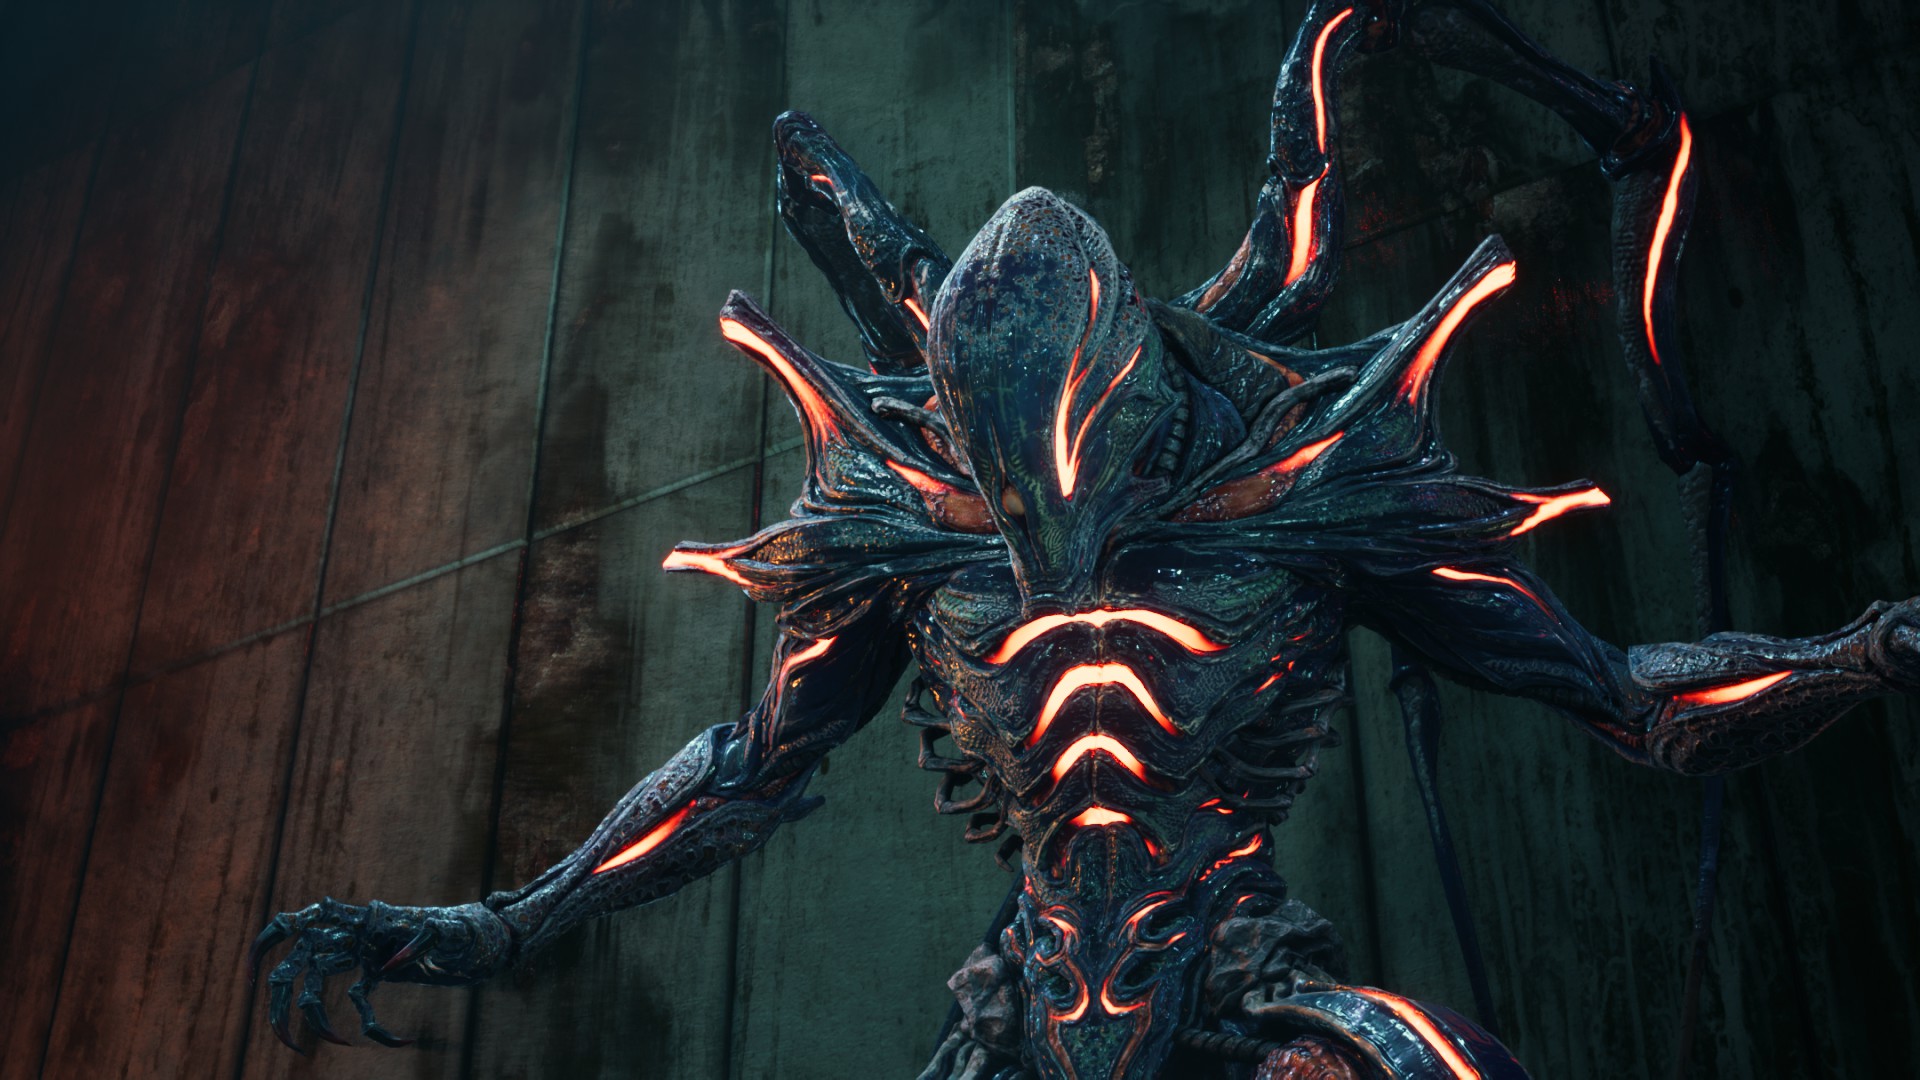
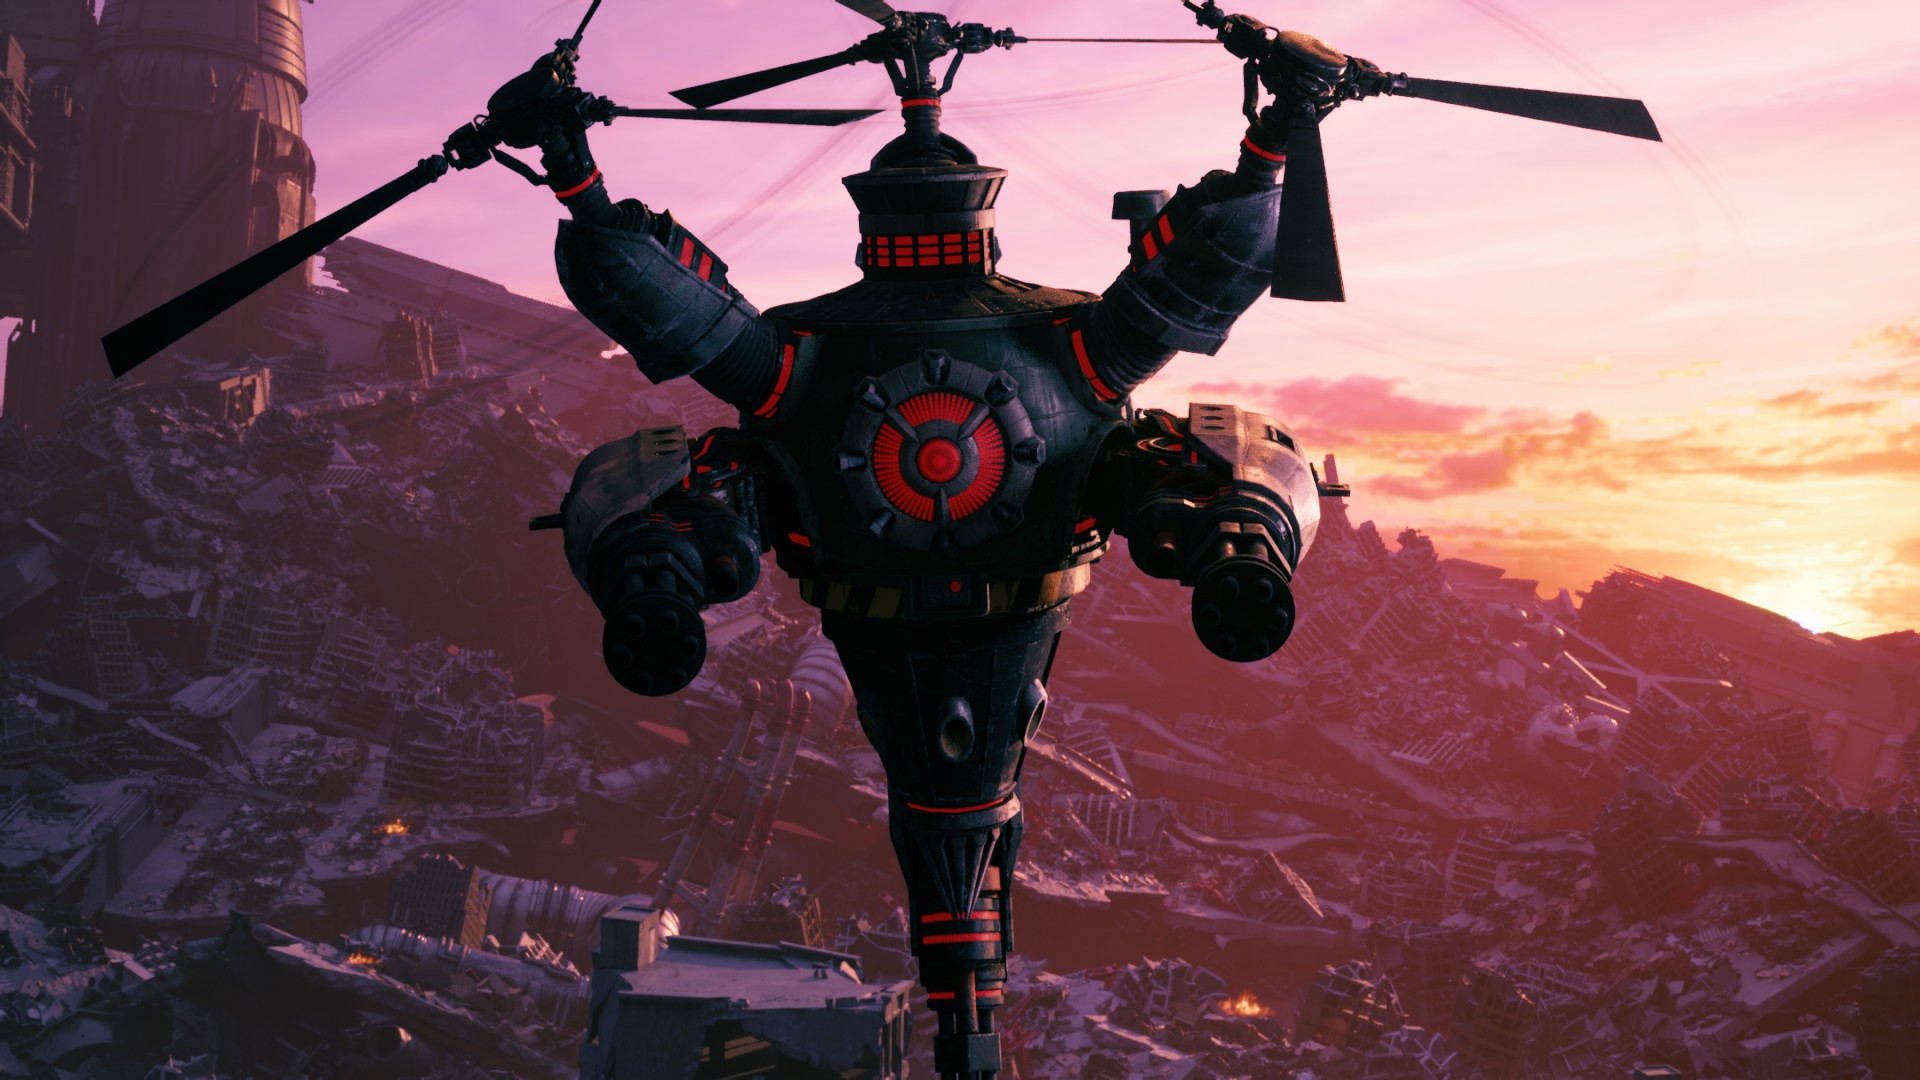
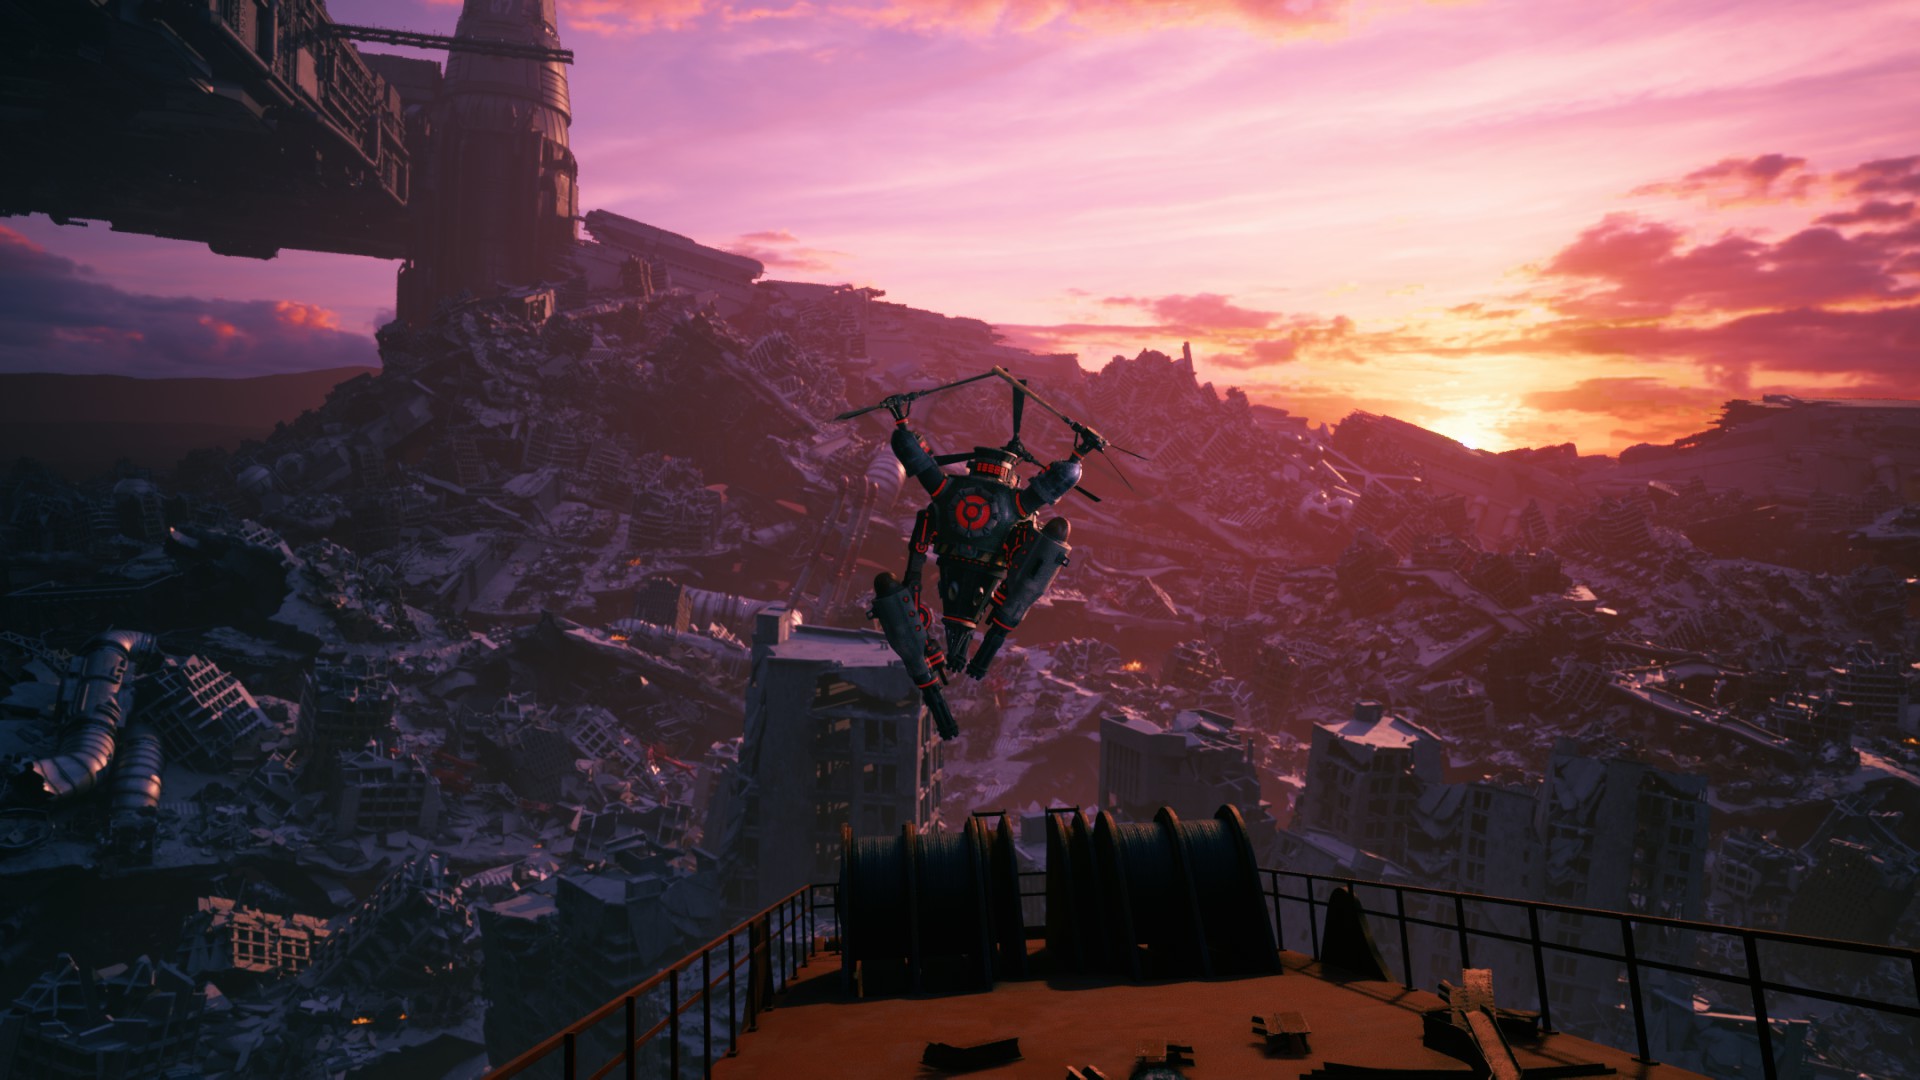
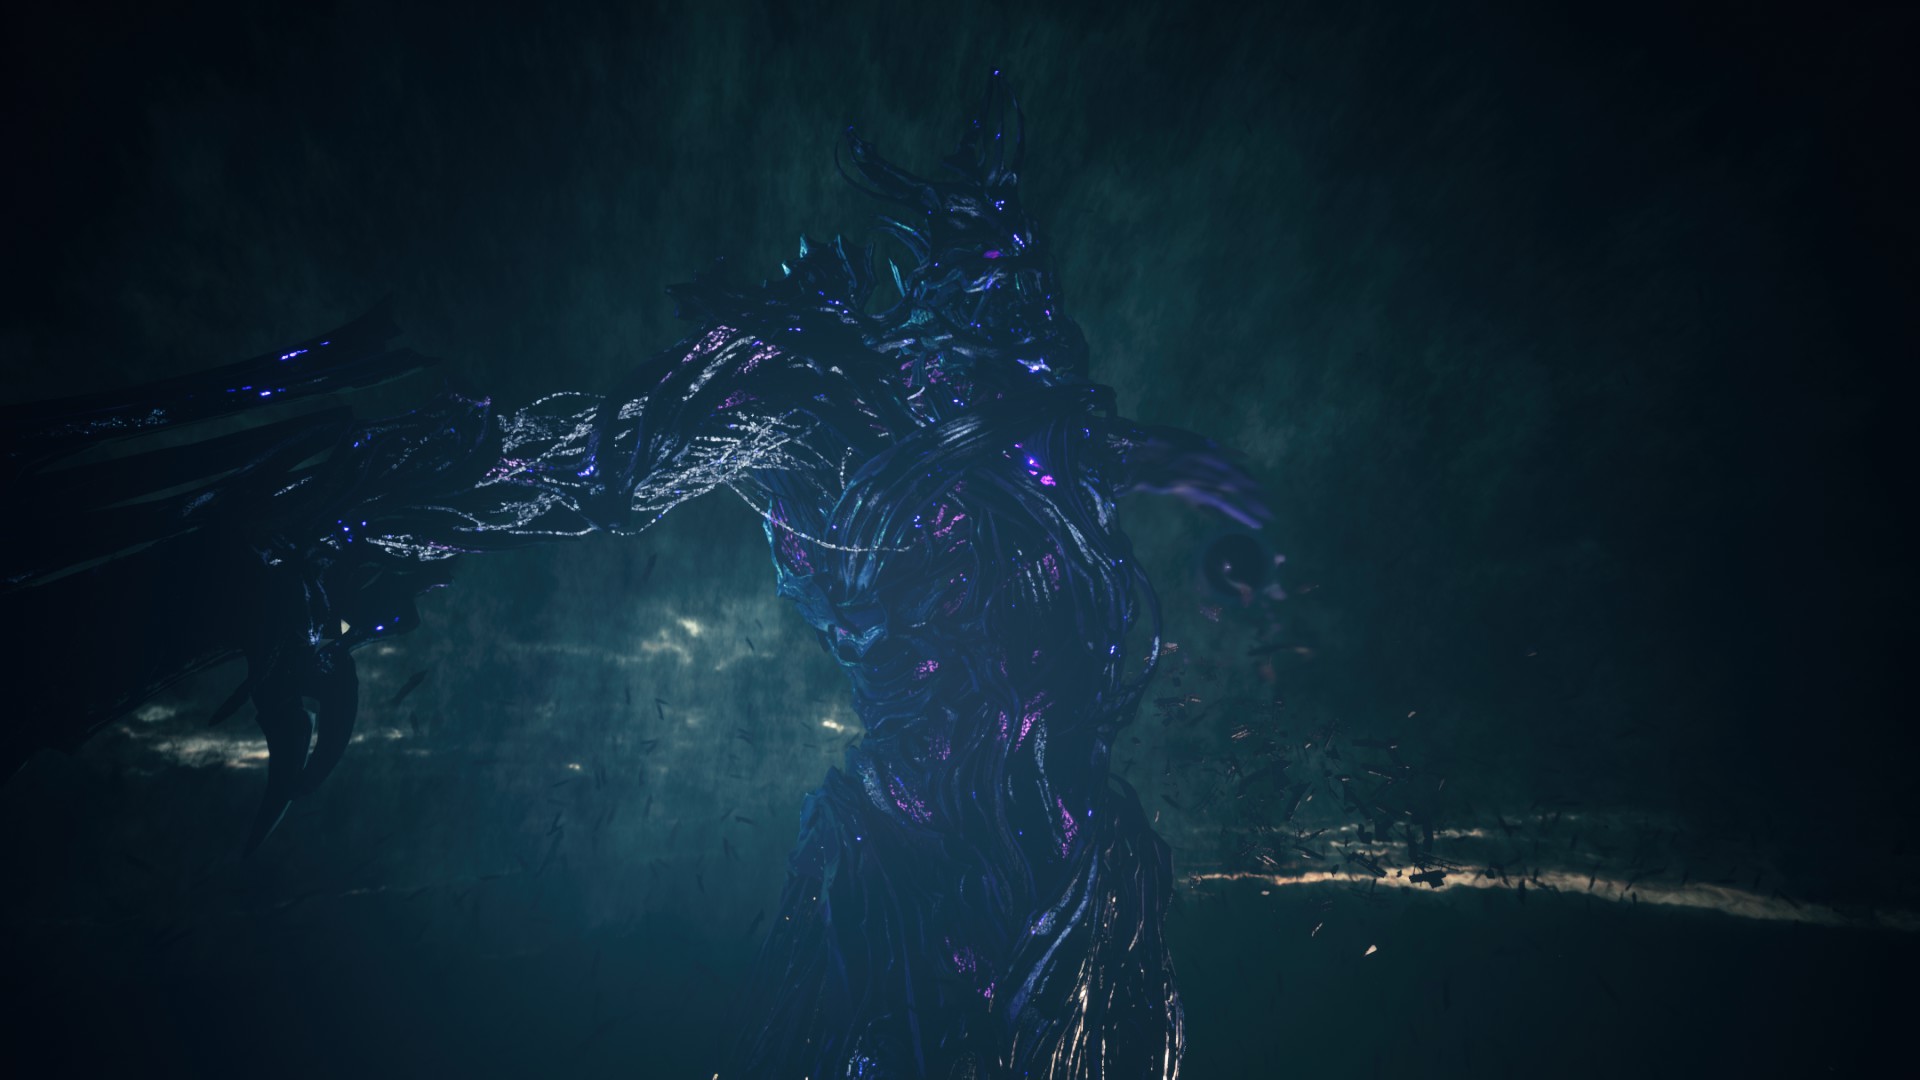
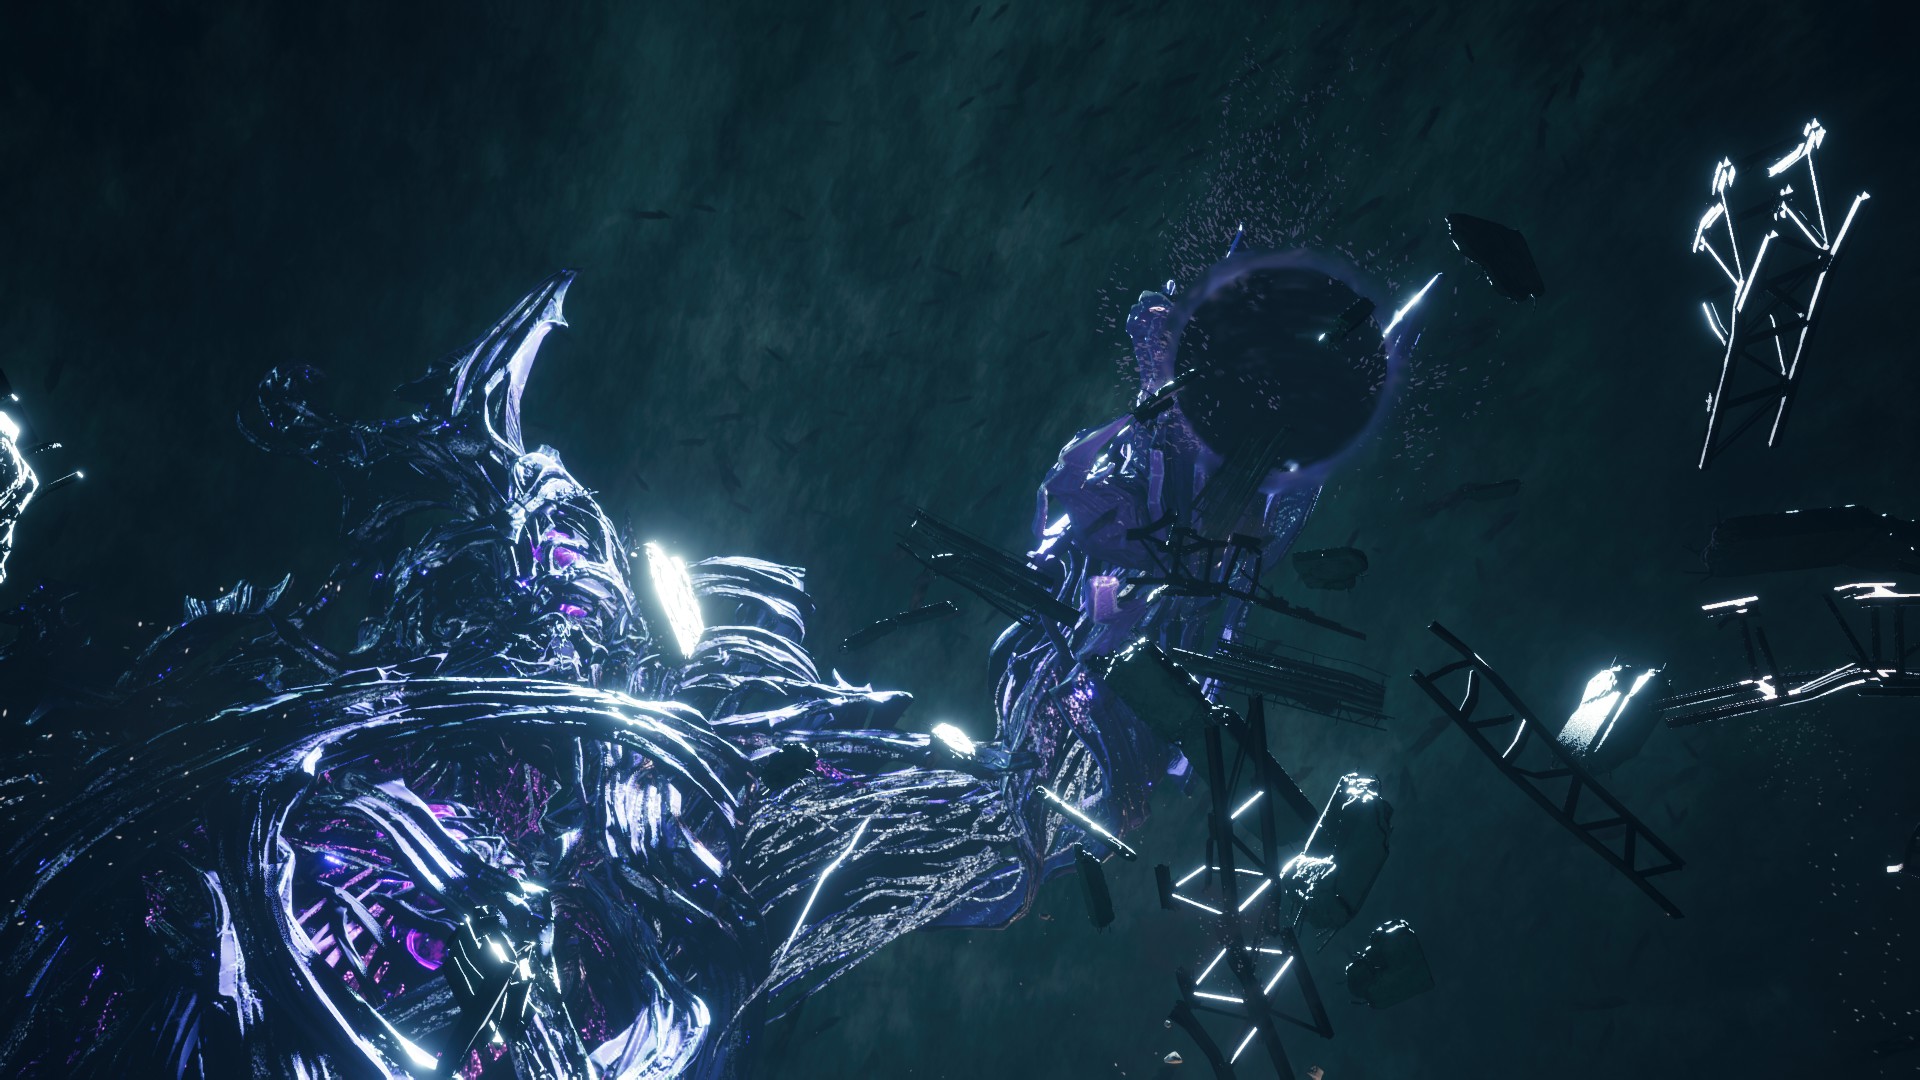
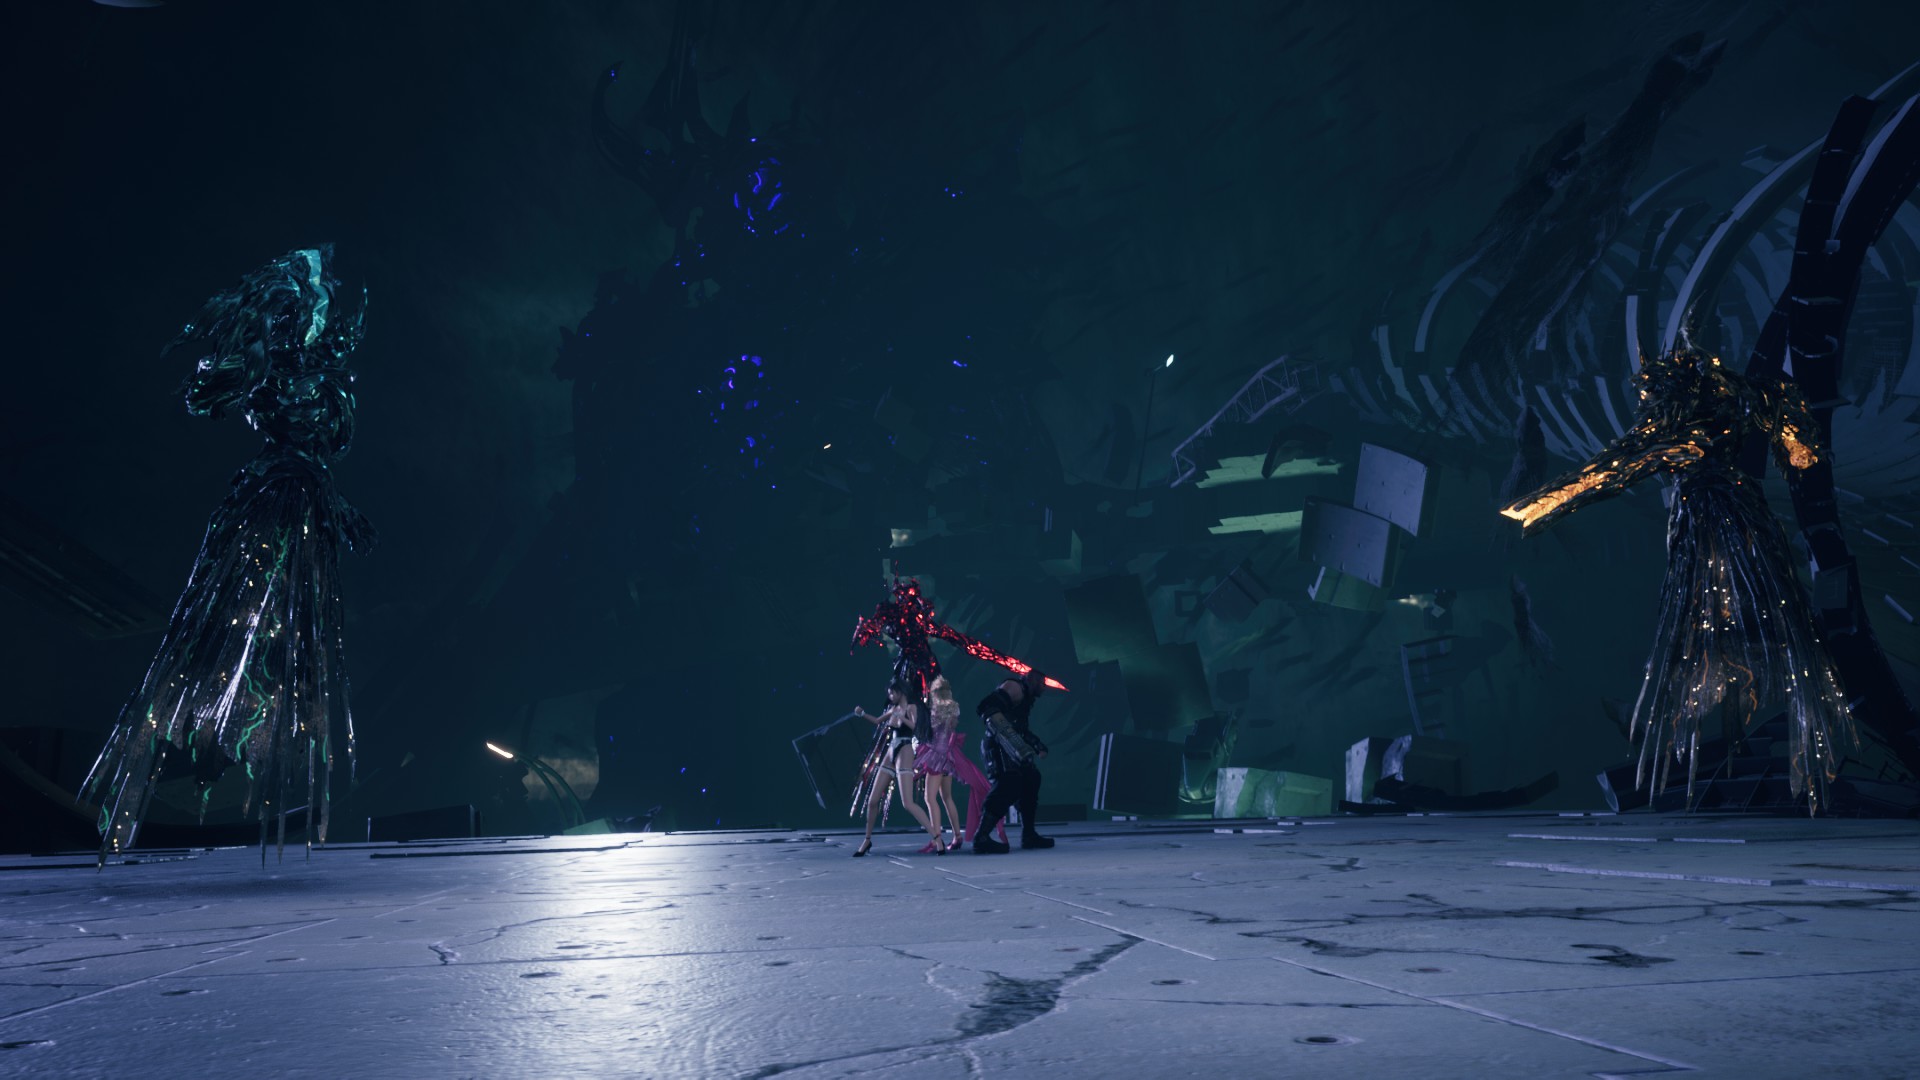
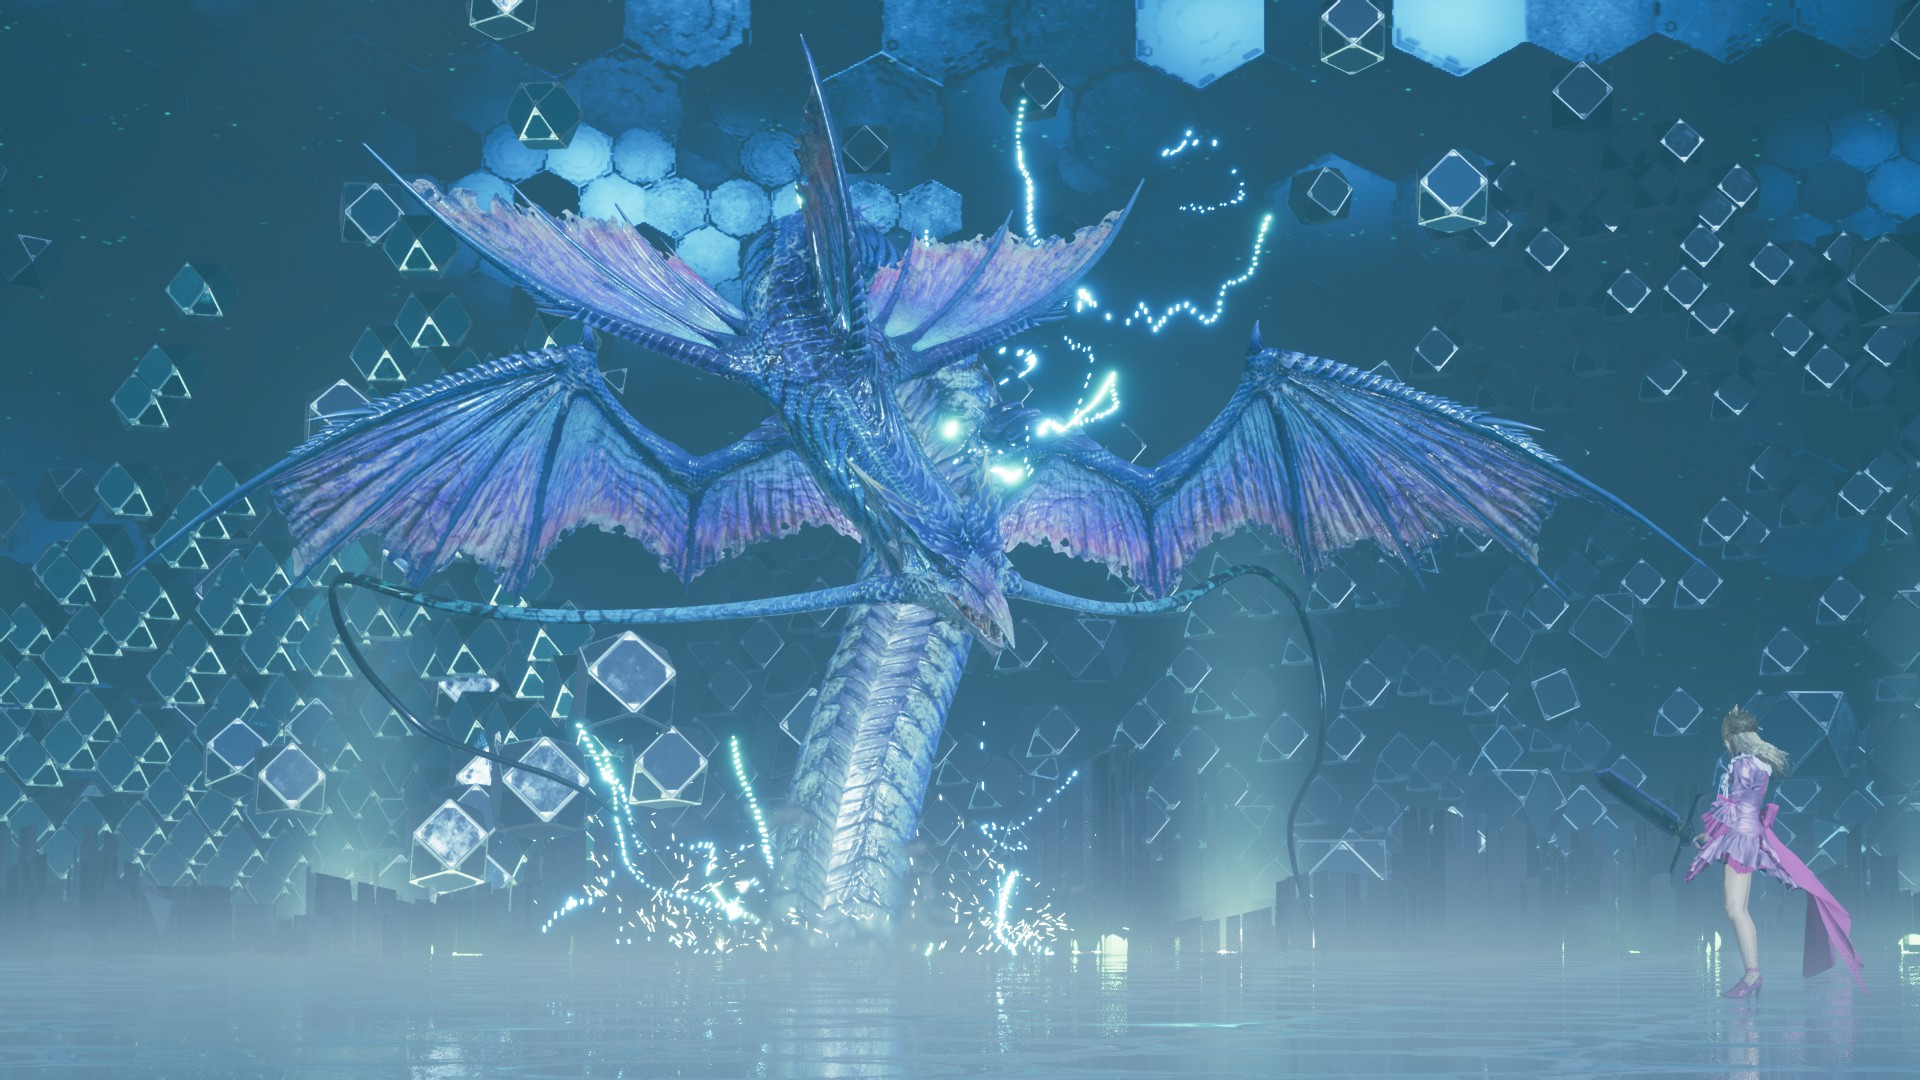
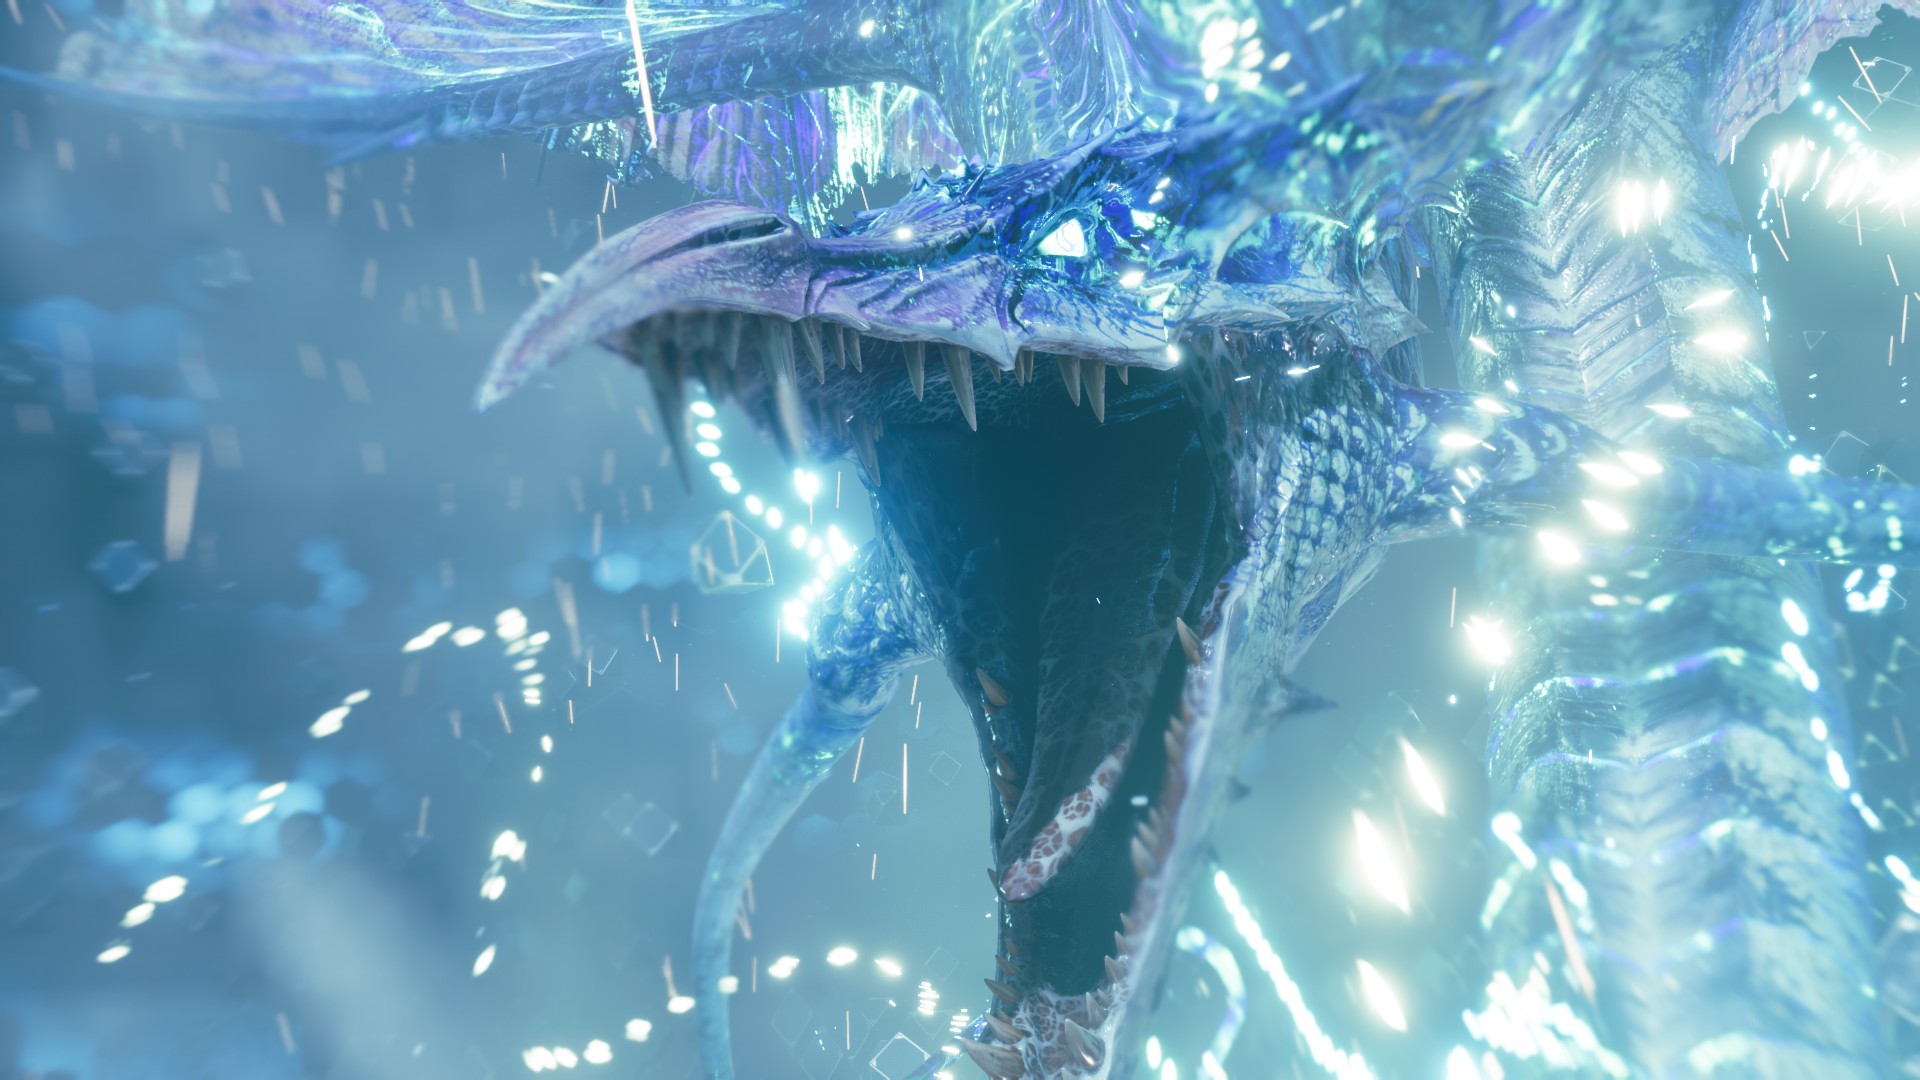
Actually, I've decided not to include the Pride and Joy Prototype battle that is available in Shinra Combat Simulator because the strategy for this battle is extremely complex and it would be a lot faster for players to watch a video instead of reading several lines of text. For example, the movements you need to do against the Leviathan fight needs to be very precise and I wouldn't be able to exemplify this well enough with just images and text. Also, the amount of reading would be very long.

I didn't realise that those stats are only for the Shinra Combat Simulator, I thought they changed as well in Portable VR. If what you say is true, then the stats are wrong and I need to change them.
WhiteExperience  [author] 30 Jan, 2023 @ 4:43pm 
@Quambas
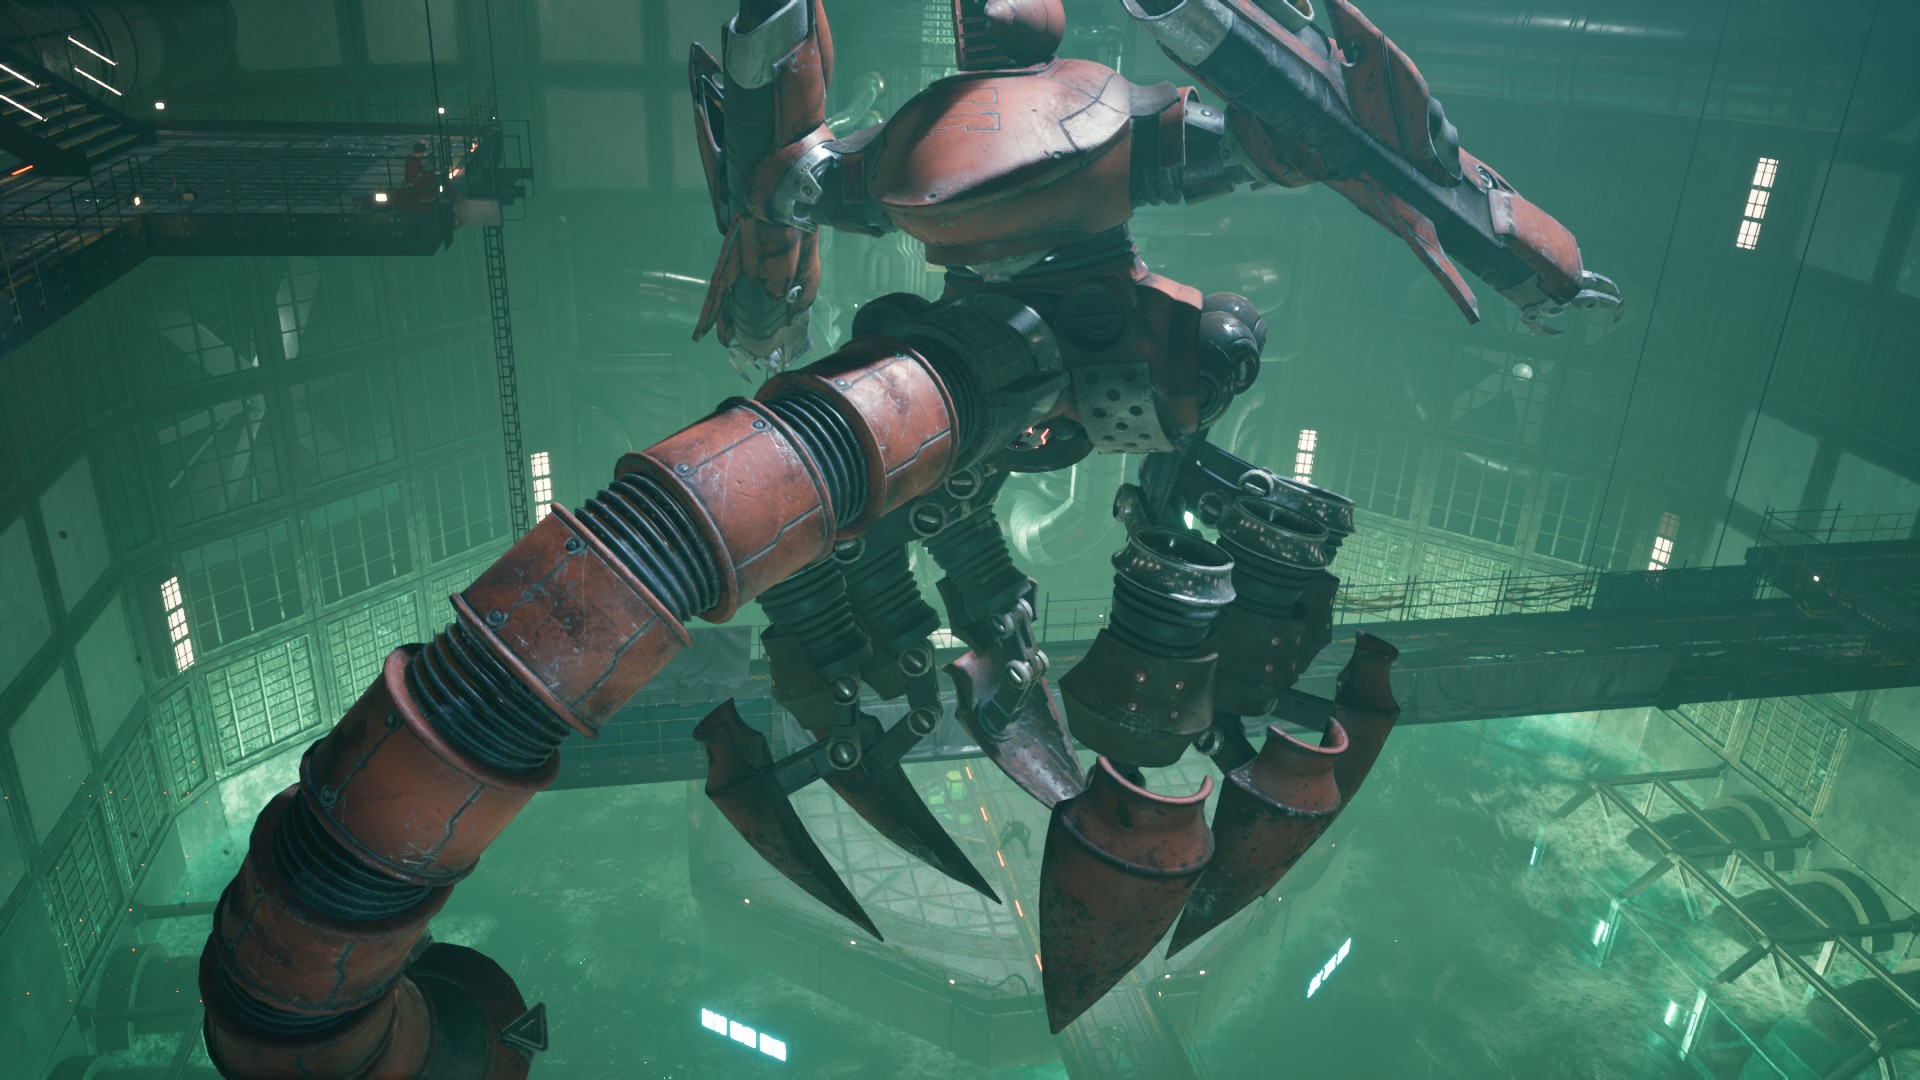
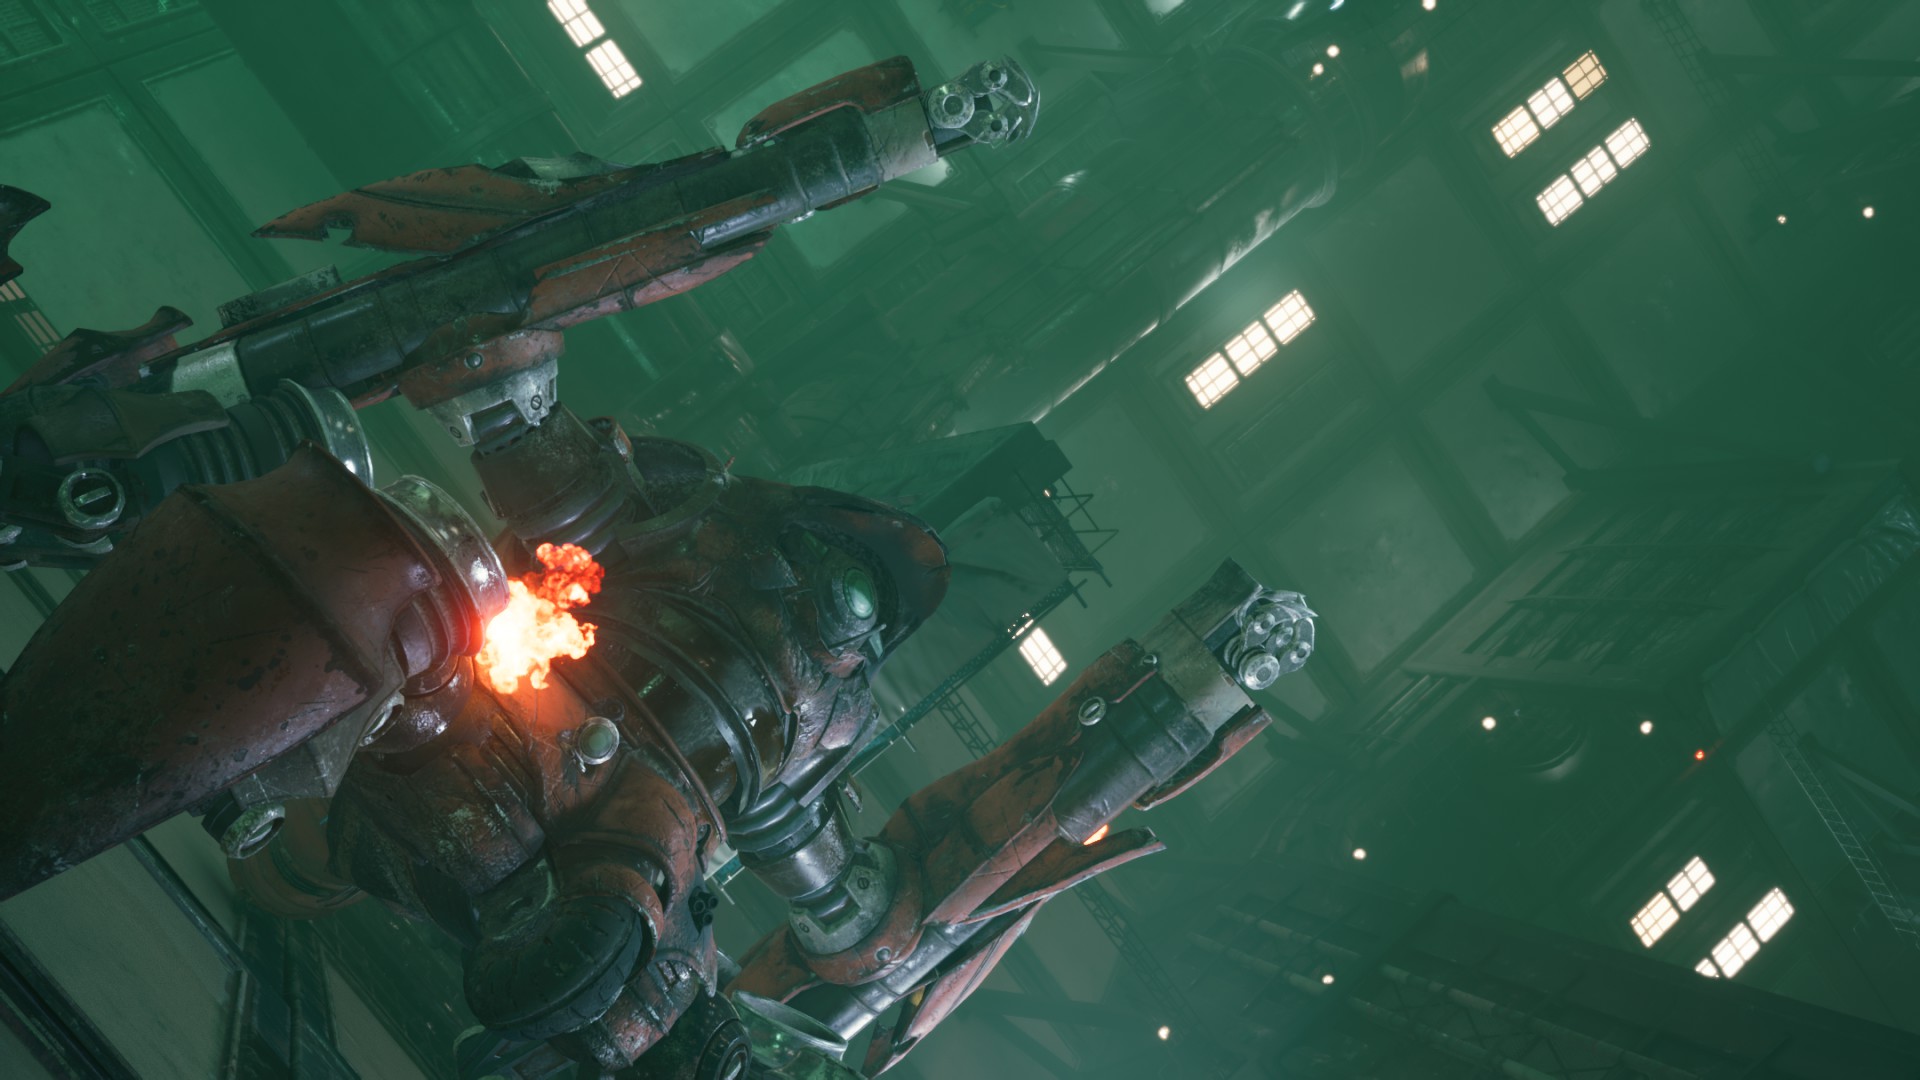
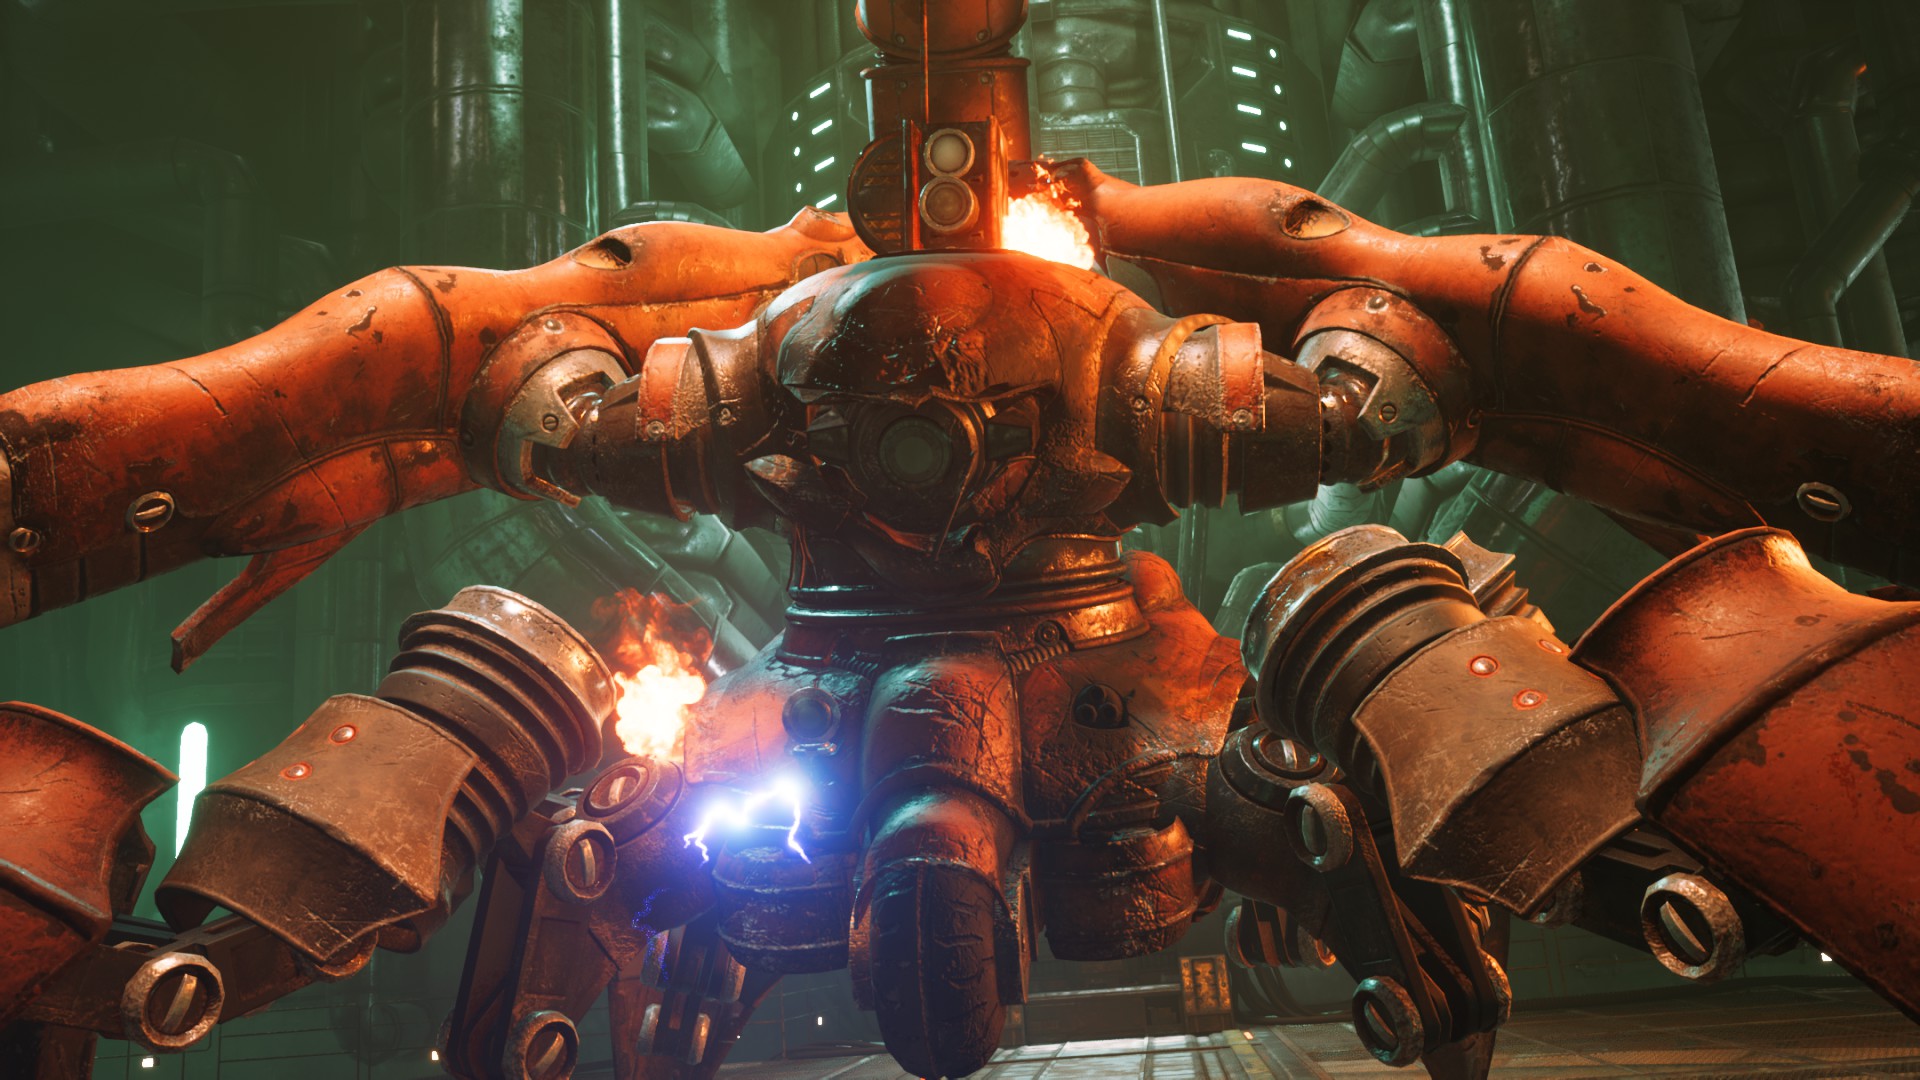
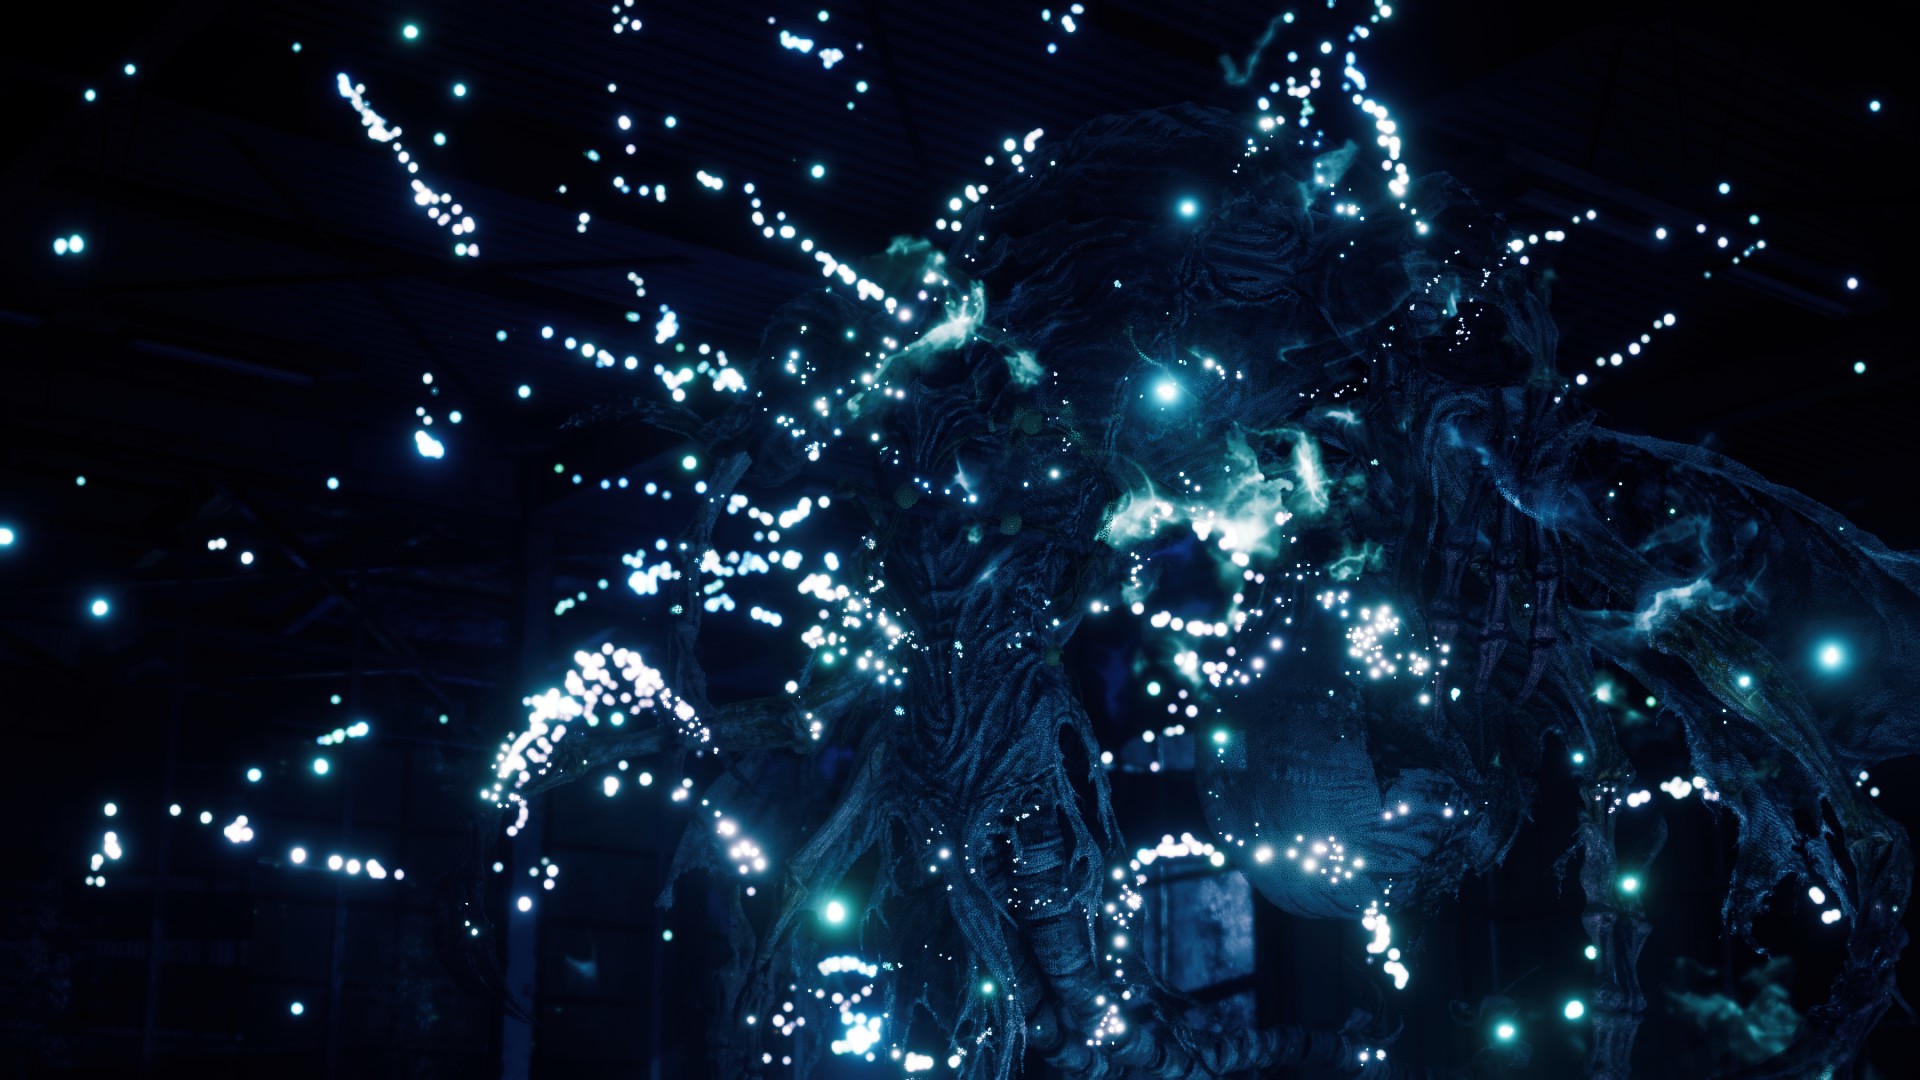
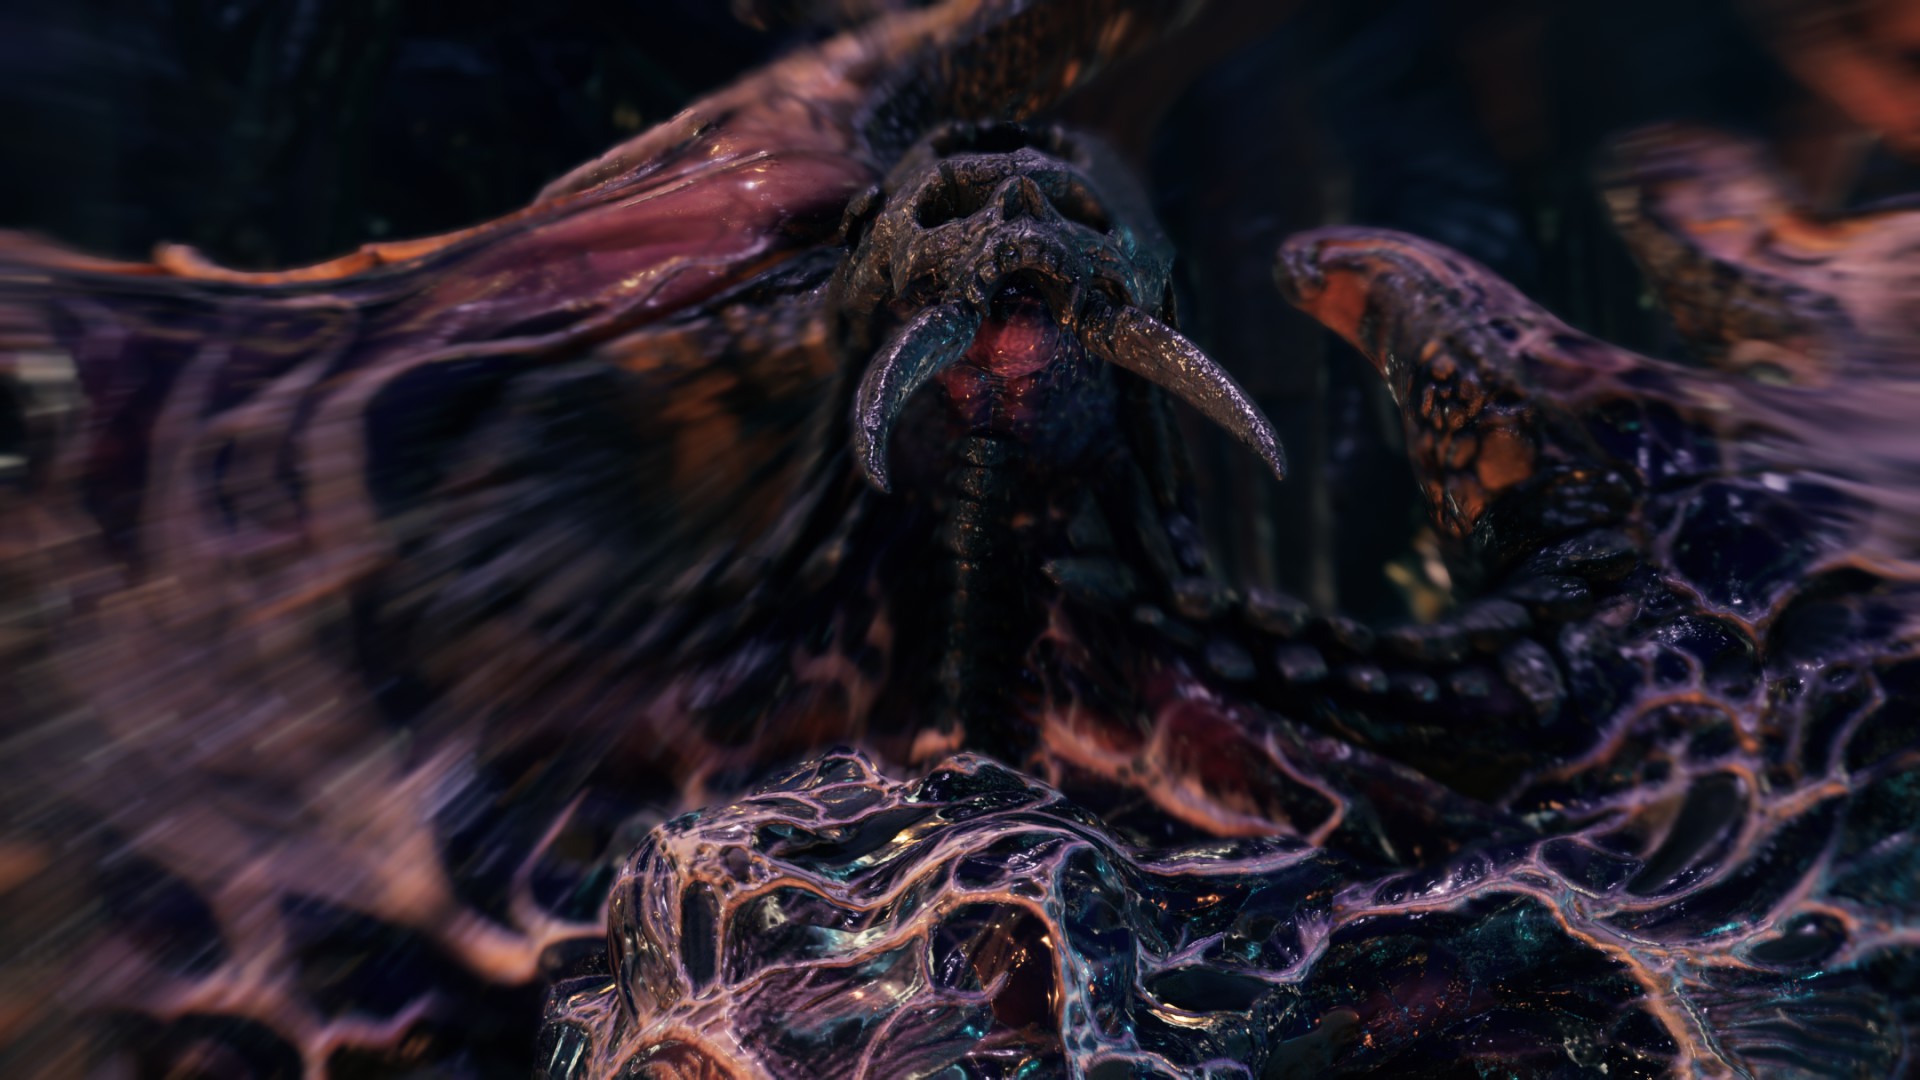
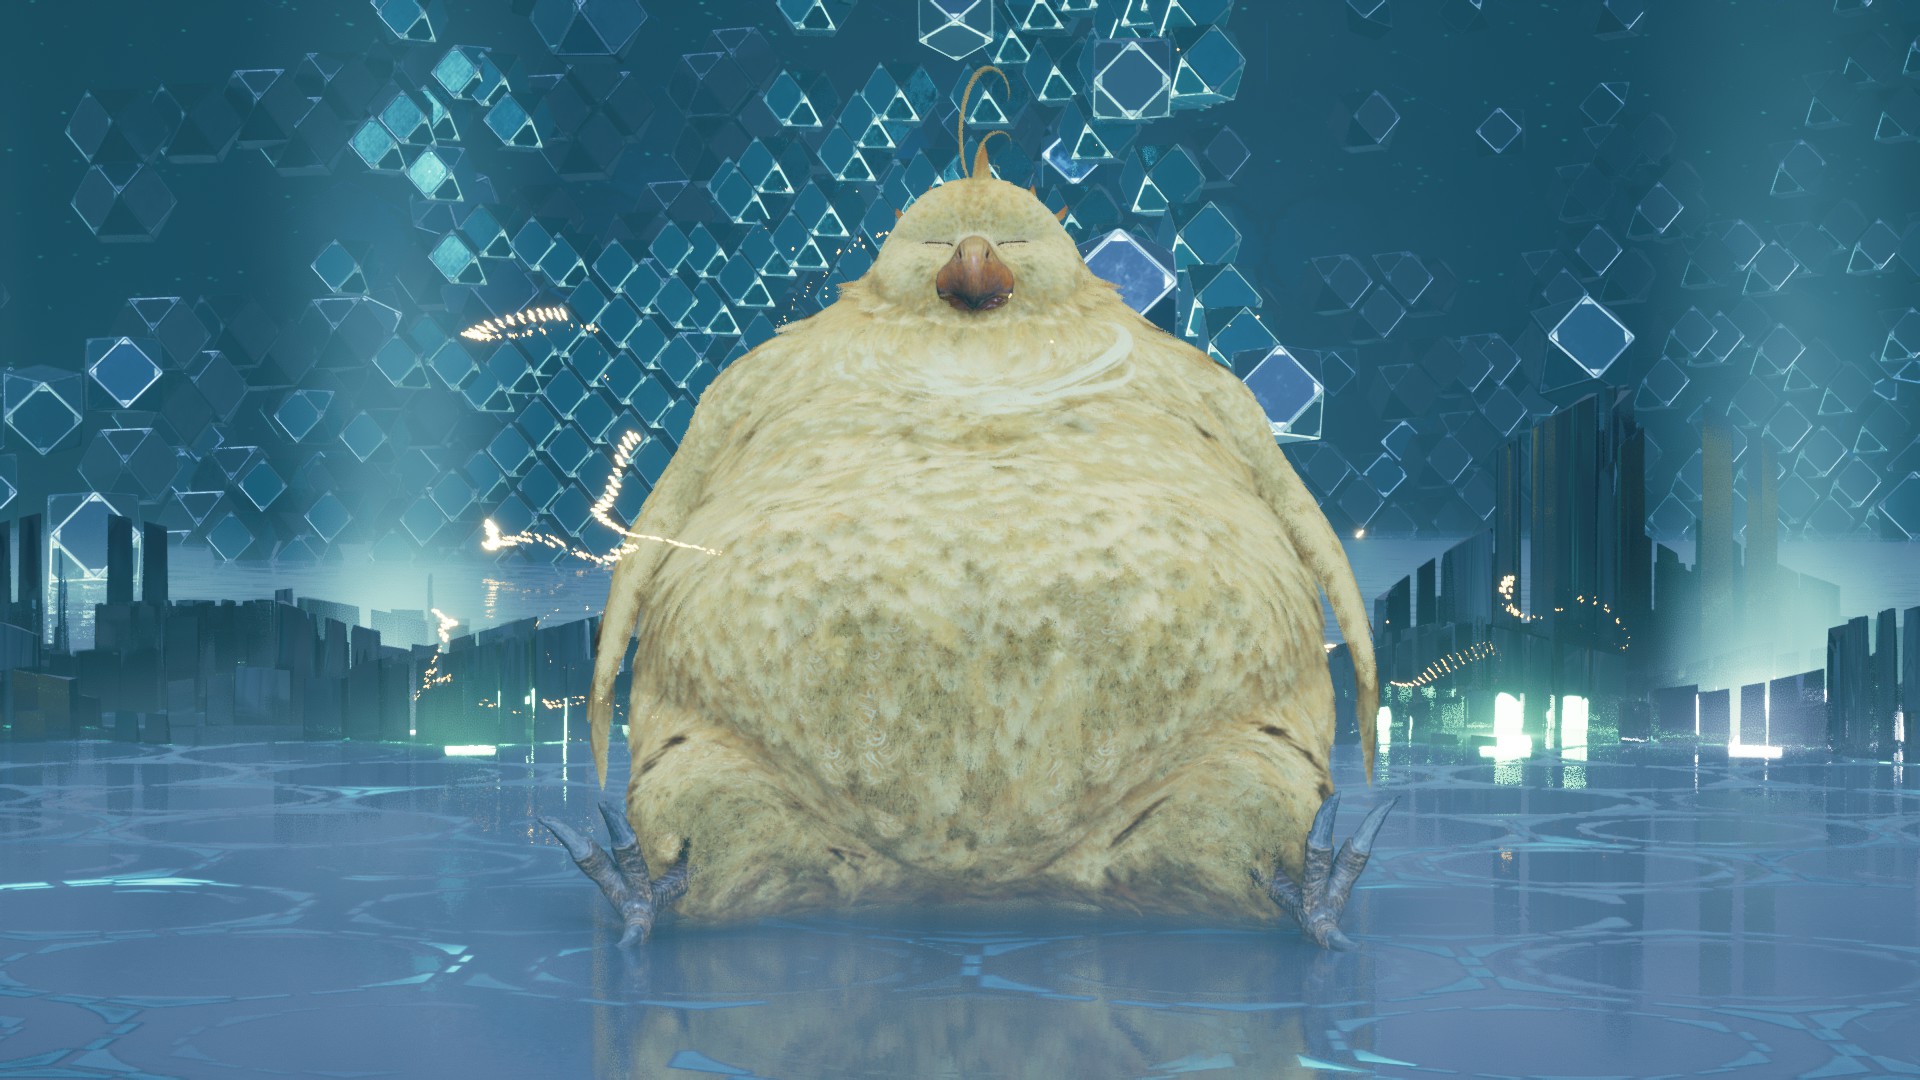
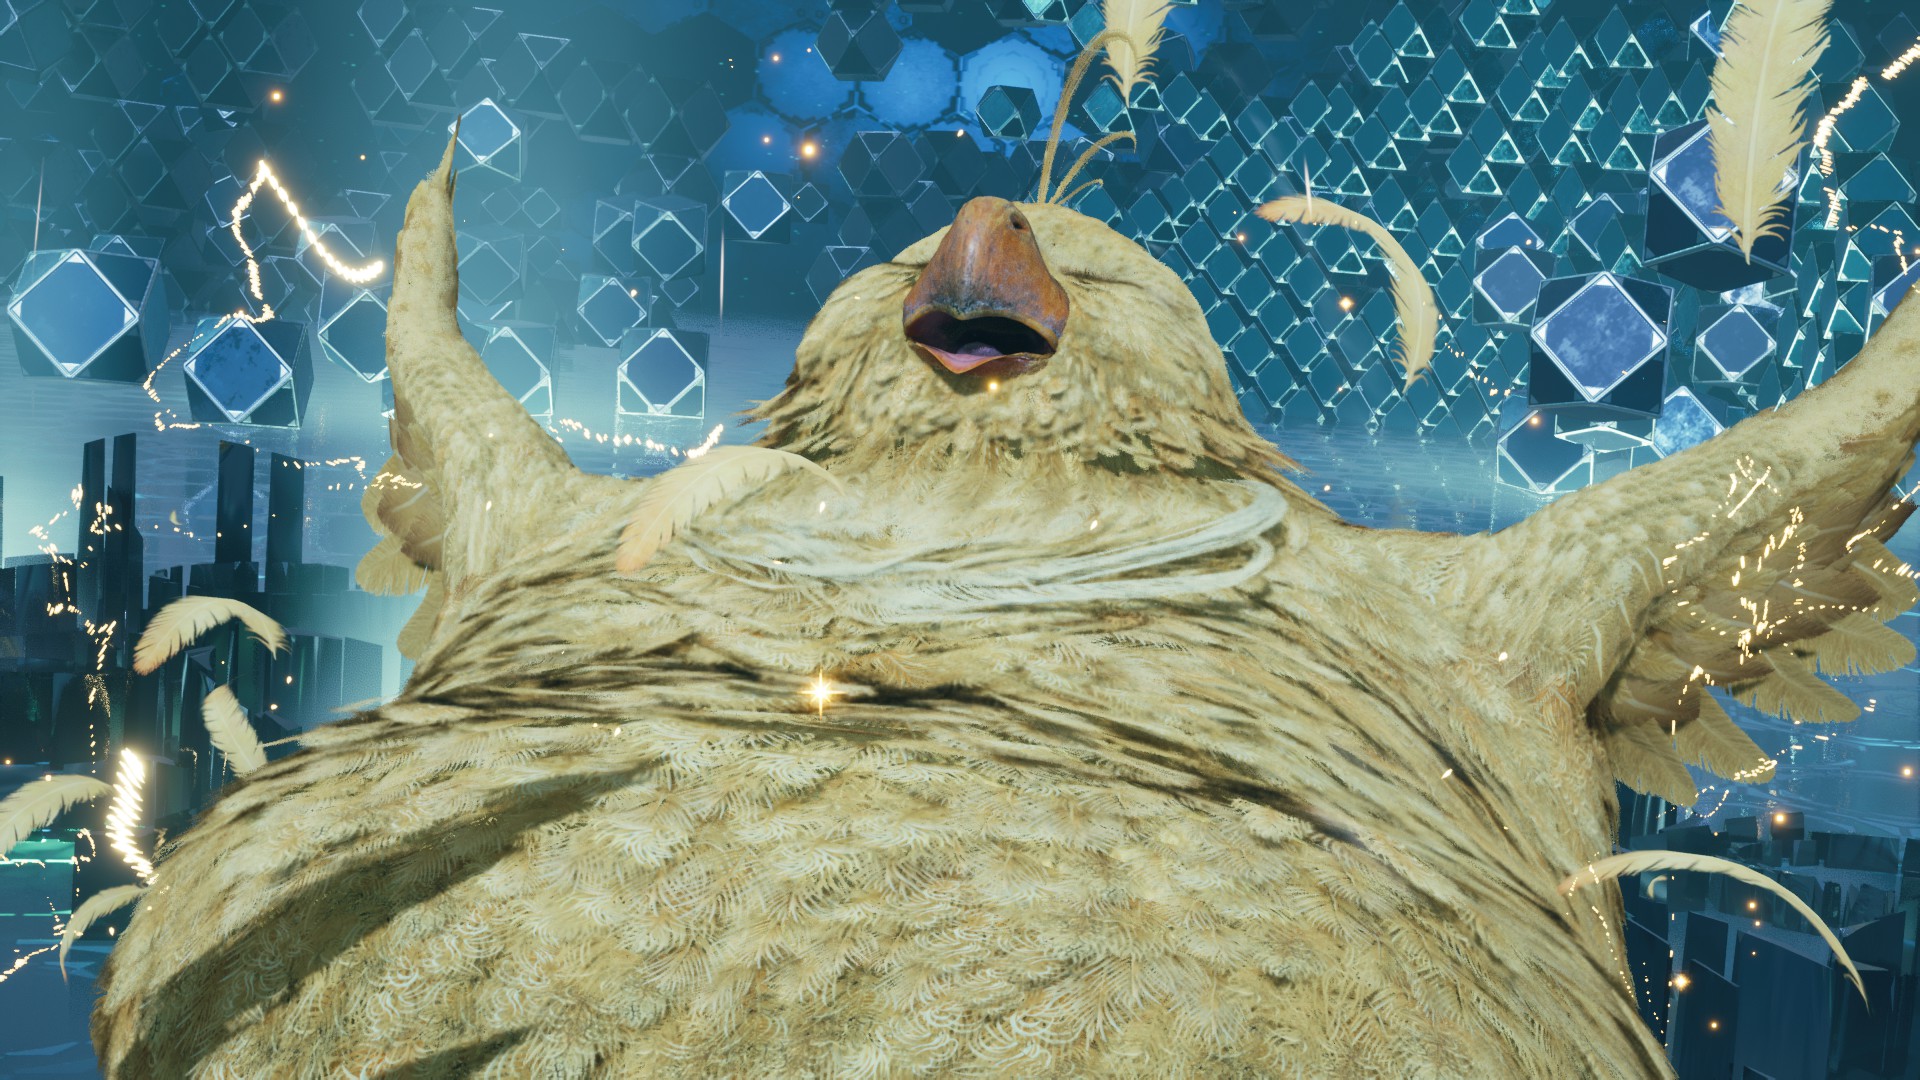
No, it doesn't. I thought I've said this in the guide, but I was wrong. The reason why I've included them is because they were quite easy to beat compared to Hell House, Airbuster, Ghoul and Eligor. Because of this I just thought "well, why not include them". Also, I only got Bahamut while playing through Hard Mode and had skipped it on my first playthrough.
Mako 30 Jan, 2023 @ 10:52am 
@Quambas

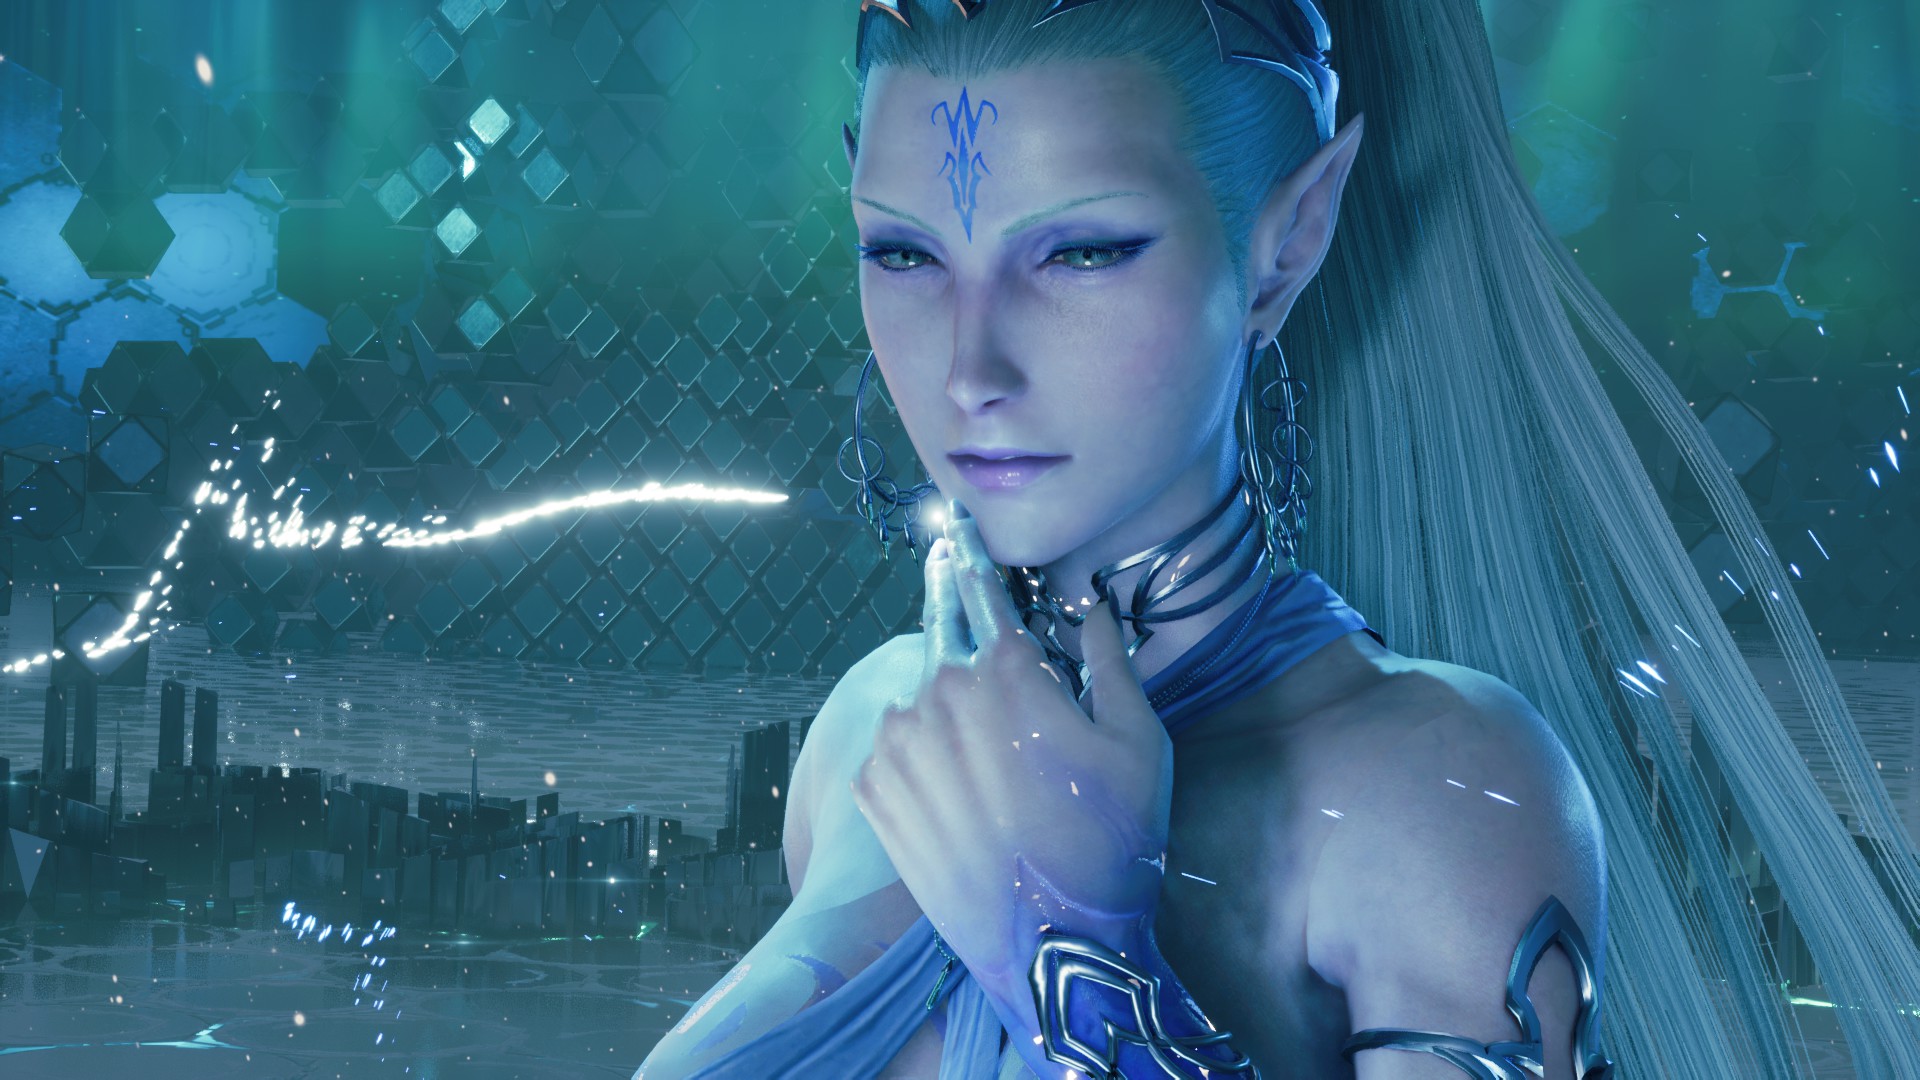
Portable VR summons arent affected by current difficulty. Early summons (shiva and fat choco) get higher stats when you progress through main story (revisiting chapters with chapter select wont make them weaker) and reach their normal max when you finish the game and unlock chapter select.

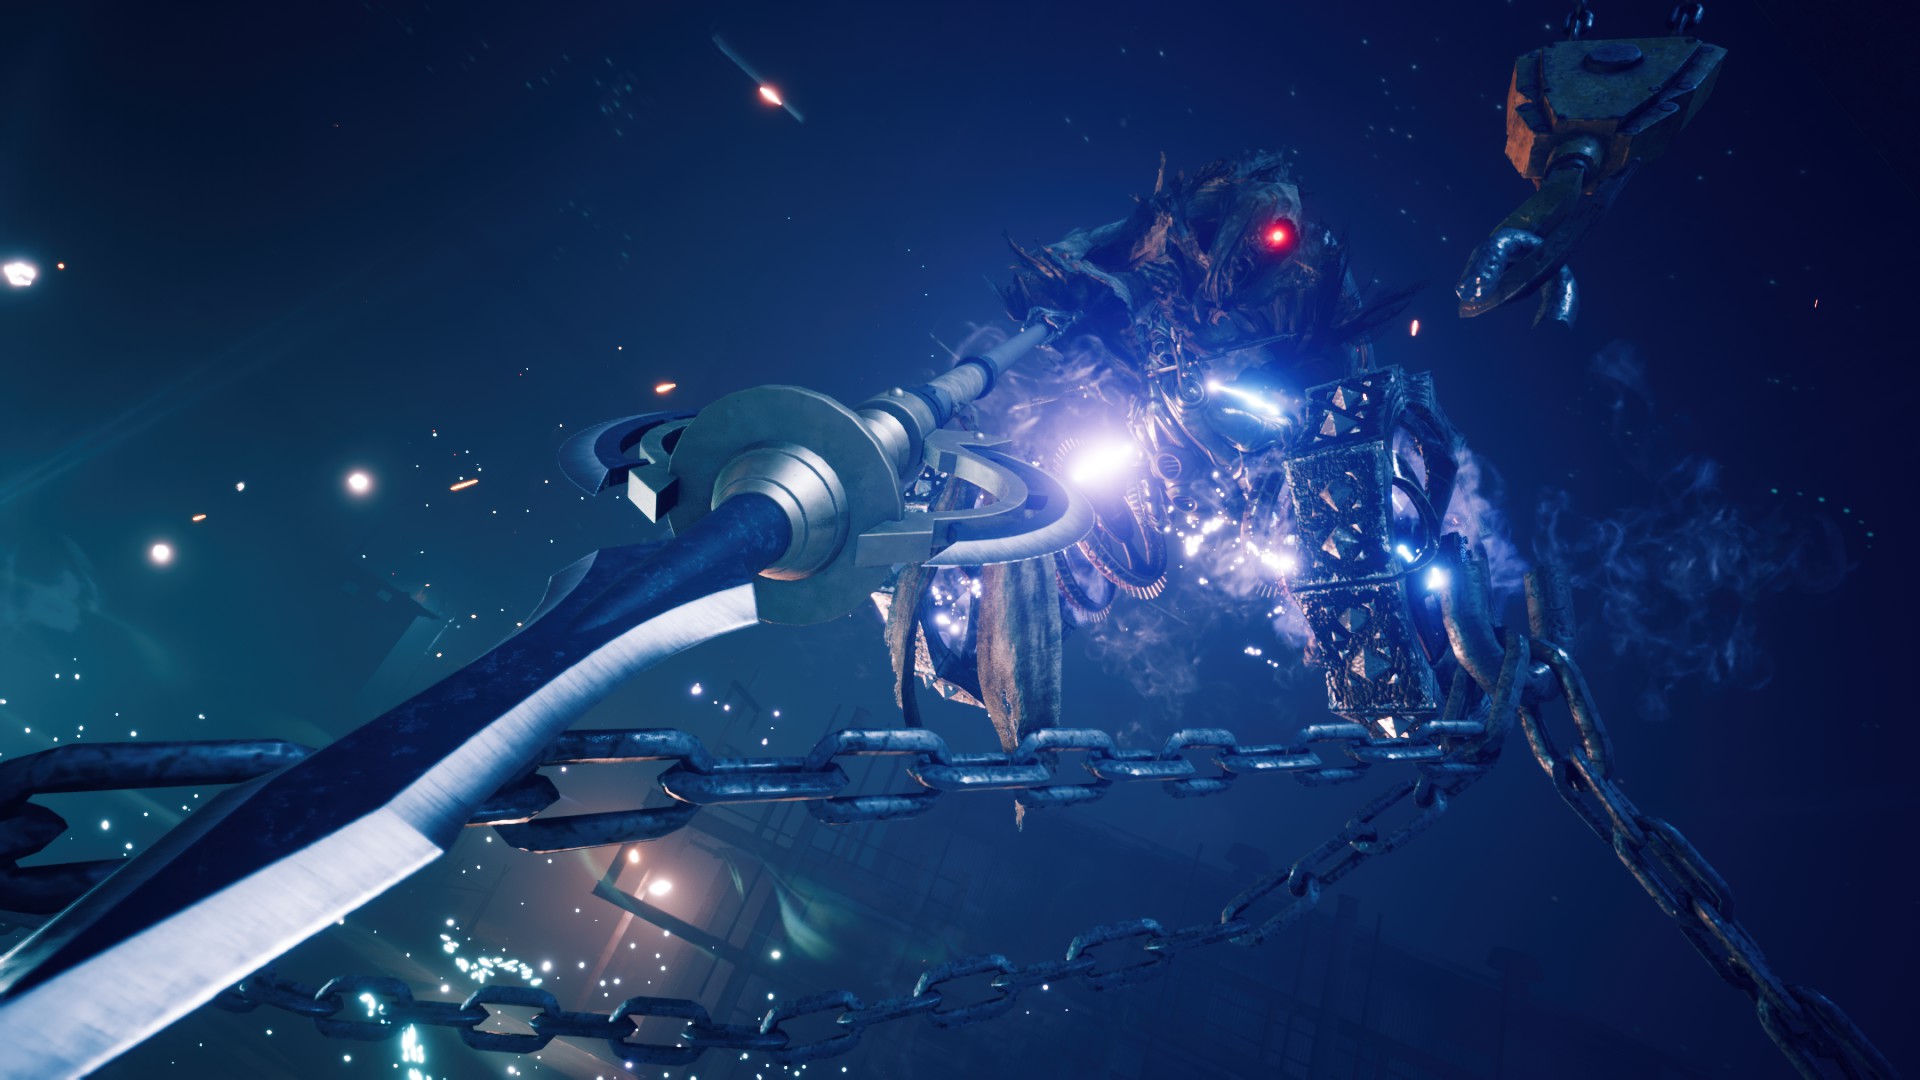
Hard mode summons do exist but they are only available in chapter 17 combat sim post-game. Stats this guide lists are for those versions BTW, not portable sim fights. This part of the guide needs fixing because you cant use different equipment in those, they have to be completed back to back.

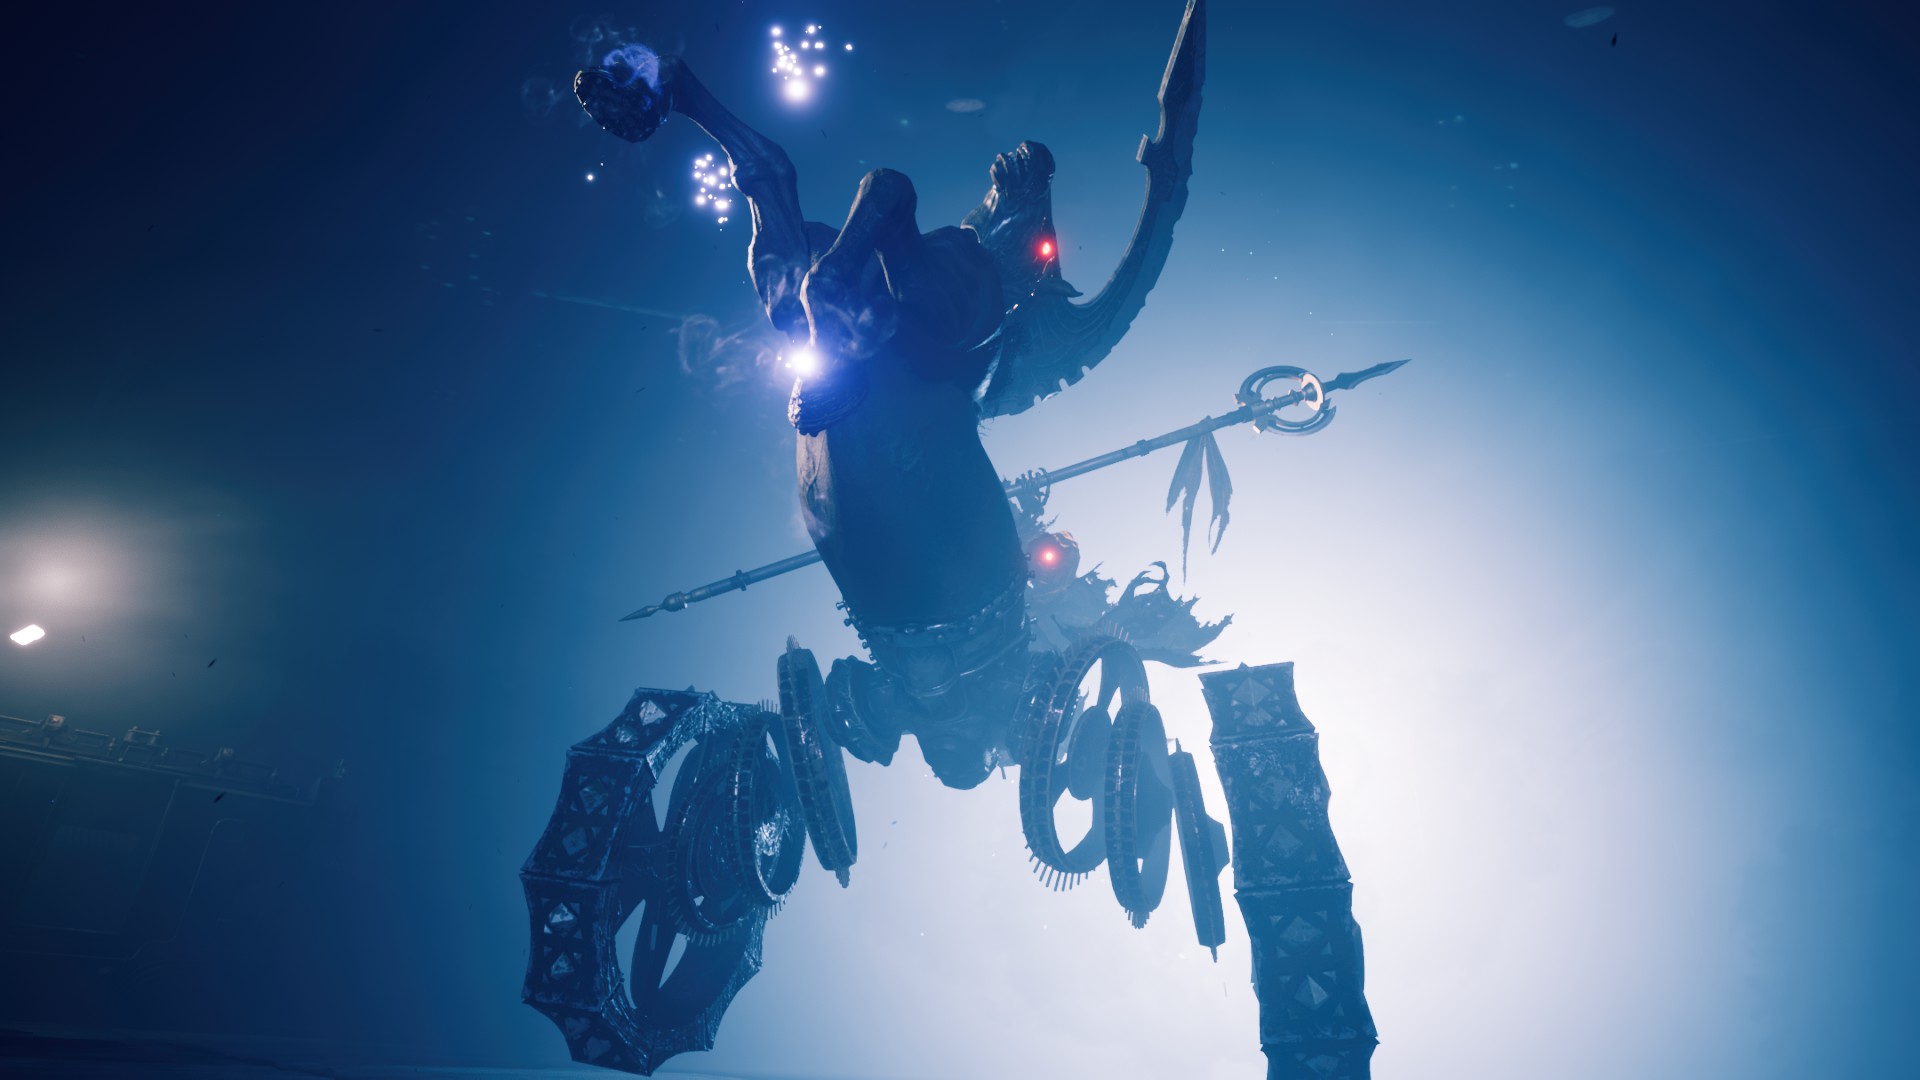
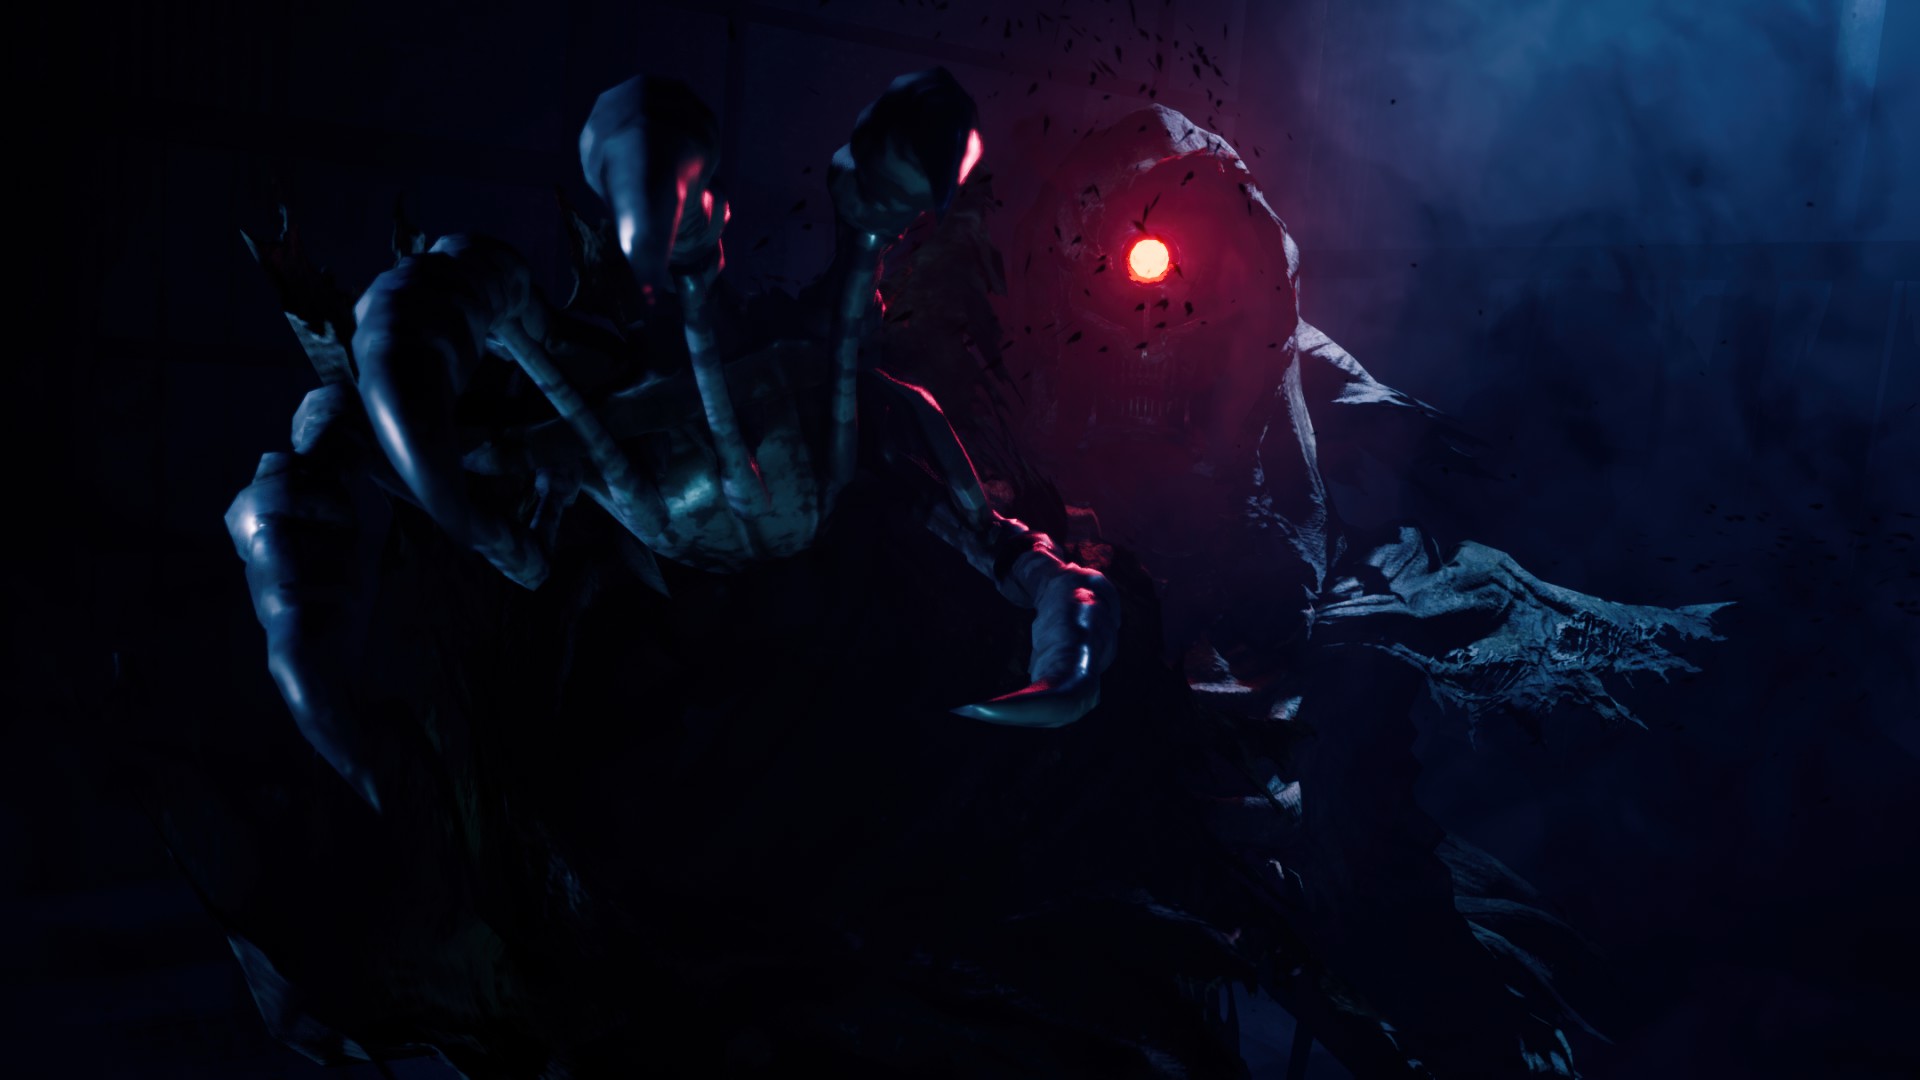
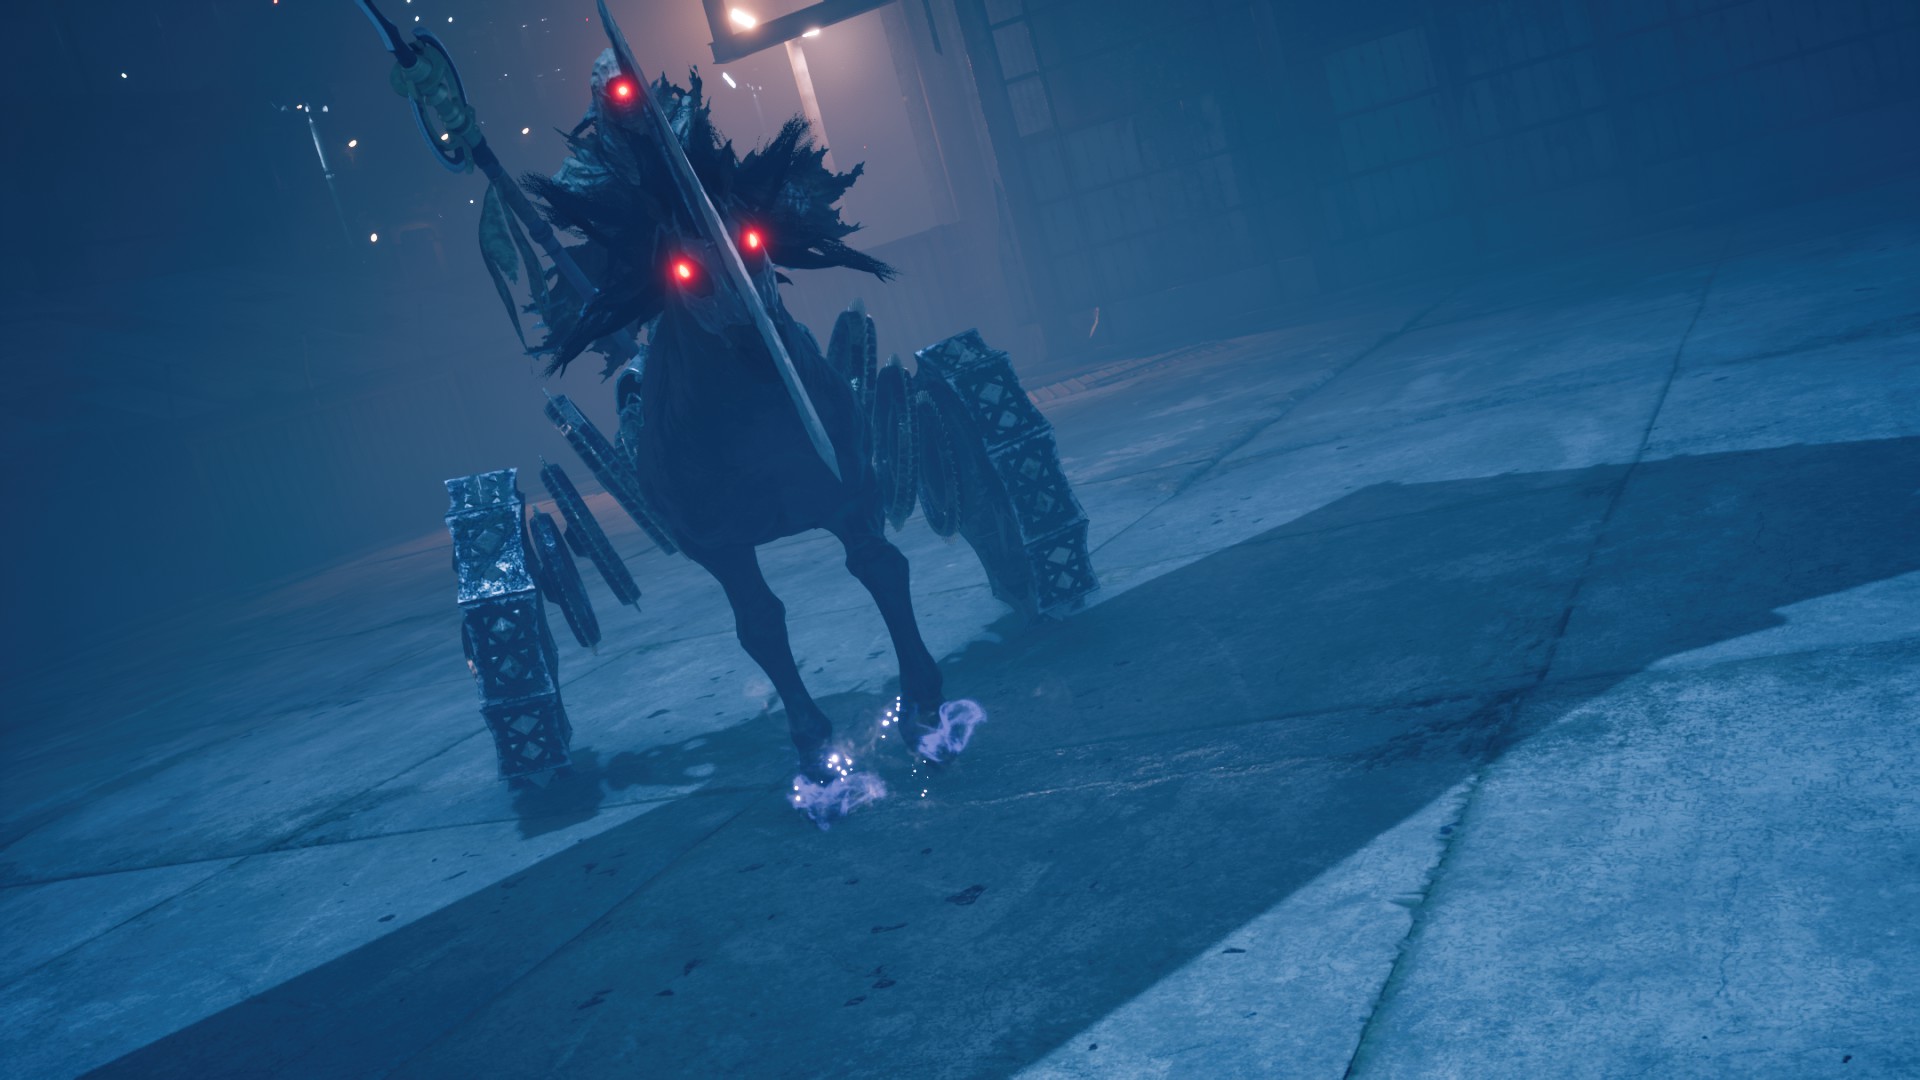
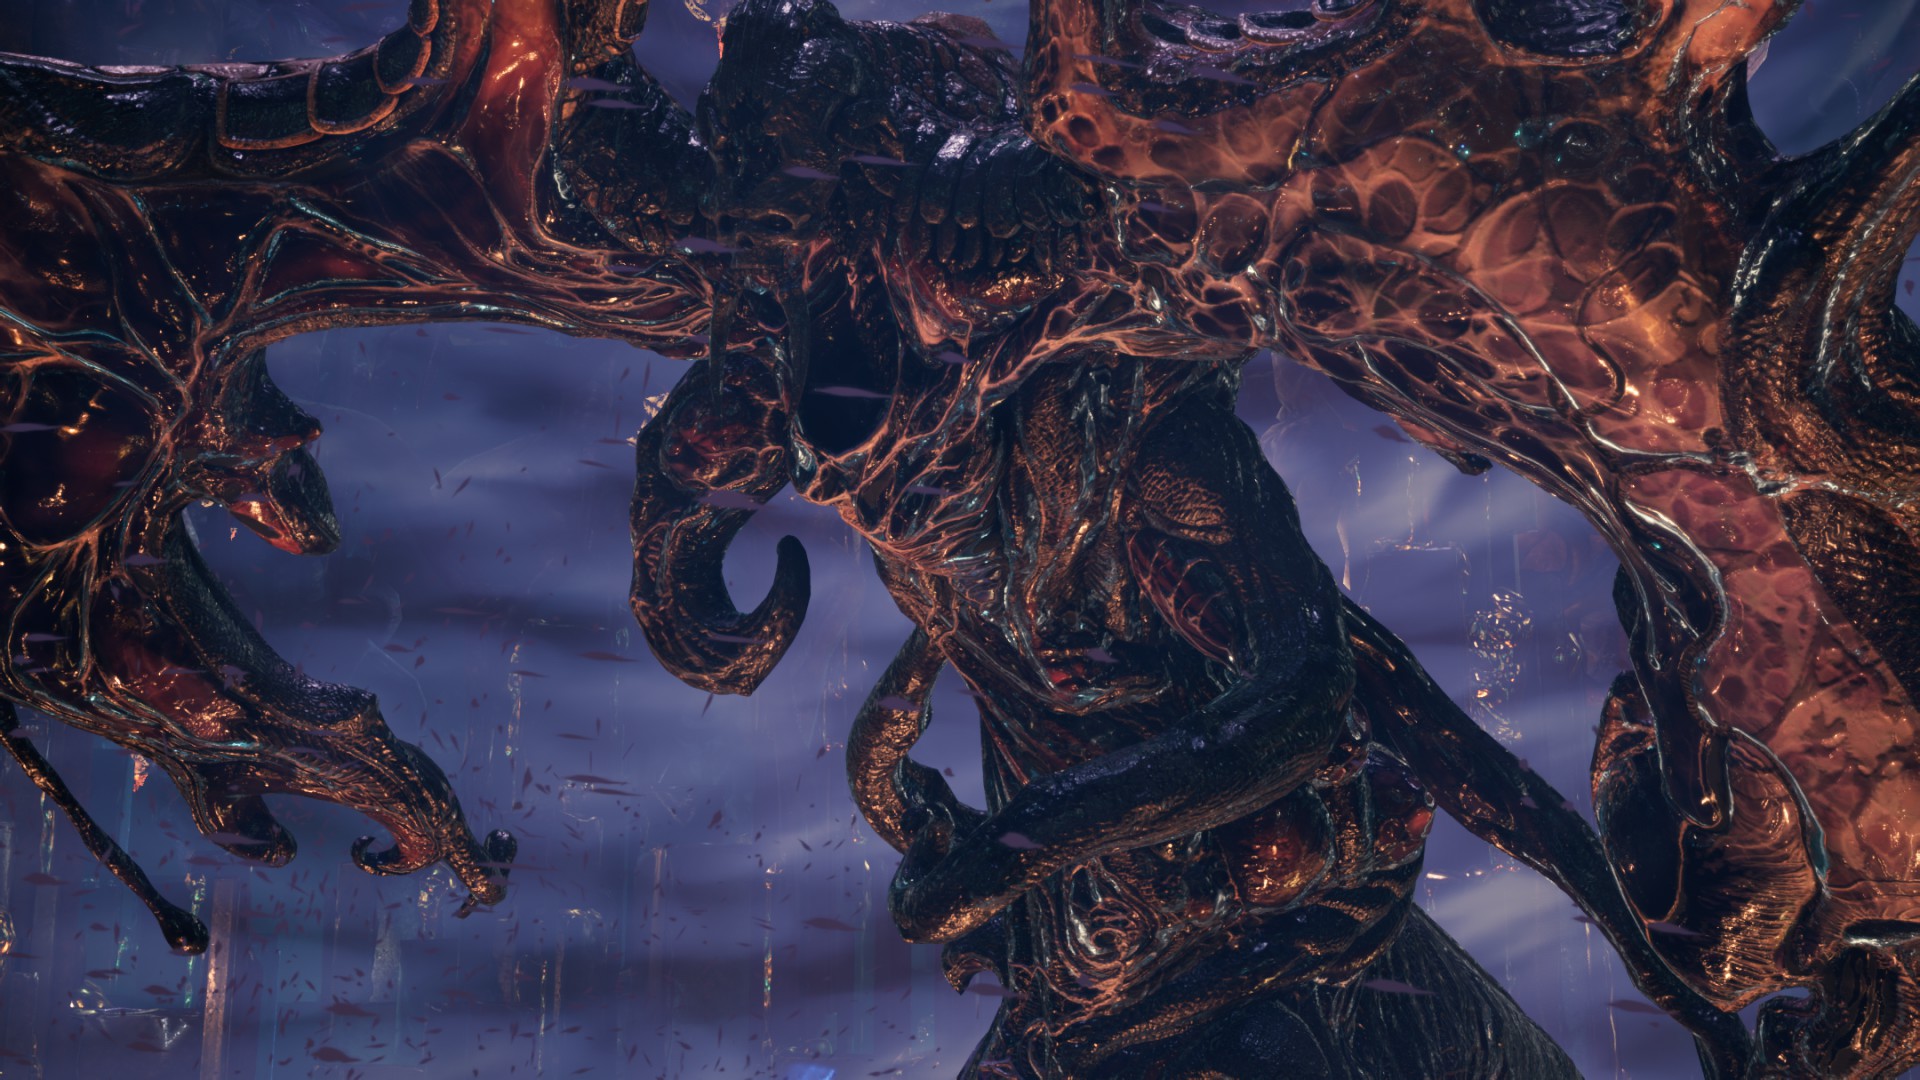
As most hard mode bosses they have differences besides raw stats. Fat choco in particular can surprise you because his moogles summon tonberries (named ???????? in game) capable of instantly killing a character, unlike portable counterpart.
Quambas 7 Nov, 2022 @ 2:43pm 
There's no real reason to do the VR missions in hard mode is there? Or rather, is there an actual hard mode difficulty difference or are the VR bosses the same between both modes?
WhiteExperience  [author] 25 Jul, 2022 @ 7:49pm 
This guide is now published. I will still upload a few remaining screenshots and revise every single boss strategy as I replay the game in Hard difficulty. I will also add new sections for the chapters in Episode INTERmission. Subscribe to this thread and I'll post when all updates are available. Don't forget to Rate Up this guide and adding to your Favorites, so everyone knows this guide is useful. If you want to help me, give me an award. Thank you.