FINAL FANTASY VII

FINAL FANTASY VII

538 arvostelua
FFVII - Missable & Optional Content
Tekijältä Abyss
Every missable in the game, bundled together with things I considered worth mentioning cause why not.

This guide is structured by location in the order you reach them. Spoilers. Obviously.
6
4
8
12
3
   
Palkinto
Lisää suosikkeihin
Lisätty suosikkeihin
Poista suosikeista
Introduction
Self esteem booster
Remember to give it a thumbs up and favorite if it helped you, I need that stuff for self validation :)

Gold Saucer Date
Long story short: FFVII is also a dating sim, so most choices you make have an impact on who you get to take on a hot date later in the game between Tifa, Barret, Aerith and Yuffie.

Honestly this should be easy enough, as a rule of thumb it goes more or less like this:
  • If you want Tifa or Aerith, be as much of an ♥♥♥♥♥♥♥ to any female in the game as possible, this includes Jessie even before the Remake where she is actually hungry for Cloud.
  • Barret has very few choices, but any choice that mentions him or Marlene, or involves not acting like a coward will generally be liked by him.
  • Yuffie should be easy, go along with anything she proposes and do the Wutai Village sidequest.
  • For all of them agreeing to help generic NPCs, talking to them for optional story dialogue and taking them with you in the party can give boosts at some story moments.
For a more in depth guide on this go to the wiki[finalfantasy.fandom.com], I am not turning this into a Persona guide for a PG-13 date where virgin boy doesn't even reach first base.

Materia Overlord
Long story short this achievement can be missed if you accumulate an excess in Materia.

TL;DR sell excess materia you dont need, but keep one of each materia from the respective group, plus at least one of each type of mastered materia.

FenecK lähetti viestin:
Apparently, according to the net, the game has a list of "least useful to most useful" materia, and when your materia inventory is full, it starts overriding using that list. Which starts with "underwater", then fire, ice and lightning etc. But once you've lost that underwater, you can kiss that "Materia Overlord" achievement goodbye. Super painful finding that one out.

This becomes a problem when new materia pops in your inventory due to mastery, Thank @Kawayol for his detailed input on this topic!
Kawayol lähetti viestin:
There is a finite number of slots for the individual materia you can have/store at a same time. If you exceed that (if I recall correctly, it's 256 slots in the "materia bag"), any newly bought or freshly "birthed" materia will overwrite (and thus destroy it, by replacing it) the latest old materia positioned in the list. Also, when you equip materia on characters, it gets temporarily "removed" from the said bag, so you can technically actually store more than 256, HOWEVER - if you try to remove any from characters' equipment in case there's already all 256 slots filled, you will DESTROY the latest listed ones, by overwriting them with ones from your characters' gear! Try to avoid filling all 256 slots (which is actually doable, even if you have several "mastered" copies of each individual type of materia in the entire game), by just stopping on "birthing" new materias, when you have at least two copies (usually up to 4 is fine) of "mastered" ones.

So never repeat my mistakes, and ALWAYS have at least 2~4 mastered copies of EACH materia in the game, before you decide to stop "birthing" them by leaving only mastered ones in your possession. Also - Underwater materia can be re-obtained in infinite amounts easily: just go to Junon's underwater hall before the reactor (OR at Battle Square later into the game, post-Highwind), and Morph skeleton ship into a "Guide Book", which then can be traded for Underwater materia in Kalm, infinitely (until he leaves, once you give him all three of the items he asks for, so tread carefully and always leave Emerald Weapon's item for the last). It also can't be "mastered", as it just accumulates AP indefinitely with no growth/improvement and does nothing (it doesn't even affect Barrett's limit break), so...it's just there. You really only need just one.

Also, please ALWAYS remember that, if you're aiming to obtain the "Materia Overlord" achievement, you MUST have not only the "Master Summon", "Master Command", and "Master Magic" on you by the end of the game, BUT ALSO EACH AND EVERY INDIVIDUAL MATERIA FROM THAT RESPECTIVE GROUP, "mastered" to completion, for the achievement to trigger/get registered. It means you're FORCED TO store AT LEAST TWO (I suggest/recommend FOUR) "mastered" copies of EACH and EVERY materia in the game, until you'll able to either turn one set of the "mastered" copies into a single "Master" from the corresponding Huge materia at the Bugenhagen's, OR until you obtain the corresponding "Master" set from Kalm, after defeating Ruby Weapon and trading in the Desert Rose.

Until then, you MUST keep ALL of the materia in the game, including each and every single one-time found ones, which can't be bought anywhere, forcing you to master them to get a second copy, which actually means you MUST "master" them at least TWICE, thus having THREE on your hands, before you could safely do a Huge materia transfer. For Enemy Skill materia, however, you obviously only need at least one, for as long as it's "mastered" by learning ALL skills in the game (INCLUDING Pandora's Box and Trine, which ARE missable).

Just sell any "excess" mastered meterias, if you go over 4 copies of same one. Even if they don't give much money. 4 mastered copies is more than enough, for 99% of the game. "All" farming is a different thing, having at least 8 is usually preferable, until you obtain the "Mega All" in Northern Crater and "birth" a couple of those, since you need at least 2 "All" for each of your characters in the active party (thus 6, usually), plus at least 1 mastered to sell, and 1 freshly birthed to master next. "Mega All" removes the need/necessity to equip several "All" to link them to different skills or magic, freeing up slots in the gear, but it can be obtained only at the very end of the game, so having large amount of "mastered" copies of standard "All" + at least 1 new/freshly birthed, is essential, until you'll be able to obtain "Mega All".

Also, once Enemy Skill gets "mastered", it doesn't birth any new materia, so there's really only 4 in the entire game, thus there's no reason whatsoever at all to skip/miss on any of them. You only need one fully mastered however, to obtain the achievement, so you're not forced to "max out" all 4 Enemy Skill materias in the game (which requires A LOT of knowledge on which enemies and where to fight, how exactly to manipulate (downright to sometimes LITERALLY using Manipulate skill) enemies to trigger skills which need to be learned, and hefty amount of level grinding or stat boosting with Source farming, since your character can learn the enemy skill only for as long as the said character STAYS ALIVE/SURVIVES once they get hit by that). IGNORING Wutai completely on the "Disc 1" and only going at it when you're controlling Tifa on "Disc 2", thus, is a must, IF you want to get that last Trine on your 4-th Enemy Skill materia.

Mods
As you know the models in VII are garbage revolutionary, so I am using the mods below to make this game look good. Keep in mind you may be reading this at a time when a superior method is available, since that's how time works.

FFNx[github.com]
Note: Remember to enable Steam achievements by modifying FFNx.toml using a notepad.

Installed by unpacking the IRO using 7th Heaven and then placing them in FFNx's mod folder:
AVALANCHE ARISEN Battle Textures[www.nexusmods.com]
OGFIELDS - COMPLETE FIELD REPLACEMENT[www.nexusmods.com]

Installed by following the instructions provided:
Character Overhaul Seven (ChaOS)[www.nexusmods.com]

Sector 7
Availability:After returning from the Mako Reactor and leaving the 7th Heaven bar for the first time.
  • Item (Iron Bangle): Buy it from the shop.
Sector 5
Availability:After recruiting Aerith.
  • Sidequest: Read the Turtle Paradise News No.1 on the second floor of the southeast house.
    If you miss this now you can get it much later in the game.
Wall Market: Dress
Availability:After you see Tifa on the cart during your alone time with Aerith.

Technically speaking you can only choose one set for your cross dressing outfit, all other options are missed with no chance to get them elsewhere.

Dress
Determined by the choices you make when talking to the Dress Maker.
  • Cotton Dress: "Clean".
  • Satin Dress: "Soft" & "Shiny".
  • Silk Dress: "Soft" & "Shimmers".
Wig
Determined by your results in the squat contest.
  • Wig: Lose
  • Dyed Wig: Tie
  • Blonde Wig: Win
Tiara
Determined by the price of the item you buy after spending the night at the Inn.
  • Glass Tiara: Cheapest.
  • Ruby Tiara: Mid.
  • Diamond Tiara: Most expensive.
Cologne
Determined by what you give to the unhappy bar patron in the bathroom.
  • Cologne: Disinfectant.
  • Flower Cologne: Deodorant.
  • Sexy Cologne: Digestive.
Extra
Determined by your choice of room inside the Honeybee Inn.
  • Lingerie: Top left room, given by the Honeybee girl.
  • Bikini Briefs: Bottom left room, given by a customer.
Misc
  • Pharmacy Coupons: Given by the owner of the Diner.
  • Disinfectant: Given by the NPC in the Item Shop.
  • Deodorant Given by the NPC in the Item Shop.
  • Digestive Given by the NPC in the Item Shop.
  • Member's Card: Given by the fat NPC at the bottom right corner of town.
Train Graveyard
Availability:After leaving the sewer.
  • Item (Ghost Hand): Steal it from the Ghost monsters.
Wall Market: Revisit
Availability:After the party agrees to return to this area once the plate falls.
  • Item (Battery x3): Buy them from the NPC to the left of the weapon shop merchant.
    Strictly speaking the Batteries are not missable, however there is no way to get more of these so the last one you keep on your way to Shinra will be gone forever if you spend it.
Shinra Building
Availability:After climbing the wall.
  • Sidequest: Read the Turtle's Paradise Newsletter No.2 on a notice board in the first floor's lobby.
    If you choose to take the stairs there is an elevator that can take you back to the first floor for this.
  • Materia (Elemental): You will be given this Materia if you manage to figure out the password on the first try on Floor 62.
    Click here[gamefaqs.gamespot.com]if you do not have the time for this nonsense.
  • Item (Coupon A, B, C): Collect the three coupons on Floor 63 by solving a small maze puzzle.
    1. Exit the small room with the stairs and hug the wall counter clock-wise until you reach two gates, one in front of you and one below.
    2. Open the first gate in front of you, then continue counter clock-wise and ignore the gate below you continue until you see another gate in front of you and another one below you.
    3. Open the gate below you and enter the blue room diagonally to the left of your position.
    4. Pick up A Coupon.
    5. Enter the duct and once it branches take the North path to descend into another small room.
    6. Pick up B Coupon.
    7. Exit the room through the door and open the gate that blocks the room to the left.
    8. Pick up C Coupon.
    9. Backtrack and use the three coupons to redeem the items. Do note the coupons will be gone as soon as you exchange them for Star Pendant, Four Slots and All Materia. These rewards are not missable so it is up to you if you want to trade them.
  • Materia (Enemy Skill): Pick up the Materia on the tube where Aerith was trapped after the boss battle against H0512 on Floor 68.
Overworld: Yuffie Kisaragi
Availability:After the Mythril Mines.
  • Party (Yuffie): Go into any forest/tall grass on the overworld (around Fort Condor will be your earliest opportunity) for a random chance to find Yuffie like she is a freaking Pokemon, once you find her:
    • Beat the ♥♥♥♥ out of her.
    • Do NOT use the save spot. Talk to her.
    • Not interested.
    • Petrified...
    • Wait a second!
    • That's right.
    • Let's hurry.
Fort Condor: Minigame
Condor War adds yet another mini game to keep track of. Return to Fort Condor after key points in the story and beat Shinra to earn rewards.

Keep in mind the rewards correspond to the number of levels you have completed rather than the level itself. TL;DR do all stages up to the reward you want.


Battle
Reward
After
Before
01
Magic Comb
Completing the Mythril Mines.
02
Peace Ring
Resting in Lower Junon.
Getting the whistle.
03
Ether x3
Getting in the water with the Mr. Dolphin.
Using the Whistle.
04
Megalixir
Getting the Buggy.
Reaching Cosmo Canyon.
05
Hi-Potion x5
Selecting a party for the Cave of Gi
Completing the cave.
06
Hi-Potion x5
Completing the cave.
Talking to Shera in Rocket Town.
07
Superball
Talking to Shera once.
Rufus Shinra arrives to town.
08
Turbo Ether x3
Getting the Tiny Bronco.
Getting the Keystone.
09
Turbo Ether x3
The Gold Saucer date.
Using the Keystone.
10
Elixir x3*
Completing Temple of the Ancients.
Using the Lunar Harp.
11
Elixir x3*
Using the Lunar Harp.
Resting in Forgotten City.
12
Elixir x3*
Resting in Forgotten City.
Fighting Jenova-LIFE.
13
Elixir x3*
Fighting Jenova-LIFE.
The 3rd wall in the Whirlwind Maze.
14 - 18*
N/A
N/A
N/A
19
Elixir x3
Getting the Highwind.
Cid becomes the party leader after entering Mideel.
20*
N/A
N/A
N/A

IMPORTANT
  • No reward is unique to this minigame, all of them can be bought later on.
  • All battles below can be missed if you do not return to Fort Condor as early as you can before the next story event.
  • #14 to #18 & #20: They all happen while you are unavailable due to story events and have no rewards as there is no way to partake in them.
  • #10 to #13: You may receive either Elixir x3 or X-Potion x5, for some reason the deciding factor is if the "Superball" is in your inventory, this item is the reward for #7.

FINAL WARNING
This is your last reminder to backtrack every time and play this minigame if you are interested cause I assure you I am not.
Cargo Ship
Availability:After the parade at Junon.
  • Gear (Shinra Beta): Steal as many of these as you want from the Marine enemies.
    Technically you can get these on limited quantities later.
  • Materia (Ifrit): Make sure to pick it up after the boss fight.
Costa del Sol
Availability:After the ship docks.
  • Gear (Four Slots): Buy as many as you care to own.
    These will not be sold anymore eventually.
Mt. Corel
Availability:On your way to the Golden Saucer.
  • Items: Allow yourself to fall when the train tracks break and then while falling take the left and right side once each for an item.
  • Items: Climb up on the broken wall next to the rails and steal the treasure from the innocent chickens.
Note: For both of the above it is not the type of item that you get which is missable, but the specific way of getting it.
Corel Prison
Availability:On your way to the Golden Saucer.
  • Make sure to equip your Enemy Skill materia while fighting the Death Claw to learn Laser early.
    Keep in mind DC will only cast this skill when protected by Barrier or MBarrier.
    Note: This is not missable since you can learn it in the final dungeon of the game, do with this information what you will.
Gold Saucer
Availability:After you go up the elevator with your sponsor for the races.
  • Materia (Ramuh): Make sure to pick up the materia before starting the chocobo race.
Gongaga Village
Availability:After getting the Buggy.

Enter the crater looking structure just below the desert that surrounds the Gold Saucer. You can do this anytime before getting the Keystone.
  • Boss Fight: Beat the ♥♥♥♥ out of the Turks after you sneak on them talking like teenage girls on a sleepover. Bring Tifa and Aerith with you if you wanna make it extra ironic.
  • Materia (Titan): From the fight location take a right and reach for the shiny thing when prompted after more Shinra related shenanigans.
  • Story: From the Turks fight location take a right and then go up to finally reach the village. Enter the house at the bottom right corner for some relevant plot points.
    I recommend once again to bring Tifa and Aerith for some setup.
Overworld: Misc
Availability:After getting the Buggy.
  • Condor War: If you still care about Condor War then park the buggy to the East of Cosmo Canyon, far enough that it does not break in the first place. Otherwise you have no way to go back for Battle 4 and 5.
  • Item (Vagyrisk Claw): Steal as many as your self hatred allows from Bagrisks on the dry area west of Cosmo Canyon.
    Do note your chances of getting this item are below 4% and get worst the higher level you are. As long as you between 17 and 30 you should have "decent" rates.
Cave of the Gi
Availability:After learning more about the planet from Nanaki's grandpa.
  • Materia (Added Effect): Make sure to pick it up before finishing the area, its the first materia you see when you enter the cave.
Nibelheim
Availability:Now :)
  • Party (Vincent Valentine): Follow the steps below:
    1. Enter Shinra Mansion.
    2. Head for the left wing of the second floor to find a safe.
    3. Use the combination R36 - L10 - R59 - R97.
      You totally learned this by finding notes around the mansion.
    4. Get the Key to the Basement after defeating the boss.
      Remember to grab that shiny Odin materia before leaving.
    5. Head into the basement.
      You should know how from the flashback scene some hours ago.
    6. Enter the door right before arriving to the library and interact with the coffin.
    7. Talk about Sephiroth.
    8. Interact with the coffin again and ask Vincent "Who are you?".
    9. Go advance the main plot on the library.
    10. Try to leave the basement.
Rocket Town
Availability:After visiting Nibelheim.
  • Gear (Yoshiyuki): Talk to the old man near the path to the rocket and pick "Yeah, let's take a look".
  • Gear (Shotgun): You wont be able to buy these later, so get as many as you consider relevant.
Overworld: Sidequest
Availability:After getting the Tiny Bronco.

Aerith Gainsborough
IMPORTANT: Do this before going inside the Temple of the Ancients.
  • Limit Break (Aerith Gainsborough): Refer to the "Limit Breaks" section of this guide on how to get this. Also, get the two items below while you are running around for this.
    Do note you need to learn all of her other LBs to be able to use the item to learn it.
  • Gear (Bolt Ring): When talking to the NPC that tells you the amount of battles fought to receive the Mythril, you can also receive this item if the last two digits of battles fought repeat and are even (X22, X44, etc).
  • Gear (Mythril Clip): Buy as many of these as you consider relevant as they wont be sold later in the game.
    Do note that this is Red XIII's starting weapon so you don't need it if you are satisfied with one.

Turtle's Paradise
You should already have two flyers from Midgar, let's go around collecting the rest.
  • Turtle's Paradise No.3: In the top right corner wall of the Ghost Square in the Gold Saucer.
  • Turtle's Paradise Newsletter No.4: The paper right next to the weapon shop in Cosmo Canyon.
  • Turtle's Paradise No.5: The flyer to the left of the Innkeeper in Cosmo Canyon.


Wutai Village
Stolen Materia
You could do this one later for a good portion of the game, however we may as well do it now since we are close and you will be rewarded with some awesome materia.
  1. Use the Tiny Bronco and land at the bottom left side of the lake, then make your way North to the top of the moon shaped portion of the continent.
  2. Yuffie will steal your rarest materia after a brief cutscene.
  3. Continue your way until you arrive at Wutai Village.
  4. Head inside the bar at the bottom left side of the village and talk to the Turks.
  5. Go to the item shop diagonal of the save spot and open the chest to get the MP Absorb Materia.
  6. Find Yuffie behind the screen inside the house at the bottom right side of the village.
  7. Find Yuffie on the pot outside the bar.
  8. Read the flyer after activating the left lever inside Yuffie's House.
  9. Play the gong at the Northwest side of the village and enter the secret door that opens below.
  10. Talk to the Turks.
  11. Head into the mountains at the Northeast side of the village.
  12. After clearing the fight Yuffie join along with all the stolen materia.
  13. Head inside the cat house and up the stairs to get the HP Absorb materia from the chest.


Pagoda
  • Agree to climb the pagoda with Yuffie in your party.
  • After beating all 5 floors you will get the Leviathan materia and Yuffie's All Creation Limit Break.
WARNING: Clearing the Pagoda now makes you miss the chance to learn Trine on all four Enemy Skill materia in the game. Do this now only if you do not care.


Turtle's Paradise
If you did not miss any flyers then you can complete this sidequest right now by reading the flyer outside the bar and then talking to the bartender to receive a Power Source, Guard Source, Magic Source, Mind Source, Speed Source, Luck Source and Megalixir.
Gold Saucer: Date Night
Availability:After getting the Tiny Bronco.
  • Date: Time for your choices to pay off and be taken on the lamest date ever.
    Whoever you did not get to date will need another playthrough should you care about achievements.
  • Gear (Umbrella): While we are here, head to the Speed Square and beat the minigame while scoring at least 5000 points.
    This weapon will not be obtainable anymore later in the game.
Temple of the Ancients
Availability:After getting the Keystone.
This is a one time area.
  • Materia (Luck Plus): Right before entering the room with the rolling stones, take a right upstairs, go around and climb the wall to reach the materia.
  • Materia (Morph): In front of the purple pool on the room with the rolling stones.
  • Misc: You can get different items depending on which room you enter through the Clock Puzzle, make sure to grab everything before heading into VI.
    IIII (IV): Aerith's Ultimate Weapon, Princess Guard.
    V: Ribbon.
    VII: Caith Sith's Trumpet Shell.
    VIII: Megalixir.
    Get knocked by the second hand: Cloud's Nail Bat.
  • Materia (Bahamut): Make sure to pick it up after the Red Dragon boss fight.
  • WARNING: Remove all gear and materia from Aerith before fighting the Demon's Gate.
Sleeping Forest
Availability:After returning from the Temple of the Ancients.
  • Materia (Kujata): Grab the red orb moving around between the trees after awakening the forest with the Lunar Harp.
    This is not missable but we are already here anyways.
Gaea Cliffs
Availability:After that one scene with Aerith.
  • Gear (Ribbon): After climbing and entering the first cave you will eventually cross a very small ice bridge, hug the right wall to find a secret passage that leads to the chest.
  • Gear (Javelin): From the Ribbon wall continue north towards the intended path and open the chest.
Crater
Availability:After crossing Gaea's Cliffs.
  • Gear (Earth Mallet): Random drop from the Gigas monsters fought randomly.
  • Gear (Gigas Armlet): Steal from the Gigas monsters.
    Cernel Joson lähetti viestin:
    IMPORTANT: If you steal a Gigas Armlet from the Gigas Enemy in the crater, he will not drop an Earth Drum that fight! It doesn't matter which order you do it in, just keep in mind that if you steal from him, he won't drop anything.
Whirlwind Maze
Availability:After crossing the Crater.
  • Materia (Neo Bahamut): Lying on the ground right before the first save spot of this area.
  • Materia (MP Turbo): Lying on the ground right before the last save spot of this area.
  • Gear (Poison Ring): On a chest to the left of the save spot.
Mideel
Availability:After Tifa and Barret escape Shinra.
  • Gear (Curse Ring): Examine the back door of the Weapon shop, then go outside towards the house on the opposite side of the bridge, examine the edge behind the NPC once you hear a sound to get the Beat-up Useless Old Key, head back to the weapon shop door and break the key, then tell the NPC the truth.
Mt. Corel: Train
Availability:After you start the hunt for the Huge Materia.
  • Gear (Warrior Bangle): Steal from Eagle Gun.
  • Materia (Huge): Stop the train by all means.
Fort Condor
Availability:After saving the Train at Mt. Corel.
  • Materia (Phoenix): Make sure to grab it after the baby hatches.
  • Materia (Huge): Beat the minigame.
Mideel: Ultimate Weapon
Availability:After the final Fort Condor battle.
  • Gear (Curse Ring): Steal from Ultimate Weapon.
Underwater Reactor
Availability:After getting Cloud back.
  • Gear (Shinra Alpha): Steal from Underwater MP monsters after the second save spot but before the boss fight.
  • If you think it is too annoying to get this now, we can get it easily later on its last possible location.
  • Gear (Battle Trumpet) Pick up Caith Sith's weapon from a chest by taking a left after the boss fight.
  • Gear (Scimitar): Pick up Cid's weapon from a chest right before boarding the submarine.
  • Key Item (Leviathan Scales): On the chest to the left of the one that had the Scimitar.
  • Materia (Huge): Make sure to beat the red submarine during the minigame for it to crash so you can pick this materia up later.
Overworld: Sidequest
Availability:After getting the submarine.
Now that we have all methods of transportation we can get a lot of ♥♥♥♥ done, so... we are doing that.
Do note most of this is not missable, except the Turks fight in the Sunken Gelnika.
  • Materia (Huge): Board the submarine again and head as far Southwest as you can, then dive underwater and interact with the broken red ship.
  • Key Item (Key to Ancients): From the starting position in the Junon Area head as far Northwest as you can and dive, now look for a cave that has a weird looking white thing, go inside and interact with it.
  • Limit Break: Refer to the Limit Break section of this guide and get all Limit Breaks you want.
    You can procrastinate Cloud's Omnislash as its easier to get later.
    Make sure you have all four Enemy Skill materia equipped on Yuffie before doing the last fight so you can learn Trine in all of them.
  • Boss Fight: Head into the Sunken Gelnika even if you don't want Cid's LB, otherwise the fight against the Turks will be missed if you revisit Midgar later in the story.
    Refer to the section "Optional: Sunken Gelnika & Stat Maxing" for a couple more details worth mentioning.
  • Sidequest: Refer to the section "Optional: Return to Midgar" and get all relevant things.
  • Materia: Refer to the section "Optional: Wutai Village" now that you have Leviathan Scales.
    Take the opportunity to finish anything else you have pending at this location.
  • Ultimate Weapons: Get Tifa, Vincent and Yuffie's weapons.
    If you have done all of the above then you already have all of them. Otherwise you can refer to the "Ultimate Weapons" section of this guide.


Enemy Skill Materia
There are four in the game with only one missable which you should already have by following this guide, to summarize:
  1. Shinra Building: Inside the tube where you meet Red XIII.
  2. Junon: In the Respectable Inn.
  3. Forgotten City: In the house where you can rest, behind the last bed.
  4. Chocobo Sage's House: Given by the mountain chocobo.
Optional: Sunken Gelnika & Stat Maxing
Loot
While nothing here is missable aside from the Turks boss fight (which you shouldn't miss if you are following this guide), there are some goodies worth mentioning:
  • Gear (Conformer): Yuffie's ultimate weapon can be found on the room north of the save spot, going downstairs and interacting with the chest "hidden" at the top left corner.
  • Materia (Double Cut): On the same area where you got the Conformer, top right corner.
  • Gear (Tough Ring): Steal from Reno during the boss fight.
  • Gear (Ziedrich): Steal from Rude during the boss fight.
  • Materia (Hades): On the room after you fight the Turks by the broken plane.


Stat Maxing
Using the Morph materia we can get unlimited Sources to max our stats, be warned this grind will remove your will to live if you intend to max each stat.

Source
Monster
Power
Unknown
Guard
Unknown 2
Magic
Unknown 3
Mind
Serpent
Speed
Poodler
Luck
Bad Rap
Optional: Return to Midgar
Unlock
  • Head to Bone Village and dig for "Good Treasure".
  • Get the "Key to Sector 5" next to the left side of the crashed plane right next to your starting point.
  • Head to Midgar.

Sector 5
  • Head into the church and watch a ghost.
  • Read the Turtle Paradise News No.1 on the second floor of the southeast house if you missed it before.

Wall Market
  • Take Tifa with you into the tent with the malfunctioning security gun and interact with it to receive her Ultimate Weapon.
  • While you are here purchase the Sneak Glove from the guy that sold you the batteries.
Optional: Wutai Village
There's only a couple of things left to do in Yuffie's village, two of them you may have already done before and the last one was missable if you messed up during the Underwater Reactor visit.

Pagoda
  • Agree to climb the pagoda with Yuffie in your party.
  • After beating all 5 floors you will get the Leviathan materia and Yuffie's All Creation Limit Break.
WARNING: Make sure to equip all four Enemy Skill materia to Yuffie and learn Trine from the final fight at the top of the Pagoda.


Turtle's Paradise
I am adding this one here again because I ♥♥♥♥♥♥ up at the time of writing and missed the flyer in Midgar, so in the off chance anyone was following this guide as it was being made and had to revisit Midgar to get the last flyer, this will be the chance to get it the rewards by talking to the guy at the bar to receive 1 of each source item.


Da-Chao Cave
Enter the cave to the left of the statue's head and use the Leviathan Scales to remove the flames. Items worth mentioning:
  • Gear (Oritsuru): Kinda pointless since you most likely already got Yuffie's ultimate weapon during your visit to the Sunken Gelnika.
  • Materia (Steal as Well): Grab it at the end of the cave.
Rocket Town: Revisit
Availability:After getting the submarine.
  • Gear (Ziedrich): Steal from Rude.
  • Materia (Huge): Input the password [OK] [Switch] [Cancel] [Cancel] when prompted.
  • Gear (Venus Gospel): Speak to the old guy outside of the Item Shop three times to get Cid's Ultimate weapon.
Cosmo Canyon: Huge Materia
Availability:After getting all four Huge Materia.
  • Materia (Bahamut ZERO Materia): Get closer to the blue materia after Bugenhagen recommends to leave the huge materia.
Overworld: Diamond Weapon
Availability:After awakening it within the Forgotten City.
  • Gear (Rising Sun): Steal from Diamond Weapon.
Midgar Raid
Availability:After defeating Diamond Weapon.
This is a one time area.

Oh boy, narrating this will not be fun. If you do not understand the description just run around opening chests... Assume this begins when Caith Sith opens the floor hatch and you go downstairs.
  • Gear (Aegis Armlet): Go down the stairs "below you" (screen-wise), then down the ladder and take a left to go up another ladder to open this chest.
  • Gear (Starlight Phone): From the first ladder head right and then left once the ground collapses, continue the only path you have available until you see two chests, open the left one.
  • Gear (Max Ray): Go down the ladder from where the two chests are and jump into the red pipe with the number 42 on it, open the chest at the end of the path.
  • Gear (Tough Ring): Go back to the platform with the two chests and head upstairs, when prompted choose "Okay, let's end this" to trigger a fight with the Turks, then steal from Reno.
  • Gear (Ziedrich): Steal from Rude.
  • Gear (Minerva Band): Steal from Elena.
  • Materia (W-Item): From the Turks boss fight go all the way down past the 1st station until you see a save point and this materia.
  • Gear (Pile Bunker): Go all the way up across all stations past 8 until you see the number 1 again, take a left and head into the Shinra Building, go upstairs and open the left chest.
  • Gear (Master Fist): Open the right chest.
  • Gear (Behemoth Horn): Take the stairs to the top floors and find the bag with this weapon while climbing.
  • Gear (Glow Lance): Grab it on room 63.
  • Materia (HP Shout): Grab it on room 64 by interacting with the mid locker of the final row all the way up on the screen.
  • Gear (Graviball): Head back to the numbered hallways outside of the Shinra Building, steal from Shadow Maker on the "room" that has the number 8.
  • Gear (Mystile): On a chest after the boss fight with Proud Clod.
  • Gear (8inch Cannon): Dropped by the random encounter monster Grosspanzer*Big on the area where you got the Mystile.
  • Gear (Shinra Alpha): Head upstairs from the save point and steal from Soldier:1st.
Overworld: Sidequest
Availability: After opening the path to the Northern Cave.

This is the final time we will run around doing stuff. Refer to the "Point of no Return: Northern Cave" section of this guide if you want to raid all the materia in the cave and grind it out before beating Sephiroth.

Cosmo Canyon
  • Gear (Limited Moon): Have Red XIII speak with Bugenhagen to receive his ultimate weapon.


Overworld: Ultimate Weapon
  • Gear (Ultima Weapon): Chase Ultimate Weapon around like an idiot until it dies to claim Cloud's ultimate weapon.


Kalm
Sidequest: Head upstairs on the house on the right side of the town, after talking to the NPC you will begin a fetch quest of three items.
  • Guidebook: Head for the Underwater Reactor below Junon and use your Morph materia on the Ghost Ship monster that will show up randomly in the hallway with the crystal walls where you can see the dolphin and other sea creatures.
    Rewards you with the Underwater materia.
  • Earth Harp: Defeat Emerald Weapon, who is roaming around underwater.
    Rewards you with Master Command, Master Magic and Master Summon materia.
  • Desert Rose: Defeat Ruby Weapon, who shows up on the desert around the Gold Saucer.
    Rewards you with a Gold Chocobo.

Nibelheim
  • Story: Head into the Shinra Mansion's basement to have a flashback where you can see what a real main character is supposed to be like.
Point of no Return: Northern Cave
Availability: After opening the path to the Northern Cave.

Loot
We can get some loot from this Cave before we reach the point of no return, out of which I consider worth mentioning a couple.

  • Item (Save Crystal): The first chest you will see upon descending.
  • Gear (Ribbon): Morph Tonberries for your third Ribbon... and an unlimited supply if you want more for some reason.

Branches
There are two branches and your party will bring you back some goodies depending on which path they are sent to, this is more or less irrelevant as you can go back and cross all of their branches yourself once you finish one, however, should you care:
  • Cloud should go left on the first branch and then down on the second one.
  • Tifa should go right on the first branch.
  • Cid, Red XIII and Yuffie should go up on the second branch.
  • Vincent should go down on the third branch.
The rest do not matter too much unless you want some extra items like Sources, Remedies, Megalixirs and such.

Bug
Once you finish Cloud's route (you will notice as you will reach a circular room with a huge green hole with a chest on the right side) stop immediately without advancing on this room and head back to where the branches started so you can do each one of them yourself, each time going back as soon as you reach the aforementioned room. You will receive duplicates of the items when advancing further on the circular room and speaking to each party member.

Loot
Left Down branch:
  • Materia (Magic Counter): Floating around, can't miss it.
  • Materia (Mega All): On the last room of this branch there is a platform that you have to jump to reach the left side chest that has a Speed Source. Press [OK] as soon as you land on this platform to receive this materia without any logical explanation.

Left Up branch:
  • Materia (Shield): On the upper part of the second room lying on the ground.
  • Gear (Imperial Guard): Go into the water right below the Shield materia and open the chest once you emerge on the other side.
  • Materia (W-Magic): Hidden below the leaves on the circular room with the shiny green light.
  • Materia (Counter): Approach the shiny light at the center of the room from the top right side and interact with the barely visible materia lying around.

Right branch:
  • Gear (Mystile): On a chest, can't miss it.
  • Gear (Tetra Elemental): On a chest, can't miss it.

Point of no Return
Once you are ready to finish this nonsense head into the green room once again and pick "Let's get going" when prompted upon attempting to descend further from where your party members are gathered.
Chocobo Racing
Check out Nerd House's Gold Chocobo Guide (No Racing!) instead if you do not hate yourself.

Setup
  • Go to the Chocobo Farm and rent all six Chocobo stables for 10,000 gil each.
  • Go to the Chocobo Sage's House and purchase 3 Reagan Greens and 60 Sylkis Greens.
    The amount of Sylkis may increase depending on how many steroids your chickens need.
    This house is located Northwest of Bone Village.
  • Go to the Bone Village area and steal 2 Carob Nuts from a red dragon monster Vlakorados.
  • Go to the Goblin Island and steal 1 Zeio Nuts from Goblins in the tall grass.

Hating yourself
Start
  1. Capture 2 Chocobos in the Mideel area, only the ones that accompanied by a Spiral (purple bug).
  2. Go to the Chocobo Farm and move one from the pen to the stables.
  3. Save your game.
  4. Send the second one to the stables and reset if it is not of the opposite gender.
    Do note both should be Great if you captured them correctly.
Green & Blue
  1. Feed 10 Sylkis Greens to both.
  2. Reach rank B with both.
  3. Save your game.
  4. Mate them using a Carob Nut.
    You are aiming for either Green or Blue.
  5. Fight around 8 random encounters.
  6. Save your game.
  7. Breed them again, you are aiming for the opposite color and gender from the previous one.
Black
  1. Feed 10 Sylkis Greens to both.
  2. Reach rank A with both.
  3. Fight around 8 random encounters.
  4. Save your game.
  5. Mate Green and Blue using a Carob Nut to get a Black.
Wonderful Yellow
  1. Capture a chocobo that is accompanied by Jumping only (Rabbit) in the Icicle Inn area.
  2. Save your game.
  3. Release any chocobo, I'd recommend a Great Yellow one.
  4. Send the new one to the stable and reset unless it is the opposite gender of your Black.
    This should be a Wonderful chocobo.
Gold
  1. Feed 10 Sylkis Greens to both.
  2. Reach rank S with both.
  3. Save your game.
  4. Mate Black and Wonderful Yellow using a Zeio Nut.
  5. Feed your golden god with 30 or so Sylkis Greens if you intend to race.

Materia Caves
You can get some of these with lesser chocobos, however I better not catch you using anything less than the Gold Chocobo after all that ♥♥♥♥♥♥♥♥ we just did to get it.
  • Materia (HP <=> MP): North of North Corel.
  • Materia (Quadra Magic): East of Mideel.
  • Materia (Mime): Around the middle of the Wutai area.
  • Materia (Knights of the Round): Northeast corner of the map, slightly above the Goblin Islands.

Racing
Use your golden steed to get as many rewards as you want, worth mentioning:
  • Materia (Counter Attack)
  • Materia (Magic Counter)
  • Materia (Enemy Away)
  • Materia (Sneak Attack)
Once you win 10 S rank races in a row you will be rewarded with a bag of goodies that includes several of the S rank rewards.
Ultimate Weapons
Character
Weapon
Description
Aerith Gainsborough
Princess Guard
Inside the Temple of the Ancients.
Barret Wallace
Missing Score
Add Barret to your party when revisiting Midgar during the story and open the chest on the stairs after the last save point.
Caith Sith
HP Shout
When revisiting Midgar during the story.
Cid Highwind
Venus Gospel
When revisiting Rocket Town during the story after going to space.
Cloud Strife
Ultima Weapon
Defeat Ultimate Weapon.
Tifa Lockhart
Premium Heart
In the Wall Market's Item Shop during the return to Midgar sidequest.
Red XIII
Limited Moon
Add Red XIII to your party and re visit Cosmo Canyon's Bugenhagen's house on Disc 3.
Vincent Valentine
Death Penalty
Inside the Crystal Cave, at the same time as you get Vincent's Lv 4 Limit Break.
Yuffie Kisaragi
Conformer
Inside a chest in the Sunken Gelnika.
Limit Breaks
Most characters have two Limit Breaks per level up to level three, and then a small sidequest for the one Level 4 that you learn after using the item on the character.
  • The first one you acquire by dealing the finishing blow as the specific character X number of times, after getting the previous level LB with of the same condition.
  • The second one by using the first one X number of times.

Aerith Gainsborough
Level 1:
Healing Wind: Starter.
Seal Evil: Use HW 8 times.

Level 2:
Breath of the Earth: Kill 80 monsters.
Fury Brand: Use BotE 6 times.

Level 3:
Planet Protector: Kill 80 monsters.
Pulse of Life: Use PP 5 times.

Level 4:
Great Gospel:
  • Use the Tiny Bronco to reach Nibelheim.
  • Take your Buggy to Costa del Sol and crash it into the town.
  • Pay the sailor 100 gil for a ride back to Junon.
  • Use the Buggy to cross the small river Northeast of Junon.
  • Enter the cave.
  • Talk to the NPC with the last two digits of battles fought repeat and be odd (X11, X33, etc).
  • Get "Mythril" from the NPC.
  • Crash into Junon with the Buggy and ride the boat back to Costa del Sol.
  • Find the small house Southeast of the Gold Saucer.
  • Give the NPC your Mythril.
  • Open the small chest in the second floor's wall.

Barret Wallace
Level 1:
Big Shot: Starter
Mind Blow: Use BS 9 times.

Level 2:
Grenade Bomb: Kill 80 monsters.
Hammer Blow: Use GB 8 times.

Level 3:
Satellite Beam: Kill 80 monsters.
Angermax: Use SB 6 times.

Level 4:
Catastrophe: Head inside the house to the left of the well in North Corel and talk to the woman to the left of the table to obtain it.


Caith Sith
Level 1:
Dice: Starter

Level 2:
Slots: Kill 40 monsters.

Cid Highwind
Level 1:
Boost Jump: Starter
Dynamite: Use BJ 7 times.

Level 2:
Hyper Jump: Kill 60 monsters.
Dragon: Use HJ 6 times.

Level 3:
Big Brawl: Kill 76 monsters.

Level 4:
Highwind: On a chest inside the cargo room after beating the Turks inside the Sunken Gelnika.
The Sunken Ship can be located directly south of Costa del Sol.

Cloud Strife
Level 1:
Braver: Starter
Cross-Slash: Use B 8 times.

Level 2:
Blade Beam: Kill 120 monsters.
Climhazzard: Use BB 7 times.

Level 3:
Meteorain: Kill 80 monsters.
Finishing Touch: Use M 6 times.

Level 4:
Omnislash: Get addicted to the Gold Saucer's worst minigame in the Battle Square and purchase it for either 64,000 BP or 32,000 BP later in the game.


Tifa Lockhart
Level 1:
Beat Rush: Starter
Somersault: Use BR 9 times.

Level 2:
Water Kick: Kill 96 monsters.
Meteodrive: Use WK 7 times.

Level 3:
Dolphin Blow: Kill 96 monsters.
Meteor Strike: Use DB 6 times.

Level 4:
Final Heaven: AfterCloud rejoins the partygo play the piano at Tifa's house in Nibelheim and play:
Notes: Do, Re, Mi, Ti, La, Do, Re, Mi, So, Fa, Do, Re, Do
Buttons: Cancel, Switch, Menu, Pgup+Menu, Pgup+Switch, Cancel, Switch, Menu, Pgup+Cancel, OK, Cancel, Switch, Cancel


Red XIII
Level 1:
Sled Fang: Starter
Mind Blow: Use SF 8 times.

Level 2:
Blood Fang: Kill 72 monsters.
Stardust Ray: Use BF 7 times.

Level 3:
Howling Moon: Kill 72 monsters.
Earth Rave: Use HM 6 times.

Level 4:
Cosmo Memory: If you recruited Vincent you already have this item.
  • Enter Shinra Mansion.
  • Head for the left wing of the second floor to find a safe.
  • Use the combination R36 - L10 - R59 - R97.
    You totally learned by finding notes around the mansion.
  • Lost Number will drop the item upon defeat.


Vincent Valentine
Level 1:
Galian Beast: Starter

Level 2:
Death Gigas: Kill 40 monsters.

Level 3:
Hellmasker: Kill 56 monsters.

Level 4:
Chaos: AfterCloud rejoins the partyuse your submarine or a green chocobo on the waterfall cave Northwest of Nibelheim while having Vincent on the party, then finish 10 random battles and come back to the cave.


Yuffie Kisaragi
Level 1:
Grease Lightning: Starter
Clear Tranquil: Use GL 8 times.

Level 2:
Landscaper: Kill 64 monsters.
Bloodfest: Use L 7 times.

Level 3:
Gauntlet: Kill 64 monsters.
Doom of the Living: Use G 6 times.

Level 4:
All creation: Clear all fights in the Pagoda in Wutai Village.
Thank you
Hope this guide helped, now go play Final Fantasy VIII.

P.d. This ♥♥♥♥♥♥♥ game can't even do the "The End" screen right, ♥♥♥♥♥♥♥♥♥♥ I am so happy I am done with this ♥♥♥♥.
38 kommenttia
Abyss  [tekijä] 19.5. klo 13.53 
@andreas valid and updated. couldn't think of anything serious tho so let me know if you have any preference.
andreas 16.5. klo 3.40 
This guide has been great so far, but can I suggest changing the availability hint for Vincent?
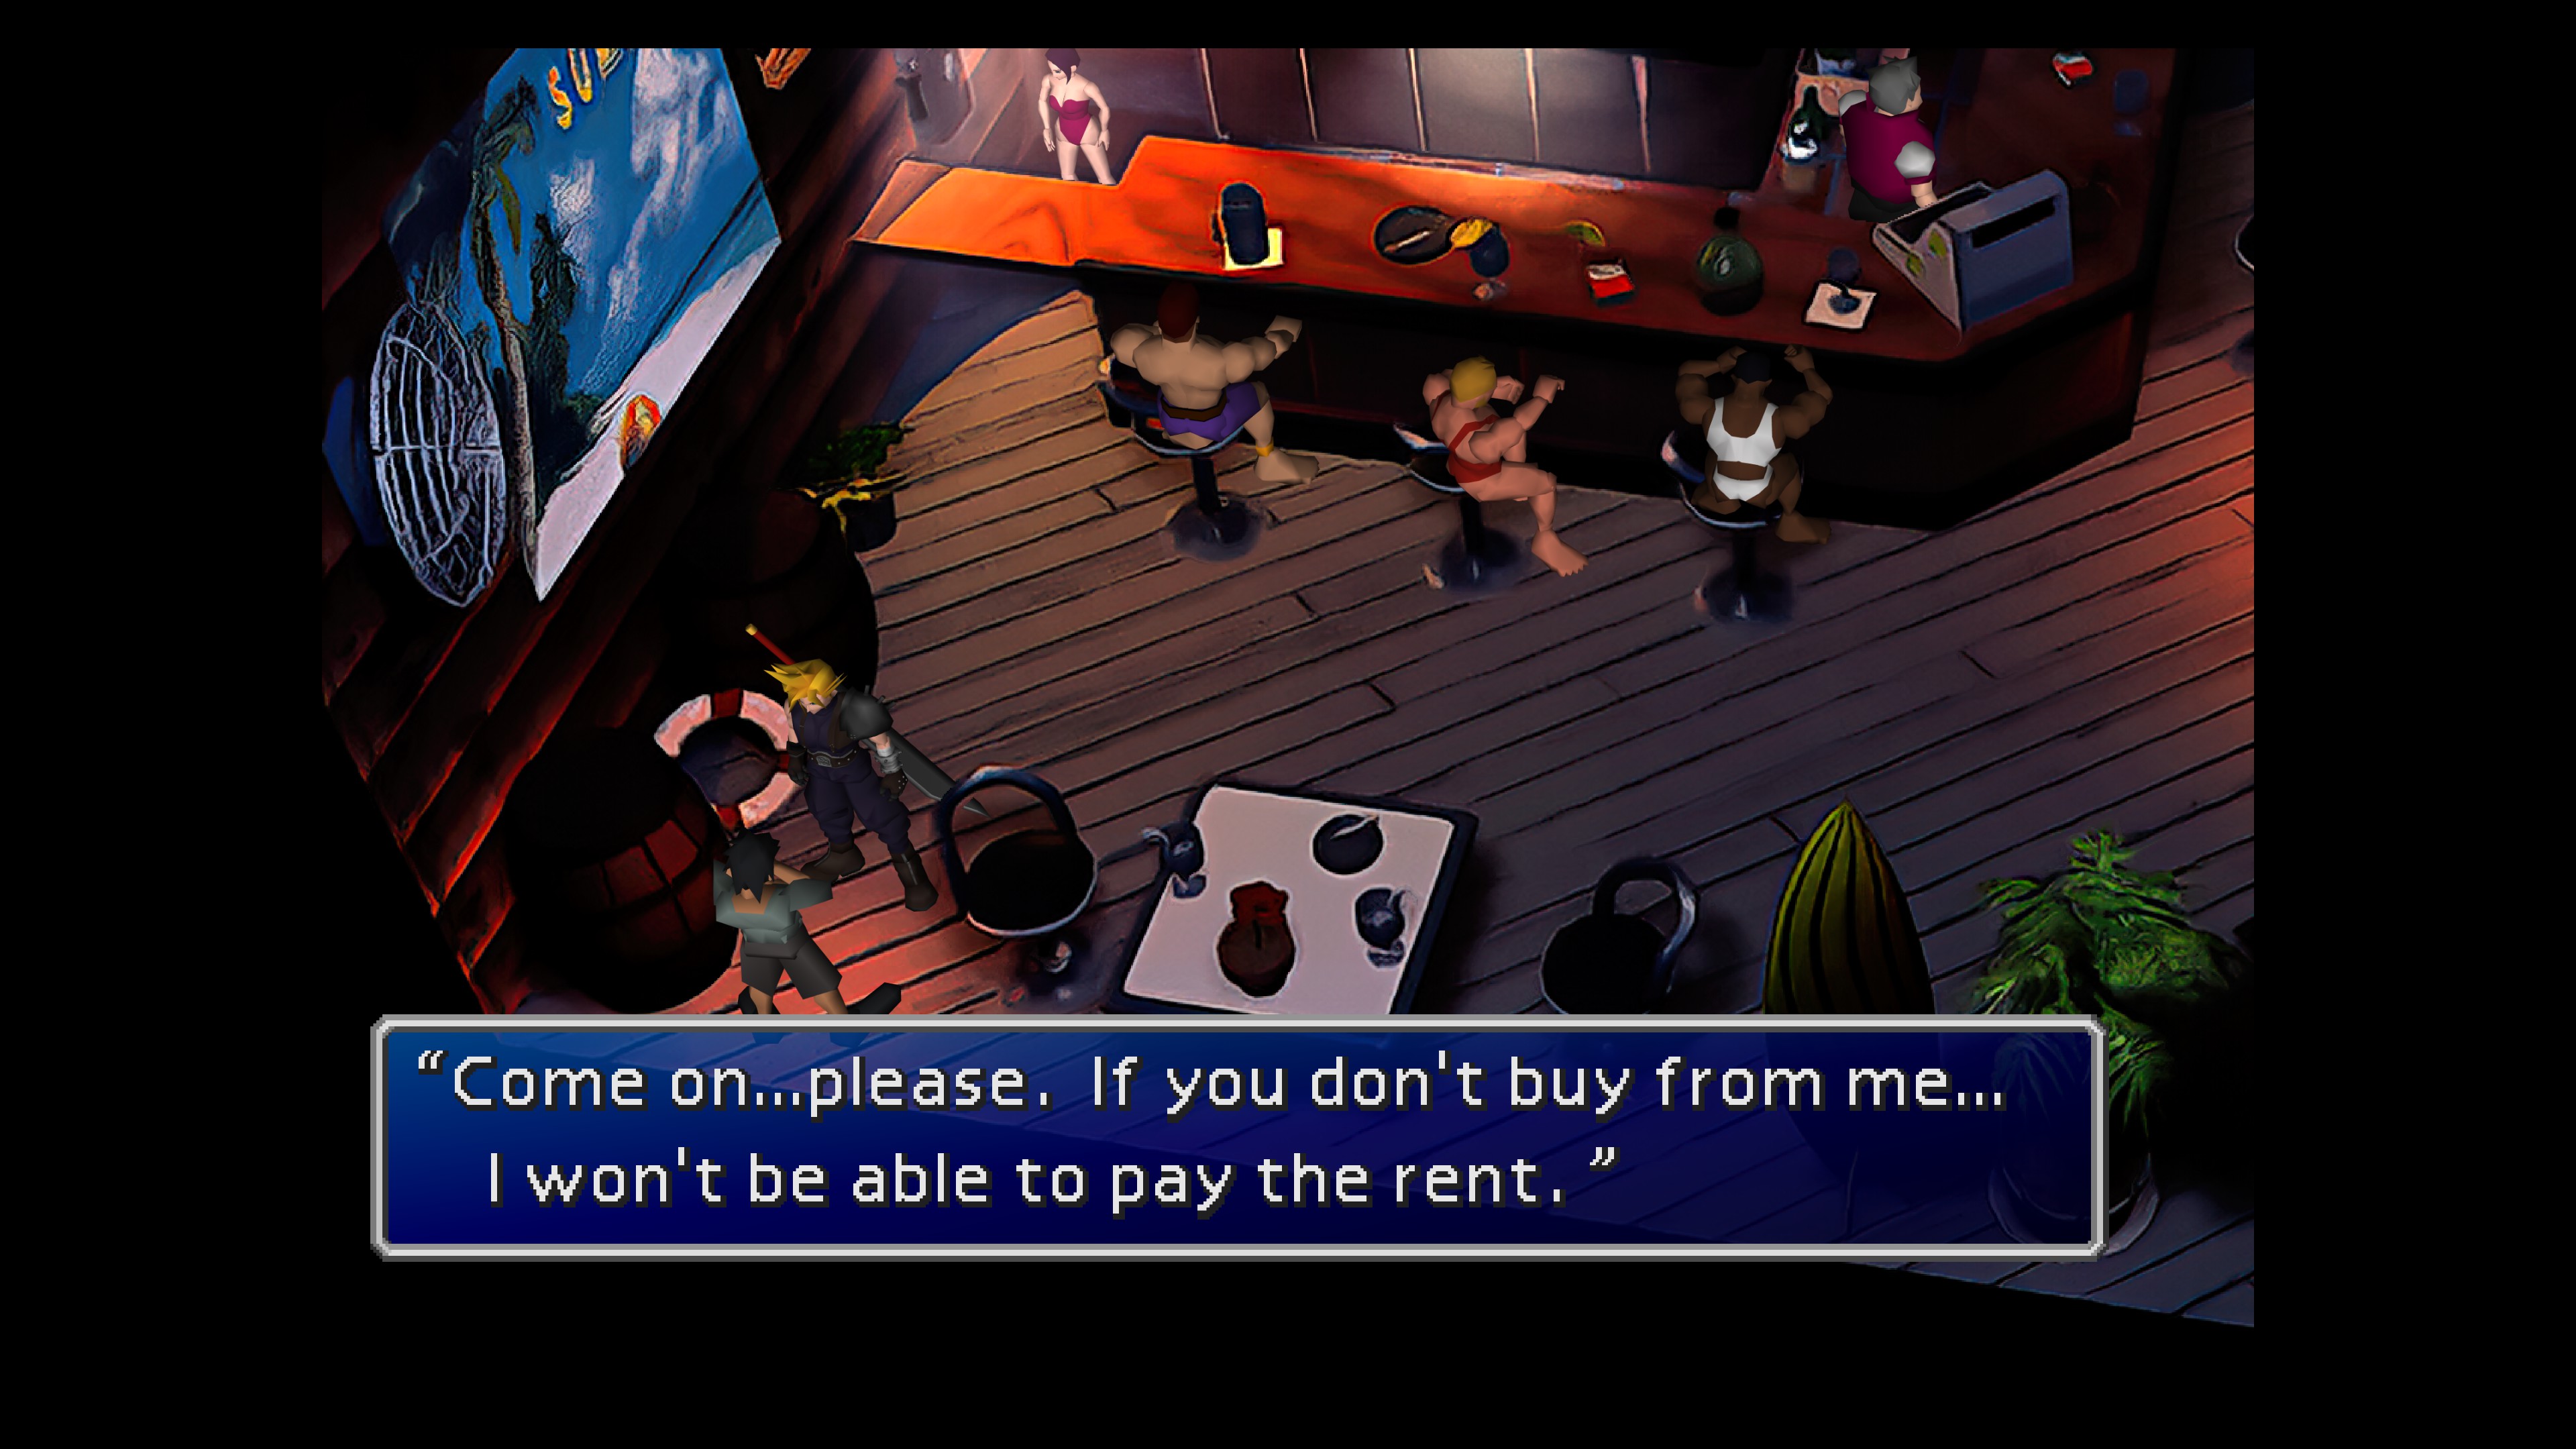
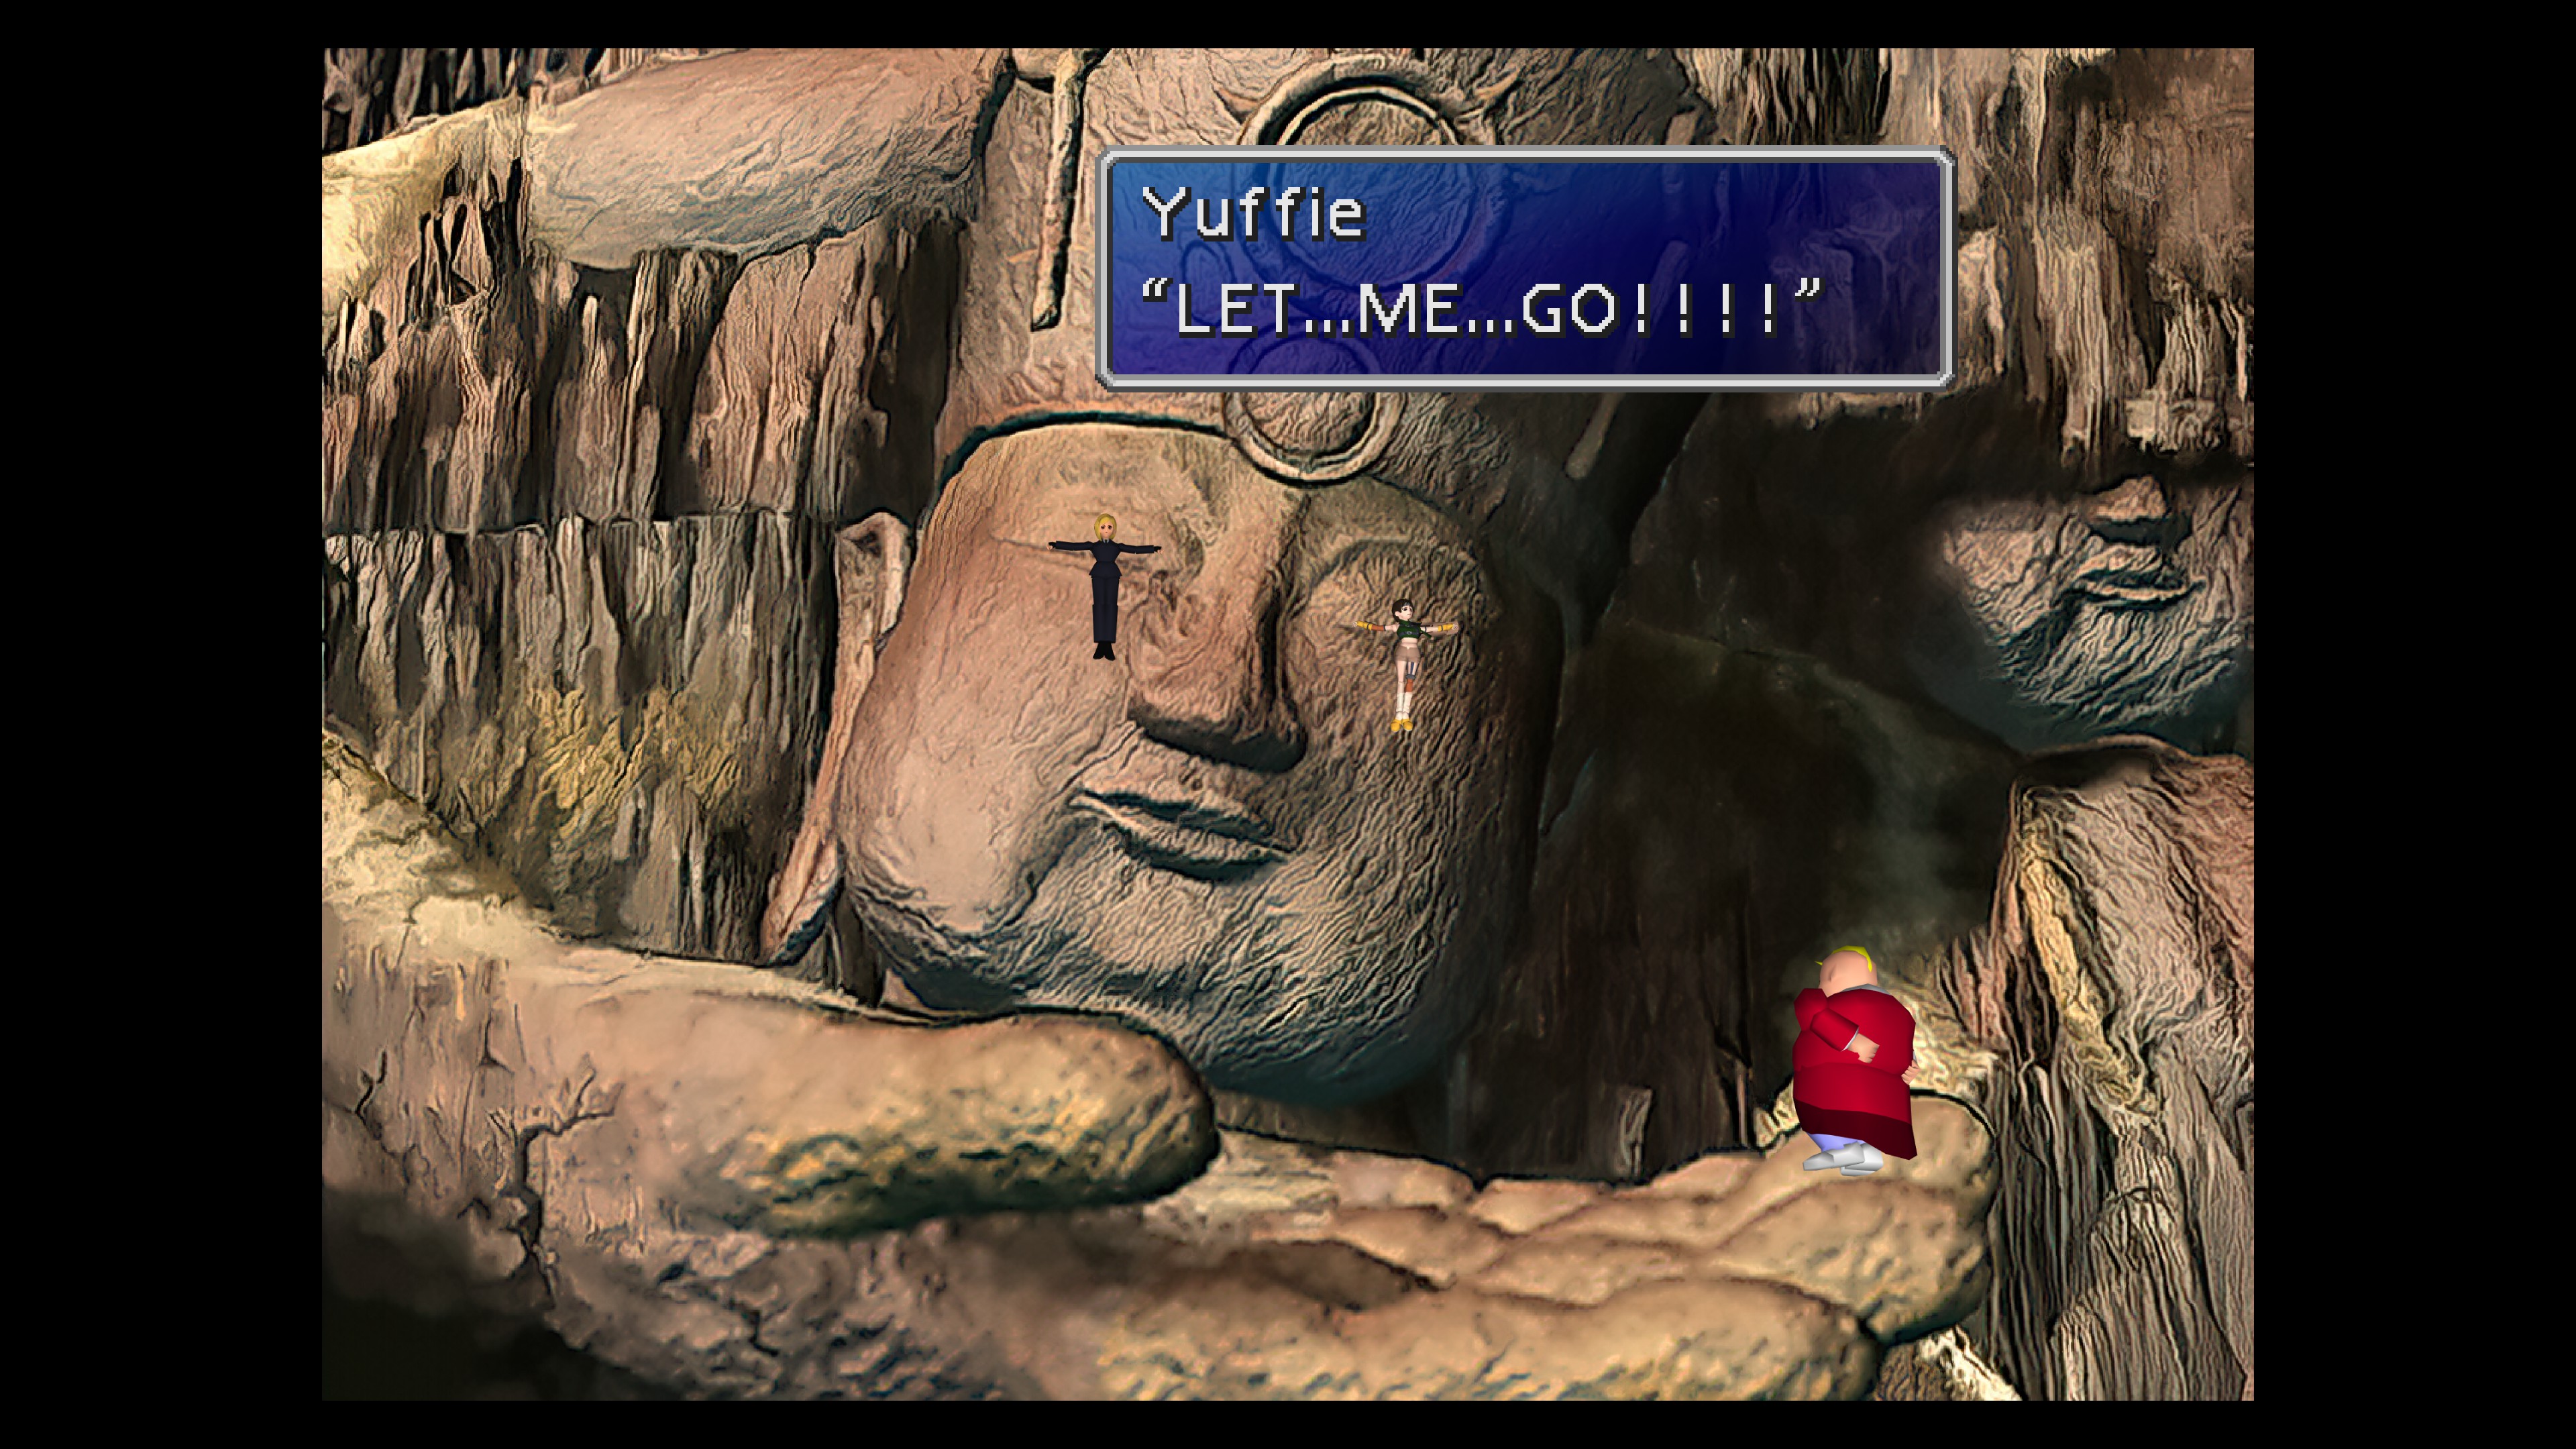
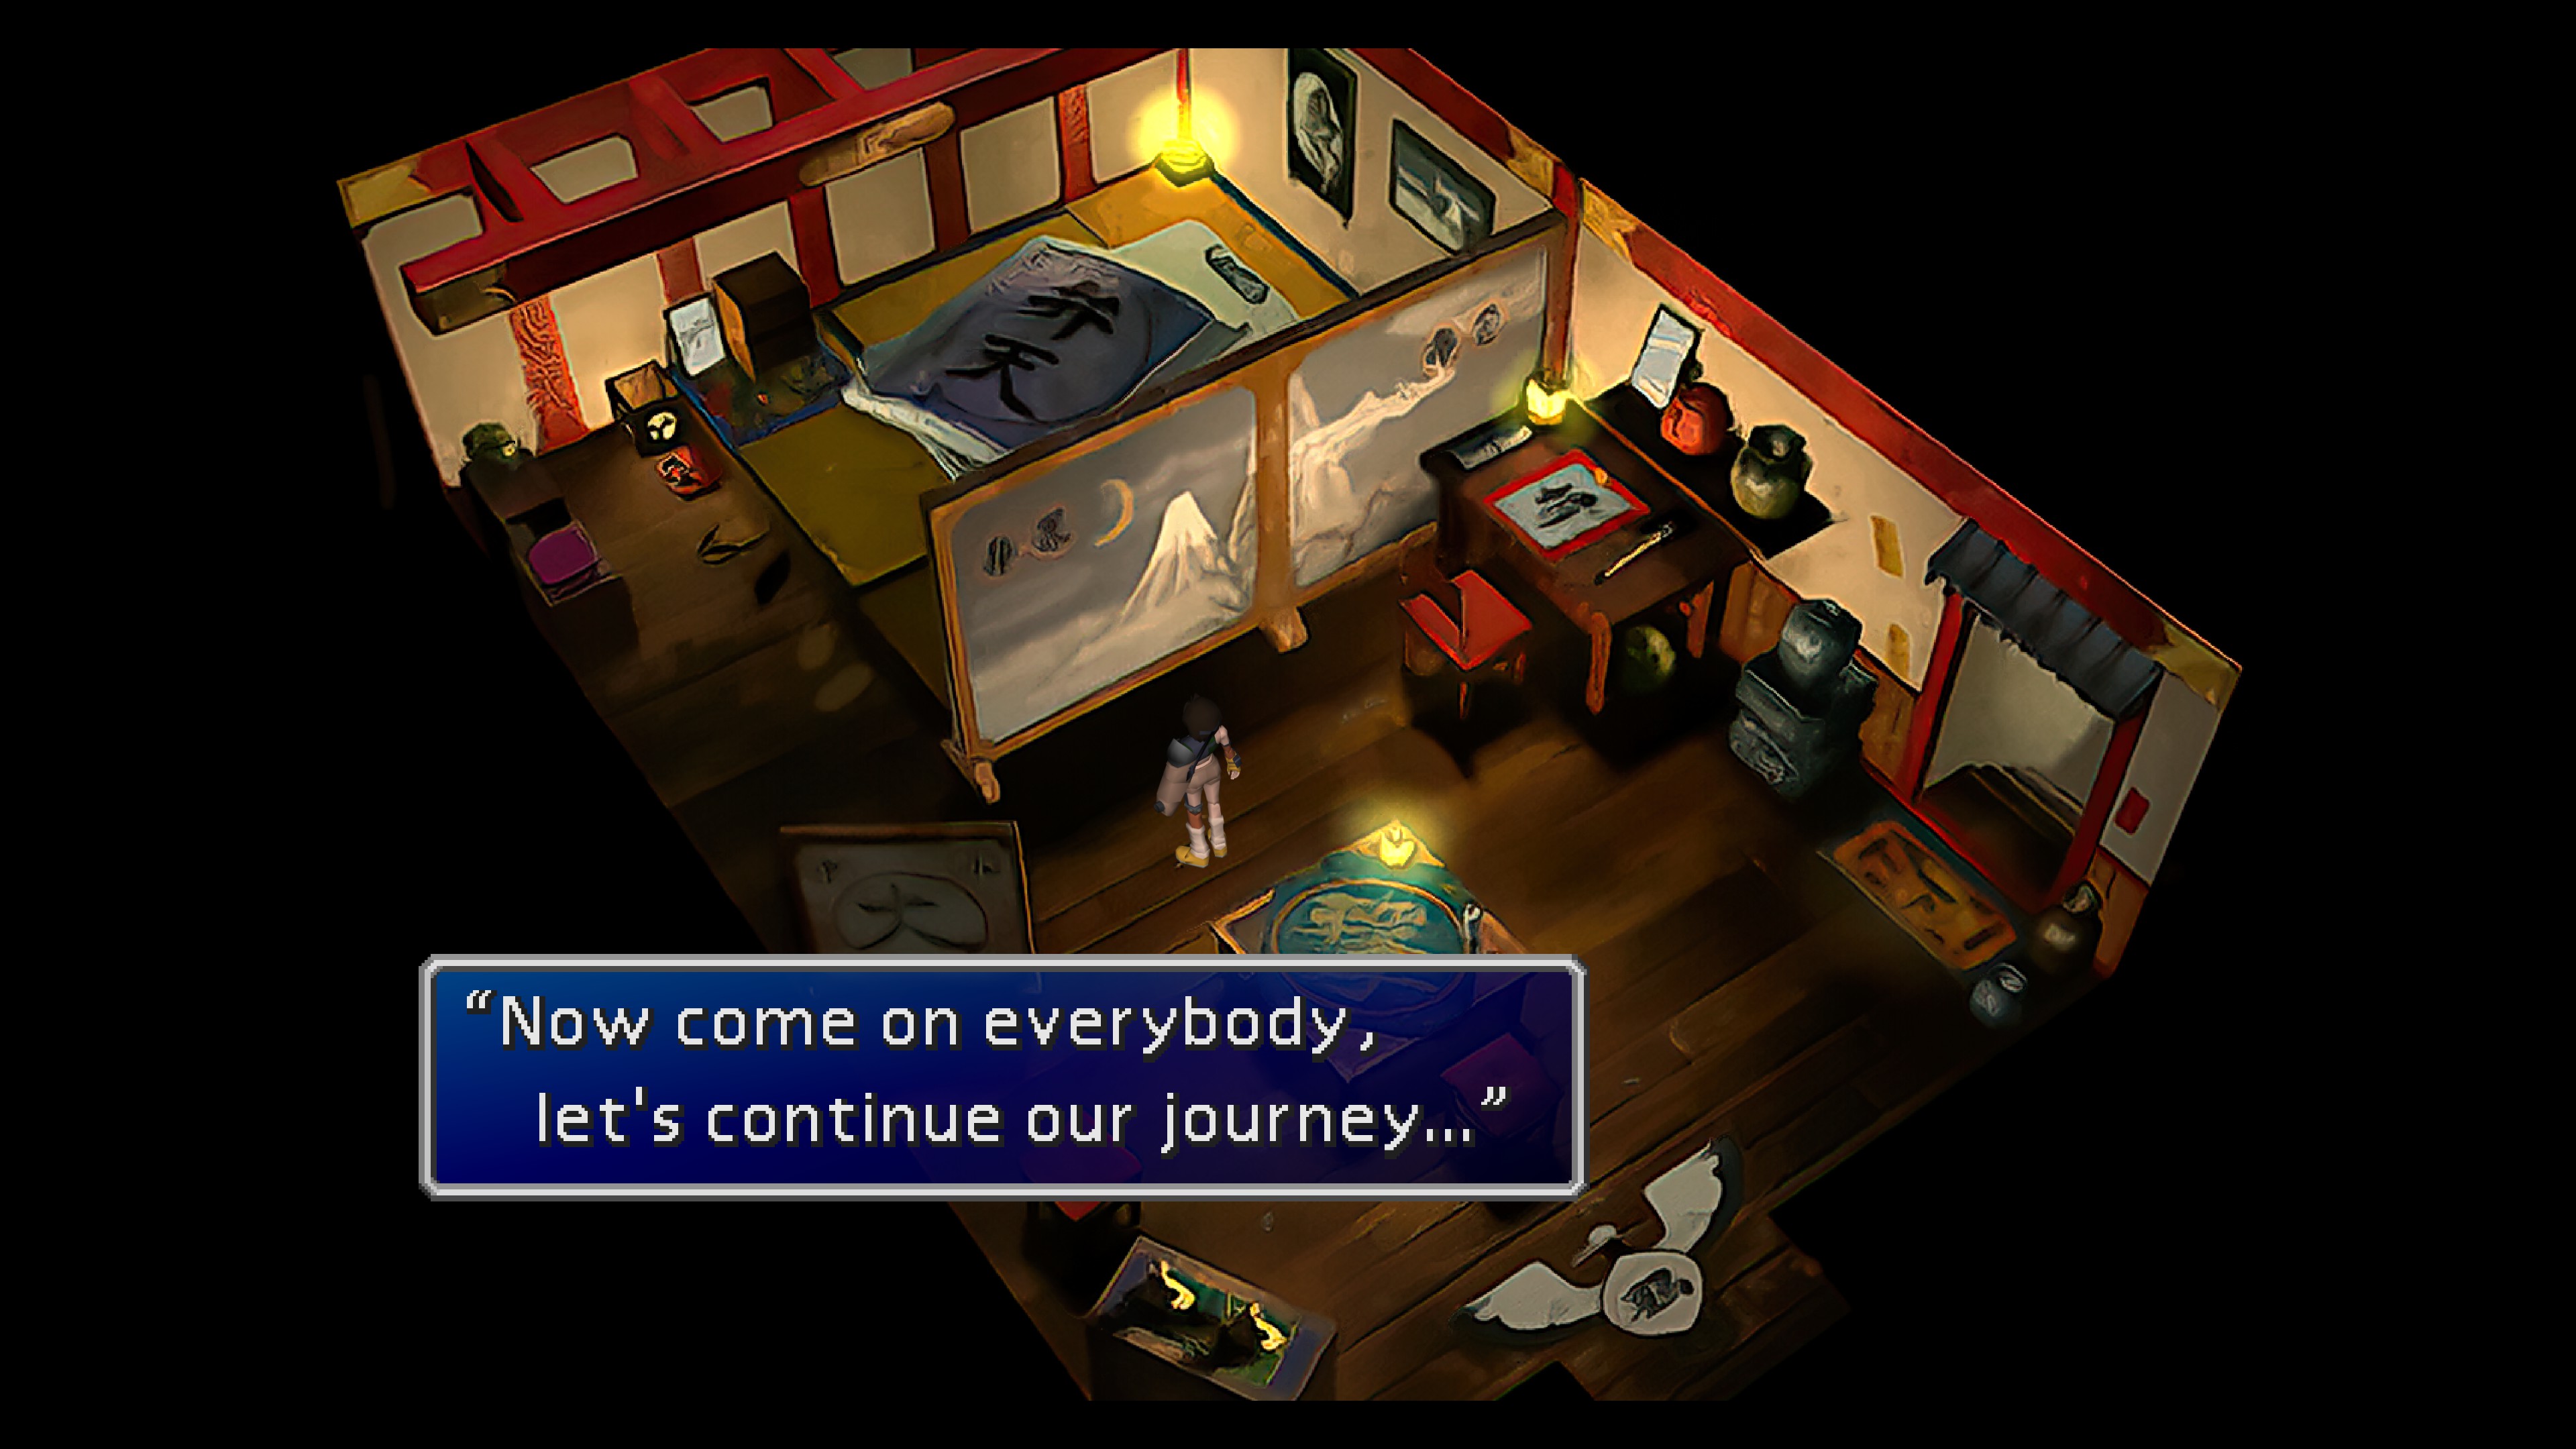
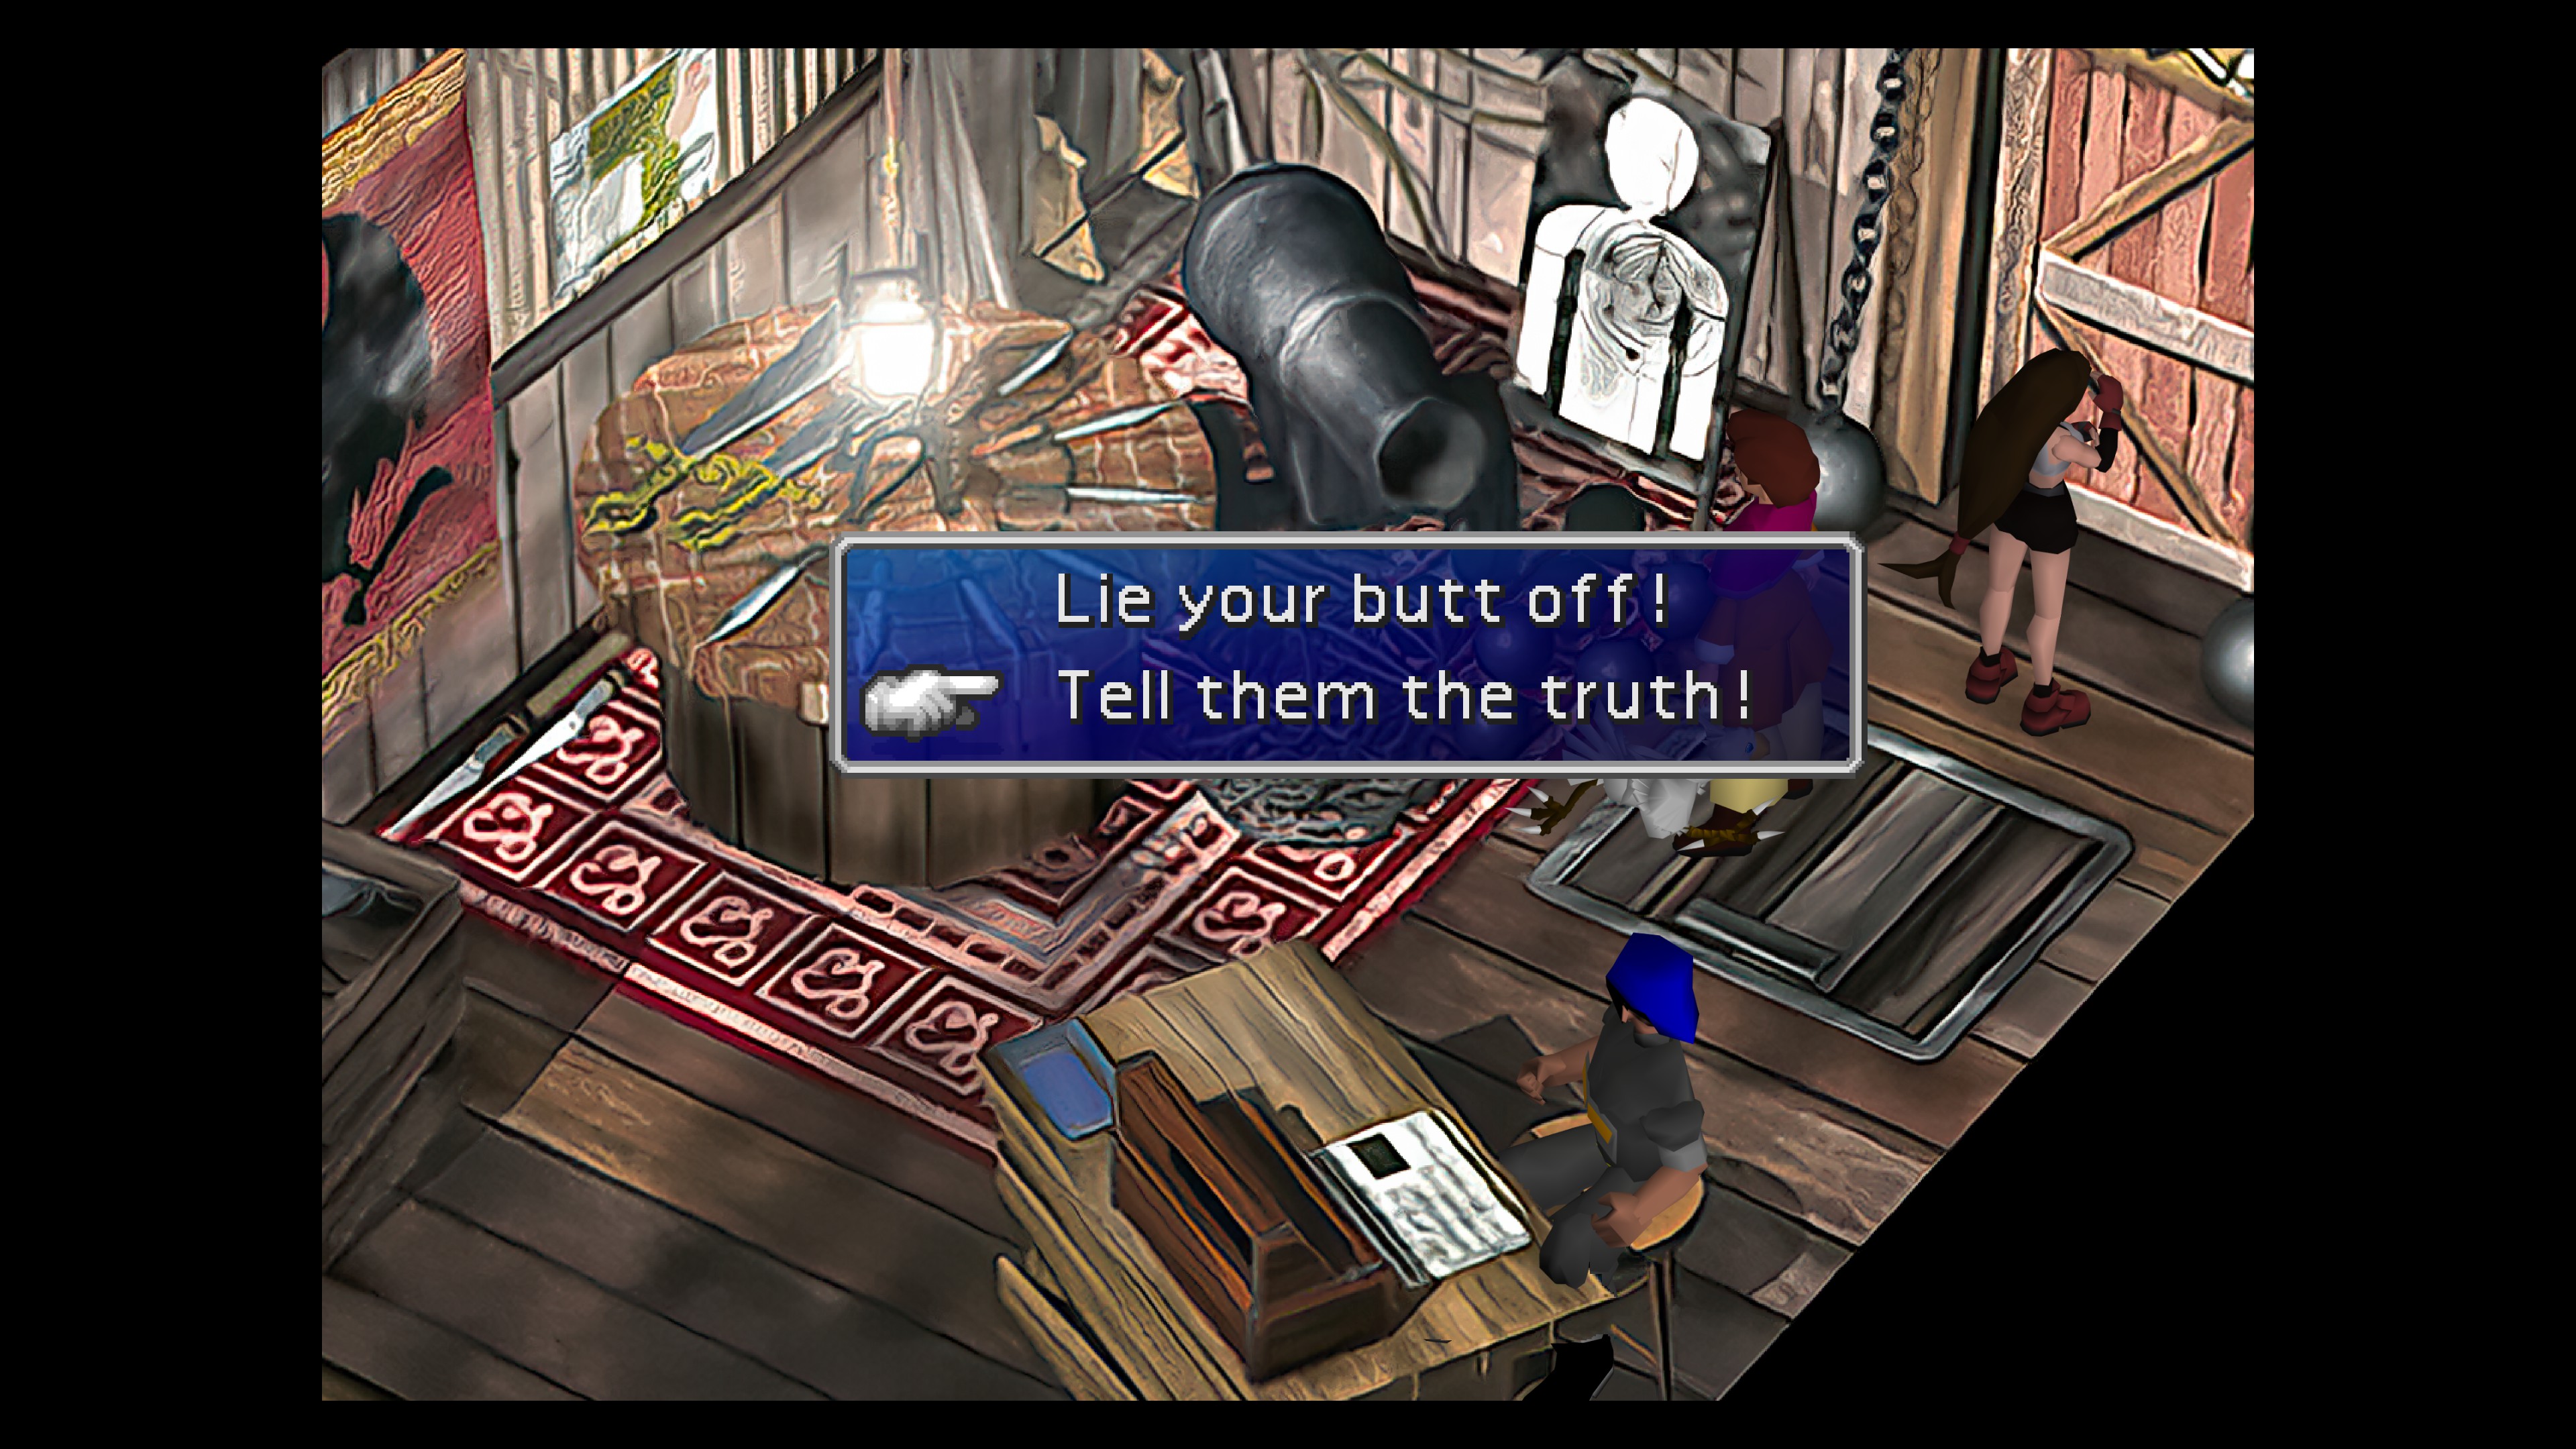
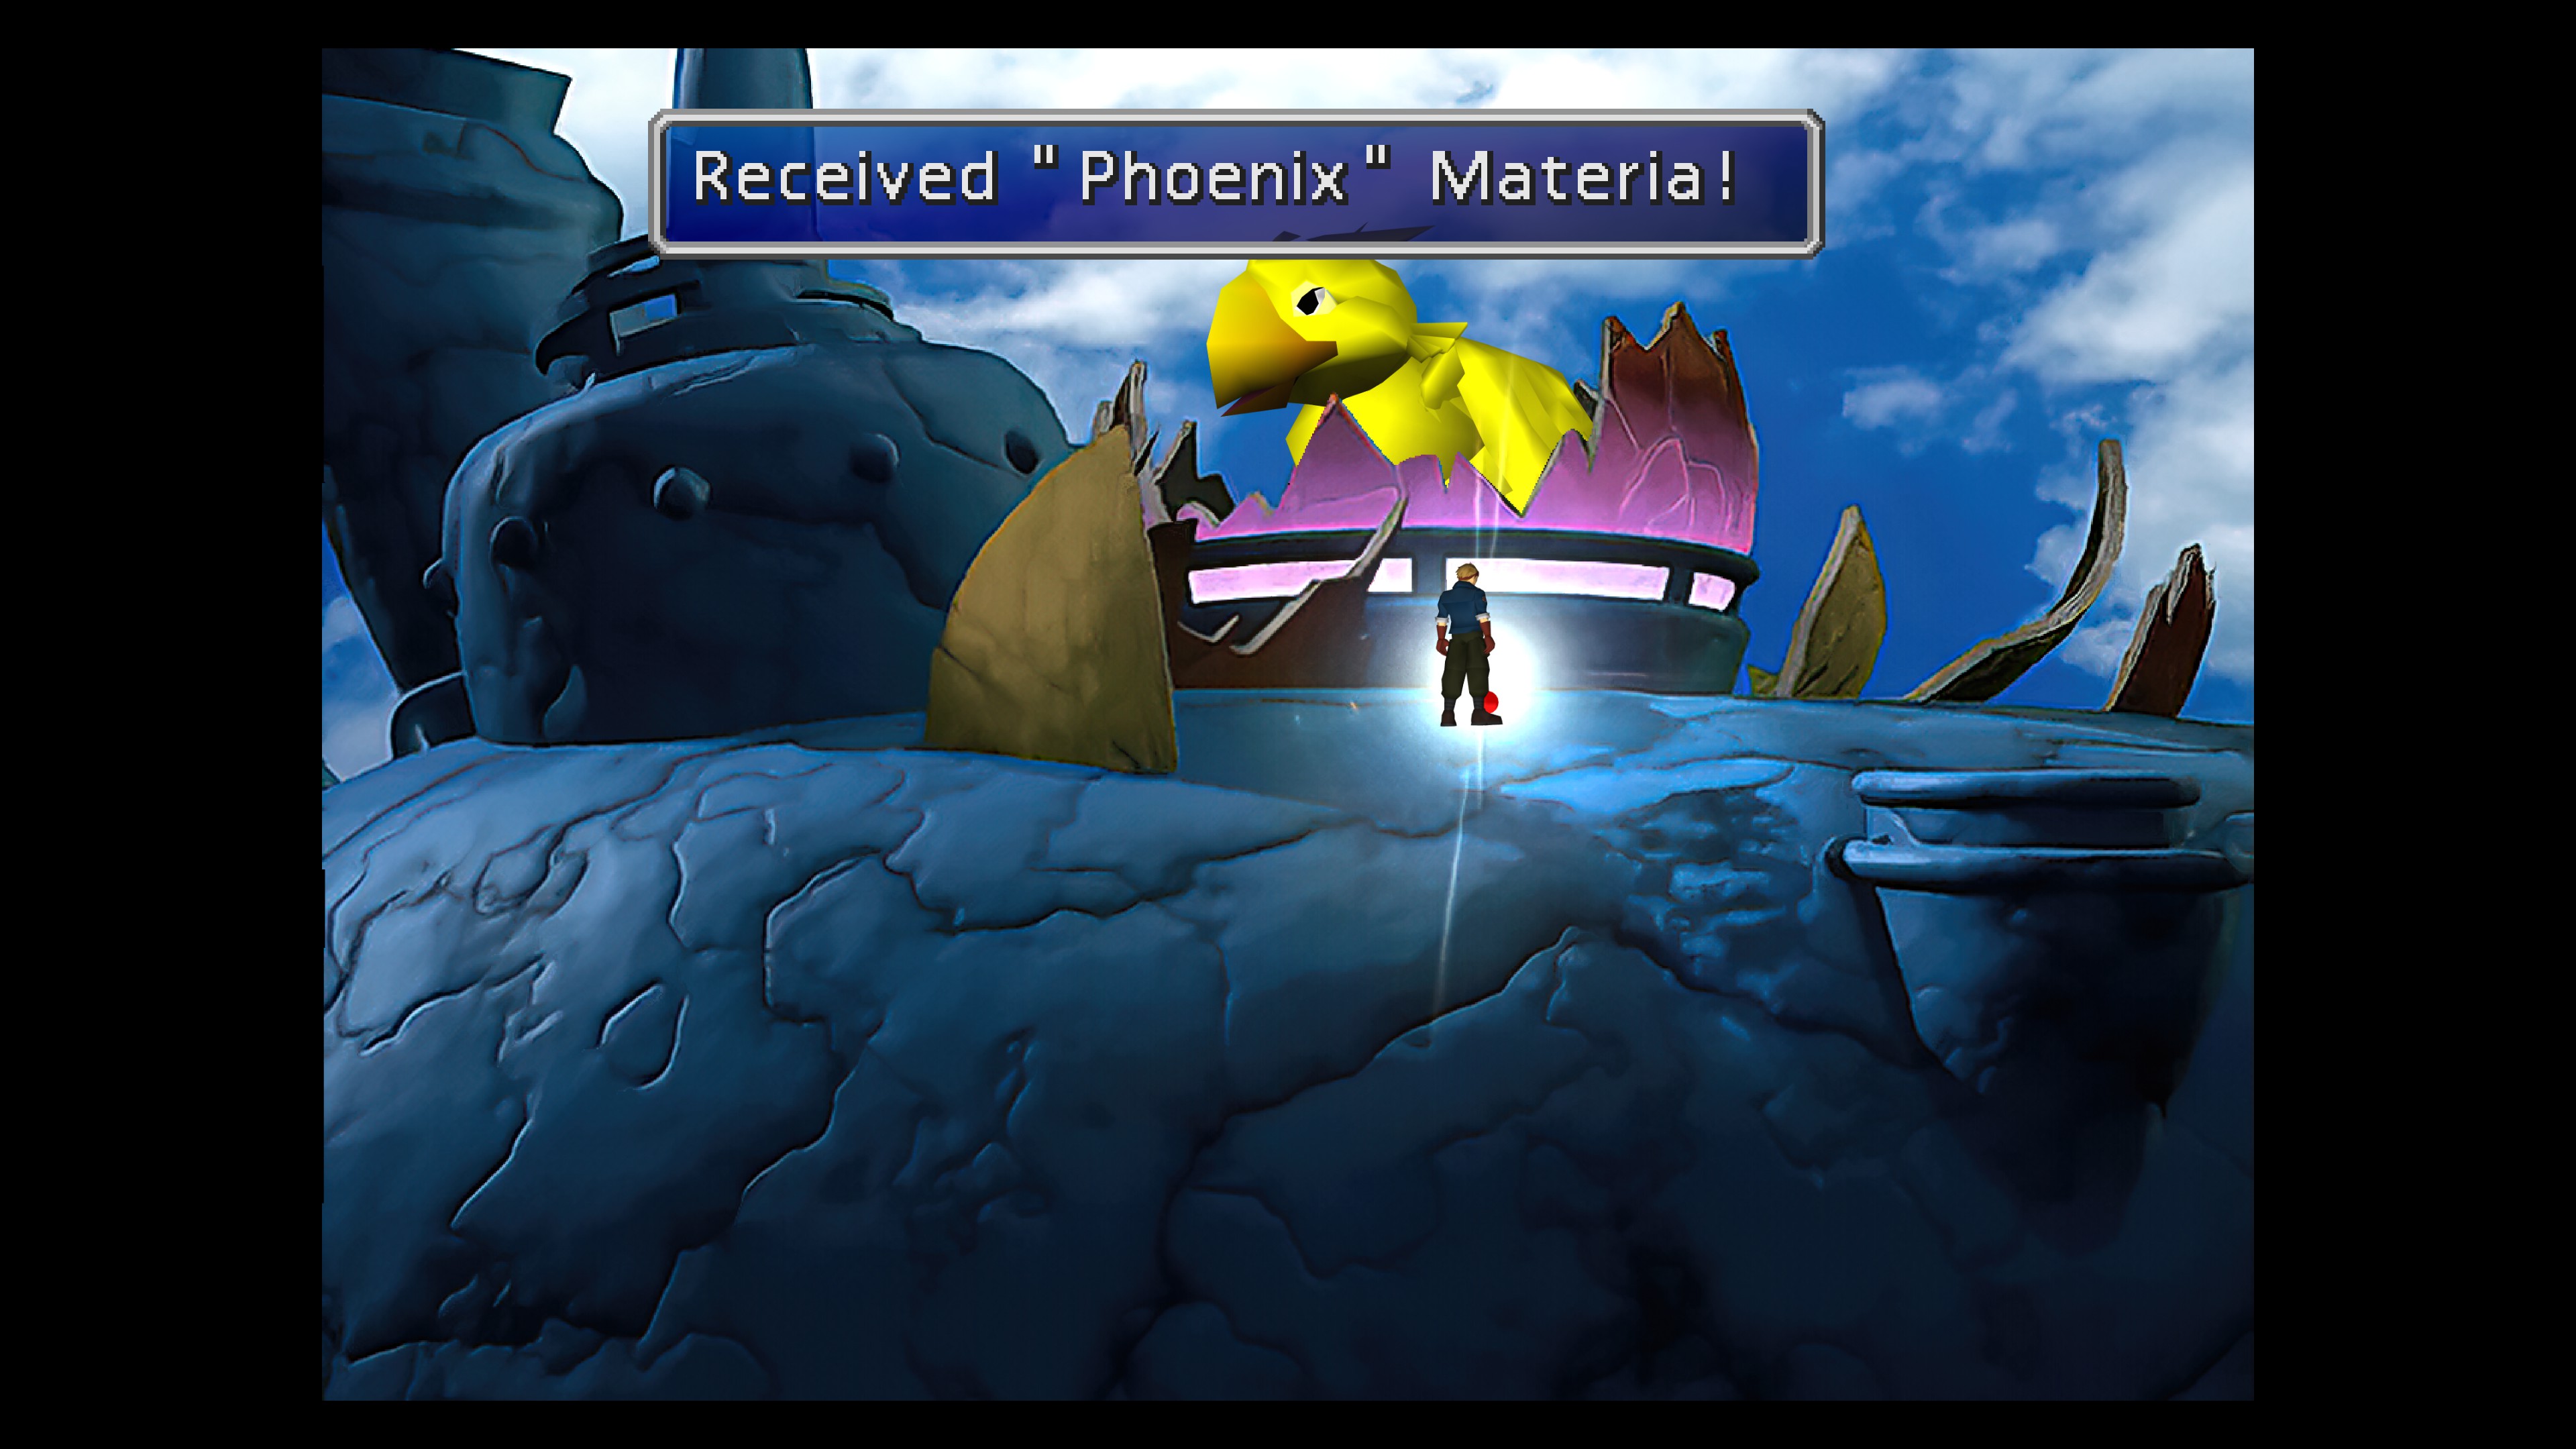
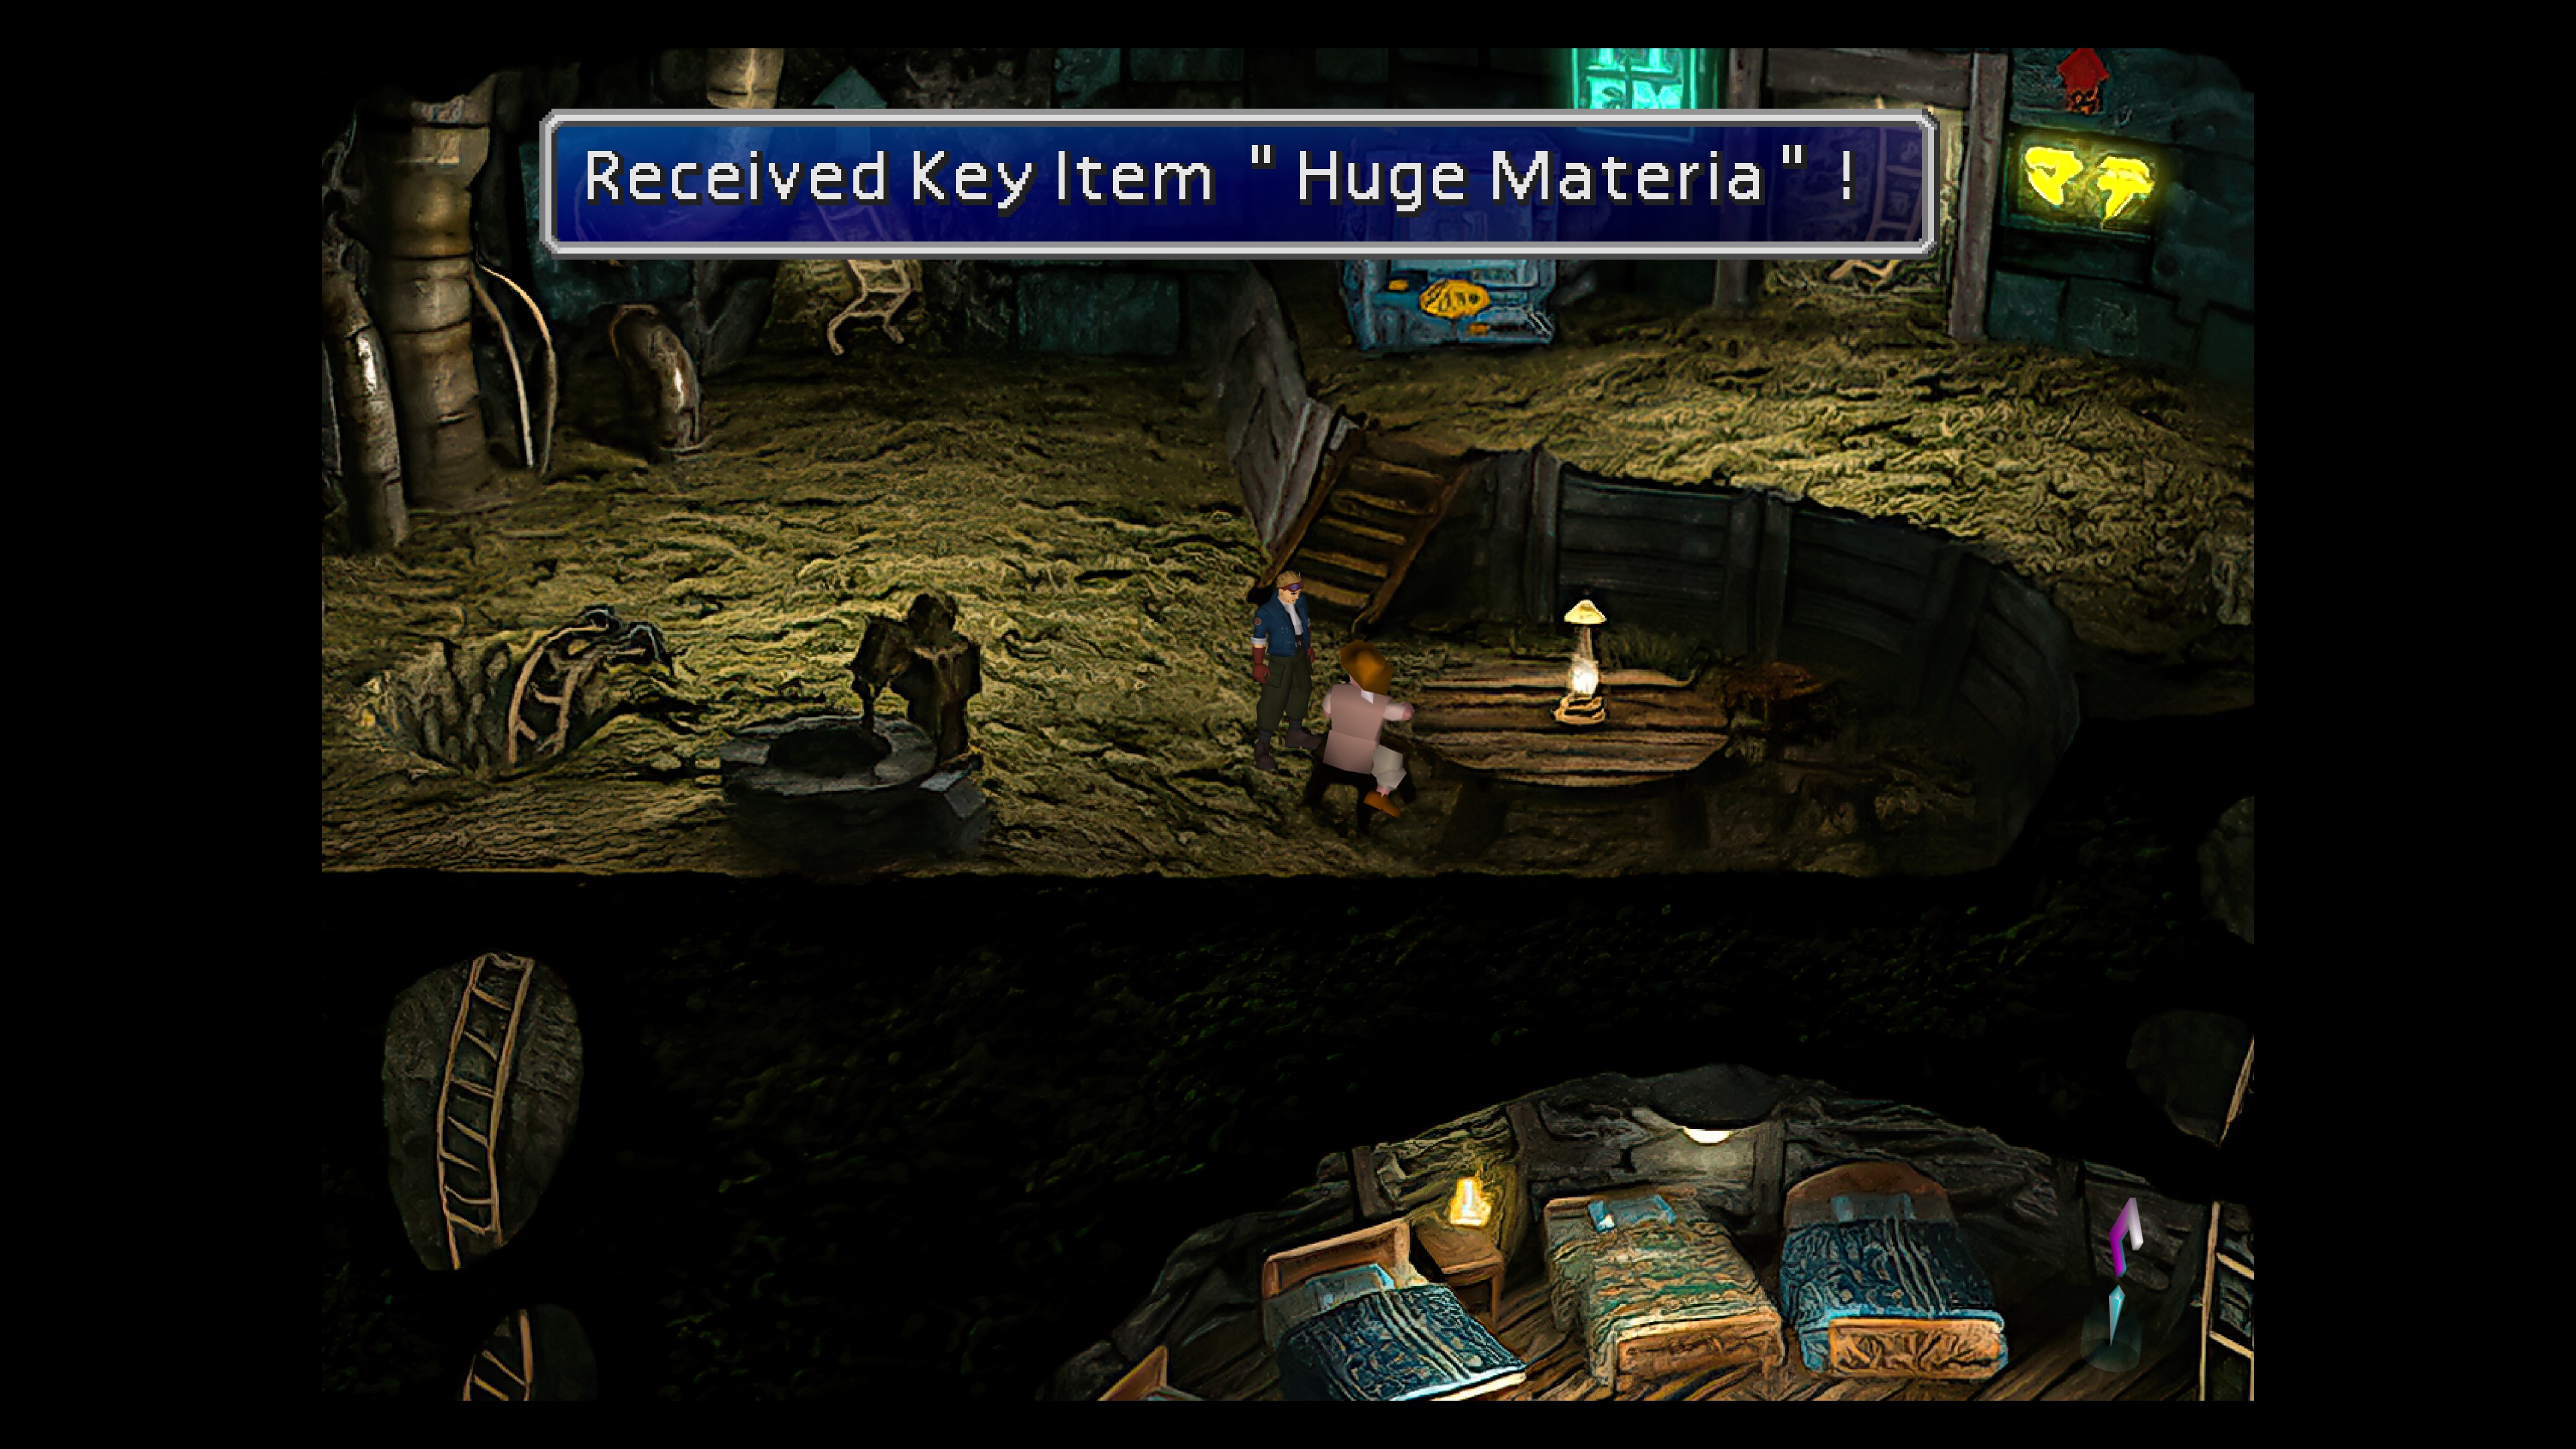
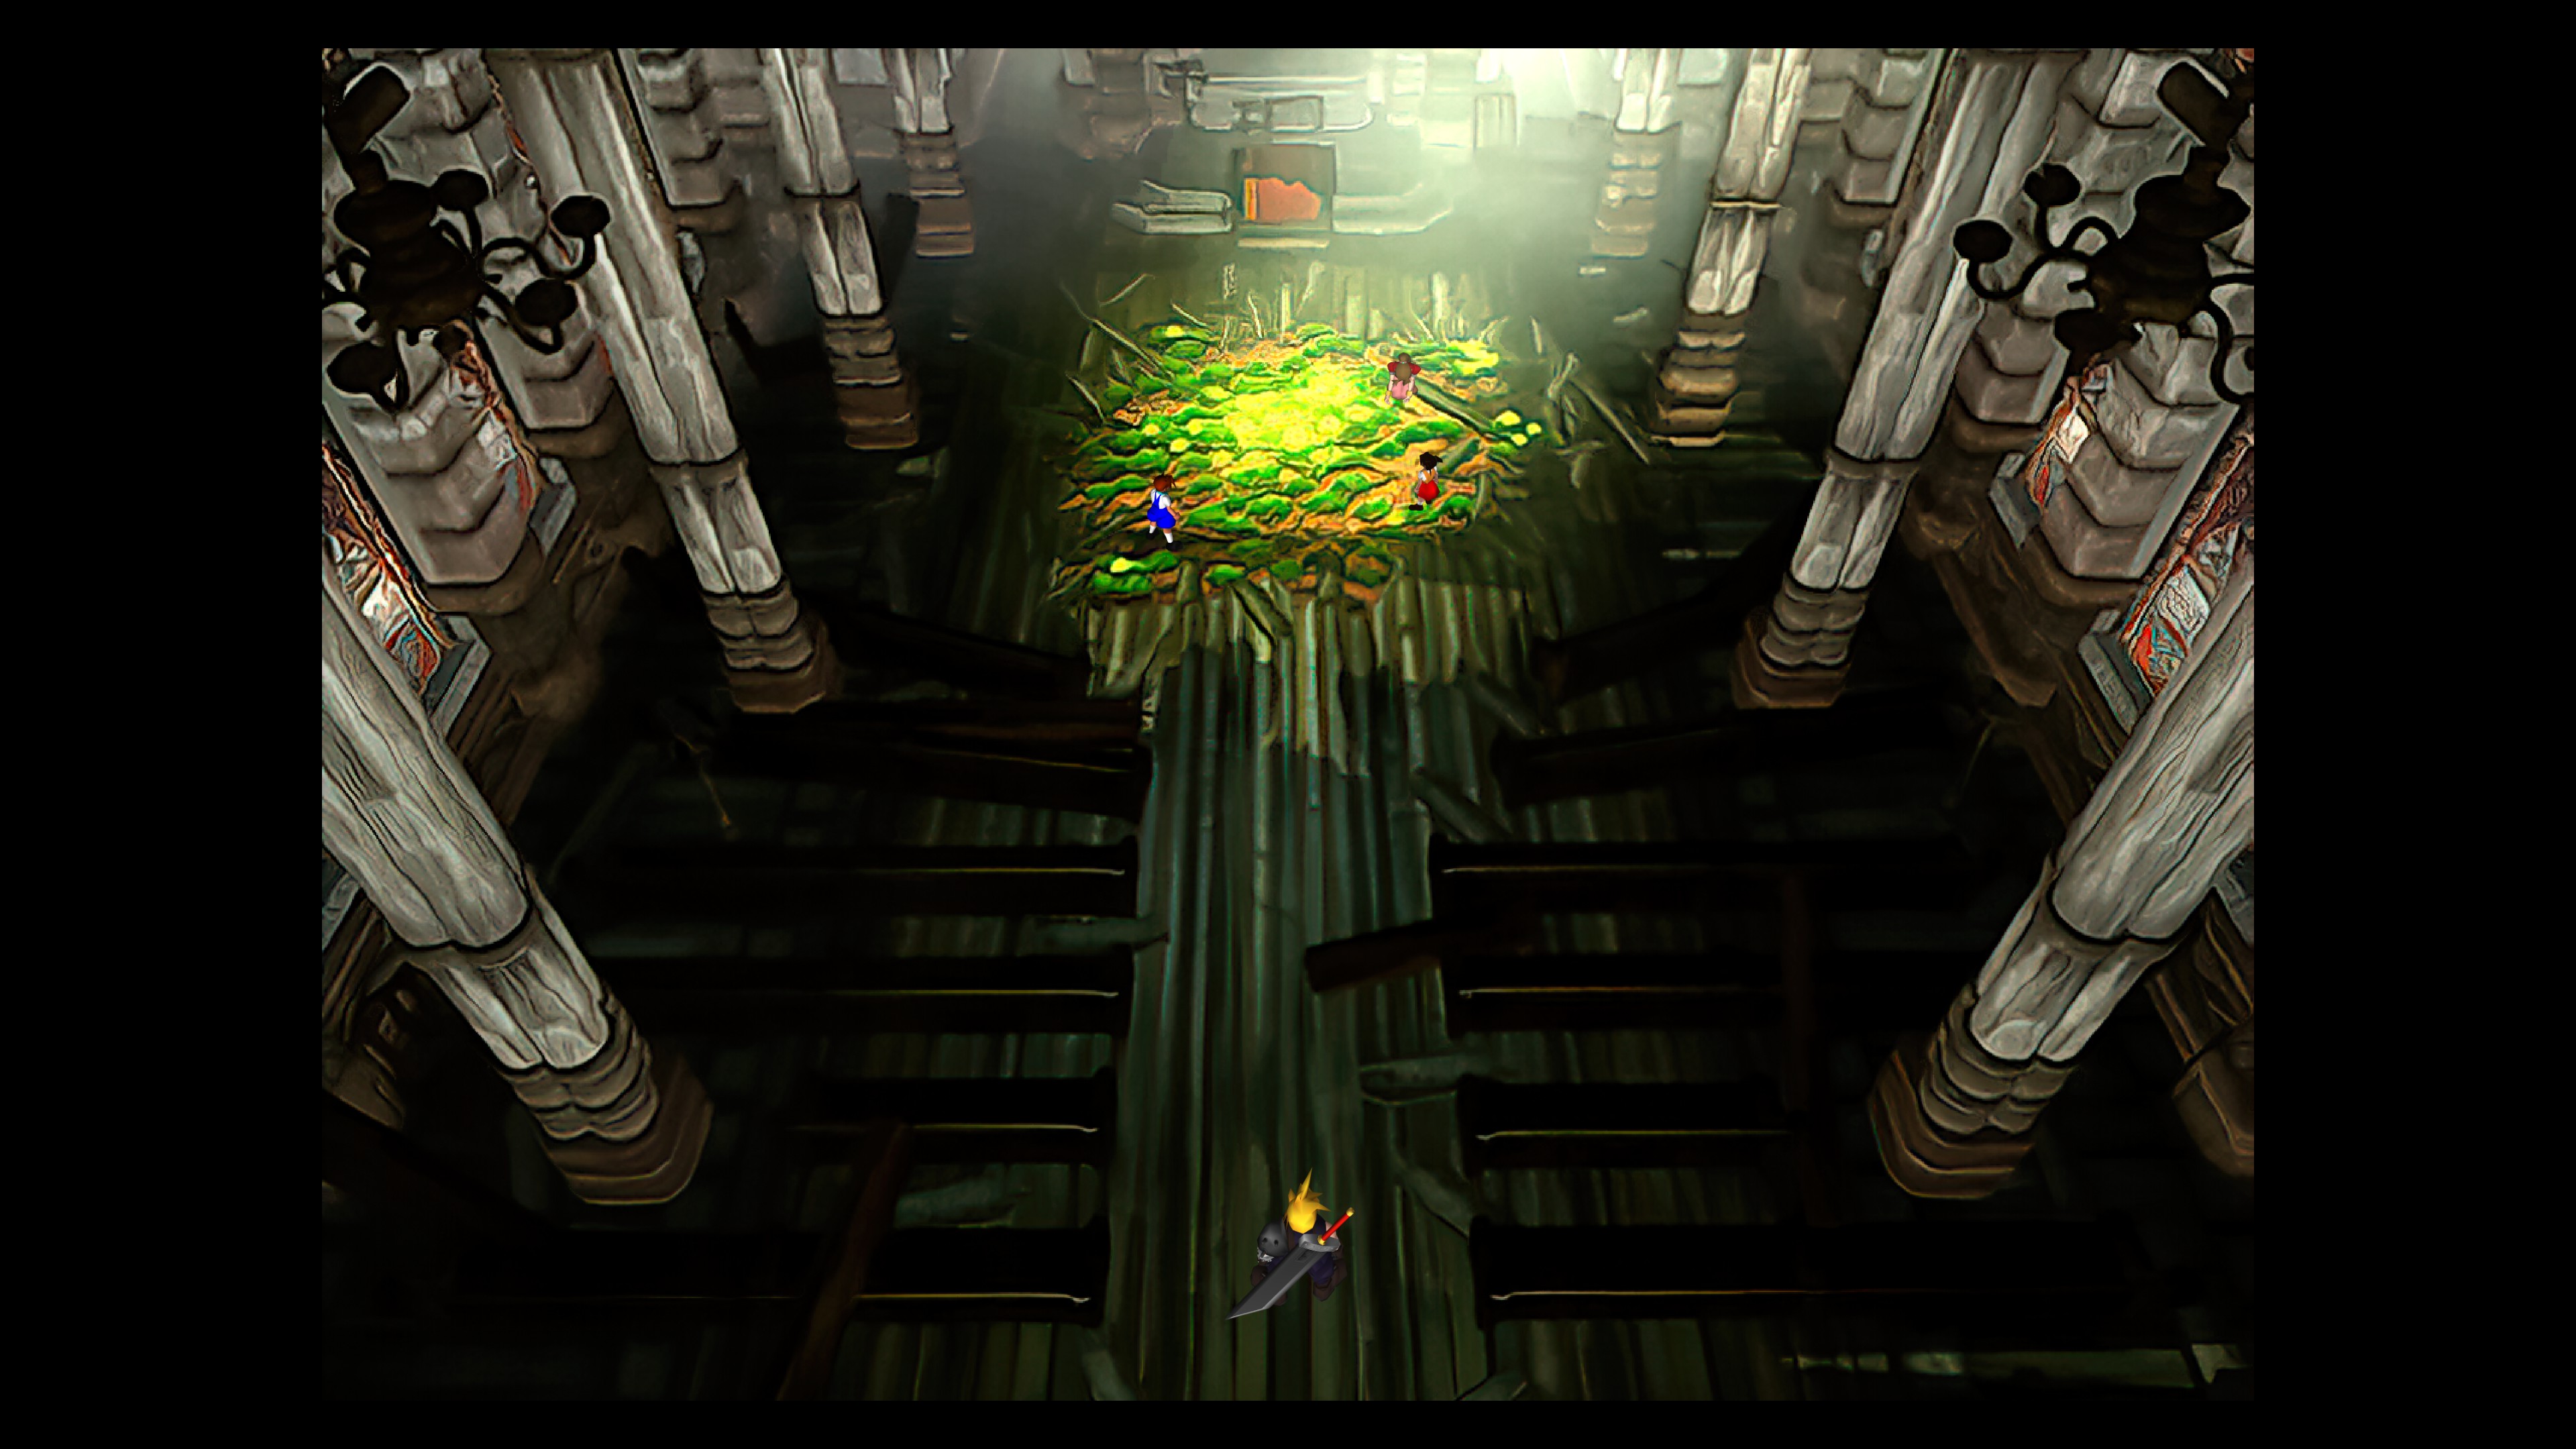
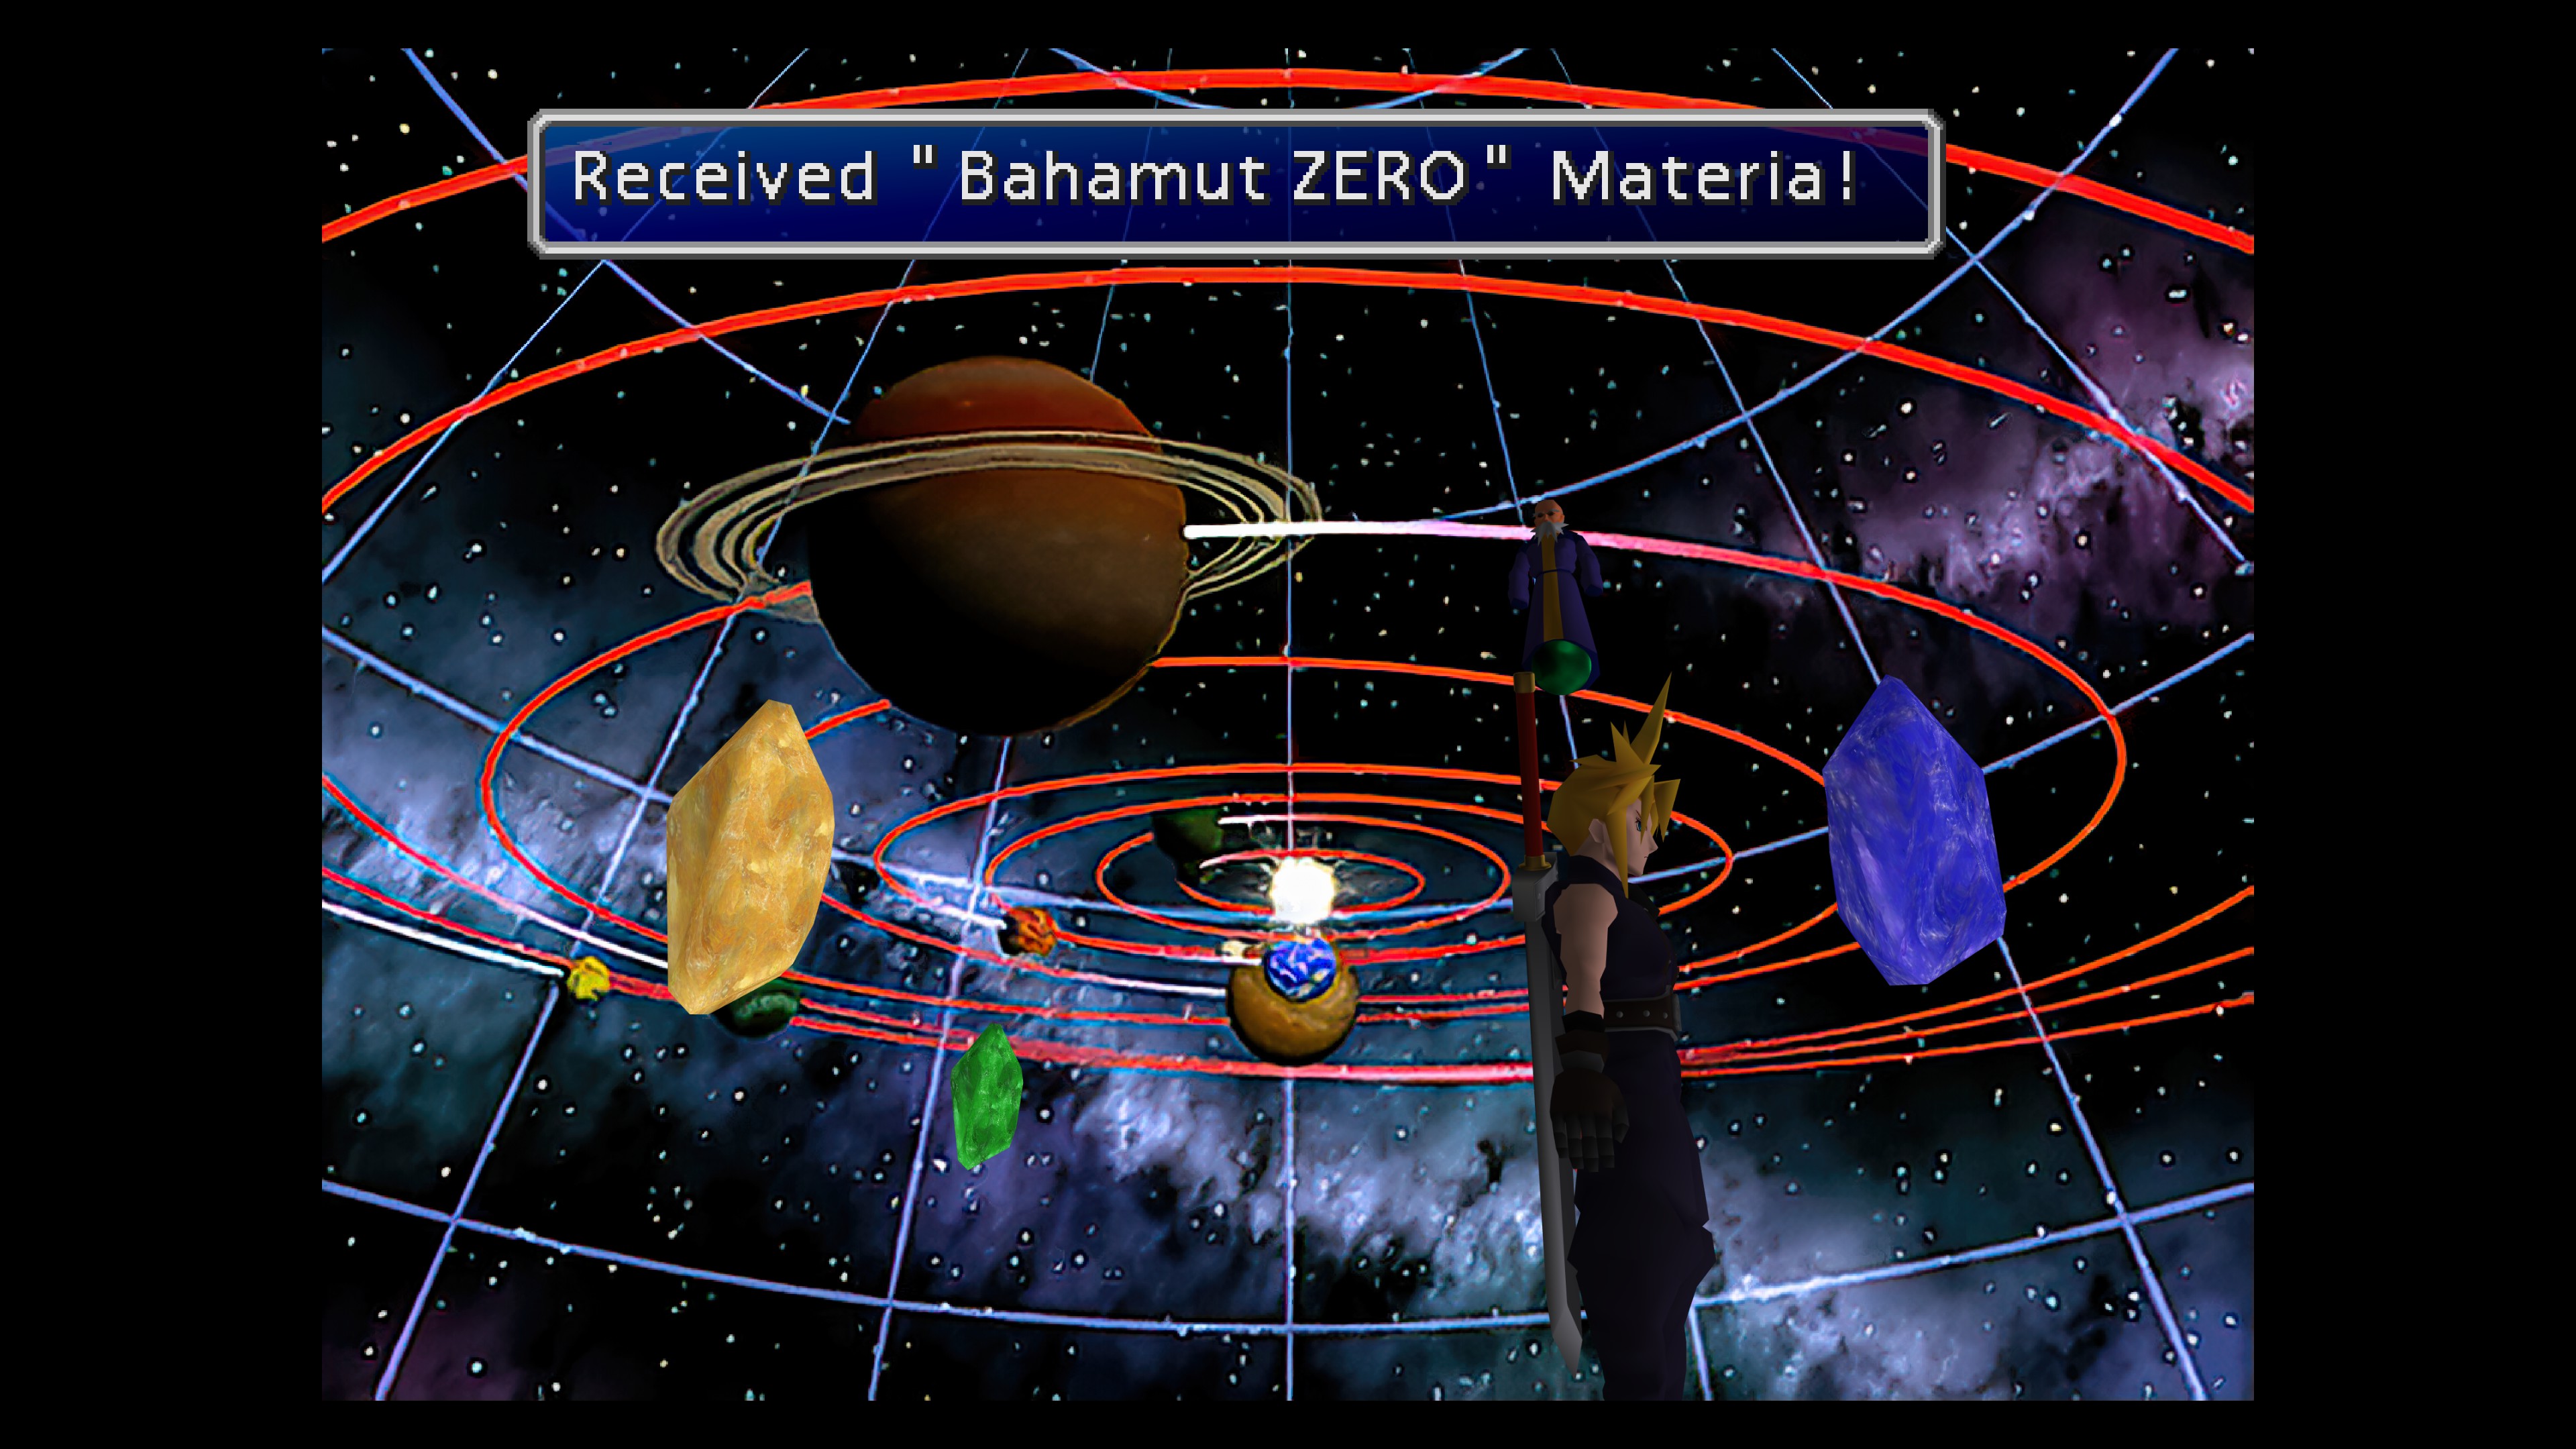
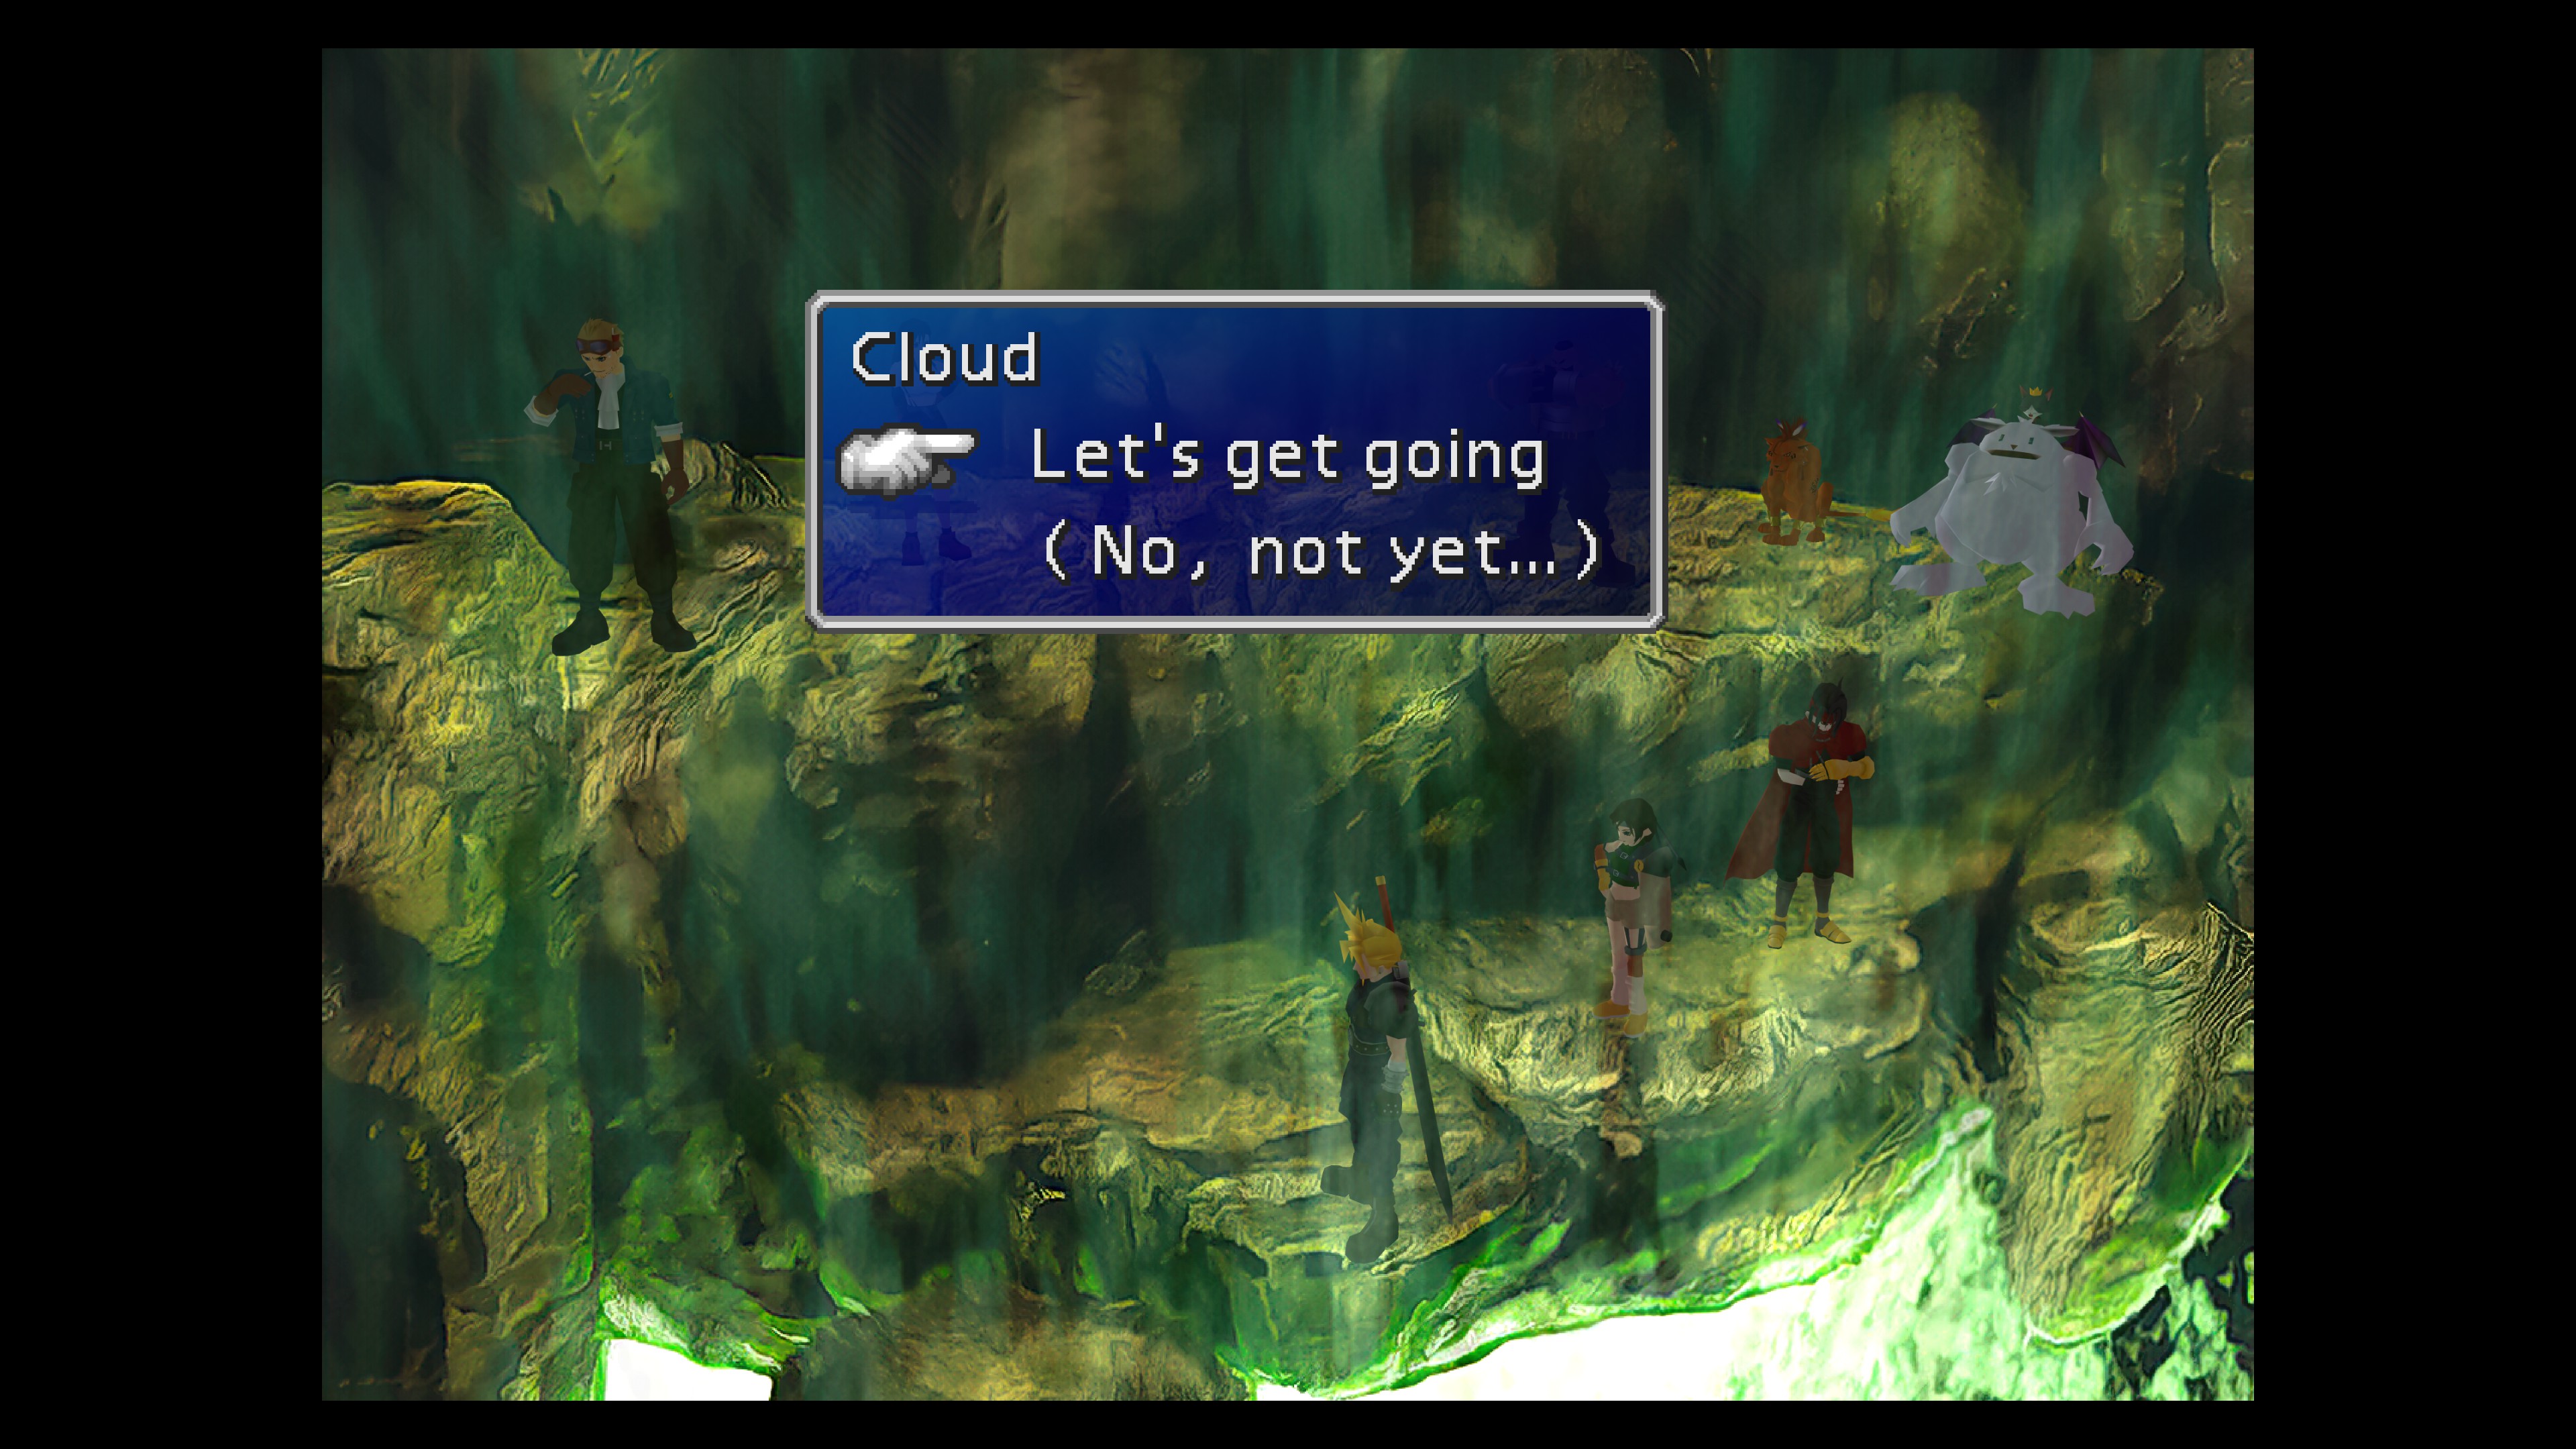
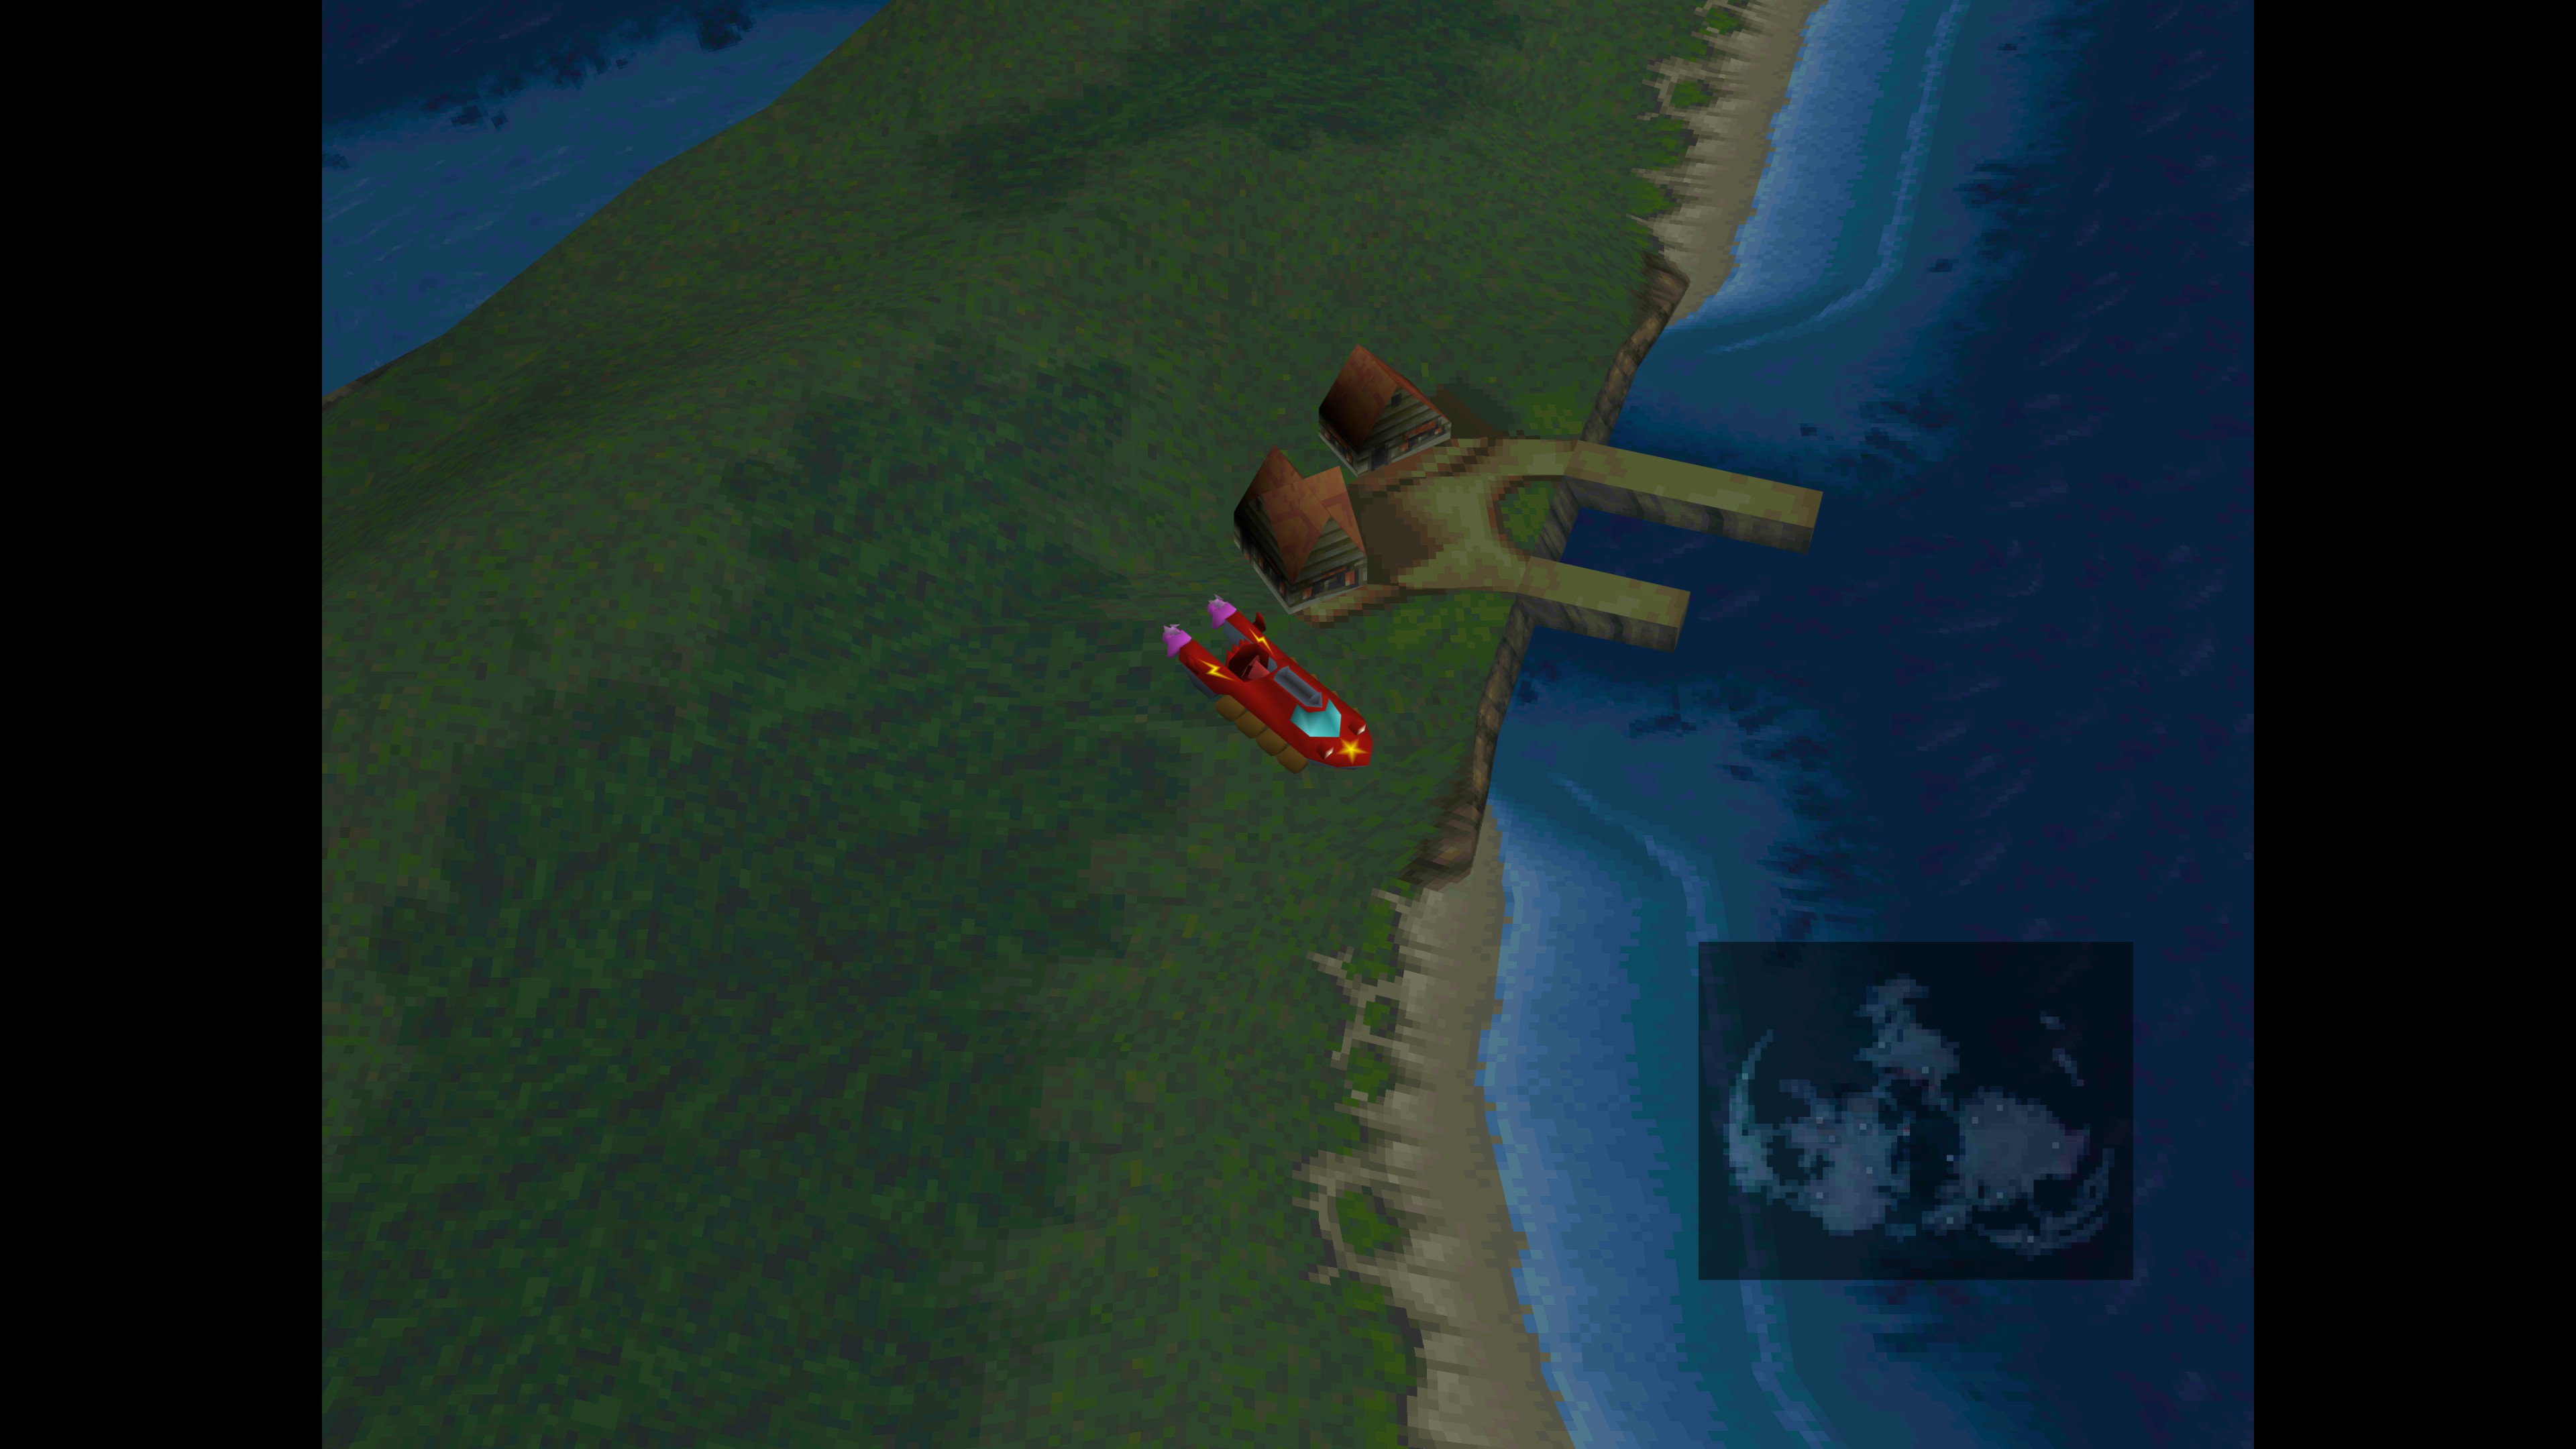
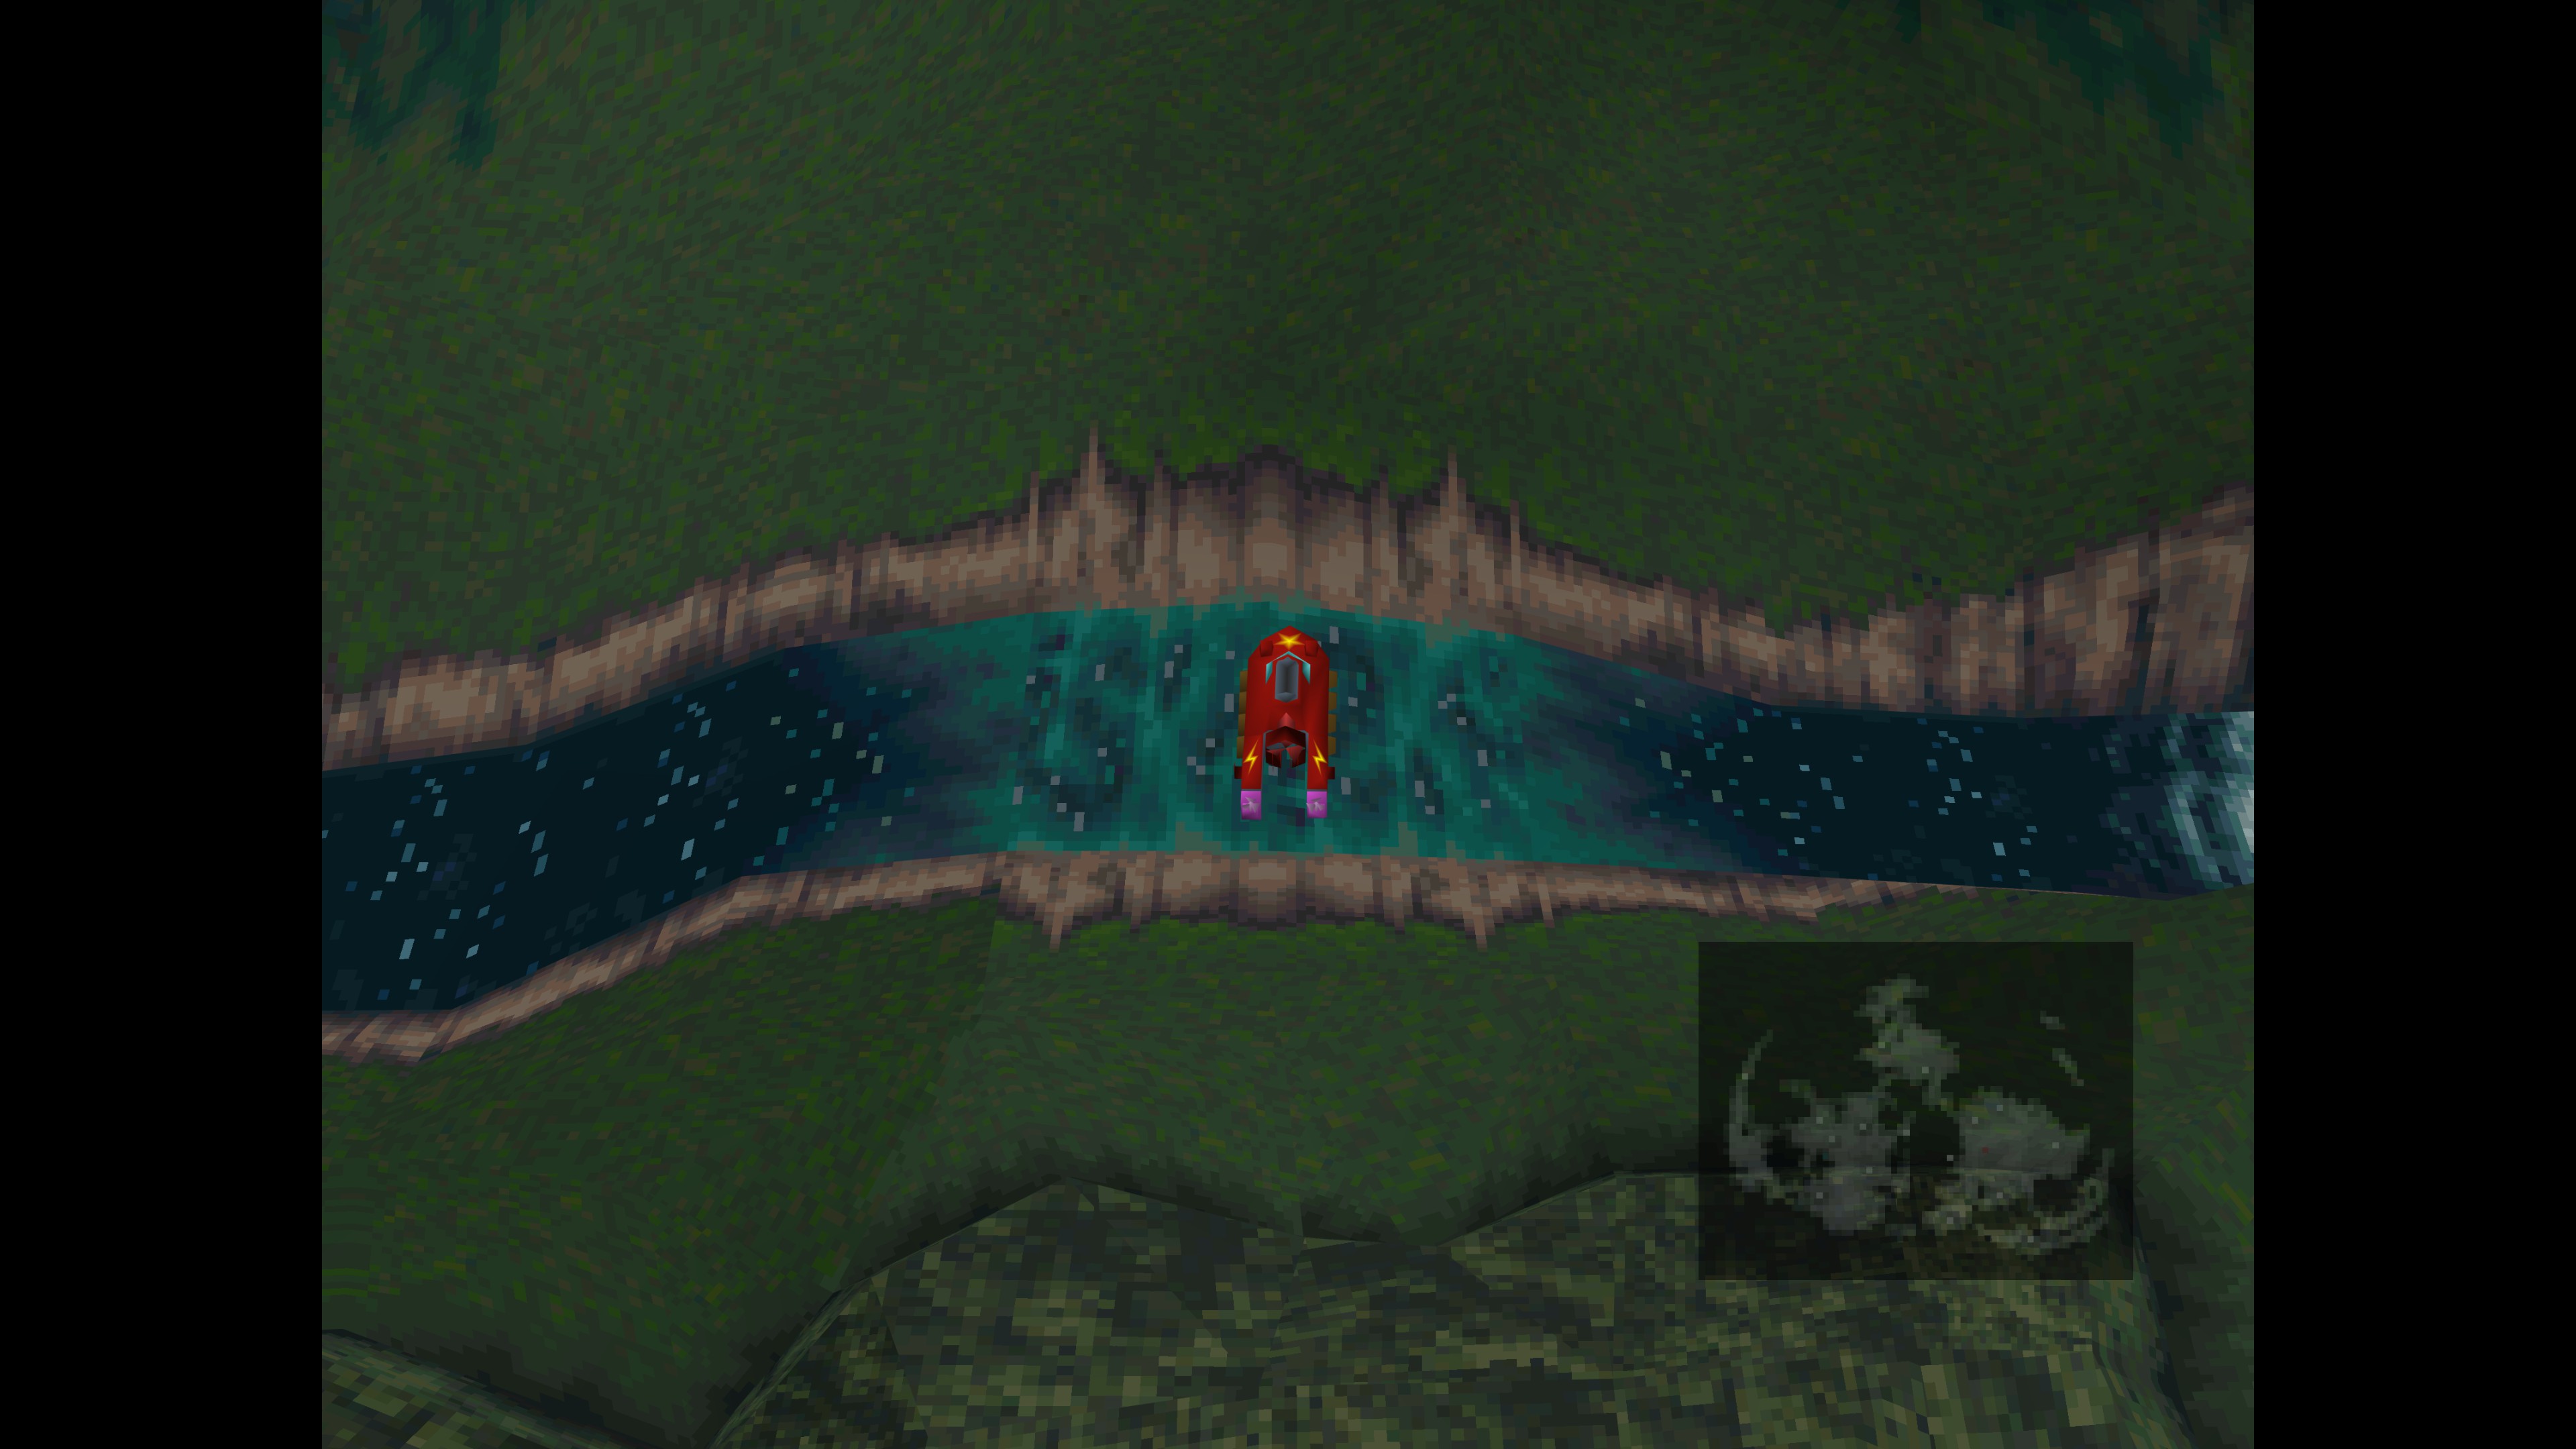
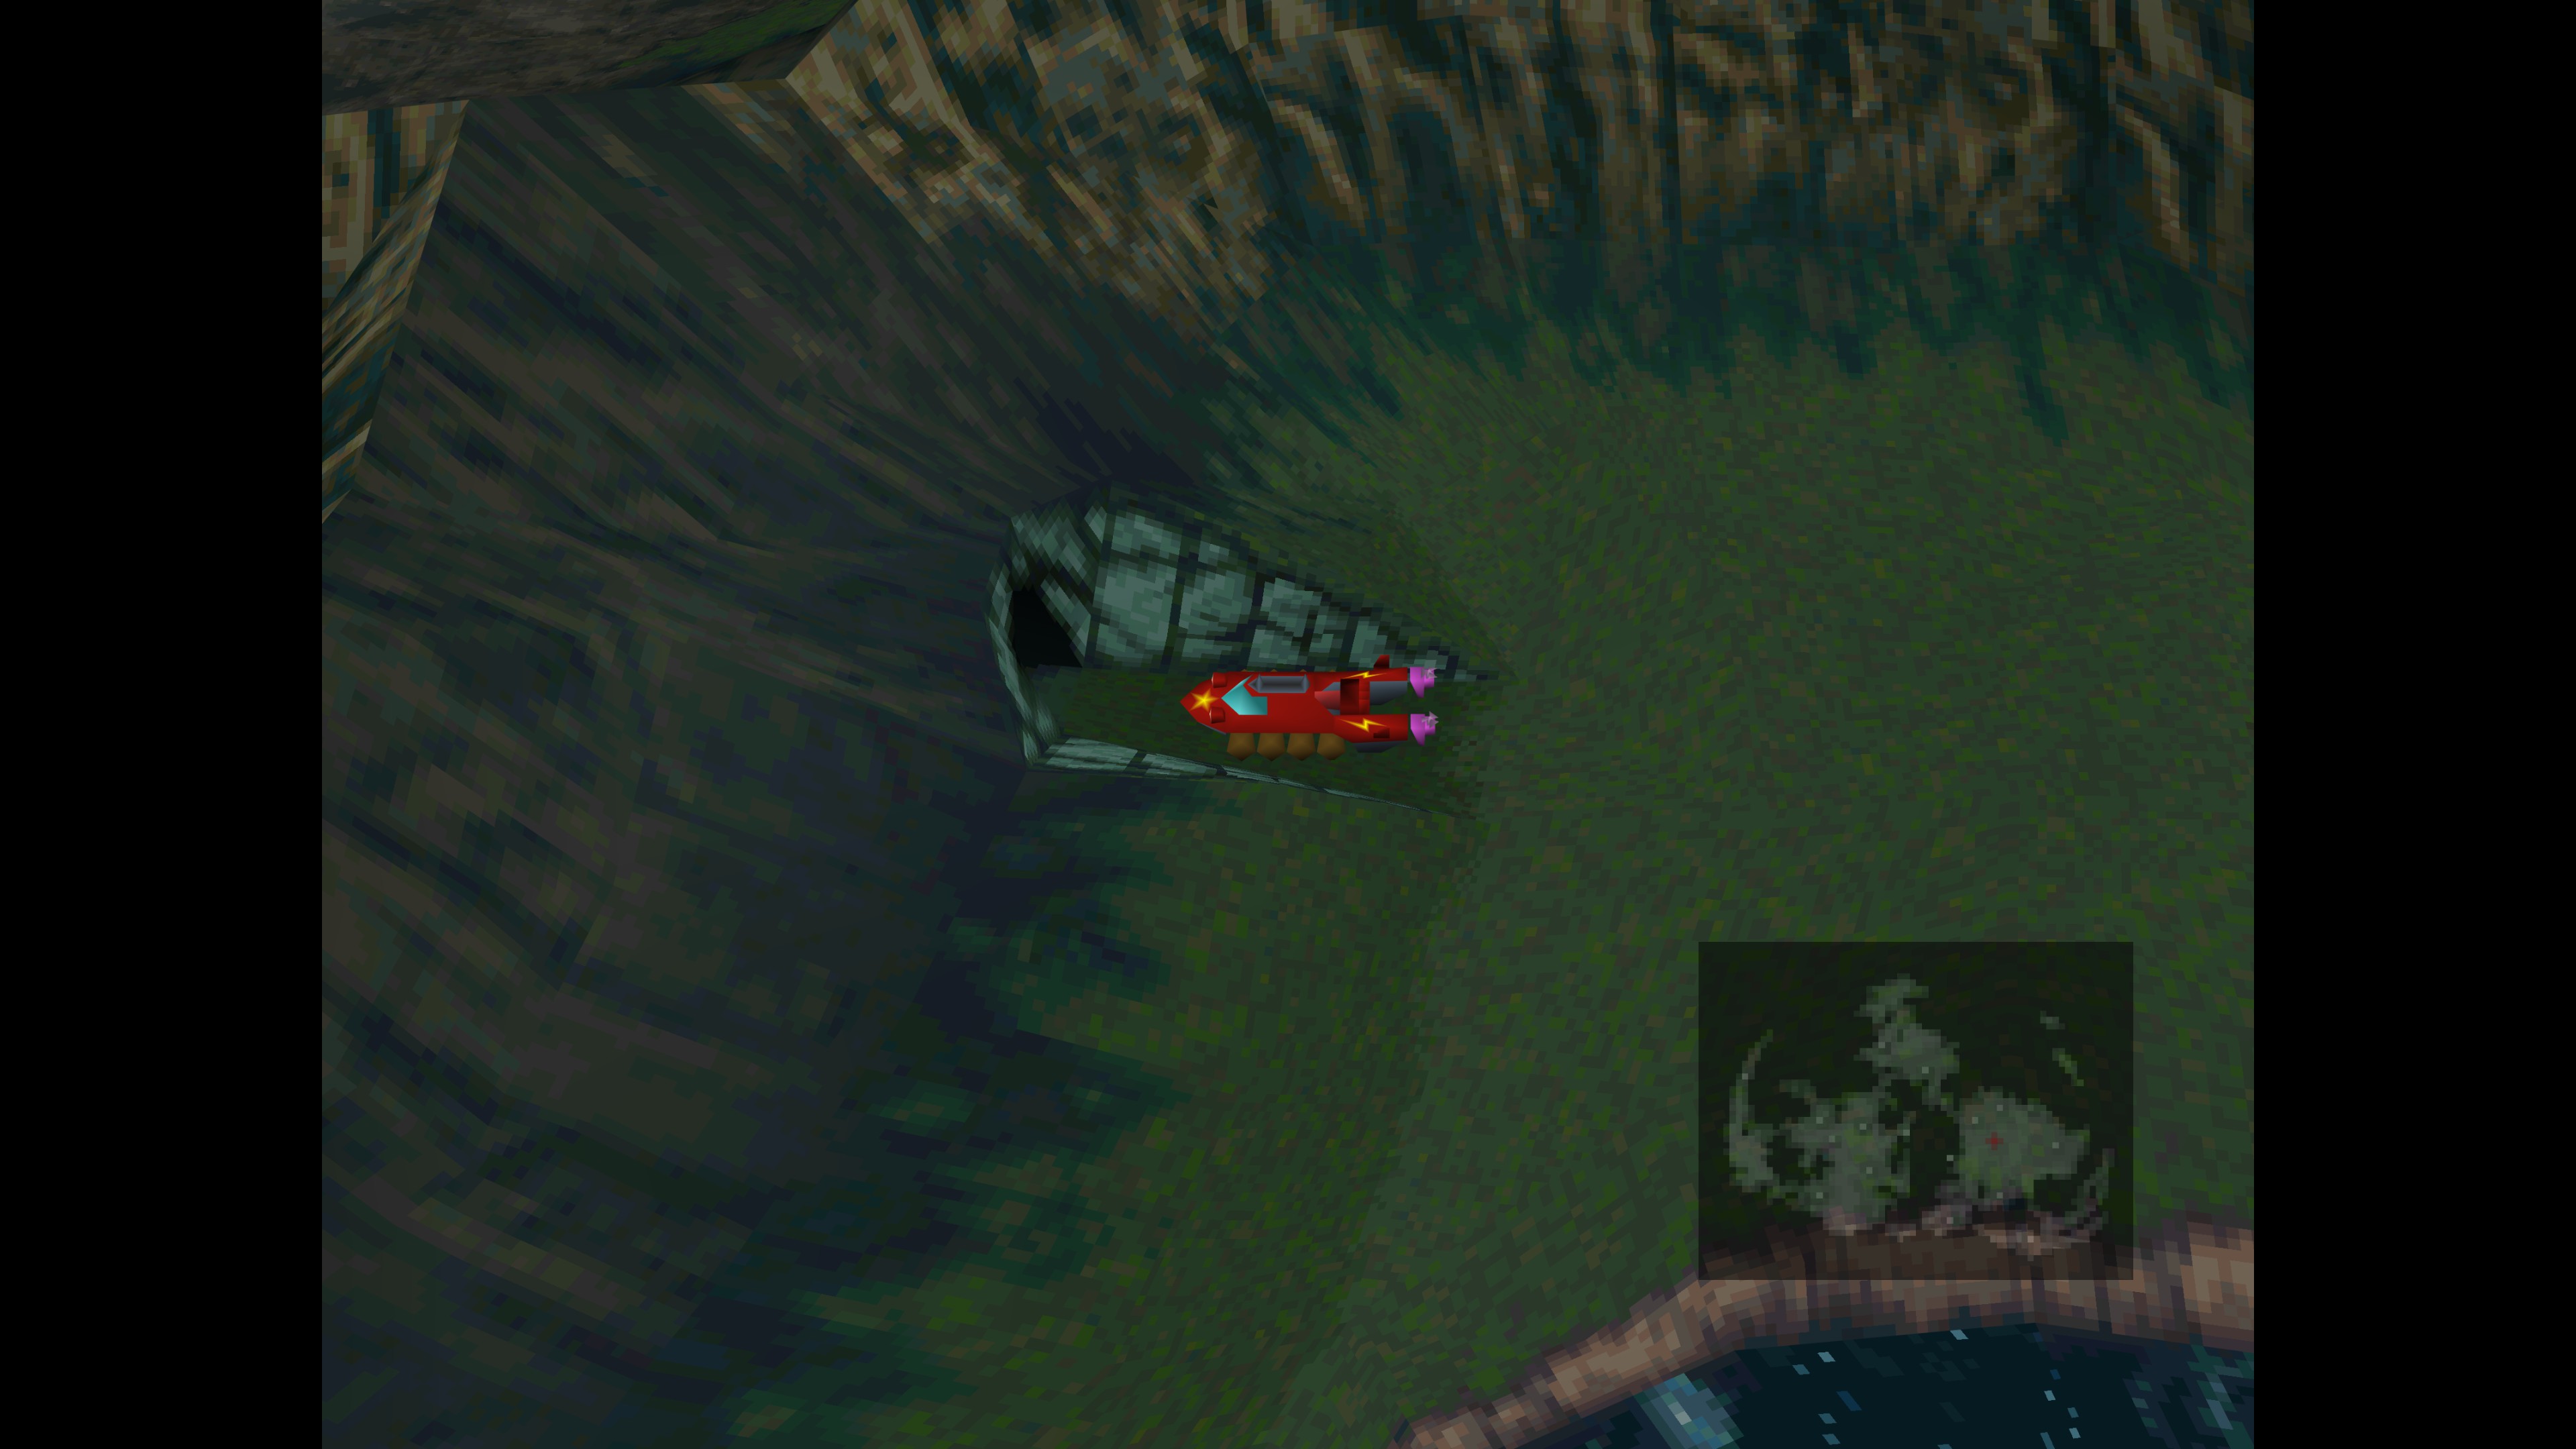
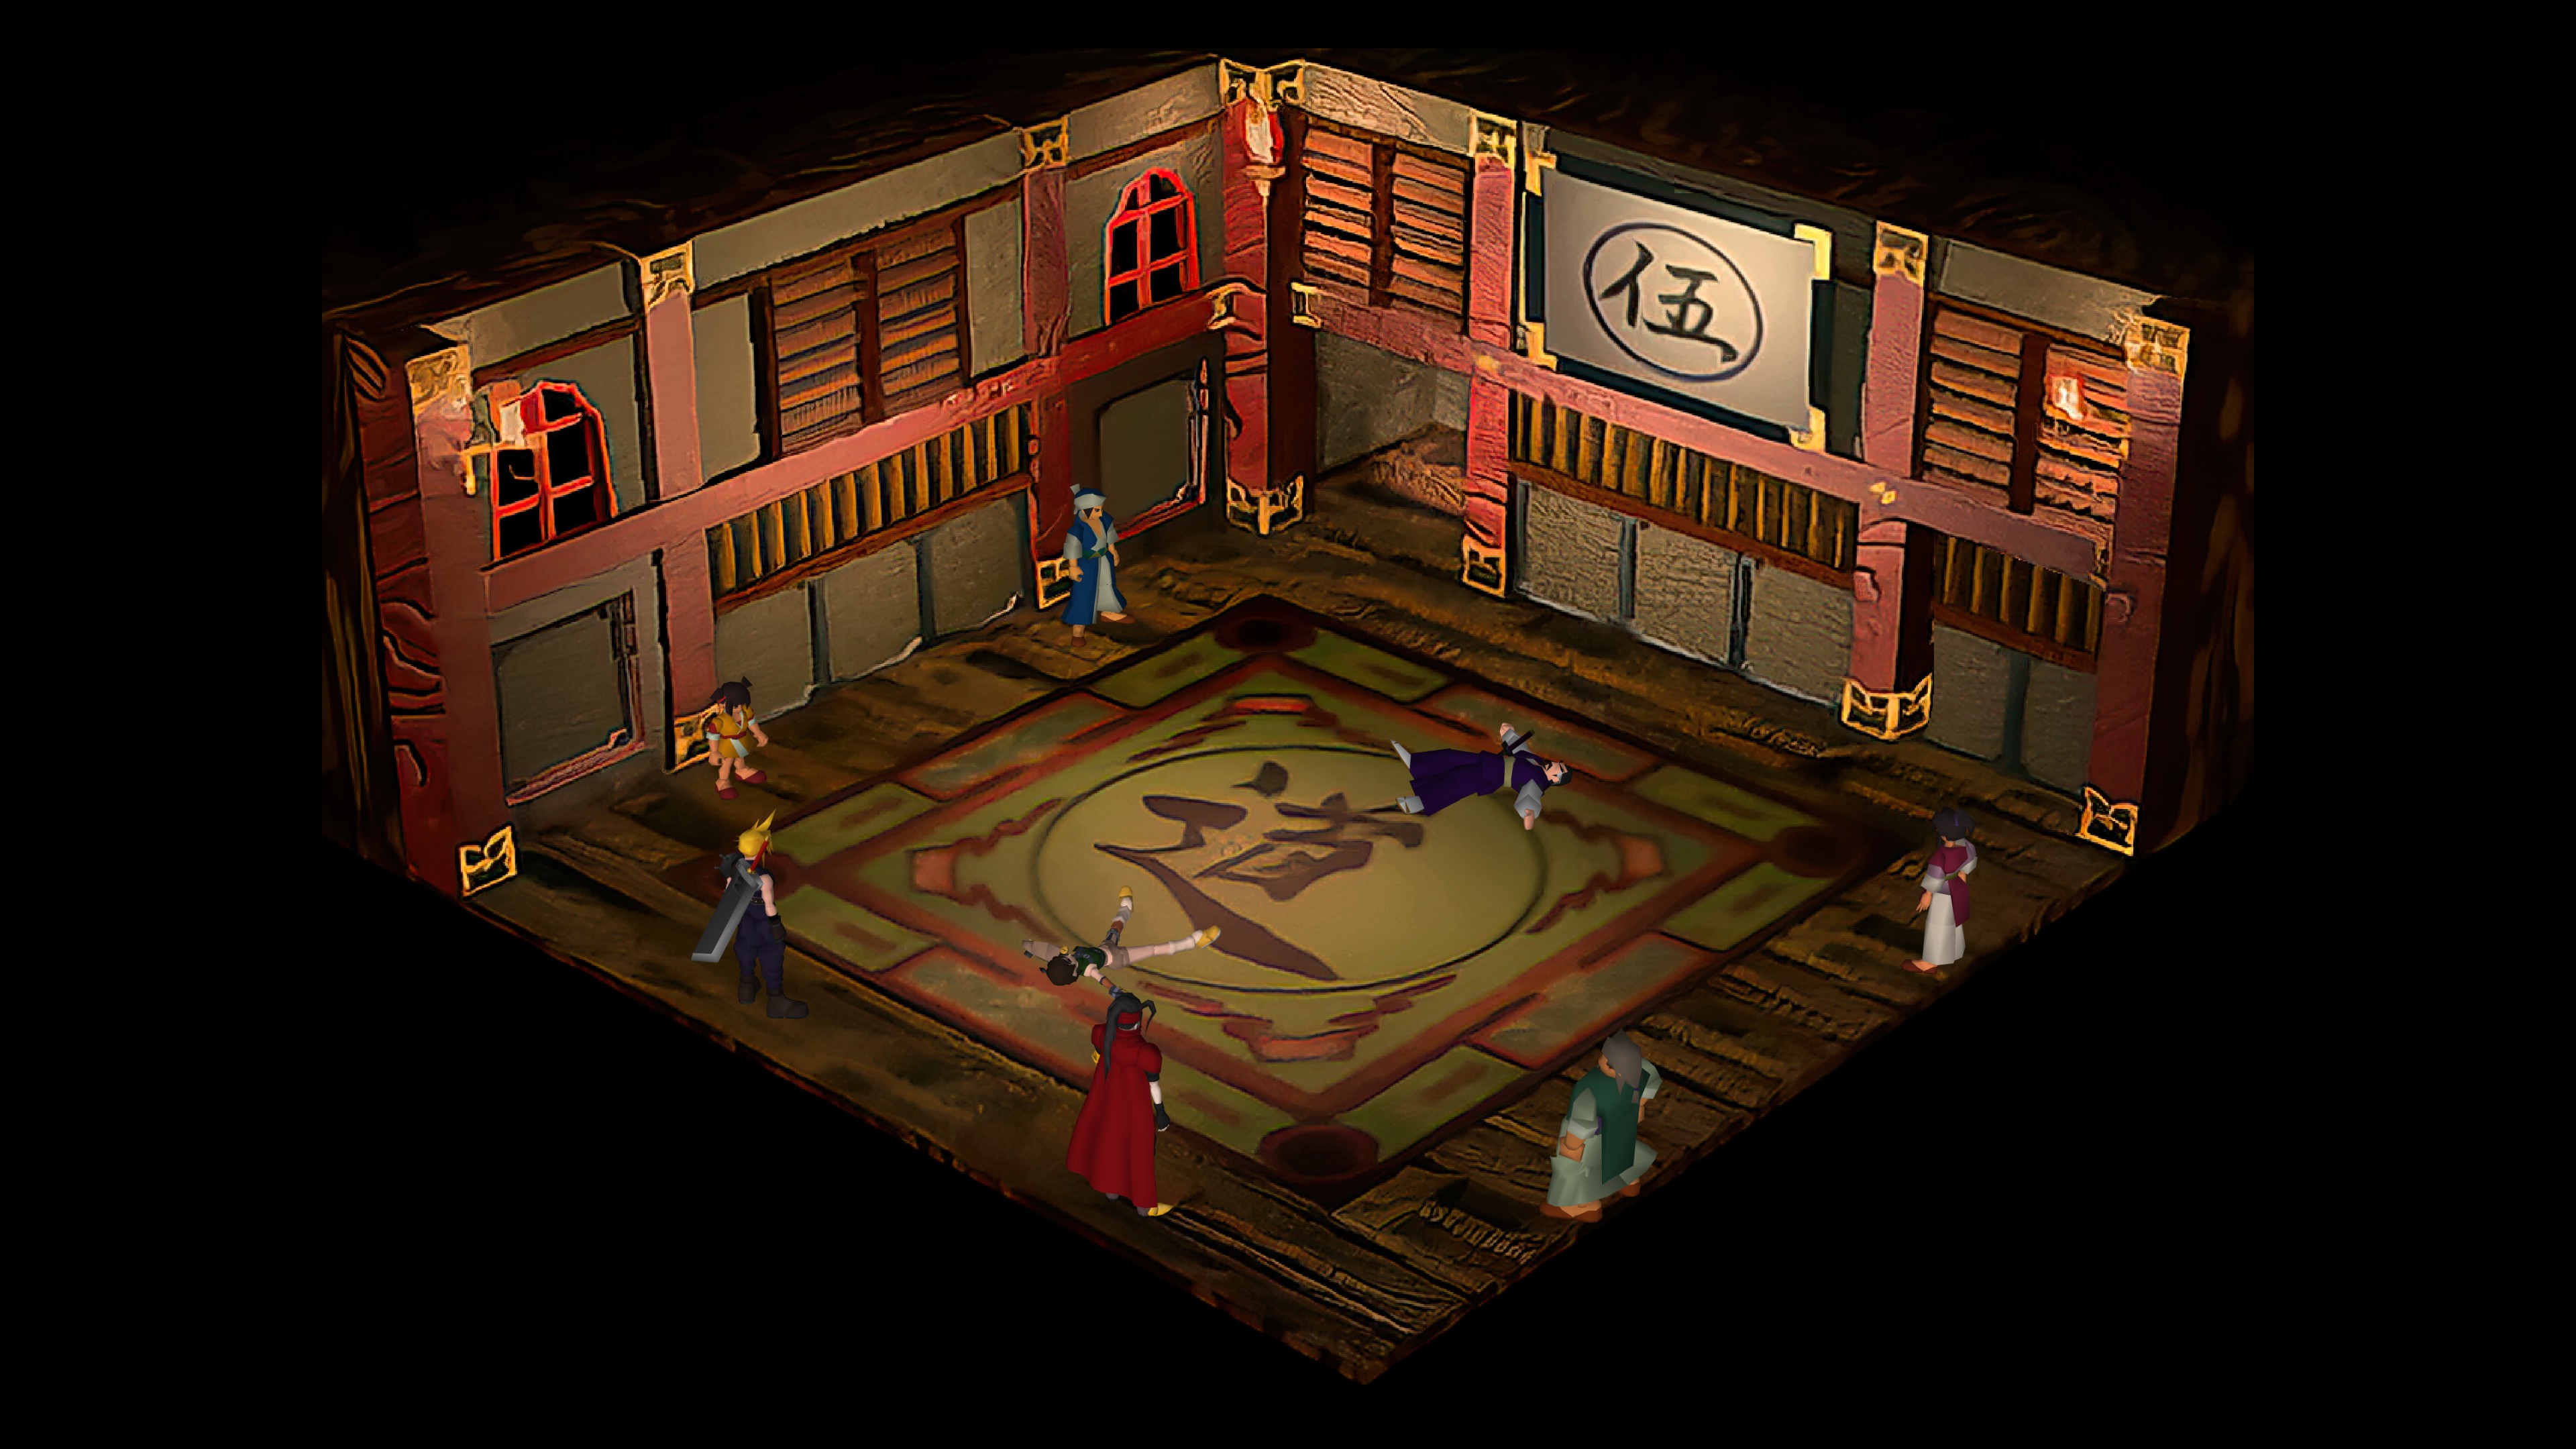
Unless you try to bypass Cosmo Canyon, the buggy will never break and therefore not be repaired. This lead me to believe that I had to wait until later.
Abyss  [tekijä] 27.12.2024 klo 19.23 
@Cernel Joson Added your comment, thanks!
Cernel Joson 24.12.2024 klo 13.26 
IMPORTANT: If you steal a Gigas Armlet from the Gigas Enemy in the crater, he will not drop an Earth Drum that fight! It doesn't matter which order you do it in, just keep in mind that if you steal from him, he won't drop anything.
Abyss  [tekijä] 20.10.2024 klo 11.08 
@Kawayol & @FenecK I've spent months trying to think how to cover the information you both shared (totally didn't just forget). After much careful methodical deep consideration I updated the Introduction section of this guide quoting you both directly. Thanks a lot to both!
Abyss  [tekijä] 20.10.2024 klo 10.58 
@T3hHappyEmo Updated thanks!, also, on the note of "this exact table" I am seeing they have a much better table than mine lol. I have never been shy about the fact that I reference several online websites for information while playing the game myself, but this one time I probably saw it elsewhere lol

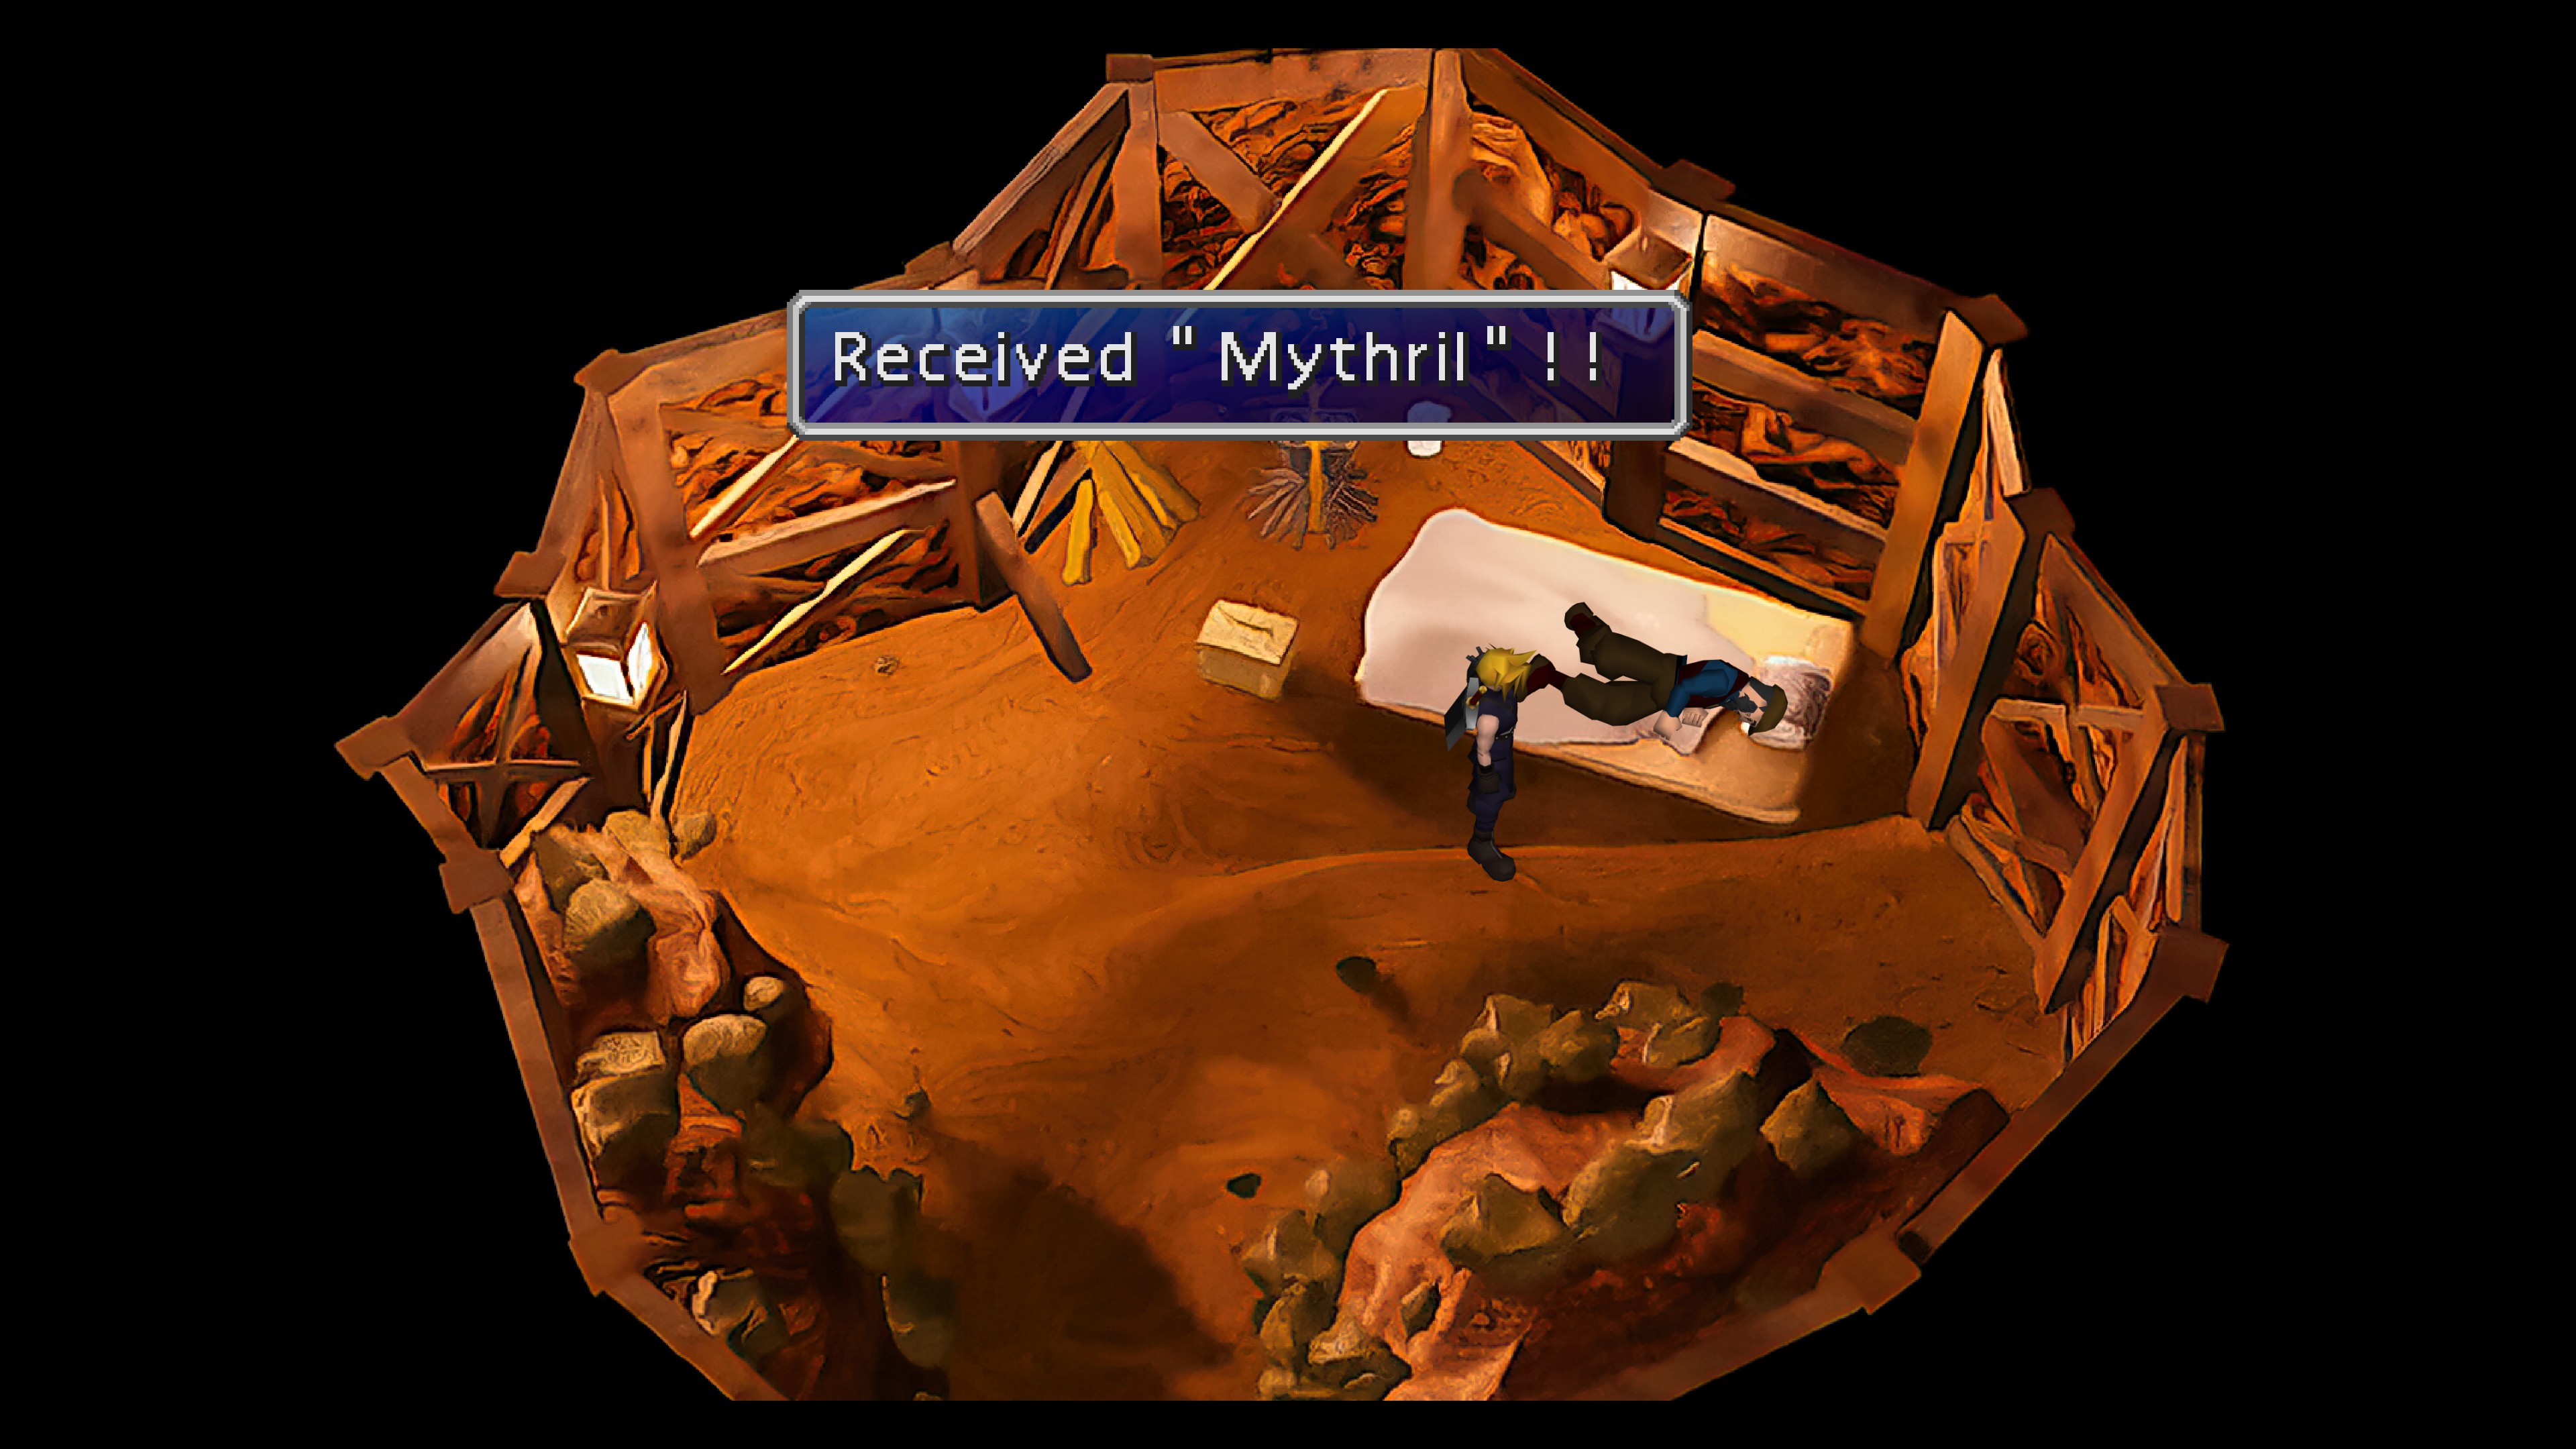
@Vaux you are right, added, thank you!
Vaux 4.10.2024 klo 7.09 
@abyss for turtle paradise, it would be good to specify that you need to read the flyer outside the bar in wutai to claim the reward
T3hHappyEmo 25.9.2024 klo 19.23 
The Fort Condor information is a bit misleading. The rewards you win are tied to the number of victories rather than specific battles. The wiki article with this exact table says above it that the table is only accurate if you do every battle possible. Discovered this after backtracking for the megalixir as soon as I got the buggy and I only received 3 ethers instead.
乱馬 インバース 24.5.2024 klo 23.53 
Also, once Enemy Skill gets "mastered", it doesn't birth any new materia, so there's really only 4 in the entire game, thus there's no reason whatsoever at all to skip/miss on any of them. You only need one fully mastered however, to obtain the achievement, so you're not forced to "max out" all 4 Enemy Skill materias in the game (which requires A LOT of knowledge on which enemies and where to fight, how exactly to manipulate (downright to sometimes LITERALLY using Manipulate skill) enemies to trigger skills which need to be learned, and hefty amount of level grinding or stat boosting with Source farming, since your character can learn the enemy skill only for as long as the said character STAYS ALIVE/SURVIVES once they get hit by that). IGNORING Wutai completely on the "Disc 1" and only going at it when you're controlling Tifa on "Disc 2", thus, is a must, IF you want to get that last Trine on your 4-th Enemy Skill materia.
乱馬 インバース 24.5.2024 klo 23.43 
Just sell any "excess" mastered meterias, if you go over 4 copies of same one. Even if they don't give much money. 4 mastered copies is more than enough, for 99% of the game. "All" farming is a different thing, having at least 8 is usually preferable, until you obtain the "Mega All" in Northern Crater and "birth" a couple of those, since you need at least 2 "All" for each of your characters in the active party (thus 6, usually), plus at least 1 mastered to sell, and 1 freshly birthed to master next. "Mega All" removes the need/necessity to equip several "All" to link them to different skills or magic, freeing up slots in the gear, but it can be obtained only at the very end of the game, so having large amount of "mastered" copies of standard "All" + at least 1 new/freshly birthed, is essential, until you'll be able to obtain "Mega All".