Synergy

Synergy

134 ratings
Taking A Half-Life 2 Model Or A Garry's Mod NPC/Playermodel And Turning It Into A Synergy Playermodel
By Helghast Loyalist
Have you ever saw a Half-Life 2 Model or a Garry's Mod NPC/Playermodel and thought "Hey, that would be cool as a Synergy playermodel"? Well, now you can make it a Playermodel yourself!

Note, If your playermodel uses a model that's from a Half-Life 2 mod or a Garry's Mod NPC/Playermodel, please give credit to whoever made said model.
3
   
Award
Favorite
Favorited
Unfavorite
Required Programs
Before making a Synergy Playermodel, you will need to download these programs:


Notepad++ [notepad-plus-plus.org] for editing one of the files.
Crowbar for decompiling the model (For this guide, i will be using version 0.19 but you can use the current version too).
Setting Up Your Mod
Before we modify our model to work in Synergy, we must first set up our mod so that our playermodel will appear in the game.

Go to
C:\Program Files (x86)\Steam\steamapps\common\Synergy\synergy\custom
Once you're there, make a folder and name it anything, for this guide, i just named it "playermodel"


Now that you named your mod, make a folder inside your mod folder called "models" then make a folder inside that folder called "player" and then inside of that folder, make two folders called "rebel" and "normal".
Decompiling Your Model
To make the model into a Synergy playermodel, we must first decompile the model so we can edit it.


For this guide, i will be using the Metro-Cop model from Half-Life 2.


Open Crowbar and it should look like this:


Make sure everything that is checked on the picture is checked and everything that is unchecked is unchecked.


To decompile your model, click on the browse button on the top right side of the corner and go the location if the model file of your model (which is called a mdl file) and double select it. Once it's selected, click on the button that says "Decompile Folder and All Subfolders of MDL File" and it should start decompiling the file (It should say "...Decompiling finished" once it's done). When it is finished, a new folder should appear in the location of your model file named "decompiled 0.19" that contains all of the decompiled files and folders.
Editing The QC File
In the "decompiled 0.19" folder, you should see a QC file, this is the only file we have to edit (Make sure you don't change any of the file names).


To edit the file, right click it and click "Edit with Notepad++", you should see something like this:


Don't panic, we only need to edit two things.


First things first, we need to edit the name of the MDL file at the top, change the name to "male_0X.mdl" or "female_0X.mdl" (The X should be a number, open the game to see which model uses which number) For this guide, the Metro-Cop will replace male_02.

Note: If the MDL name says something like "folder_name/mdl_name.mdl", remove the folder part.


Now that we edited the name of the mdl file, scroll down until you see lines/a line like this:


The high highlighted lines are what you're looking for.


Replace those lines with these lines:


$includemodel "player/male_shared.mdl"
$includemodel "player/male_ss.mdl"
$includemodel "player/male_gestures.mdl"
$includemodel "player/male_postures.mdl"


But if you're using a female model, use these lines instead:


$includemodel "player/female_shared.mdl"
$includemodel "player/female_ss.mdl"
$includemodel "player/female_gestures.mdl"
$includemodel "player/female_postures.mdl"


And before you ask, yes, you will have to do this with Gmod Playermodels and Half-Life 2 playermodels too.


Compiling Your Model
Now that we finished editing the QC file, we must now re-compile the model.


First, you must re-open Crowbar if you closed it and select the "Compiler" tab at the top, you should see this (You don't have to mess with the checked things if you don't want to):


At the top, you see a list of games that says "Game to compile for" Make sure this is set to
Half-Life 2.


After you've set it to Half Life 2 if it wasn't already set to that, click on the browse button and go to the QC file that you have just edited and doubke click it, then click on the button that says
"Compile Folder and All Subfolders of QC File" and it should start compiling (It should say "...Compiling finished. Check above for any errors" when it's finished).


Once it's done compiling, click on the button that says "Go to Compiled Model File" and it should take you to the MDL file.
Making Your Playermodel Appear in the game.
Now that we re-compiled your model, it's time to make it appear in the game!


Before putting your model in the addon, put the textures folder from the model your using in a folder called "materials" So your model doesn't end up with a bunch of missing textures.


Once you did that, go to
Your_mod_folder_name/models/player
And place your model file in both the normal folder and the rebel folder, this should make the playermodel appear as both a rebel and a citizen, you wont need to change anything in the QC file to make it appear as one or the other (If you have another model you want to use as the rebel/citizen version of your playermodel, then you may have to do this again but use that model instead).


Then just start your game and test it out.


Your model should replace the model you chose like mine:


Congratulations, you have just made a Playermodel for Synergy!
Credits
Don Ho: Creating Notepad++
ZeqMacaw: Creating Crowbar.
Helghast Loyalist: Making this guide.
59 Comments
LePhantomChickN 3 Dec, 2024 @ 8:19pm 
SInce I can't figure out how to upload it to workshop, here's Astolfo:

https://drive.google.com/file/d/1LcbrSMXwmR-e83W99Jg3Yj47R4cP7E60/view?usp=drive_link

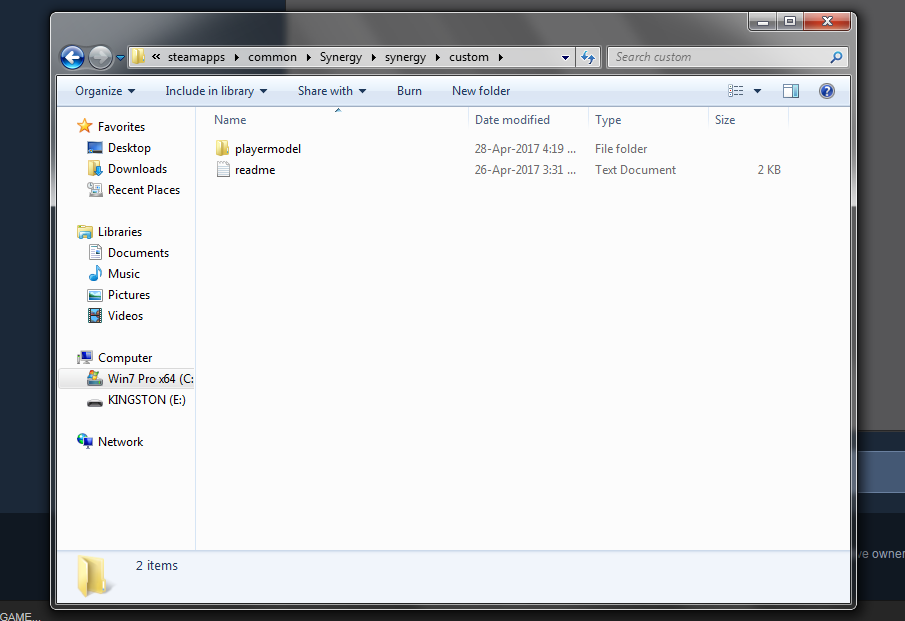
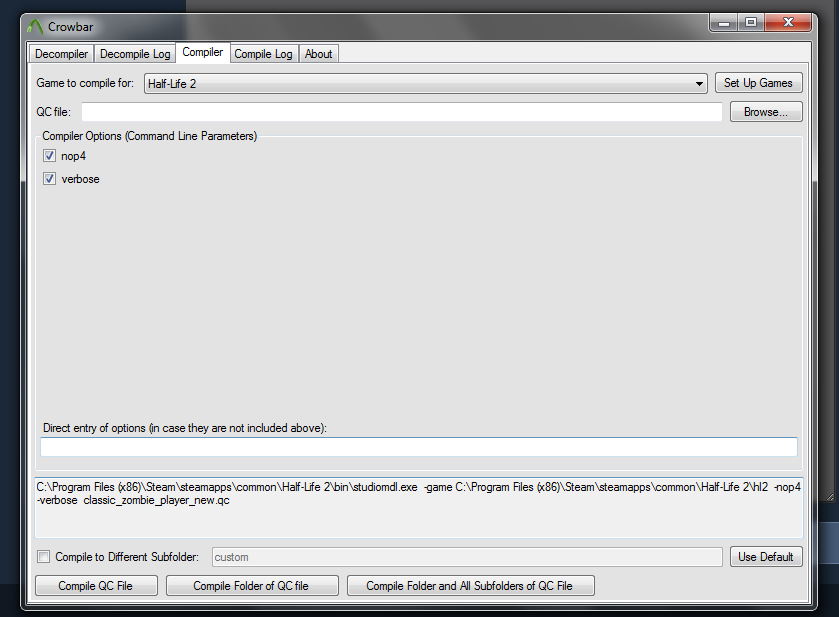
Just replace the 'custom' folder in your Synergy/synergy folder with this 'custom' folder.
LePhantomChickN 3 Dec, 2024 @ 7:25pm 
I got it!!! I followed what @Balim said on Feb 10, 2019 by copying the materials folder I got inside the folder GWtool gave me into the synergy/custom/playermodel folder we made (with 'models' and 'sound' in it.)
LePhantomChickN 3 Dec, 2024 @ 7:11pm 
LePhantomChickN 3 Dec, 2024 @ 7:10pm 
I did also have to use this tutorial to make my Gmod model into a .mdl instead of .bin
https://youtu.be/kDRtWBHR880?si=kz_hMB7SUE0pfjvT

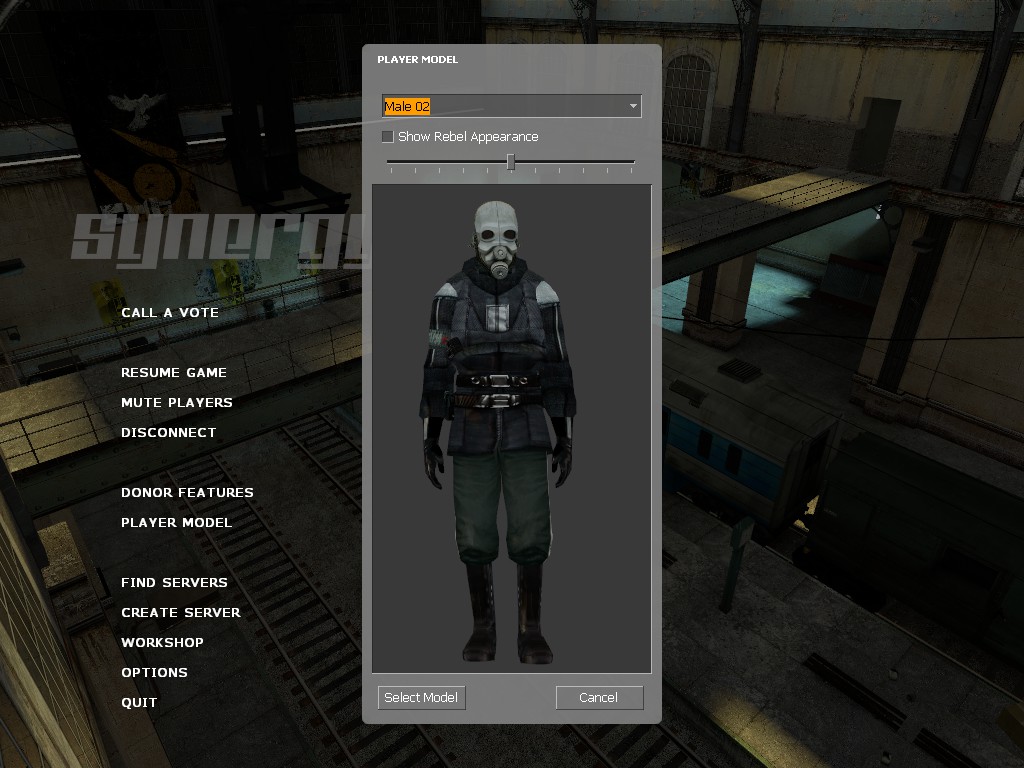
Ok I copied ALL the files created in the 'Compiling your model' step into the Rebel and Normal folders created at the start, and now I have the model with physics and all visible, but with all missing textures.
LePhantomChickN 3 Dec, 2024 @ 6:53pm 
My model is invisible in game. The last section of this guide is vaguely worded and confusing. It's also spamming this error in the console:

Error Vertex File for 'female_03.mdl' checksum 2012581955 should be -359448492
GrenFlem 21 Nov, 2024 @ 10:59am 
it just doesnt work, did everything, no errors, but the model is completely fucked
GrenFlem 21 Nov, 2024 @ 10:53am 
doesnt work.
TheAlfieReal 28 Sep, 2024 @ 8:51am 
it used to wrok for me and now it doesnt
The_Cat98 16 Mar, 2024 @ 10:39am 
whats if i dont have $includemodel in my .qc?
neg 14 Sep, 2023 @ 10:58am 
grr it destroyed my pc